Have you ever been watching a movie or TV show and noticed a subtle change in depth of field that revealed some new detail in a scene? That’s a rack focus. Today we’re going to go over the rack focus. We’ll cover how to do it, how to use it, and why this technique should be on your next shot list.

The Best Rack Focus Examples in Film
Shifting Focus
The rack focus shot explained
Chances are good you've seen countless rack focus shots without even realizing it. Many are subtle and not meant to draw attention to themselves. Others are clearly designed to be seen. We're going to review some of the best rack focus examples, the ways they can be used, and how to rack focus. But first thing's first, let's define rack focus.
Rack Focus DEFINITION
What is rack focus?
A rack focus is the filmmaking technique of changing the focus of the lens during a continuous shot. When a shot “racks,” it moves the focal plane from one object in the frame to another. Also known as a "focus pull" or "pulling focus," the technique can include small or large changes of focus. The more shallow the depth of the field, the more noticeable the transition between focal planes.
REASONS TO RACK FOCUS:
- To transition between scenes
- To add dramatic flourish to a shot
- To draw the eye to a specific detail
- To connect elements or characters
- To combine multiple shots into one
- To follow a character's train of thought
- To reveal something hidden in the frame
Racking focus is just one of many types of camera focus in film. For a complete breakdown of these options, watch our episode of The Shot List that is dedicated to depth of field and camera focus.
Ultimate Guide to Depth of Field • Subscribe on YouTube
Because racking focus is its own art-form, on a professional set there’s a job called “Focus Puller.” The Focus Puller is usually also the 1st Assistant Camera (or the 1st AC).
The Focus Puller works in tandem with the Camera Operator to adjust the focus ring during the shot. The operator needs to pay attention to framing and camera movement, leaving the actual focusing to the focus puller. It is a delicate balancing act that requires practice and finesse between the actors and the camera department.
Racking focus takes lots of patience and practice.
Reasons to Pull Focus
Rack focus examples & why they work
Shifting focus within a shot has many functions in visual storytelling. And while their are many creative and dramatic reasons to pull focus, there is also a very practical reason. In general, one of the immediate benefits is that you can get two (or more) shots in one.
The reason to pull focus is simple; you want to help direct the audience’s attention to something in the scene. Therefore, the rack focus shot can be crucial to pointing out details to the audience. Let's review some of the creative and dramatic options for using a focus pull.
Get into a character's headspace
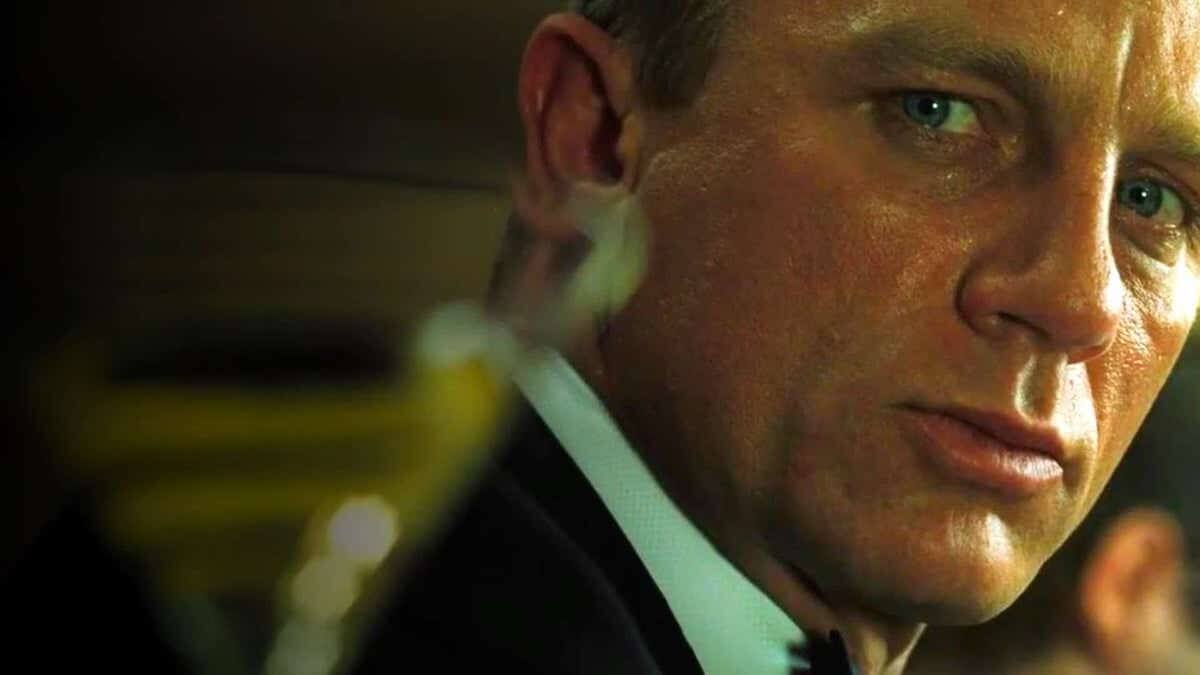
Consider this scene from Road to Perdition. If you haven't seen it, this scene is all about Connor's (Daniel Craig) strained relationship with his father (Paul Newman). He is also extremely jealous of the bond between his father and Michael (Tom Hanks). Watch how these complicated relationships play out and get capped by an excellent rack focus.
This focus pull clues us in to Connor's headspace • Subscribe on YouTube
As Rooney and Michael pass Connor, the focus follows them. Director Sam Mendes used this focus pull not to show us what Connor sees but what he's thinking about: jealousy, rage, revenge.
Create tension and suspense
The Host uses this long hallway to pull focus back and forth between the main character and his siblings as they attempt to break out of quarantine. In this case, we pull focus from foreground to middle ground, to the background, and back to the foreground again.
A masterclass in pulling focus
Not only does this capture 4 different shots in one, by keeping this action and pulling focus in a single shot, we feel the suspense of their casual escape. And when they're caught, the final rack focus signals their panic and the chase begins.
Establish relationships
Director Jean-Marc Vallee crushes the rack focus in Young Victoria. In this video compilation, watch how many different ways the focus pull is employed. It creates connections between characters, it transitions us from one conversation to the next, and it heightens the drama.
This clip shows the various functions of pulling focus
We’re able to dissect the relationships of who’s who at the table. We can tell who’s eavesdropping, plotting, and gossiping because we can seamlessly shift perspectives.
Because the rack focus shot is exploited here, we can tell the director has total control over the tension in this story. Unlike other camera moves, the pulling focus is able to be incredibly specific. It’s almost like directing a spotlight onto a detail.
Quick Tutorial
How to rack focus
Let’s think back to the rack focus definition and plan it out. Since we're dealing with precise actions, we need to prepare a few things in advance. Namely, the staging of our subjects and the distances involved.
In order to pull focus, you first have to determine which objects you’ll move between. You'll also need to decide what the best method of actually adjusting the focus ring will be. Here's a quick step-by-step guide to pulling focus like a pro.
Step 1 — Gather the necessary equipment
First things first, you're going to need a camera lens with a manual focus ring. Many consumer grade cameras have an auto-focus feature but you have no control over how or when it focuses — this is far from ideal.
For low-budget productions, you might be adjusting the focus ring directly with your hand. This method is do-able with a lot of practice but this can limit your ability to operate the camera. Many productions use a mechanical device called a follow focus.


UFF-1 Universal Follow Focus
This is a device that mounts to your lens allowing for smoother and more precise adjustments. There are even wireless follow focus systems that allow the focus puller work without touching the camera, which is ideal when the camera is moving.
Step 2 — Stage your camera and subjects
When you're create your shot list, this is the time to decide what the subjects in the shot will be and their relative positions. Are you moving the focus between two actors, an actor and a prop, or some other combination? Once you have the general set-up, we need to decide on the depth of field we'll be using.
Step 3 — Adjust your depth of field
Within the rack focus definition, there are no rules as to how deep your depth of field needs to be. You can use either deep depth of field or shallow depth of field — it all depends on what works best in the shot.


A rack focus starts with depth of field
The distance between your subjects and the depth of field will make the rack focus more or less noticeable. For a refresher on how to adjust your depth of field, review our posts on aperture, ISO, and shutter speed. Here's a breakdown of how aperture is used to create depth of field.
What is Aperture? • Subscribe on YouTube
Step 4 — Measure your distances
Once the character blocking and depth of field are finalized, you'll be able to measure the various distances between the camera and the subjects. There are a few ways to measure distance, which are typically dictated by your budget.
If you're working with a limited budget, you might be measuring and focusing by eye. Again, it's possible but tougher to get pristine results.
Most lenses have distances marked on them but the best way to get true measurements is to actually measure. Using a fabric tape measure, you can precisely assess the distance between subject and camera. Remember to start your tape measure at the camera's sensor plane, not the front of the lens.
If you're using a follow focus, most of them have a white surface around the dial where you can make custom marks for each focal position. Here's some pro-tips on measuring, marking, and focus pulling basics.
Pulling focus pro-tips
And that's that! You are ready to start pulling focus. Here's a quick tutorial that puts all of these strategies to use. What this video reminds us is that a rack focus shot should always be motivated. Audiences intuitively understand the "language" of a rack focus — and they'll be able to spot an unmotivated focus pull immediately.
A quick rack focus definition and how to rack focus
Pulling focus is not easy, but it’s a skill anyone can master. Therefore, you better get practicing! The better it looks the more professional the outcome. It could be your calling card as a director.
Now, let's wrap up with a quick guide on how to add a rack focus shot to your next shot list.
Pre-Production
How to shot list a rack focus shot
So, you’ve set up a neat scene where you want to pull focus between two crucial objects in a scene? What do you do now? You need to put it in a shot list so your DP can anticipate and prep.
Specific camera movements matter too. Are you going to rack focus while completing a dolly shot? Or is it a traditional pan-and-rack?
You want to capture all these crucial details in your shot list. With StudioBinder, these details are already listed as options, so you only need to check their boxes. This allows you to create creative combinations that make your movie come to life.
Collaboration is fast and efficient. Send your shot list to the DP with the click of a button. The best part? We let you start shot listing for free. This gives you more time to think about the intangibles.
Camera Focus
Camera Focus Techniques
Browse camera focus techniques, and learn how to couple them with shot size, angles and camera movements for impact.
Different Types of Camera Focus


UP NEXT
How a tilt shift lens works
So, now that you know how to rack focus, let's talk about the tilt shift lens and how it also uses focus in fascinating ways. A foundational principle of visual storytelling is guiding the viewer's attention. This is one of the primary reasons to pull focus during a shot and a similar effect can be achieved with a tilt shift lens. We'll cover all the ways the tilt shift lens can distort or emphasize elements in your image.
Up Next: Tilt shift explained →

Showcase your vision with elegant shot lists and storyboards.
Create robust and customizable shot lists. Upload images to make storyboards and slideshows.

