Tools for Storyboarding
Visualize without limits
StudioBinder offers powerful tools for storyboarding. Our platform supports both creative teams and software development workflows.
Tools for Storyboarding
Plan your video project with our all-in-one platform
Use the platform to lay out scenes visually and manage your entire production. StudioBinder is the best tool for storyboarding when you need both flexibility and speed.
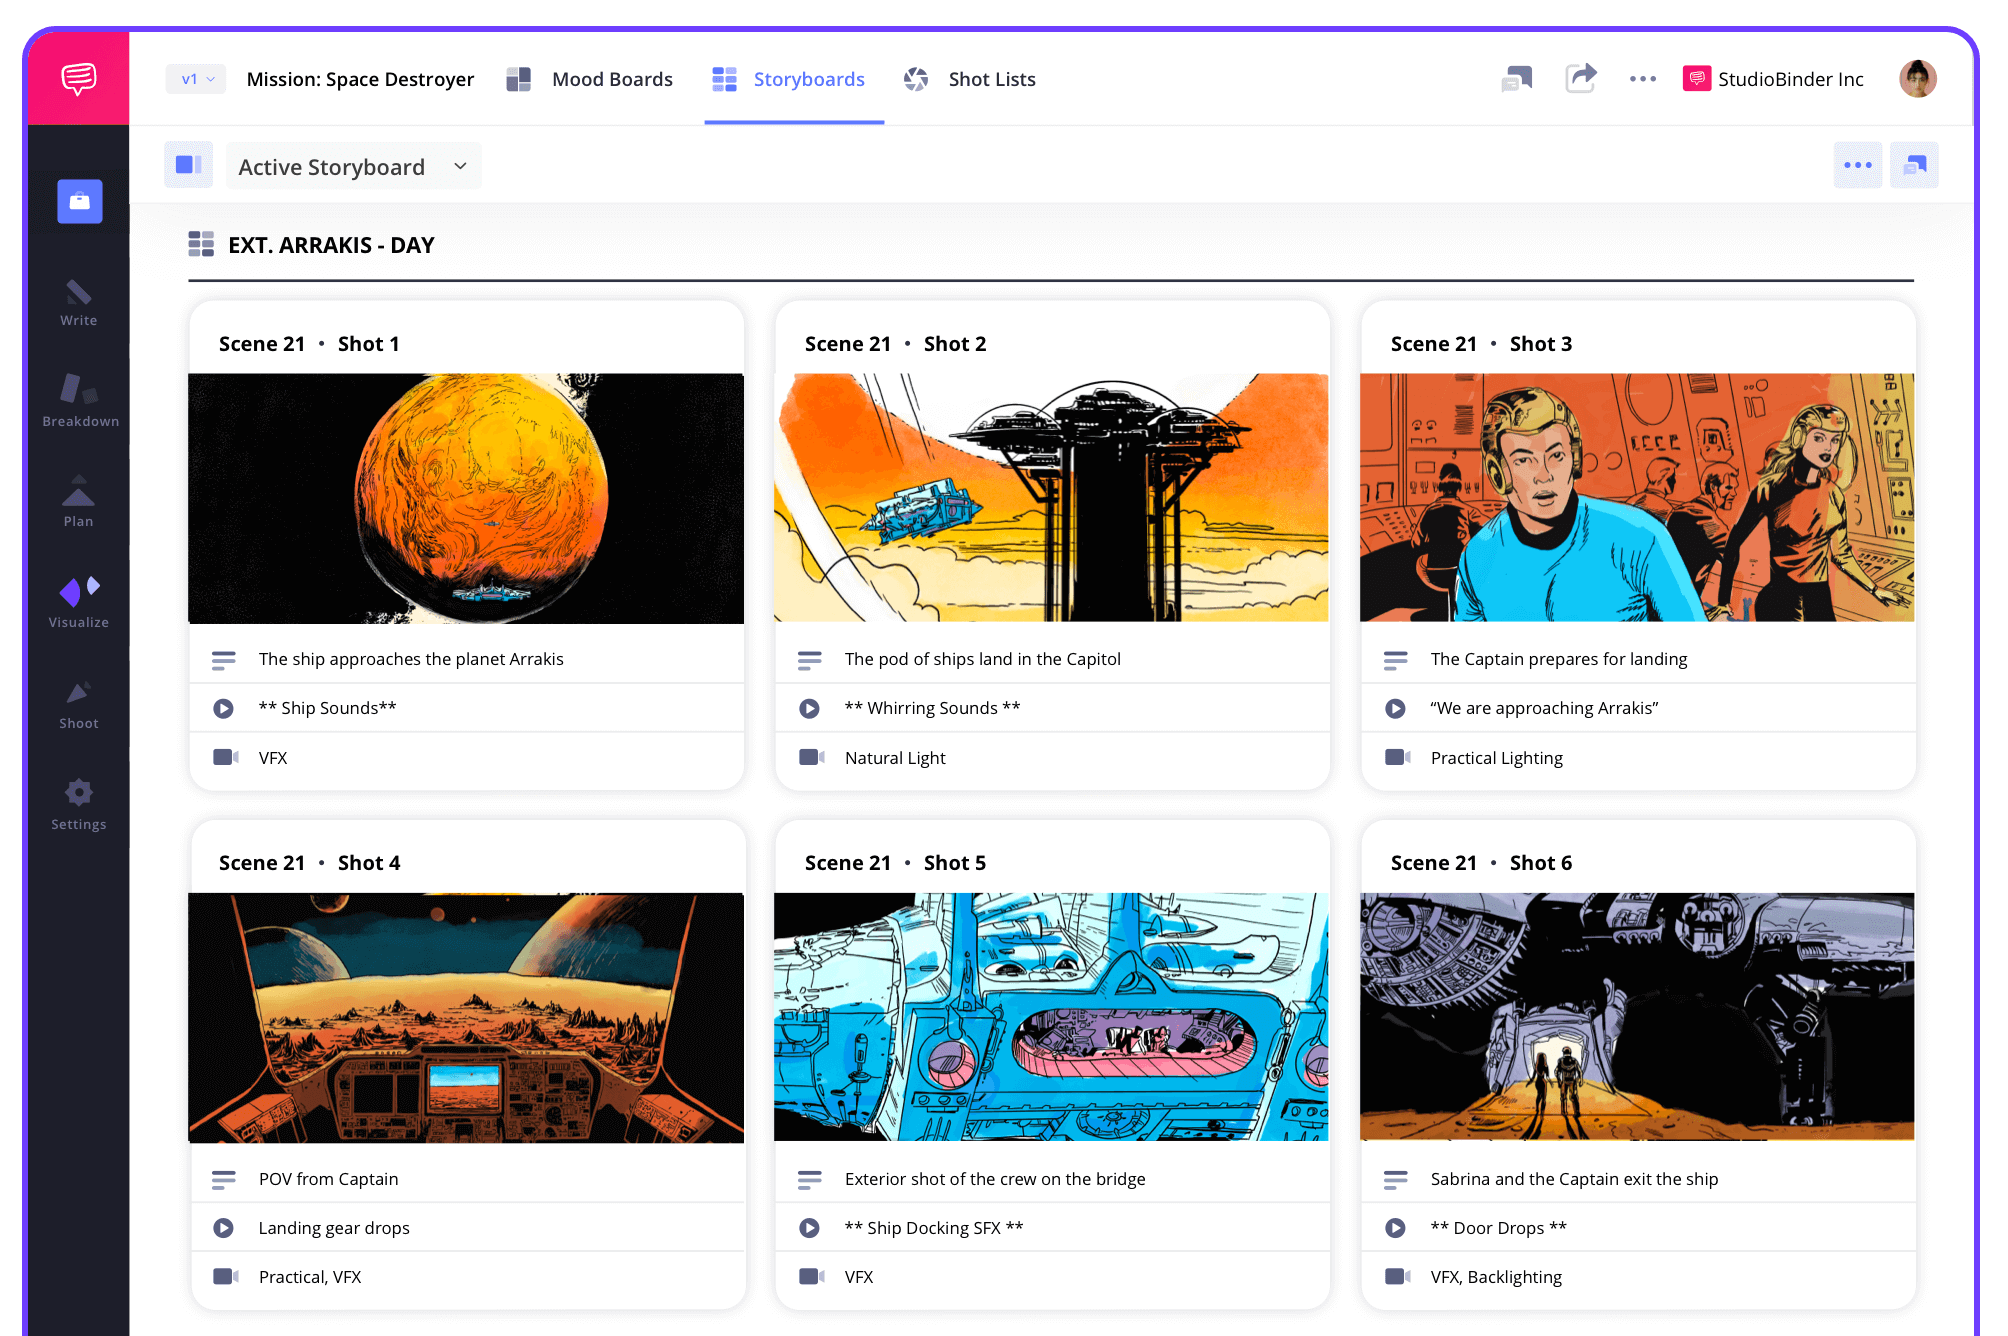
Script to Storyboard
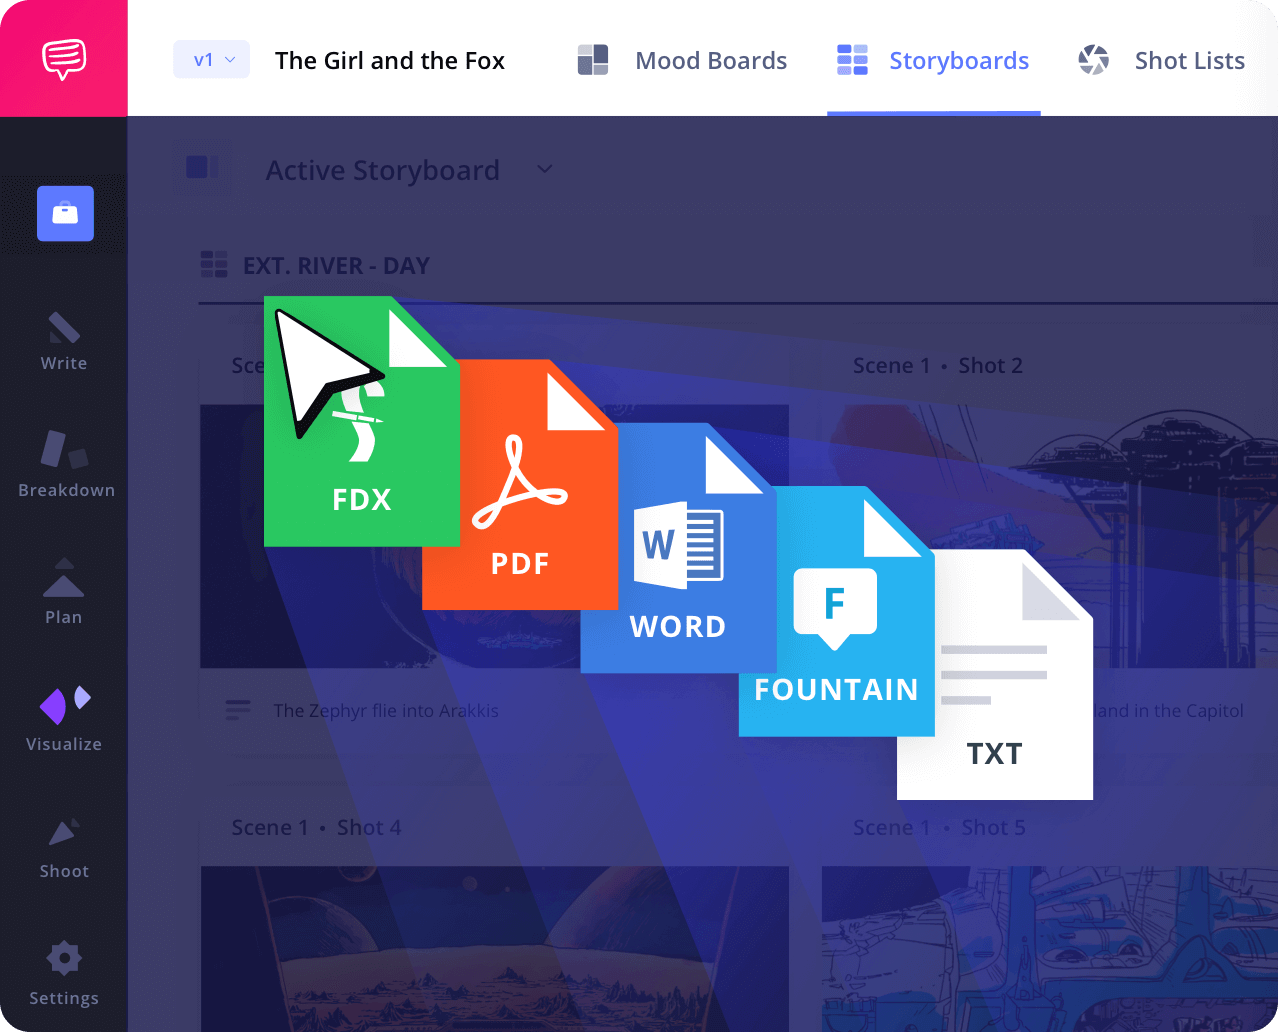
Generate storyboard with our script importer
Upload your script and automatically generate boards scene by scene. StudioBinder’s script sync makes it easy to create clean storyboards that align with your screenplay.
Shot Tagger
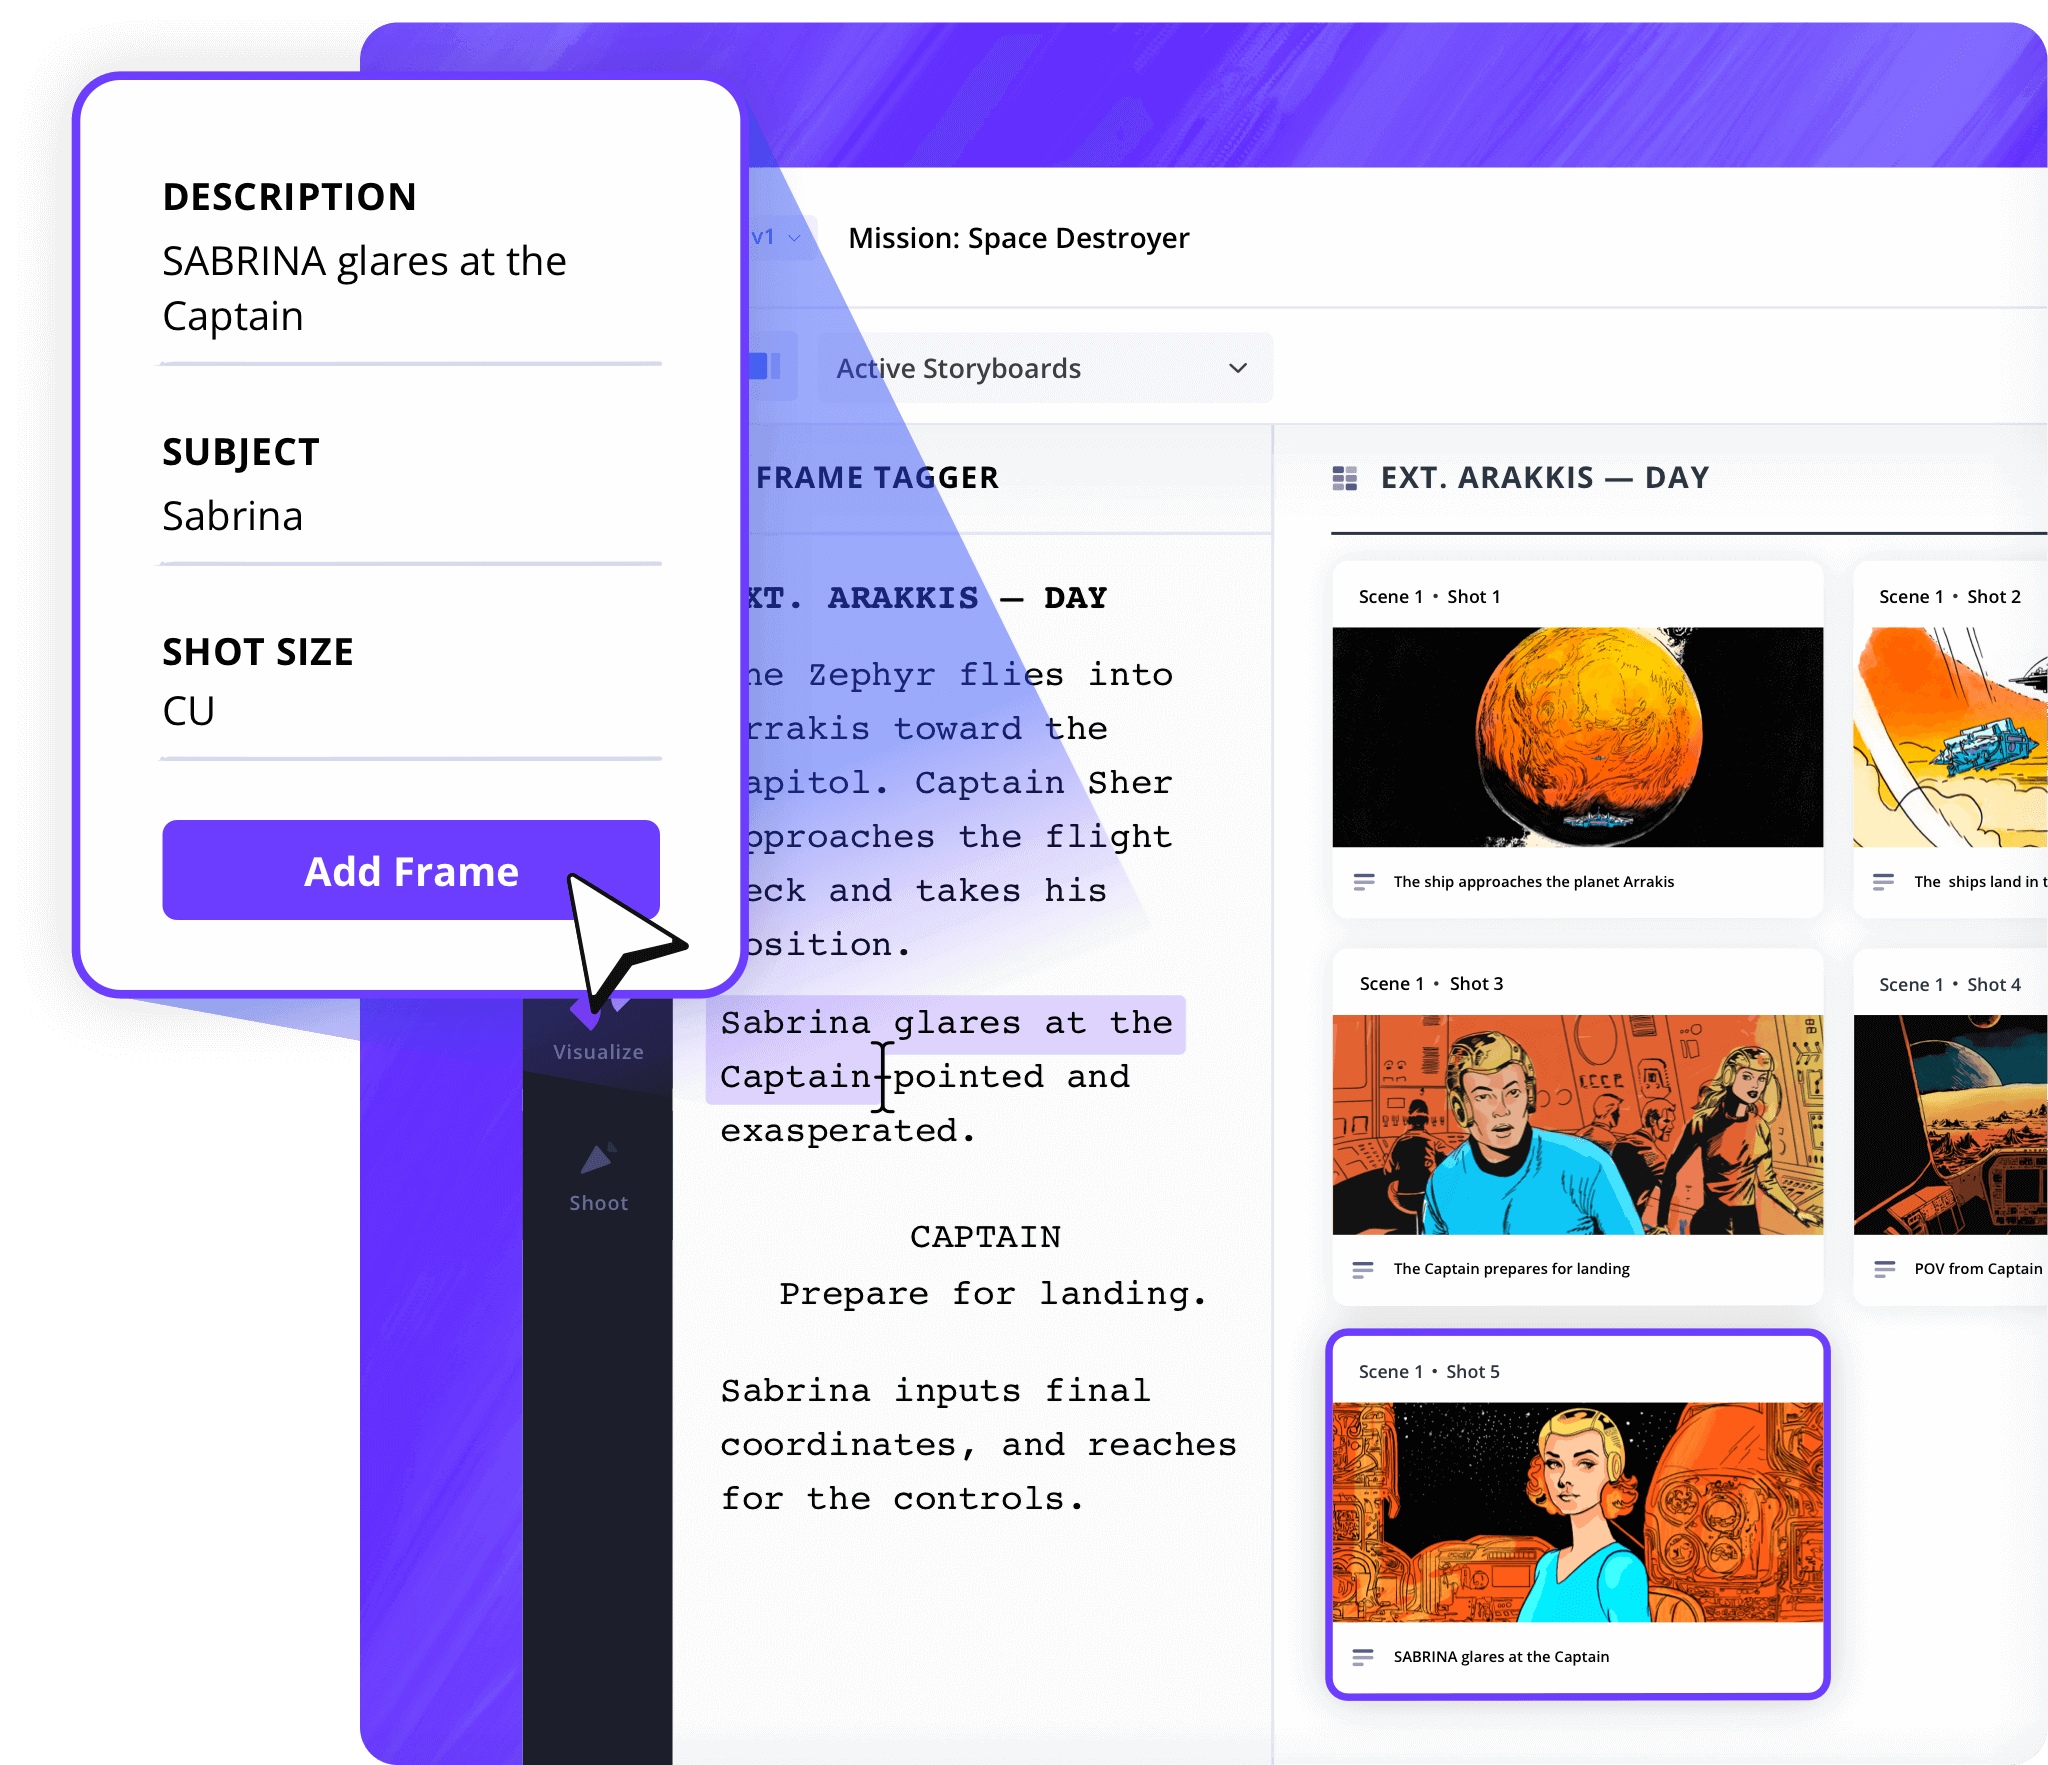
Add shots directly from your script
Add technical tags like camera angle, motion, or lens. As you build your visual flow, tags keep your storyboarded sequences organized and searchable.

Shot Specs
Customize your layout
Add specs like aspect ratio, lens type, and framing. You have full control to personalize your storyboards from top to bottom.
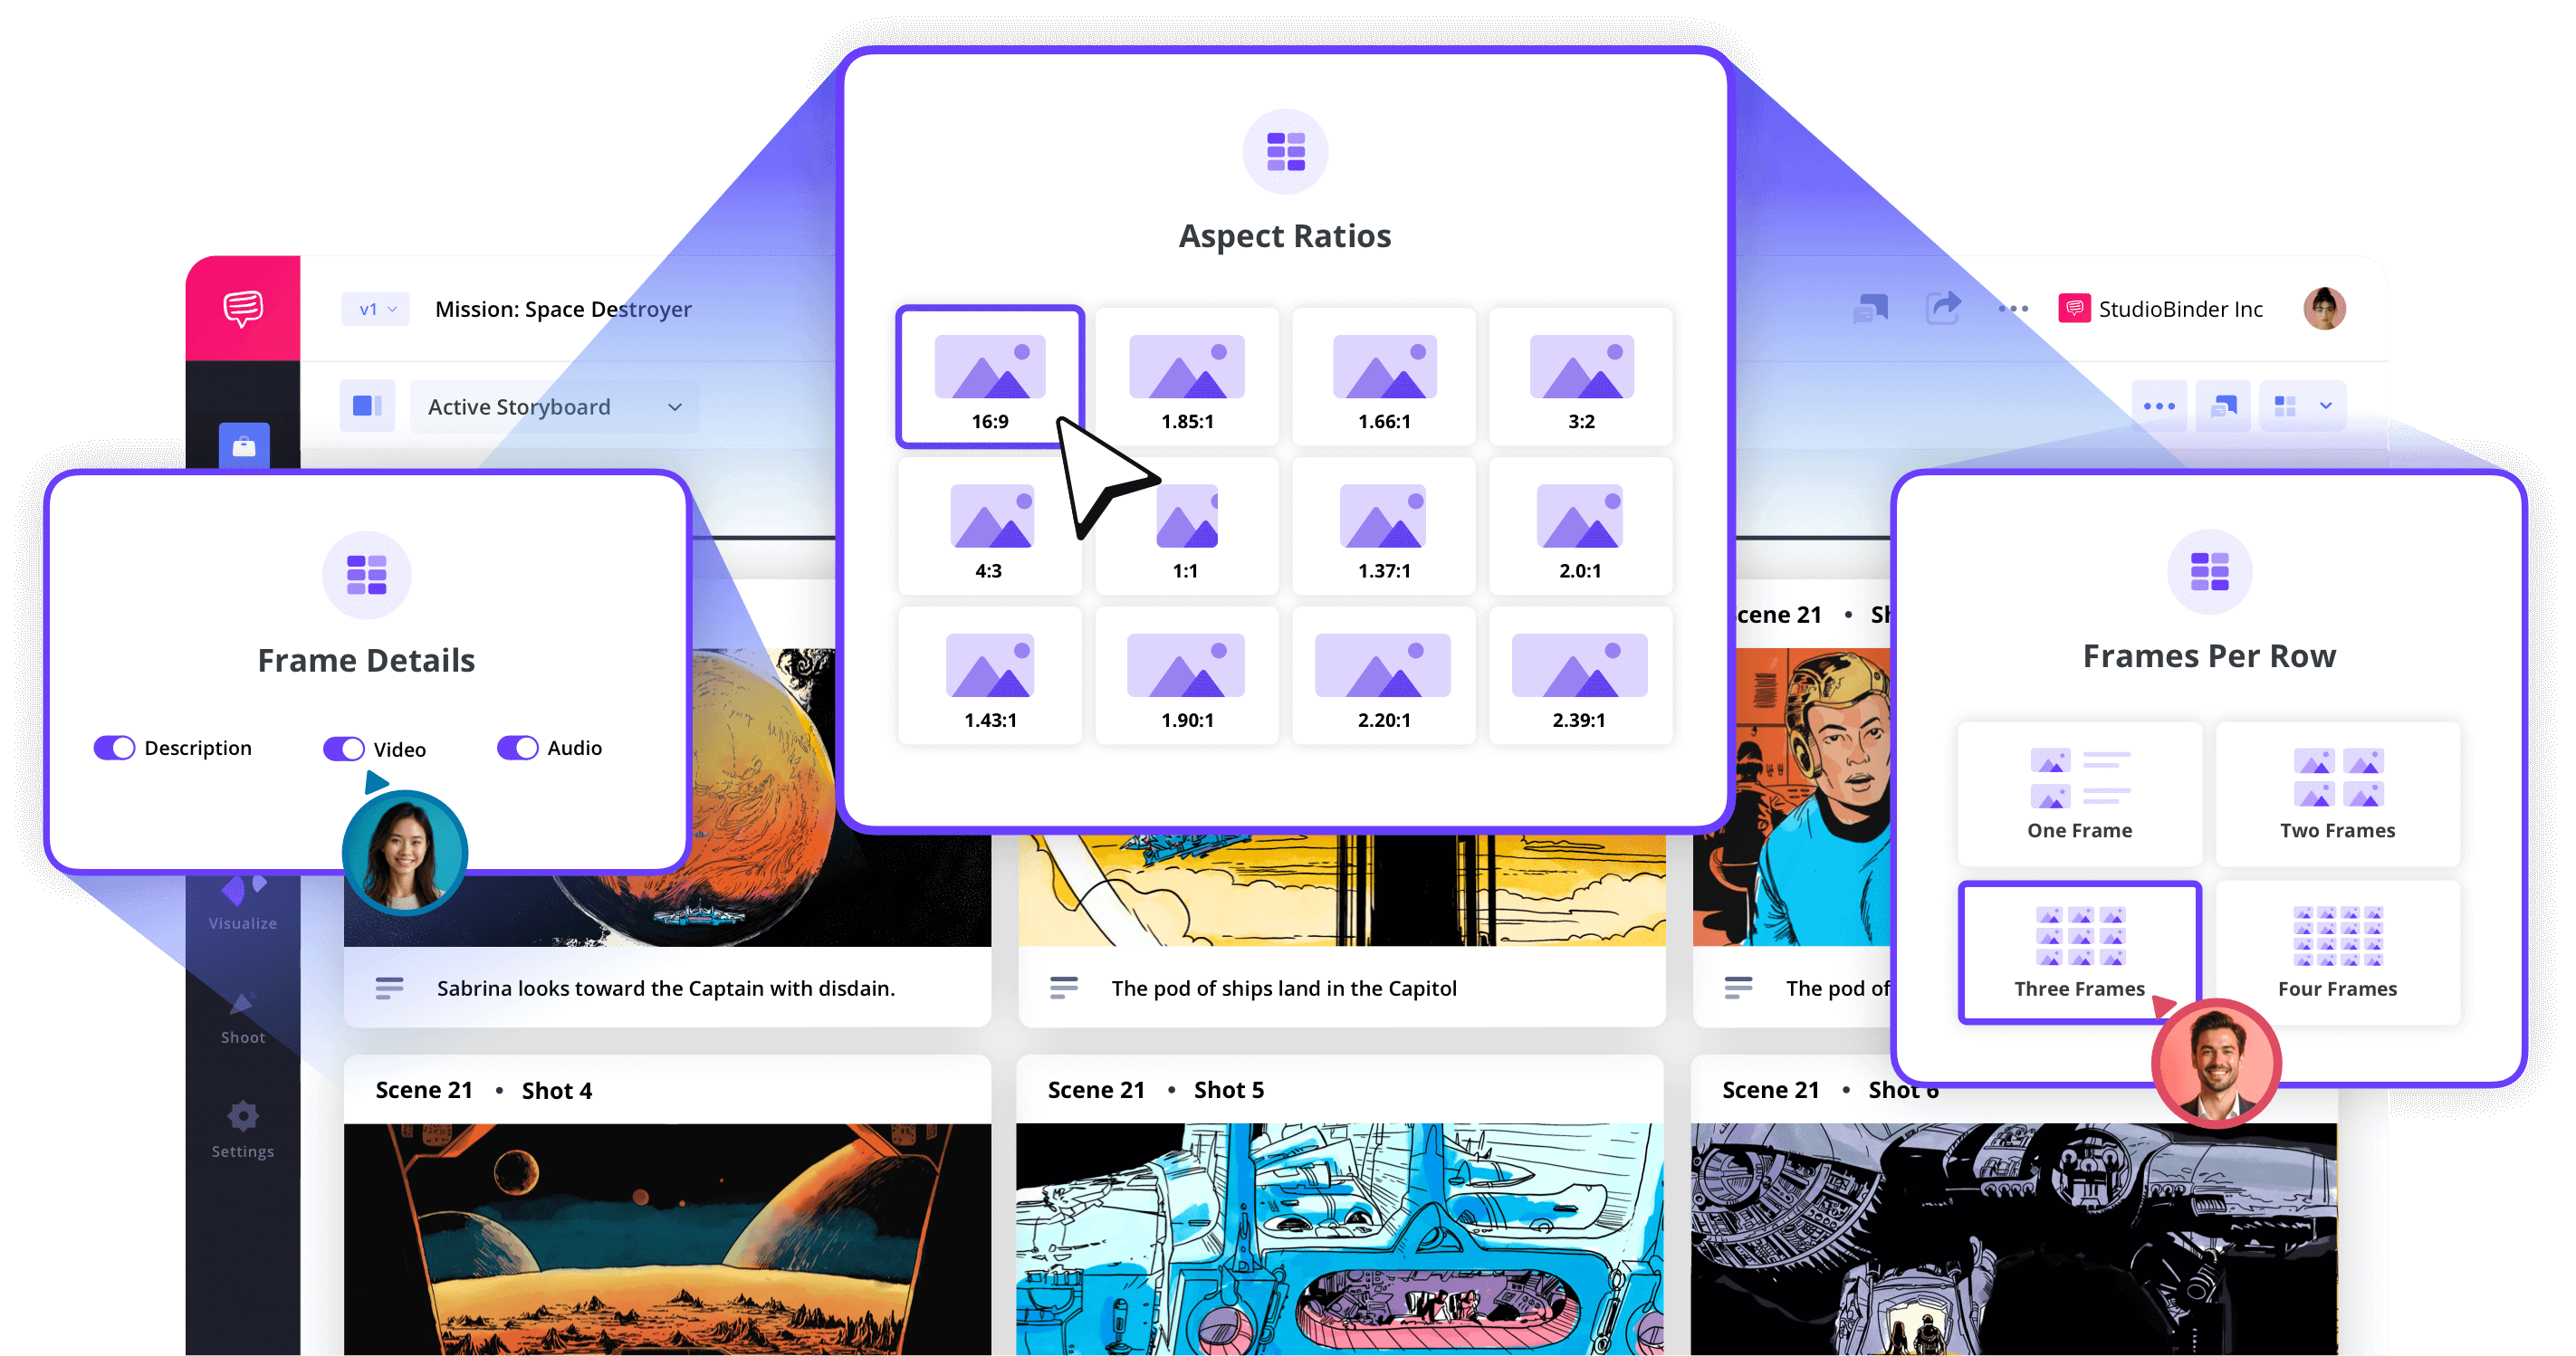
Image Editor
Edit images with our built-in editing app
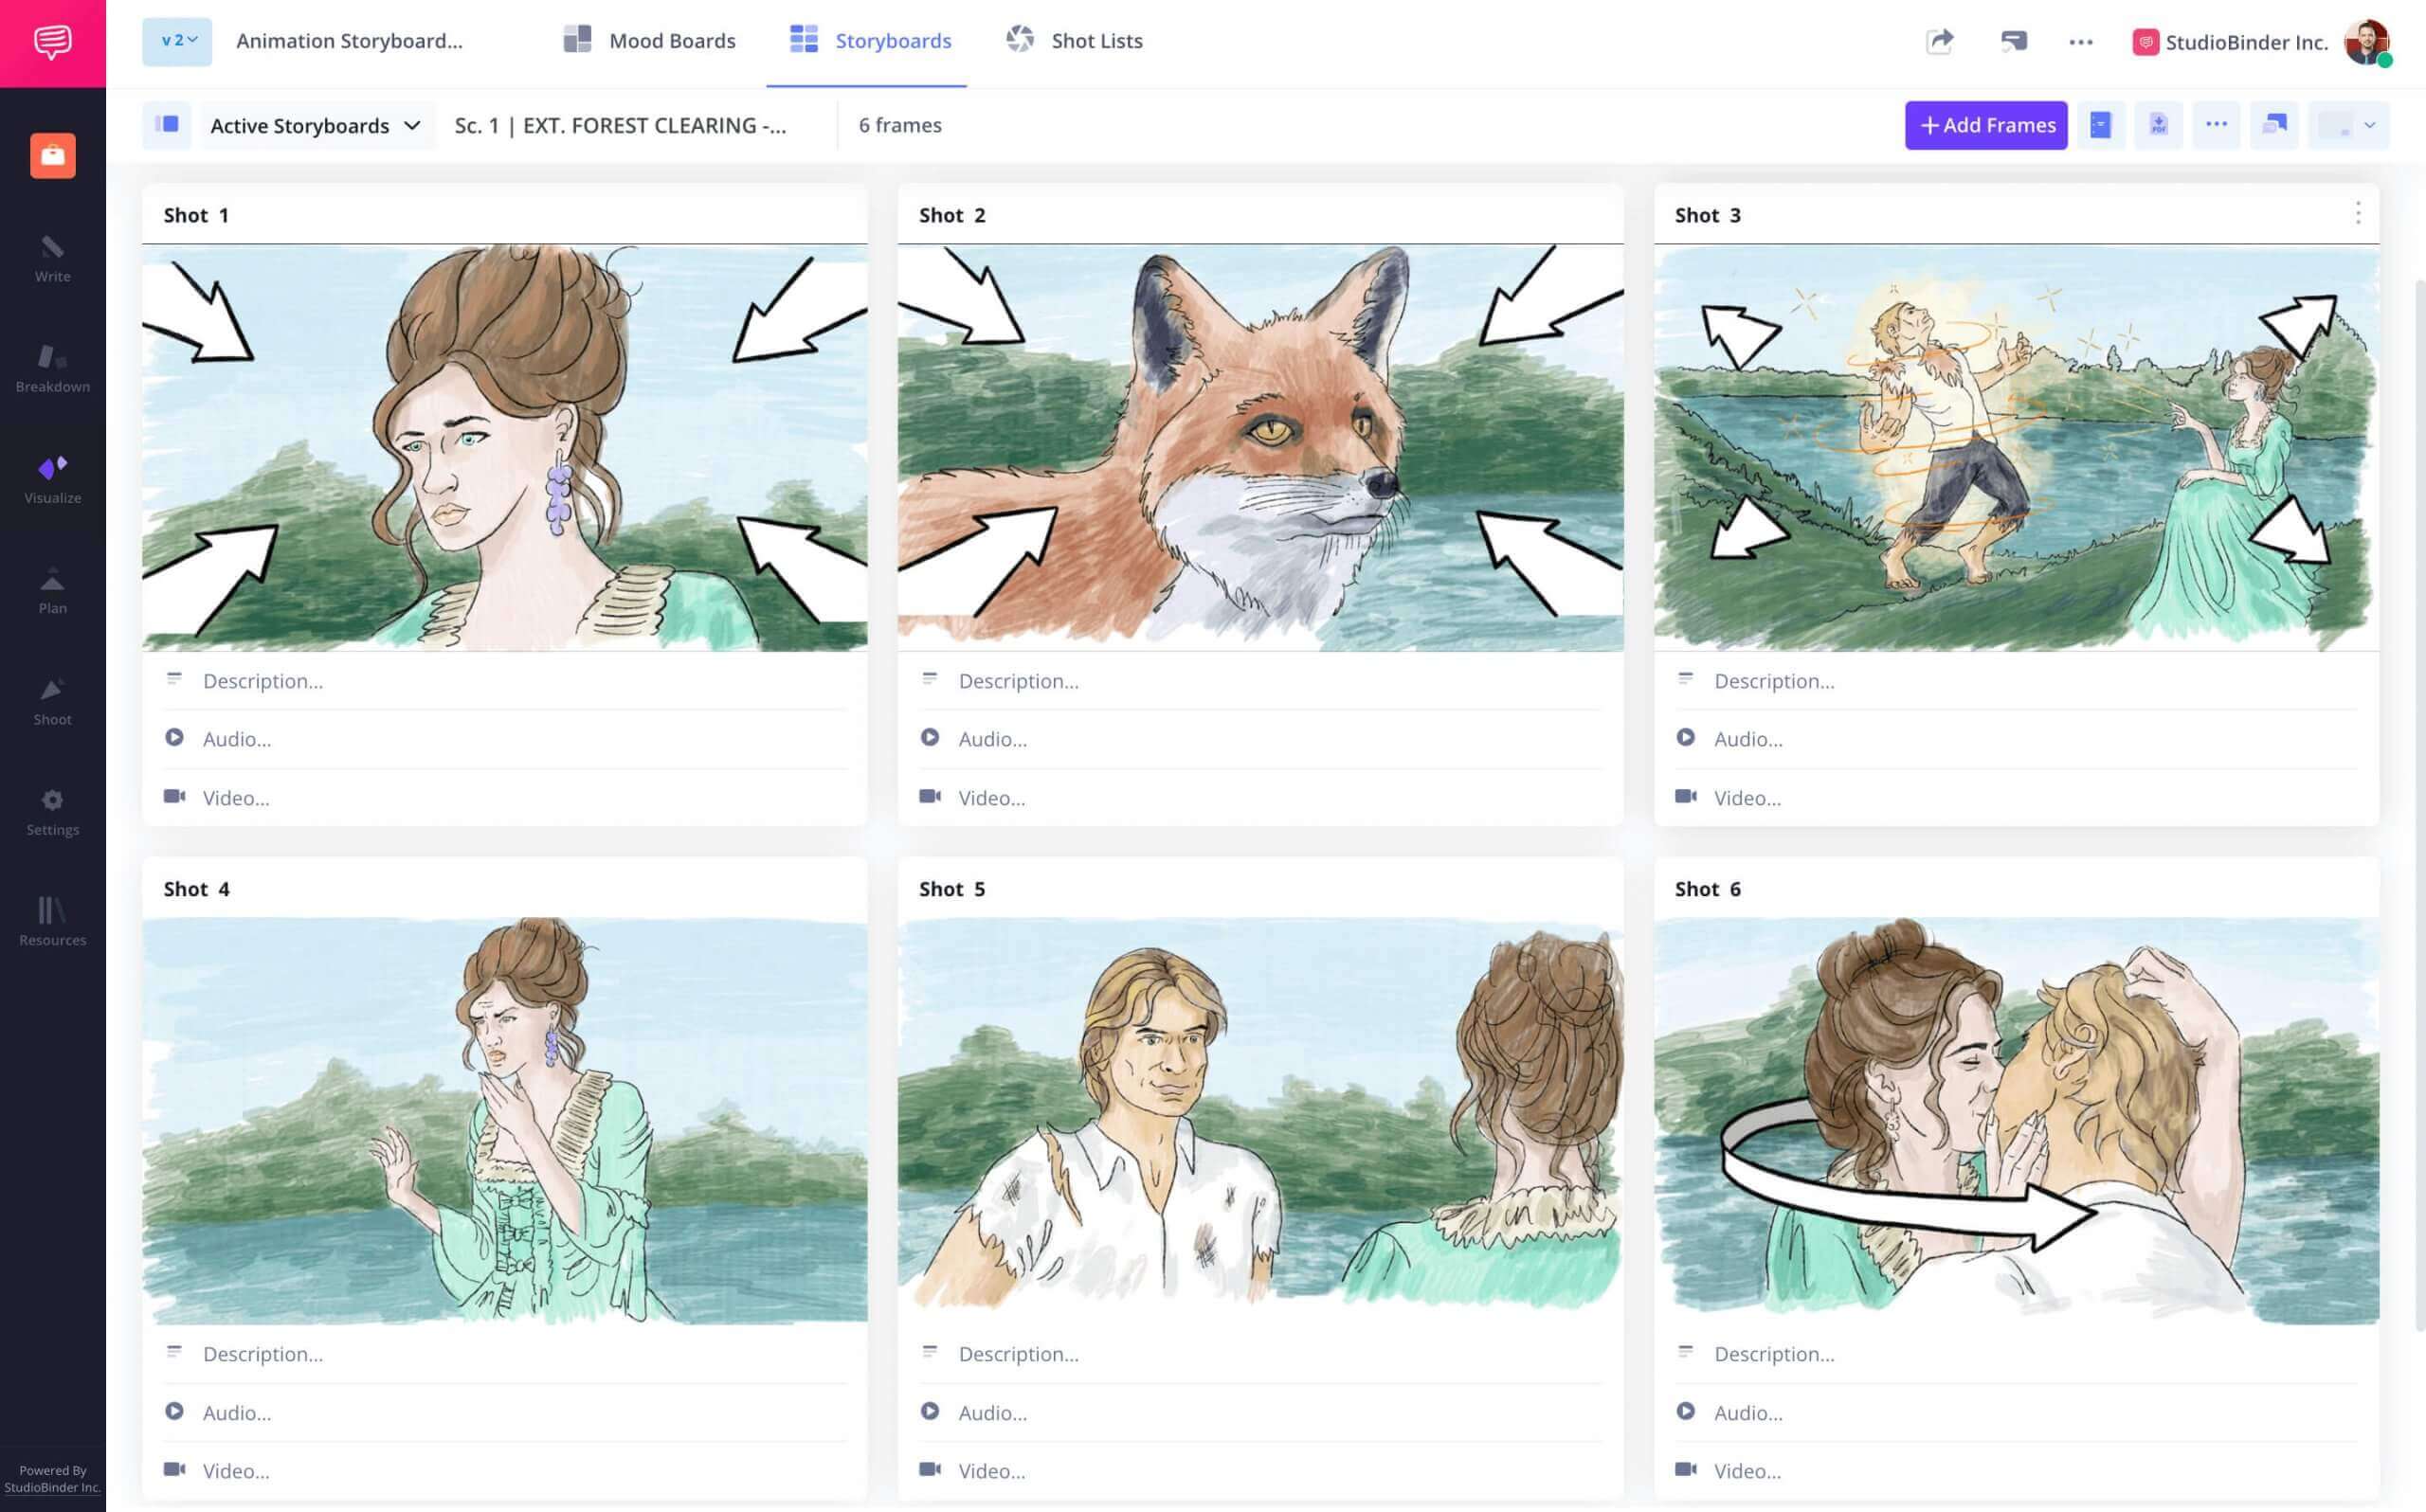
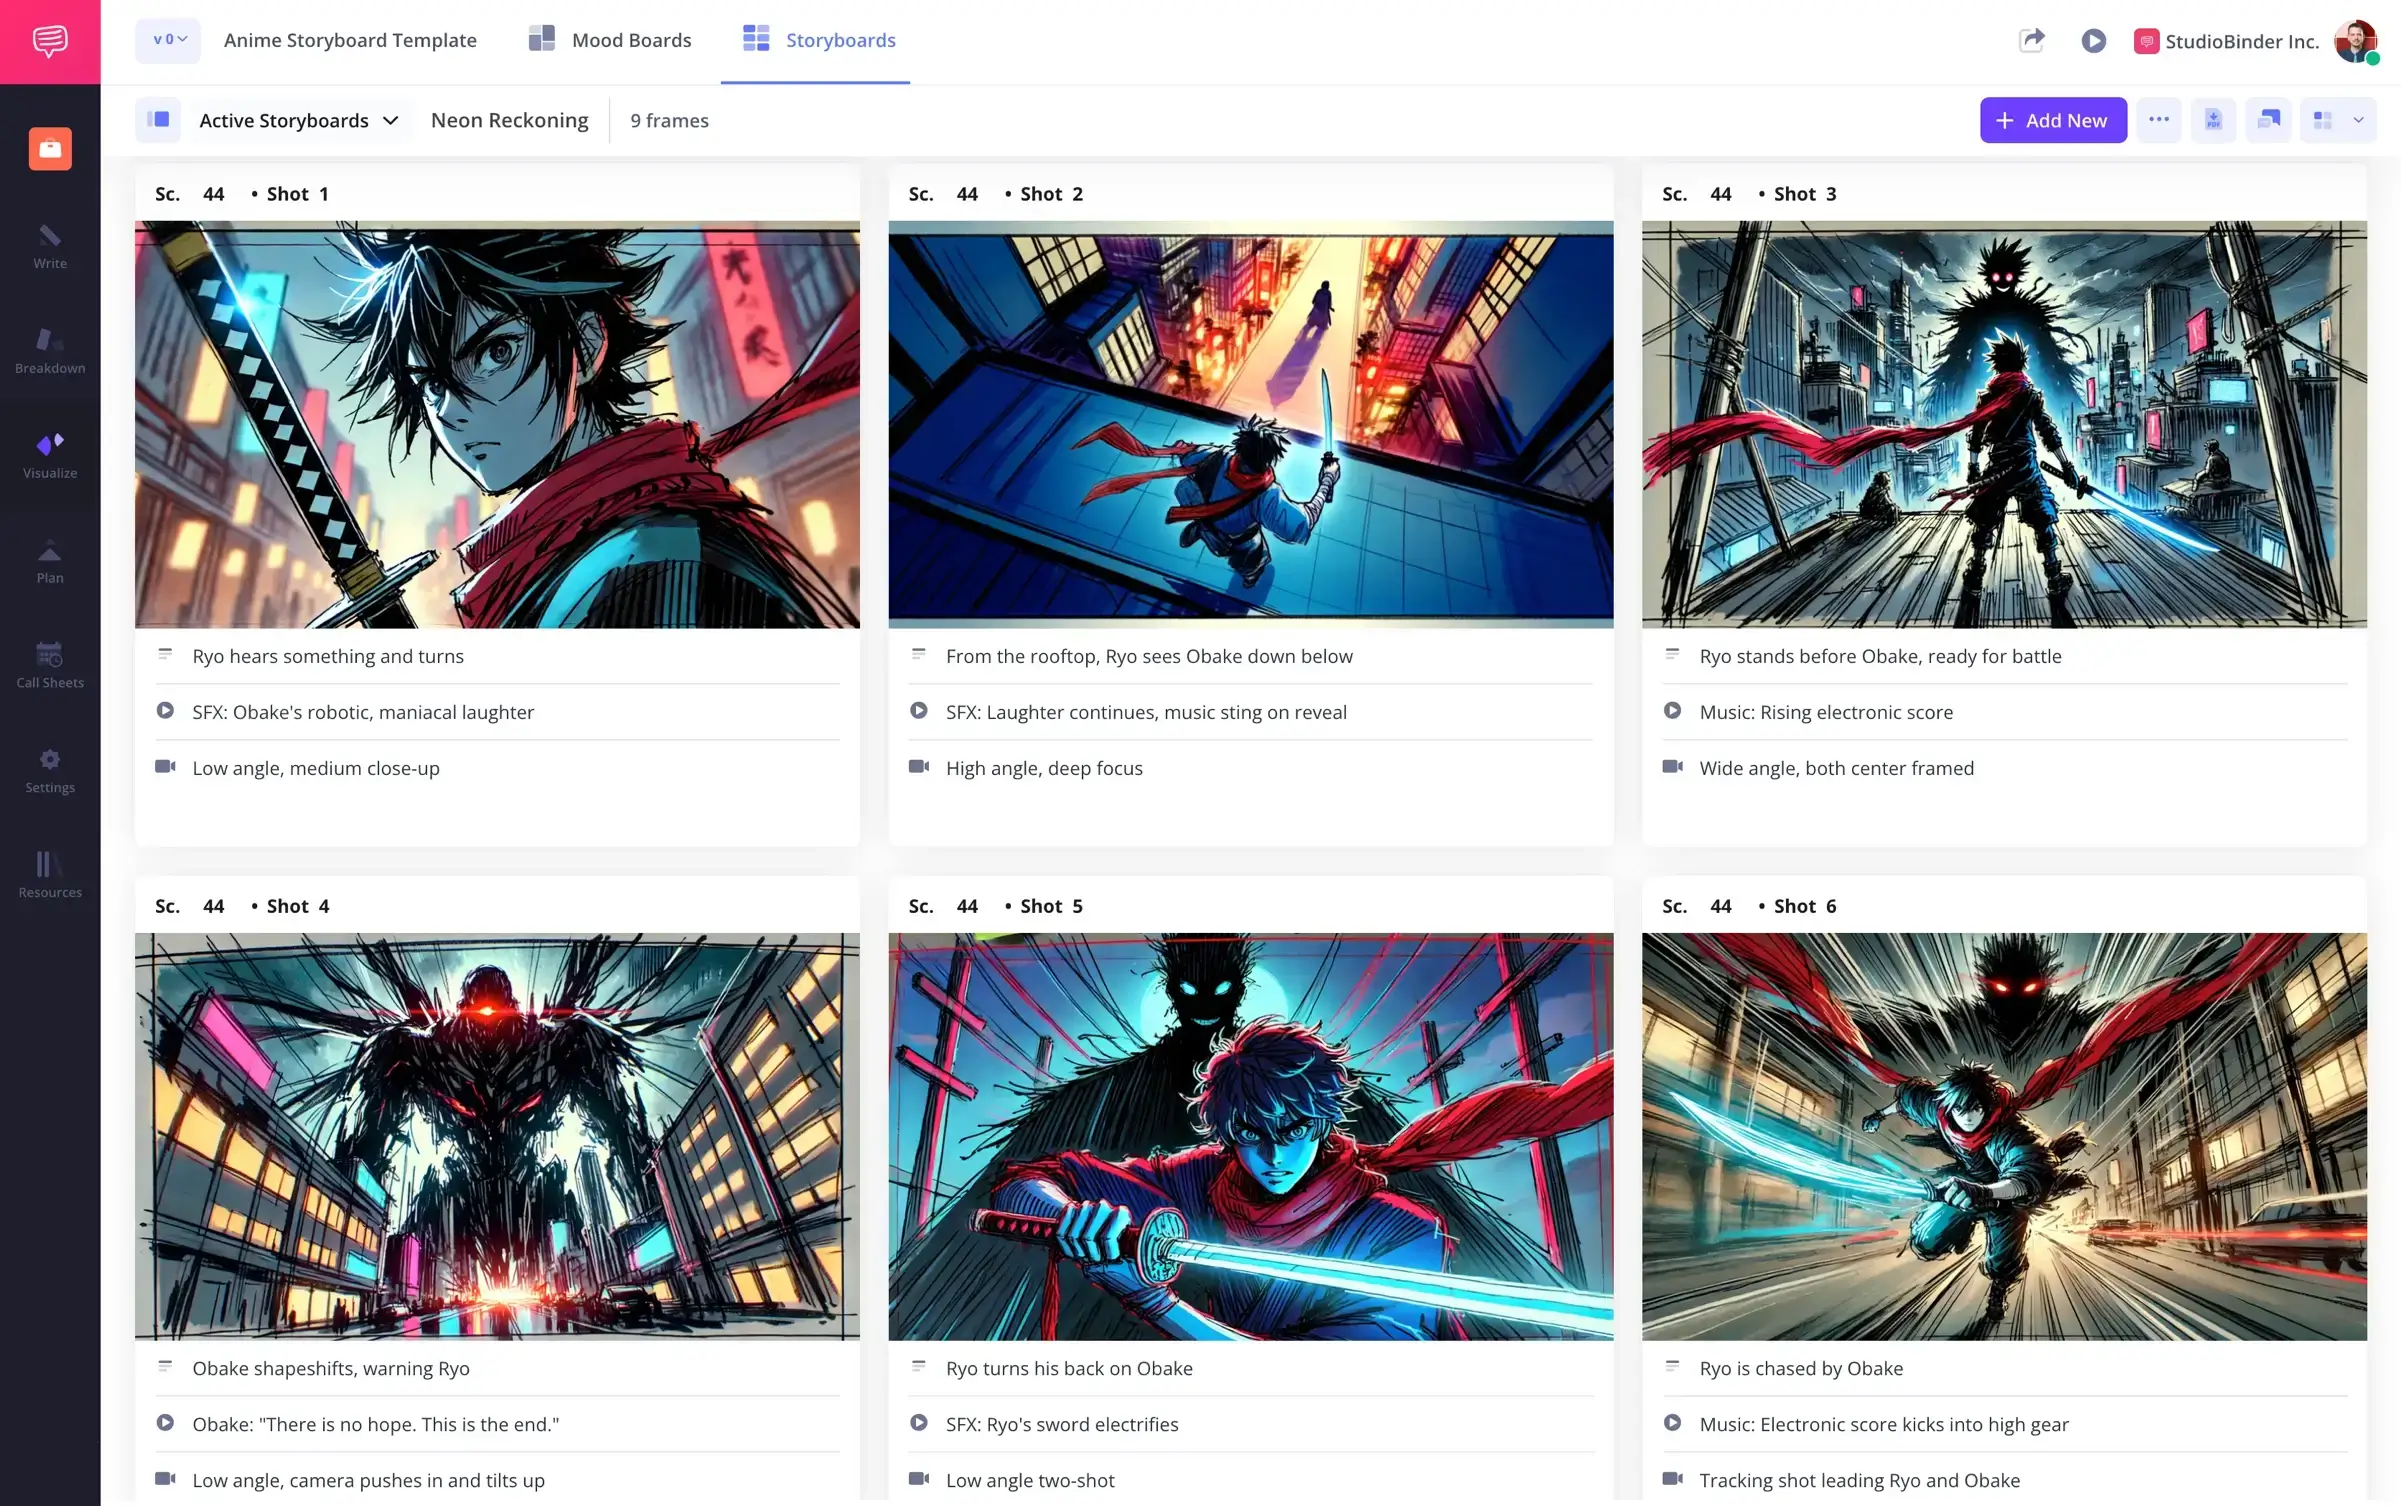
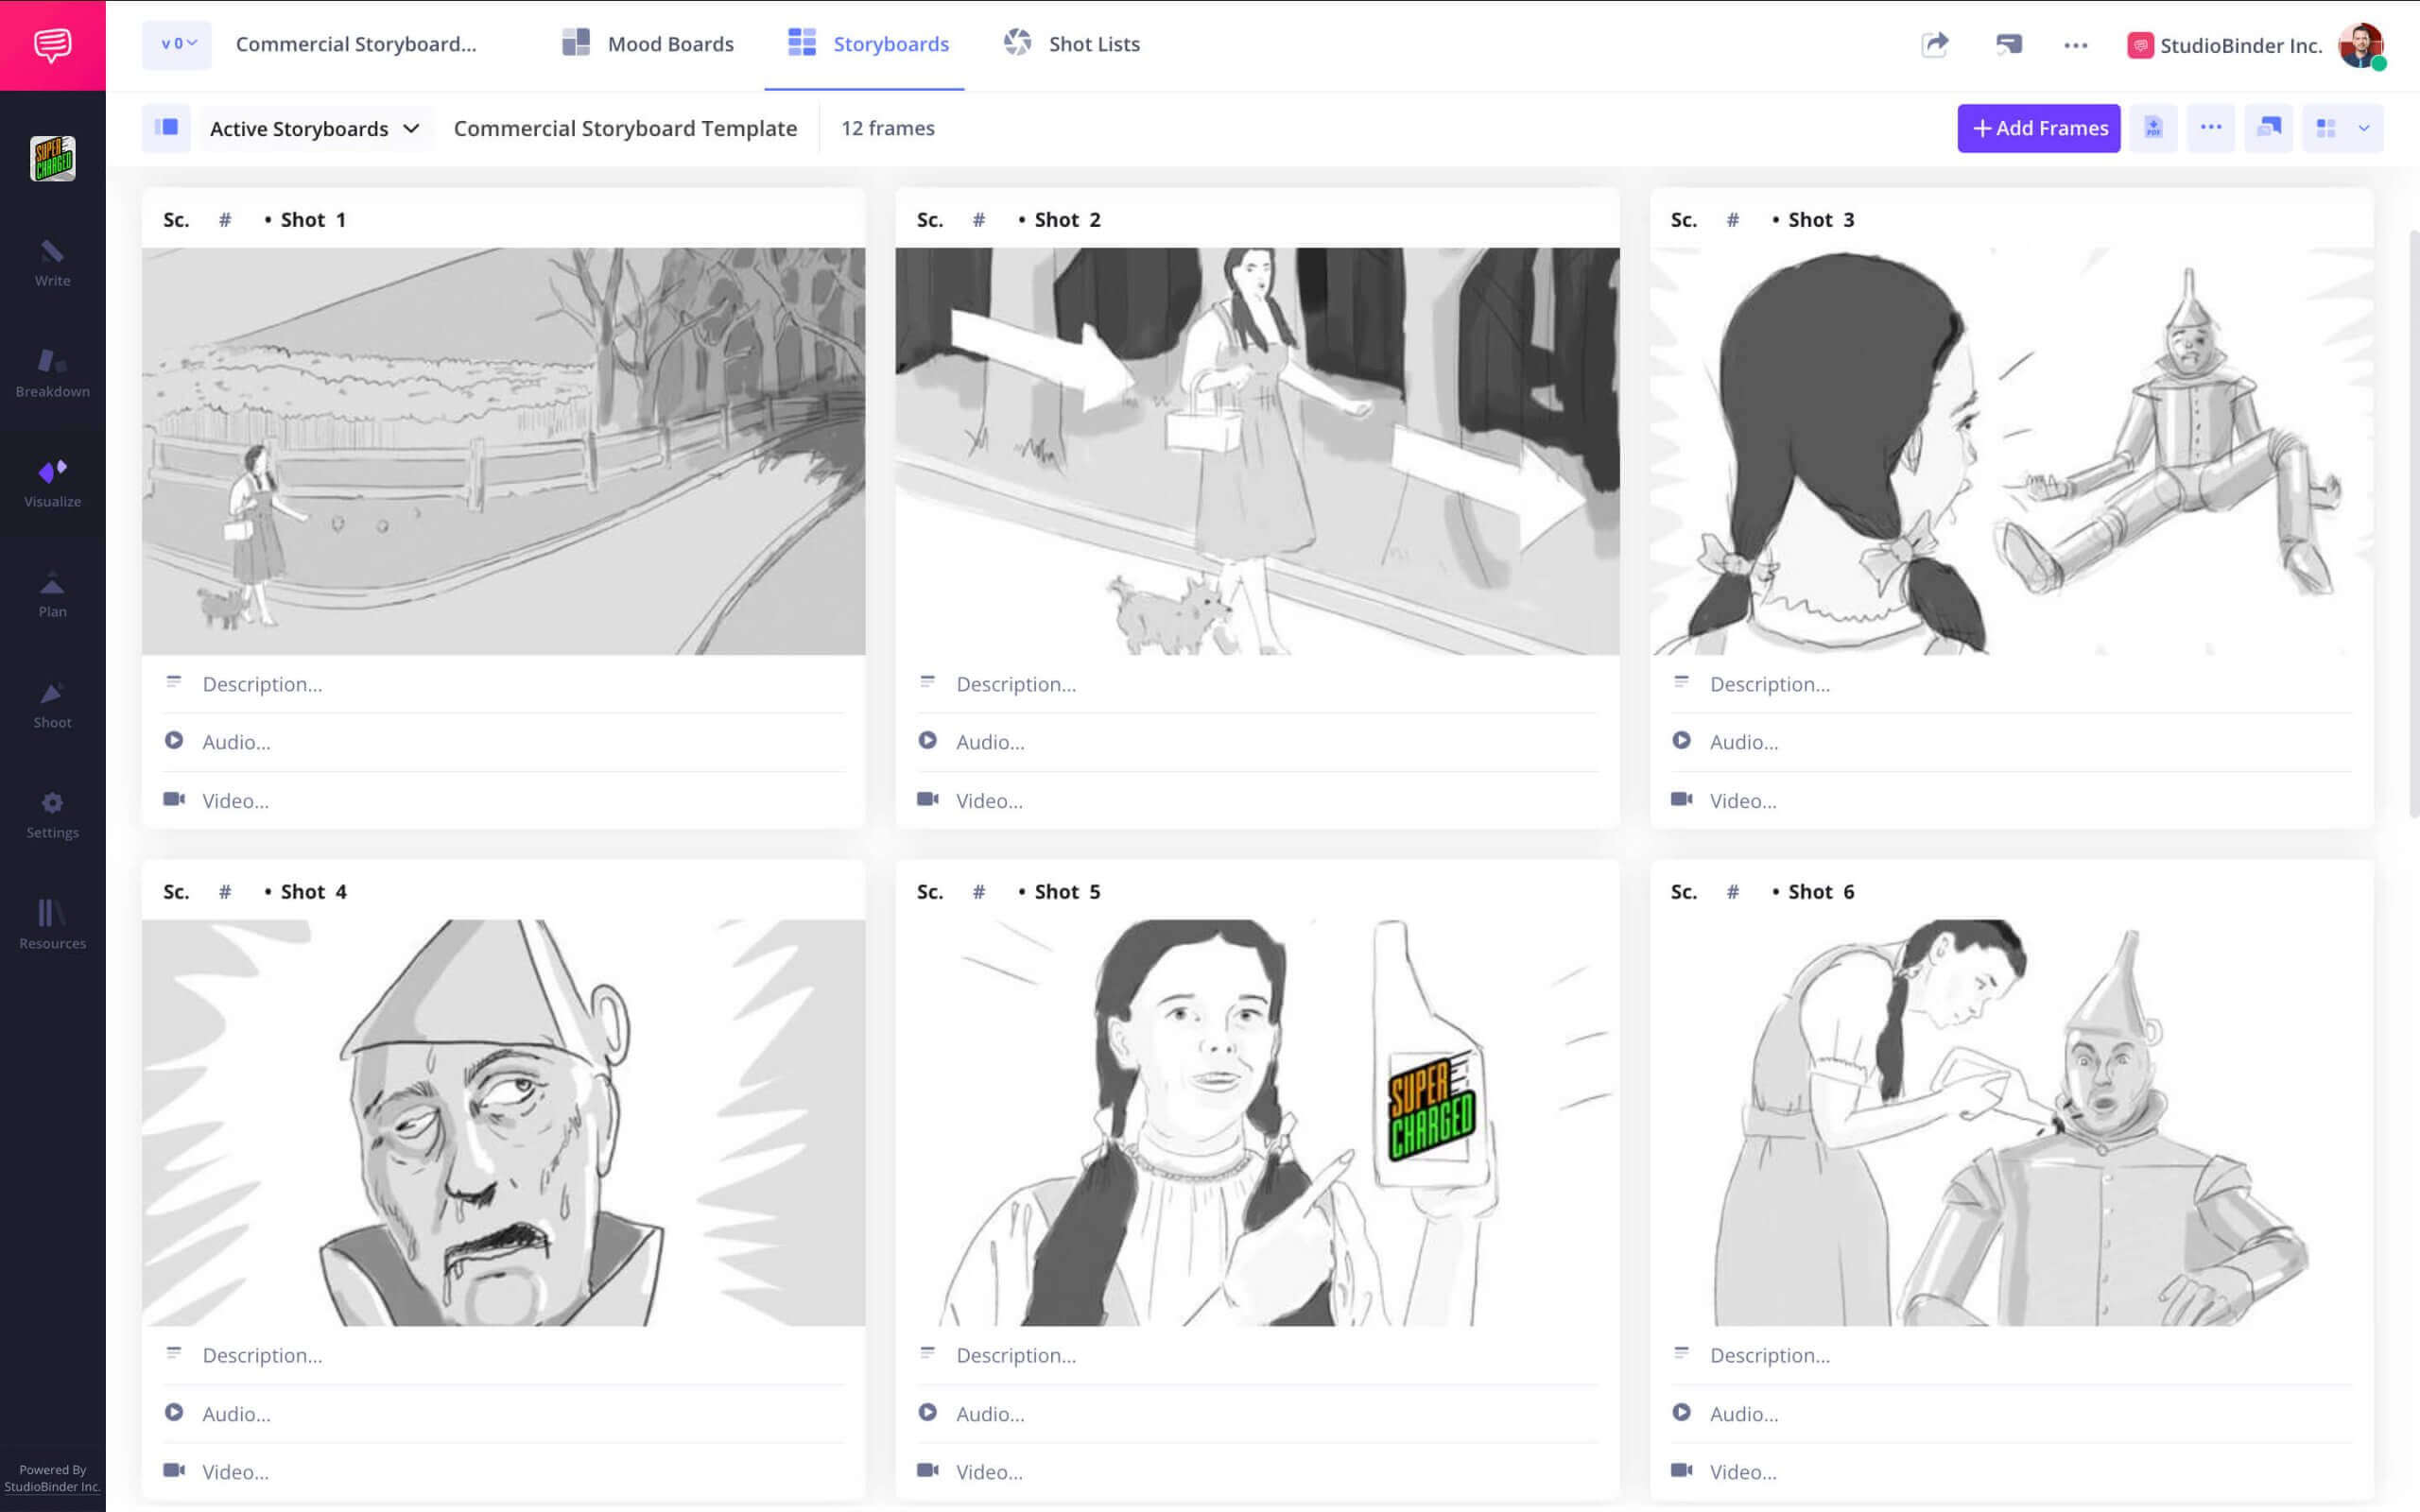
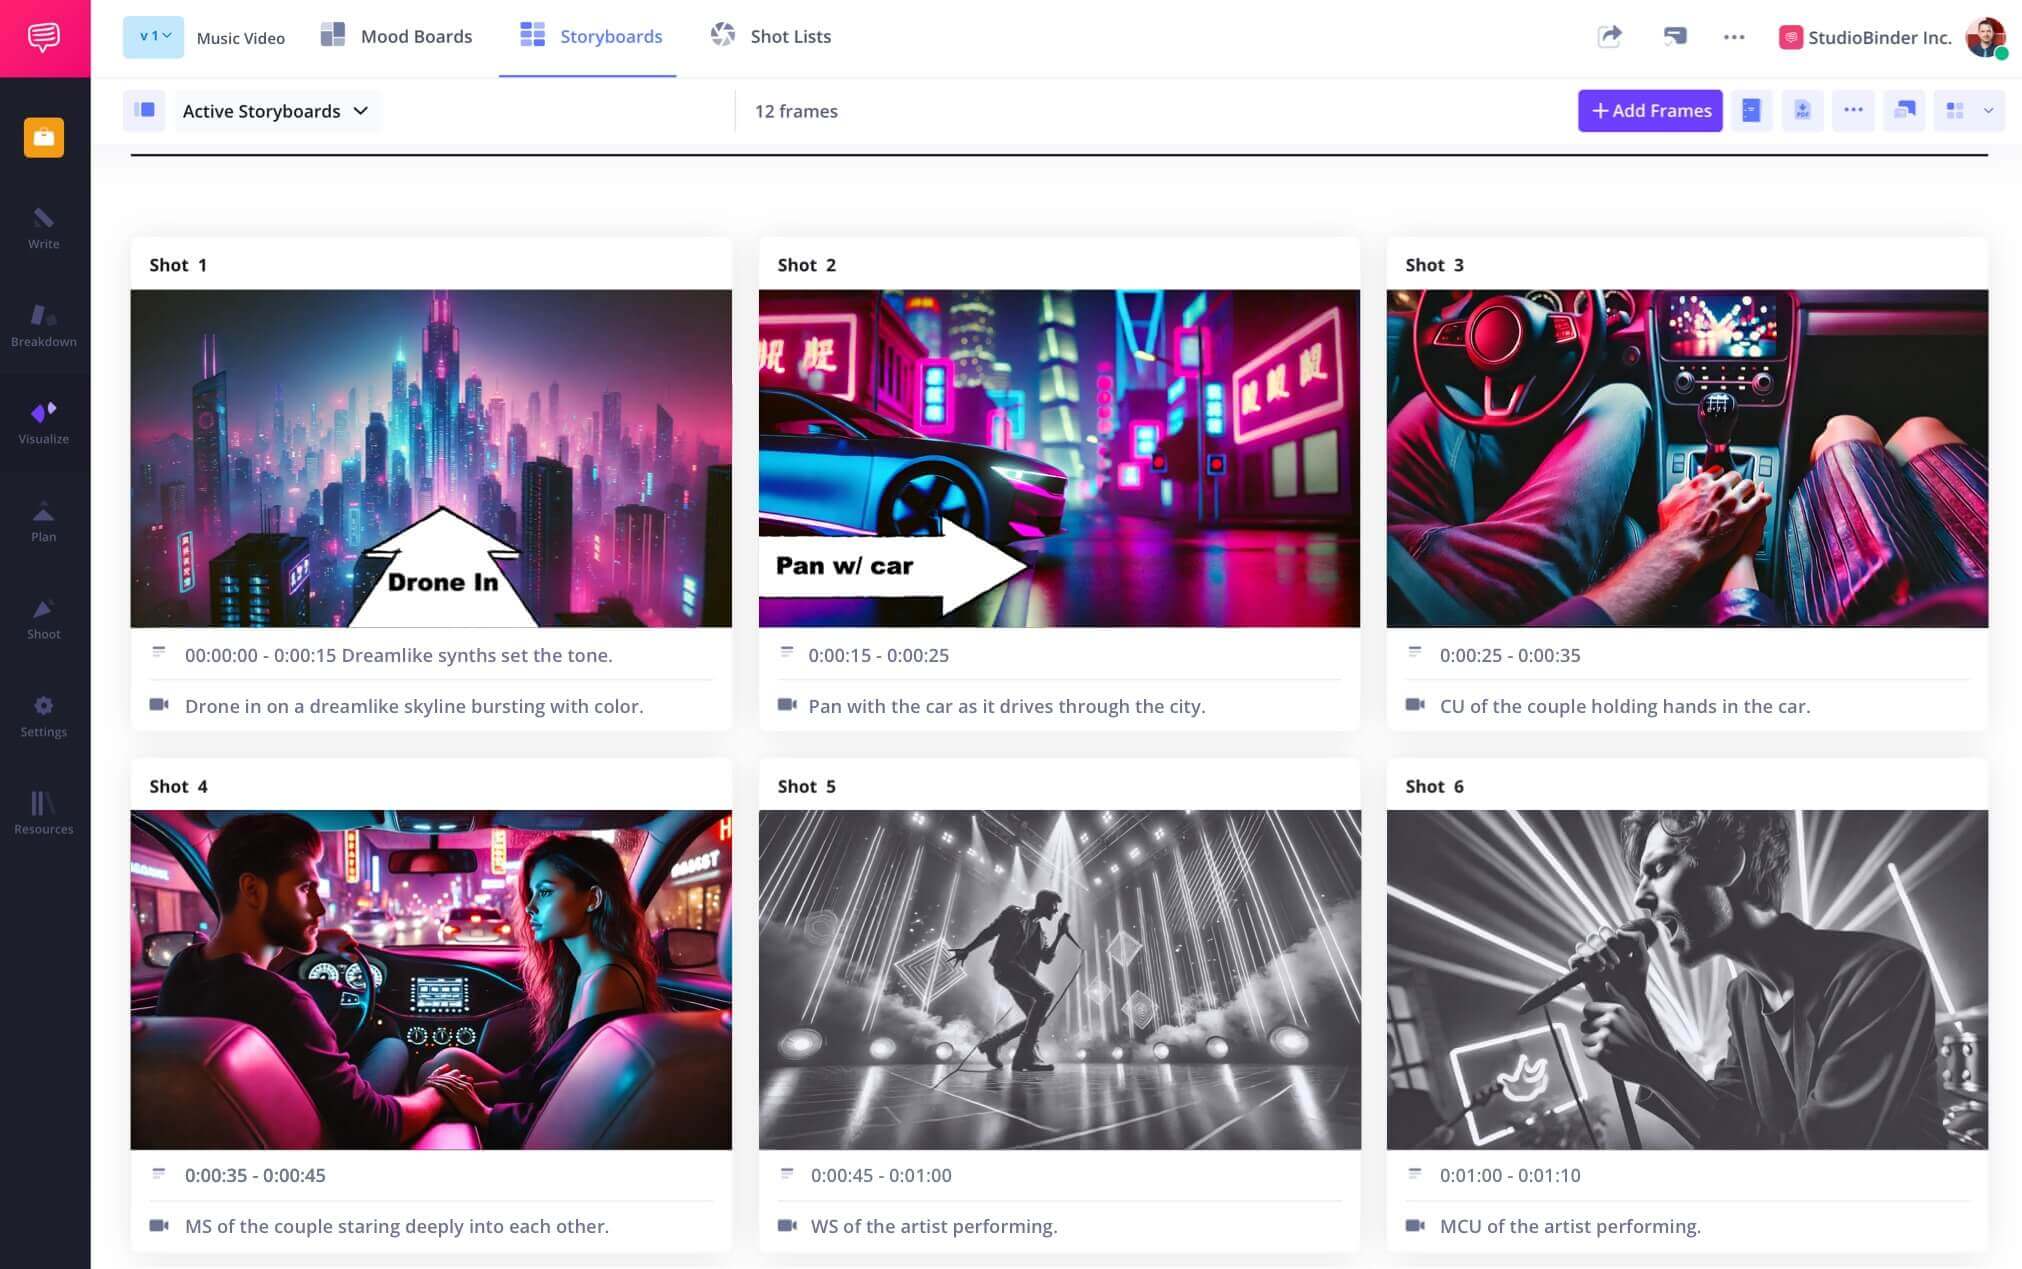
Upload images or sketches inside each panel. Use arrows, overlays, and labels to add clarity. And use our editing tools to dial your images into the perfect presentation.
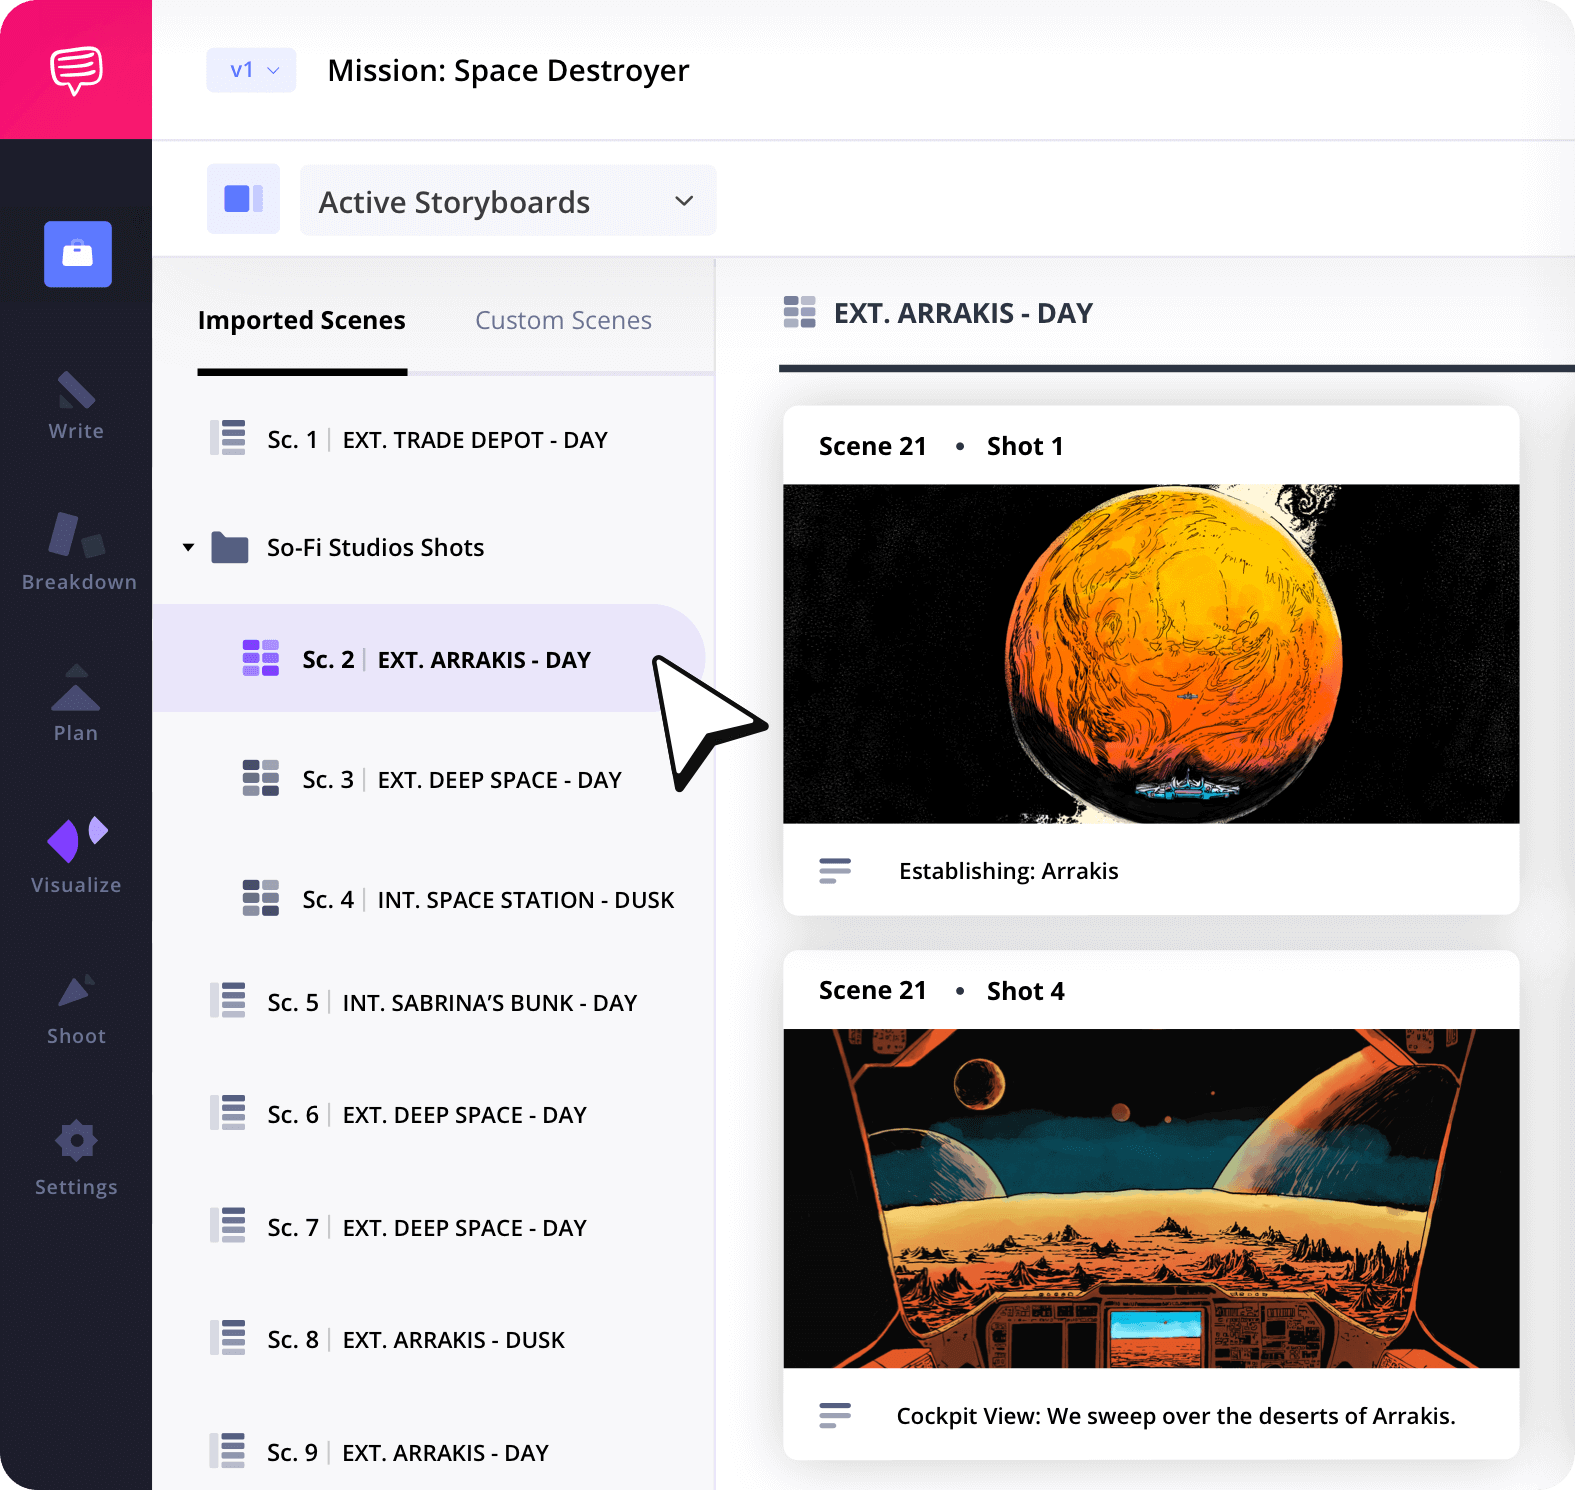
Storyboard Groups
Organize by shoot or location
Sort scenes into custom groups by shoot day, location, or sequence. Jump between scenes with a click and keep everything organized, centralized, and accessible.
Collaborate
Build together in no time
Invite your team to comment, upload visuals, or adjust boards. StudioBinder is flexible enough to support solo artists or full production teams working in a shared visual flow.
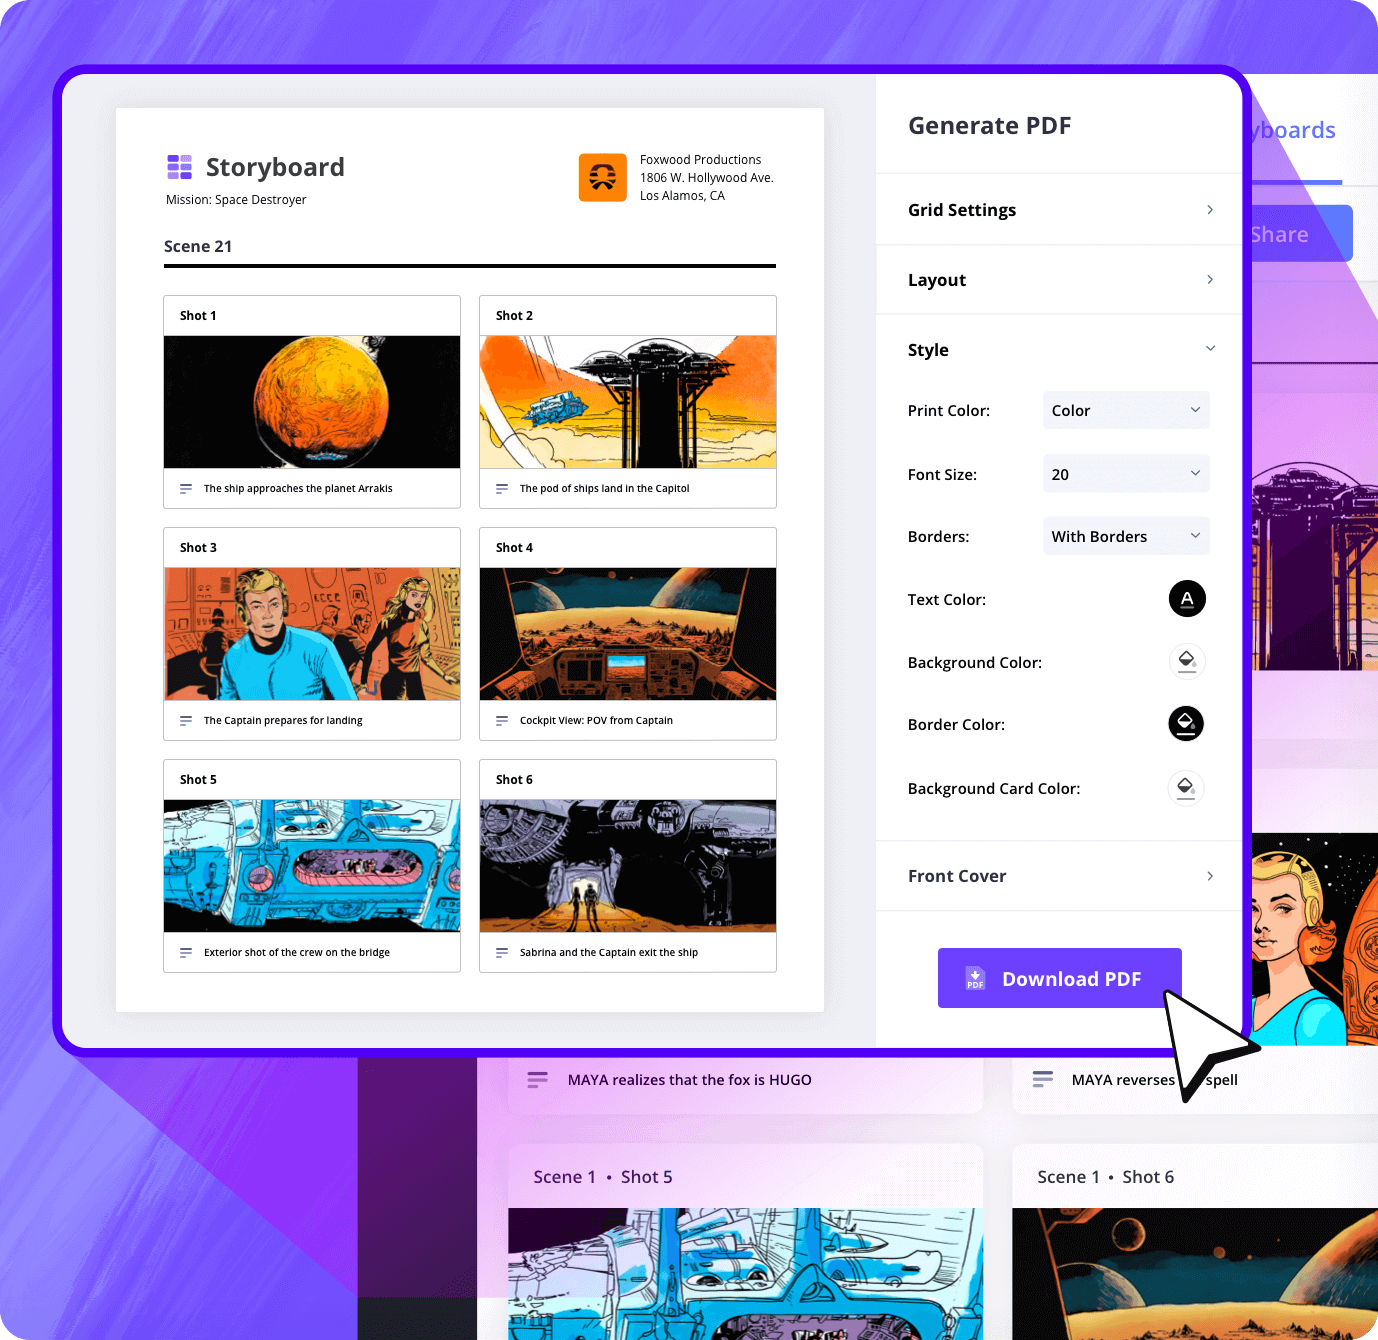
Customization
Format boards before export
Adjust layout, add covers, tweak spacing, and apply branding. StudioBinder gives you pro storyboard tools for any creative project and any pitch situation when you need to wow your audience.
Sharing
Shareable links to your storyboards
Once ready, share your storyboard in one click. Viewers and collaborators don't even need their own StudioBinder account. Now you can get feedback from anyone at any time.
Explore Features
More storyboard features
Aspect Ratios
Choose an aspect ratio that best suits your project.
Column Layouts
Adjust how many columns your storyboard will have.
Image Library
Reuse storyboard panels from previous projects.
Shot Numbering
Choose between digits, letters, or a custom shot numbering.
Storyboard Archive
Archive old storyboards to keep an accessible history.
Color-Code Shots
Label or call out specialty shots with colors.

What are the 8 steps in storyboarding?
Open StudioBinder on your browser.
Click on the Storyboards tab on the project homepage.
Choose to either import a script or create a storyboard manually.
Name the storyboard, set the aspect ratio, and select the number of frames.
Add an image to each frame from the Media Library or upload new images.
Edit your images with a suite of tools, including filters, text, and arrows.
Enter details, including the scene number, description, and notes.
Create a custom PDF, send a view-only link, or invite collaborators for feedback.
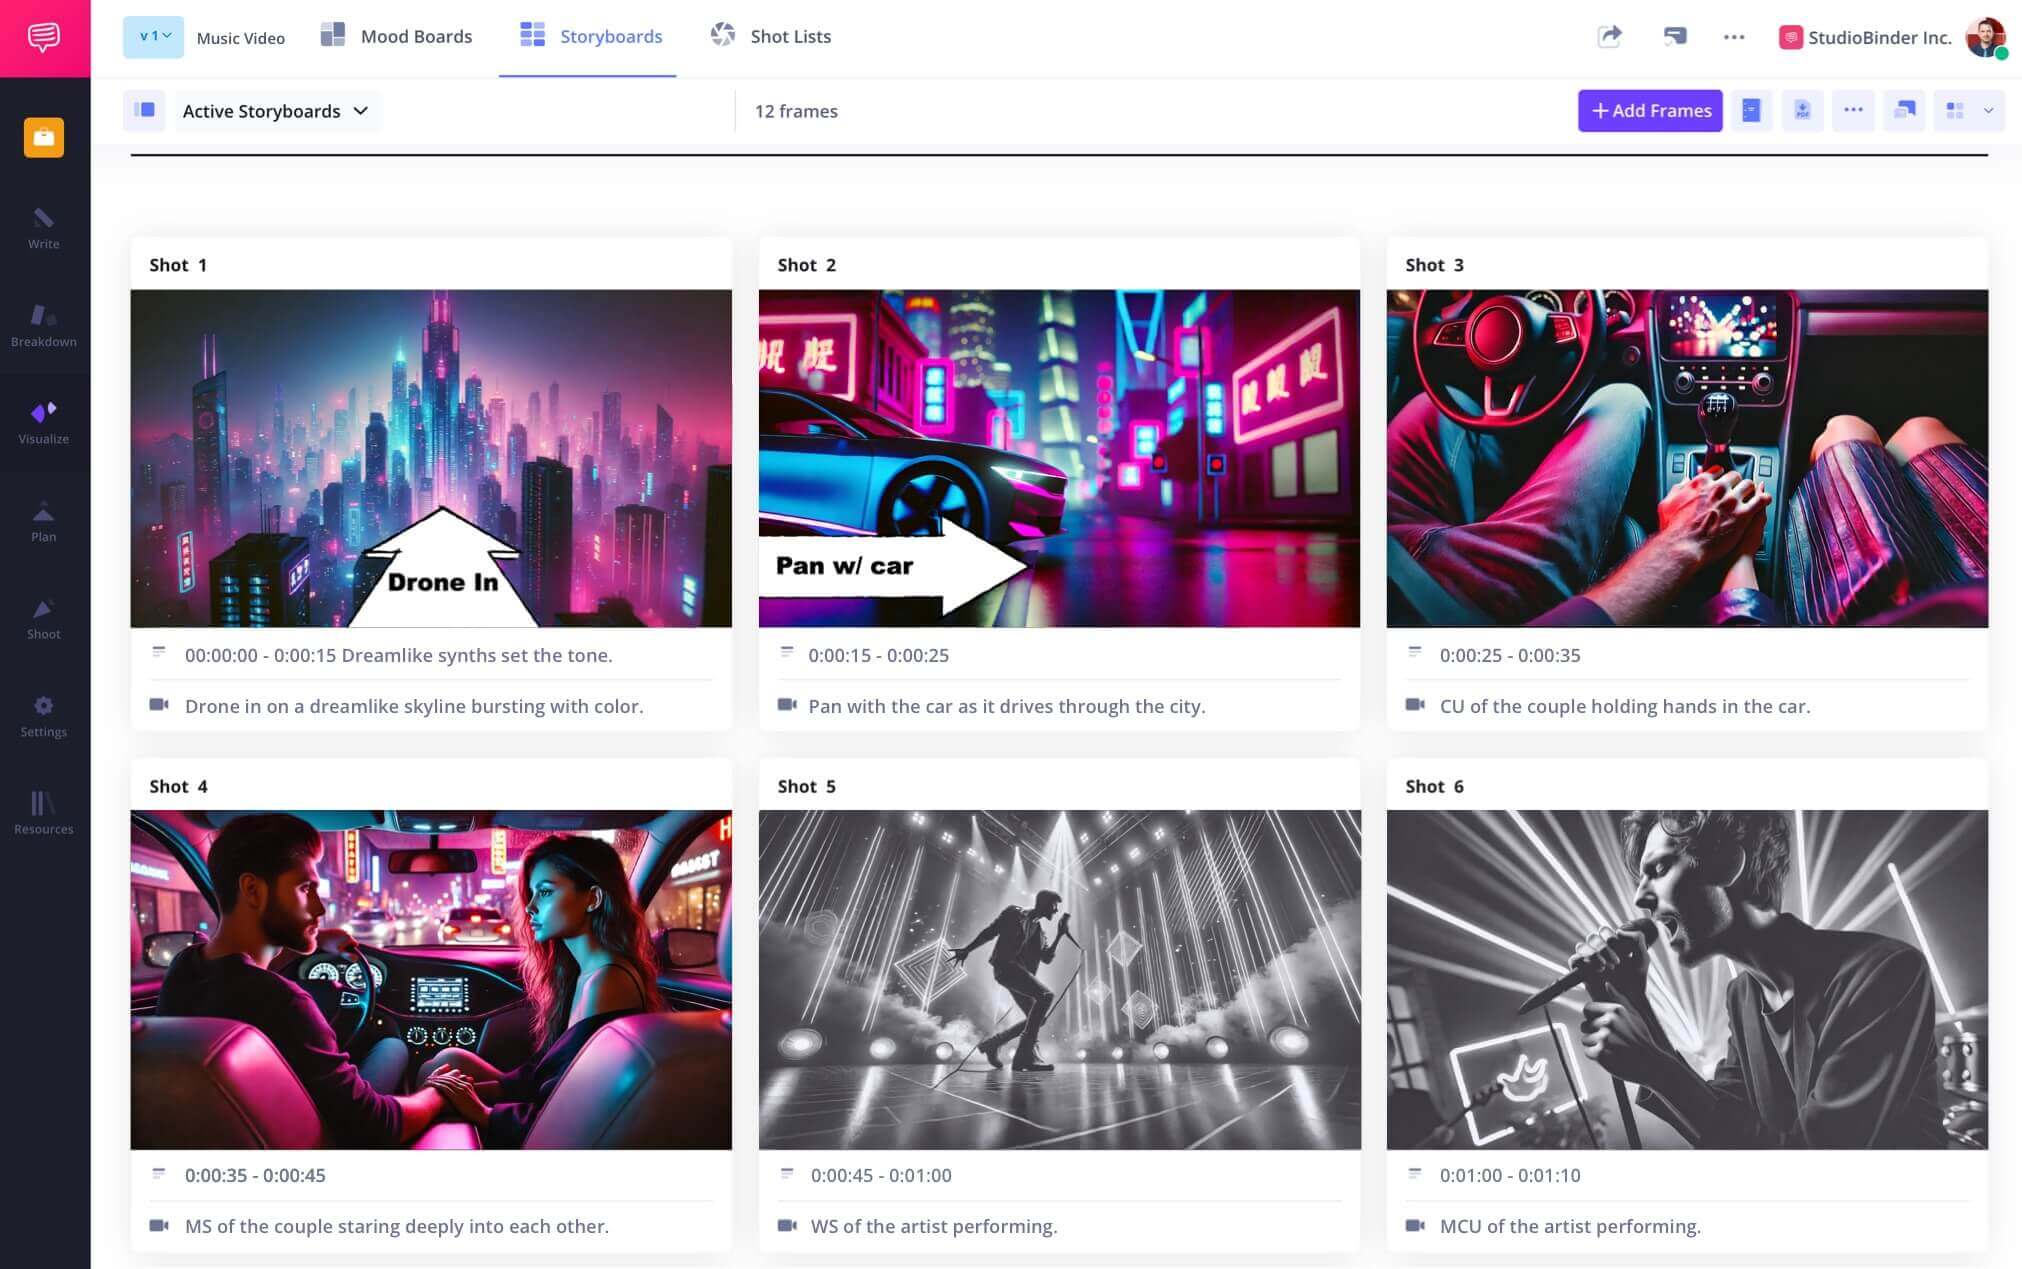
Frequently Asked Questions
Your questions, answered
The best storyboard tool includes features and functionality that are specifically designed with professional storyboard artists in mind. In StudioBinder, you have full editing control over the image to dial in your precise vision, including adding text, arrows, filters, and more.
When you set out to make your storyboard, there is a lot of freedom in how you go about it. That being said, here are some basic storyboarding steps you can follow.
- Read your script and think about what shots would be best
- Start with a blank storyboard template
- Add your images (either hand-drawn or digitally created)
- Label your images with scene and shot numbers
- Include a description for each shot for context
- If there is camera or character movement, insert arrows to indicate that
- Assemble your completed storyboards in story order
The two main methods for storyboarding are with hand-drawn images on paper and digital storyboards with images found online or using AI images. Either one will fulfill the necessary function of the storyboard; it just comes down to your preference between the two.
A reverse storyboard is the process of storyboarding an existing project after it's been shot and edited. For example, watching a scene from Batman and storyboarding it yourself. But why would you do this? First, it's a great opportunity to practice making a storyboard, but secondly and most importantly, it allows you to study how the scene was constructed.
A storyboard template is a document or digital file that has blank storyboard frames and lines for descriptions already completed. Then all you have to do is fill in the images and write out the text.
At a basic level, the one thing you want to have in place before storyboarding is the script. Beyond that, you might want to hire your cinematographer and production designer so that they might have input into the storyboard process.
Customers
Trusted by the Best
Modernizing production workflows at renowned studios worldwide.






Today’s productions use StudioBinder to streamline their process, and collaborate on better content together.
"I can be a part of the conversation and see when someone finishes a task."
Watch Testimonial ➜
"StudioBinder makes pre-production that much quicker for out team."
Watch Testimonial ➜
"Call sheet confirmations have instantly made our life that much easier."
Watch Testimonial ➜
