Programs for Storyboarding
Share your vision
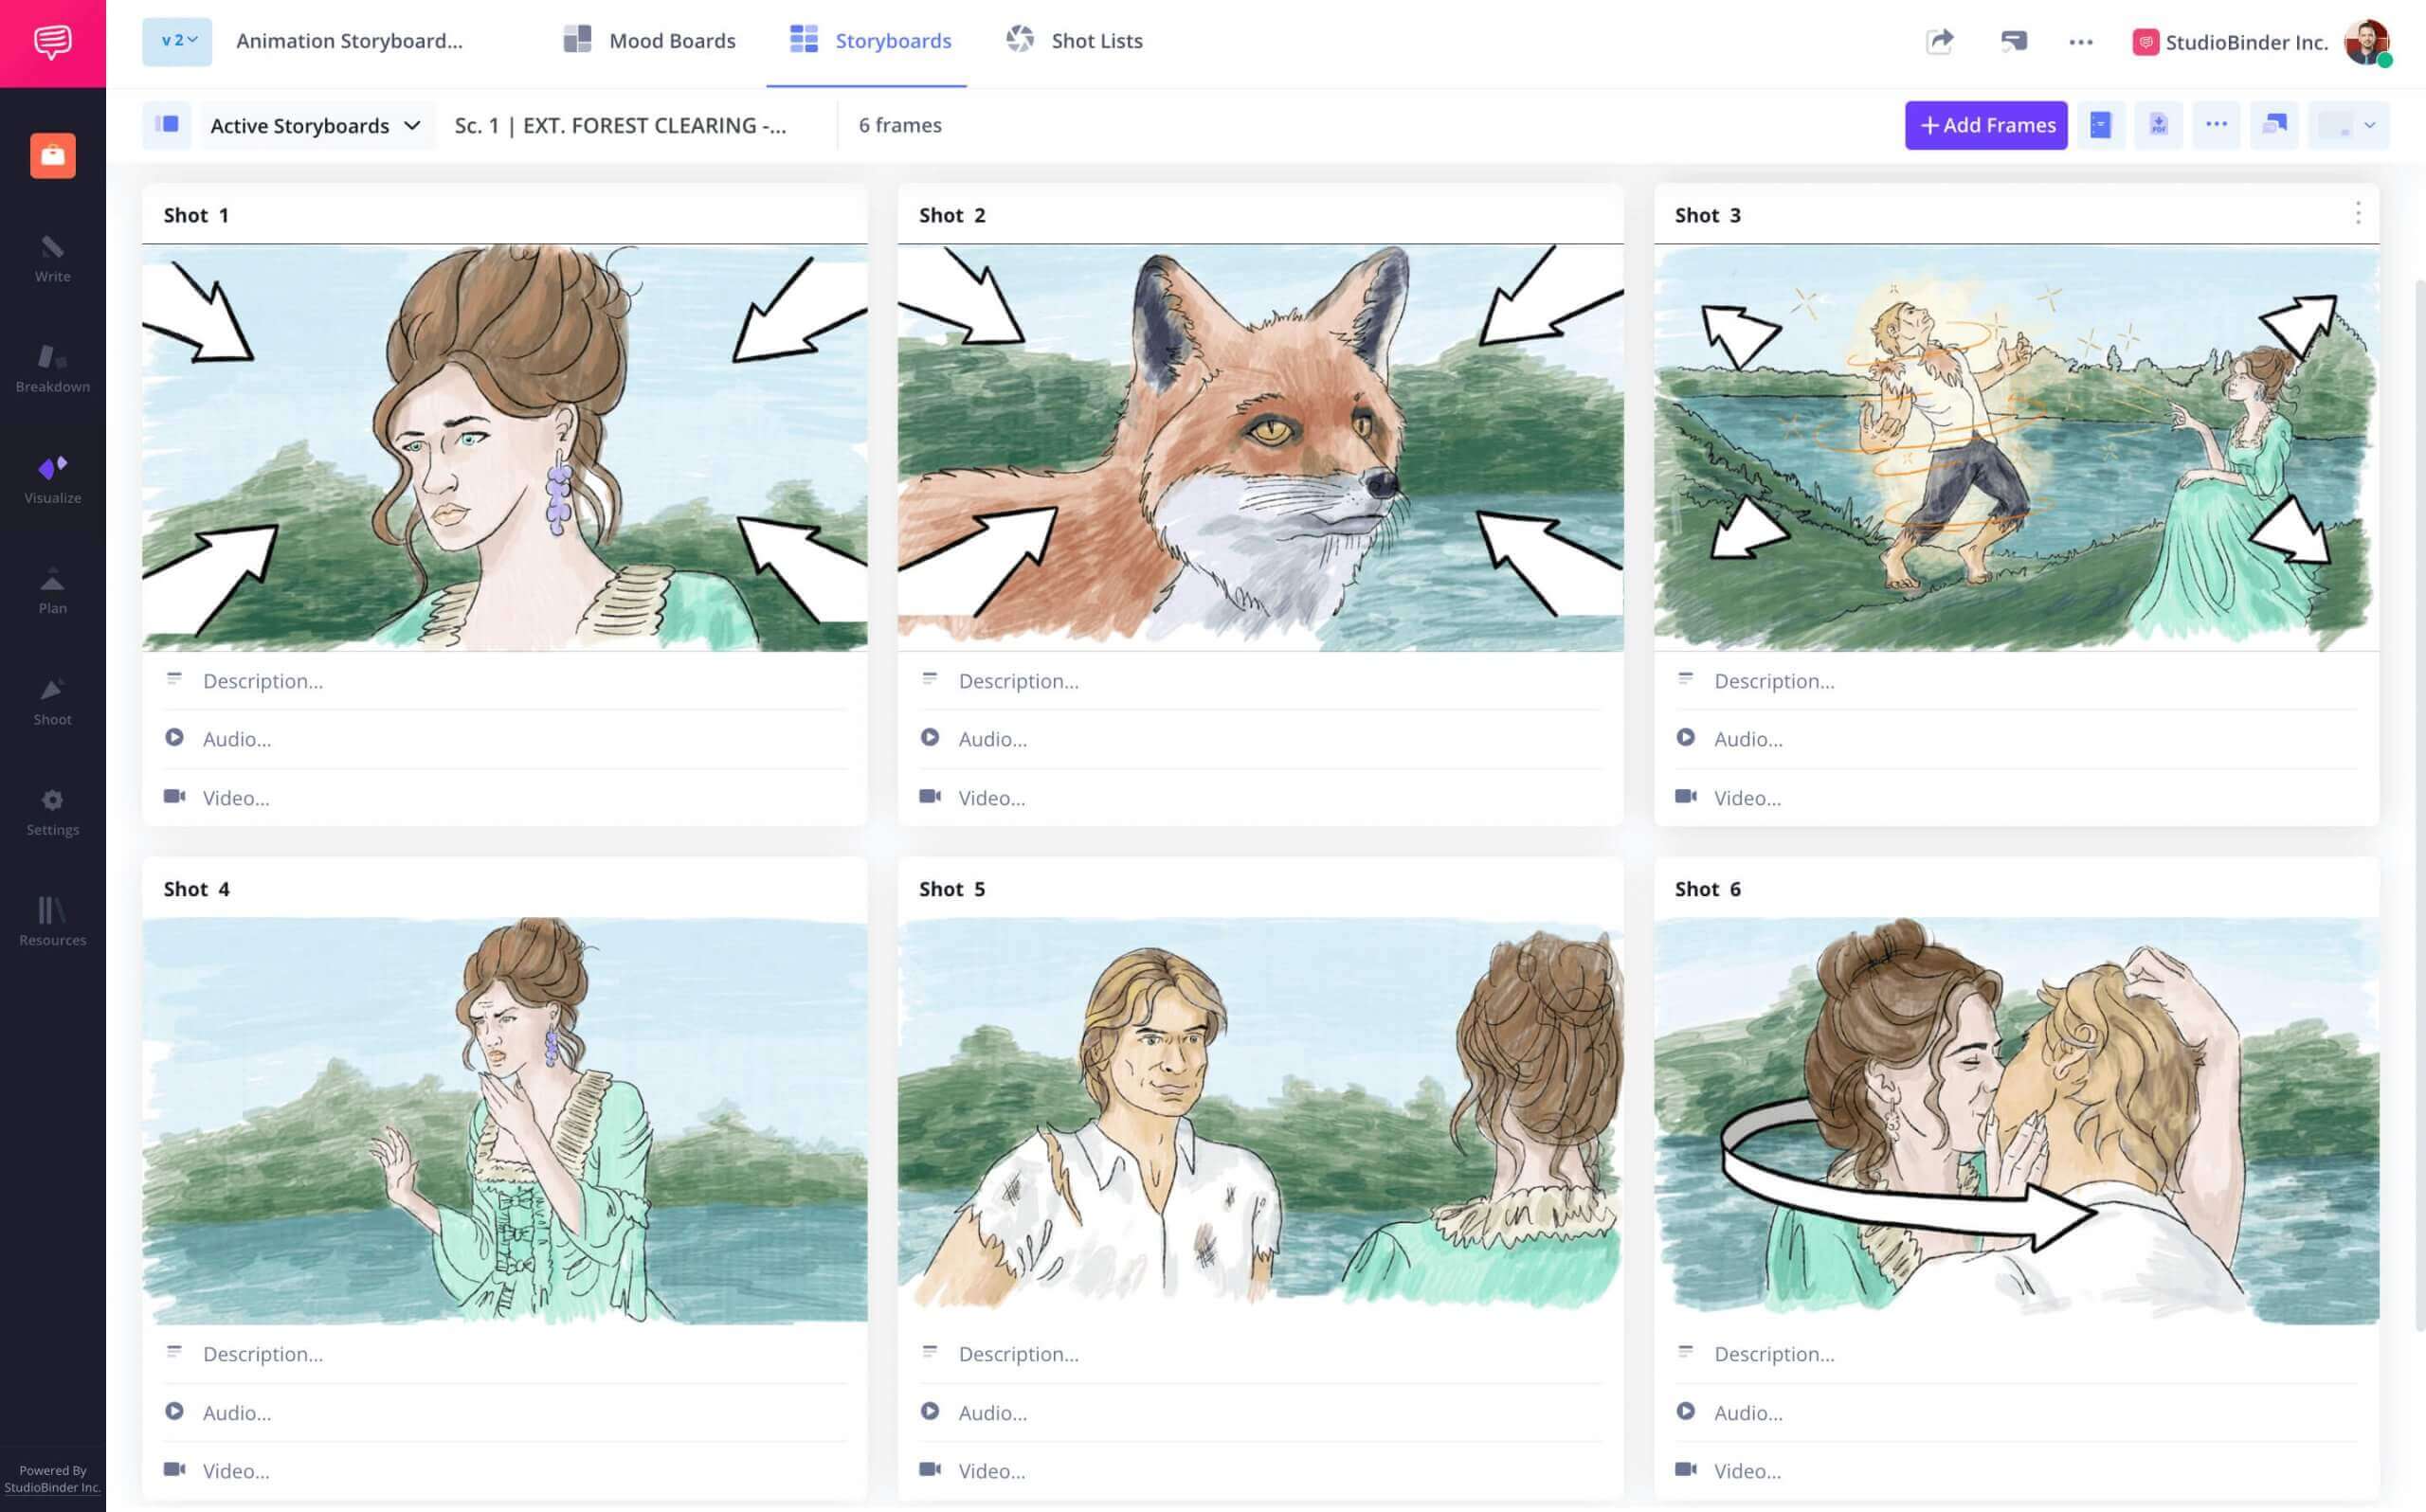
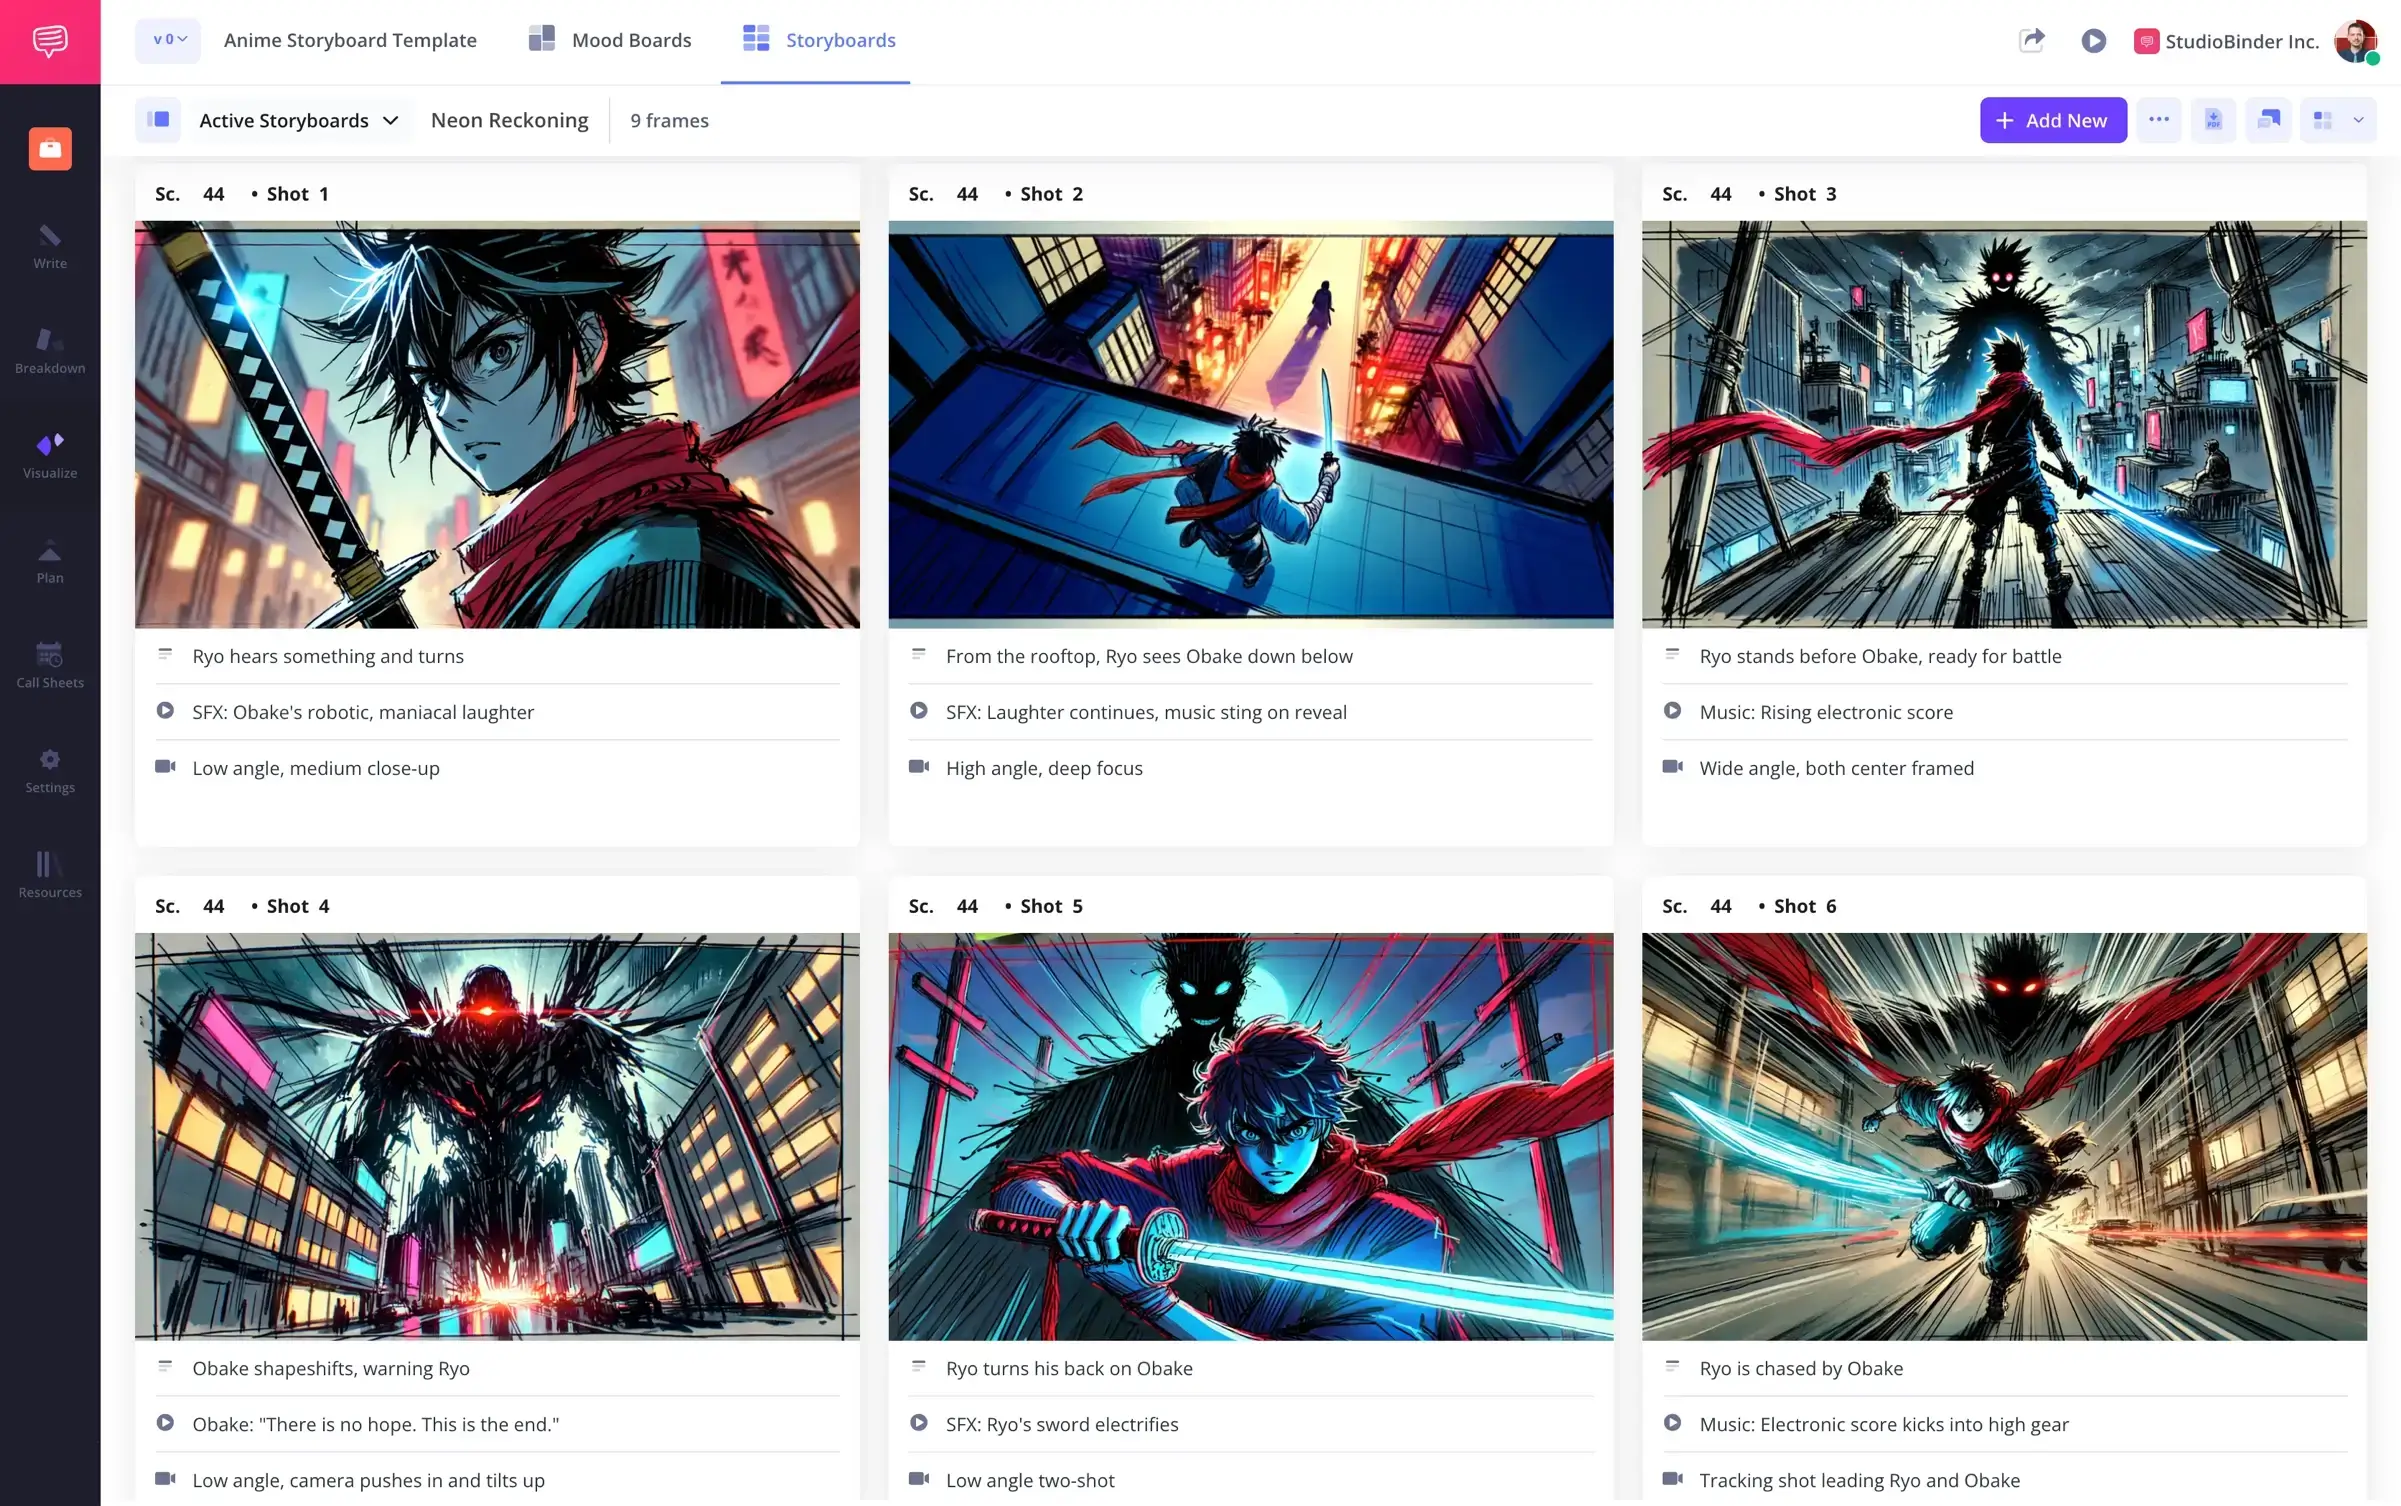
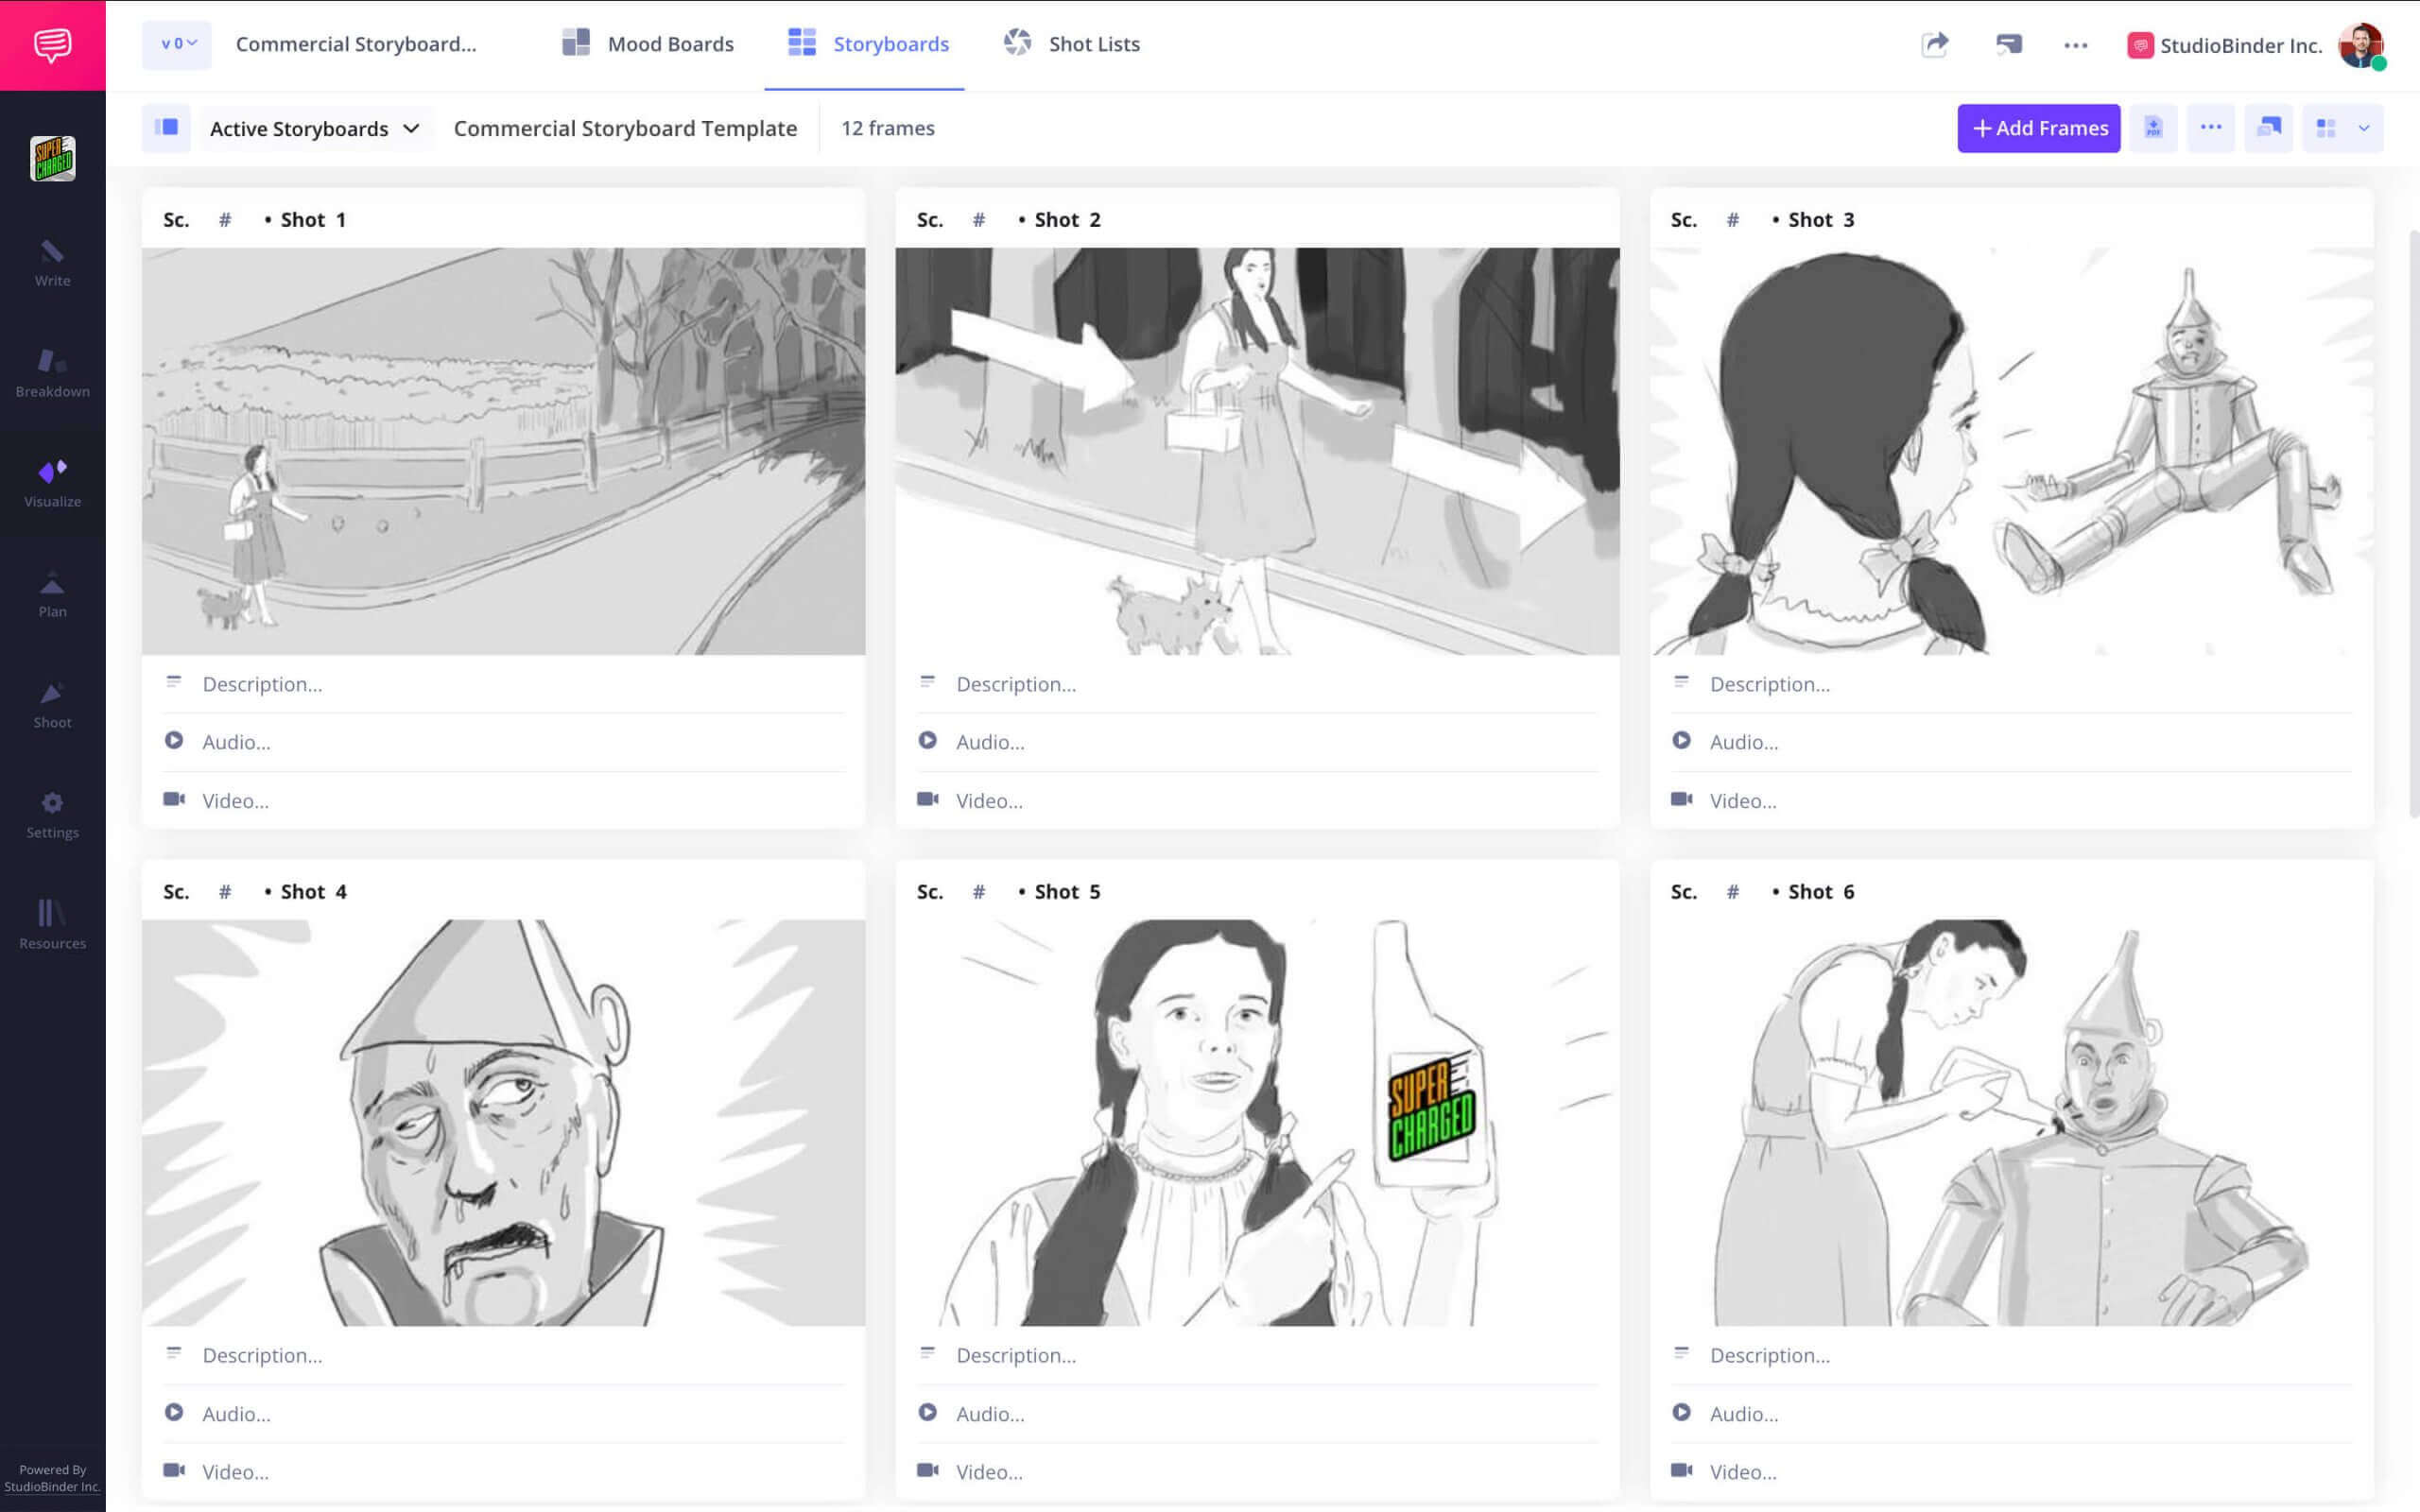
StudioBinder’s program for storyboarding give filmmakers tools to design and present visual plans.
Storyboard Builder
Build storyboards
in minutes
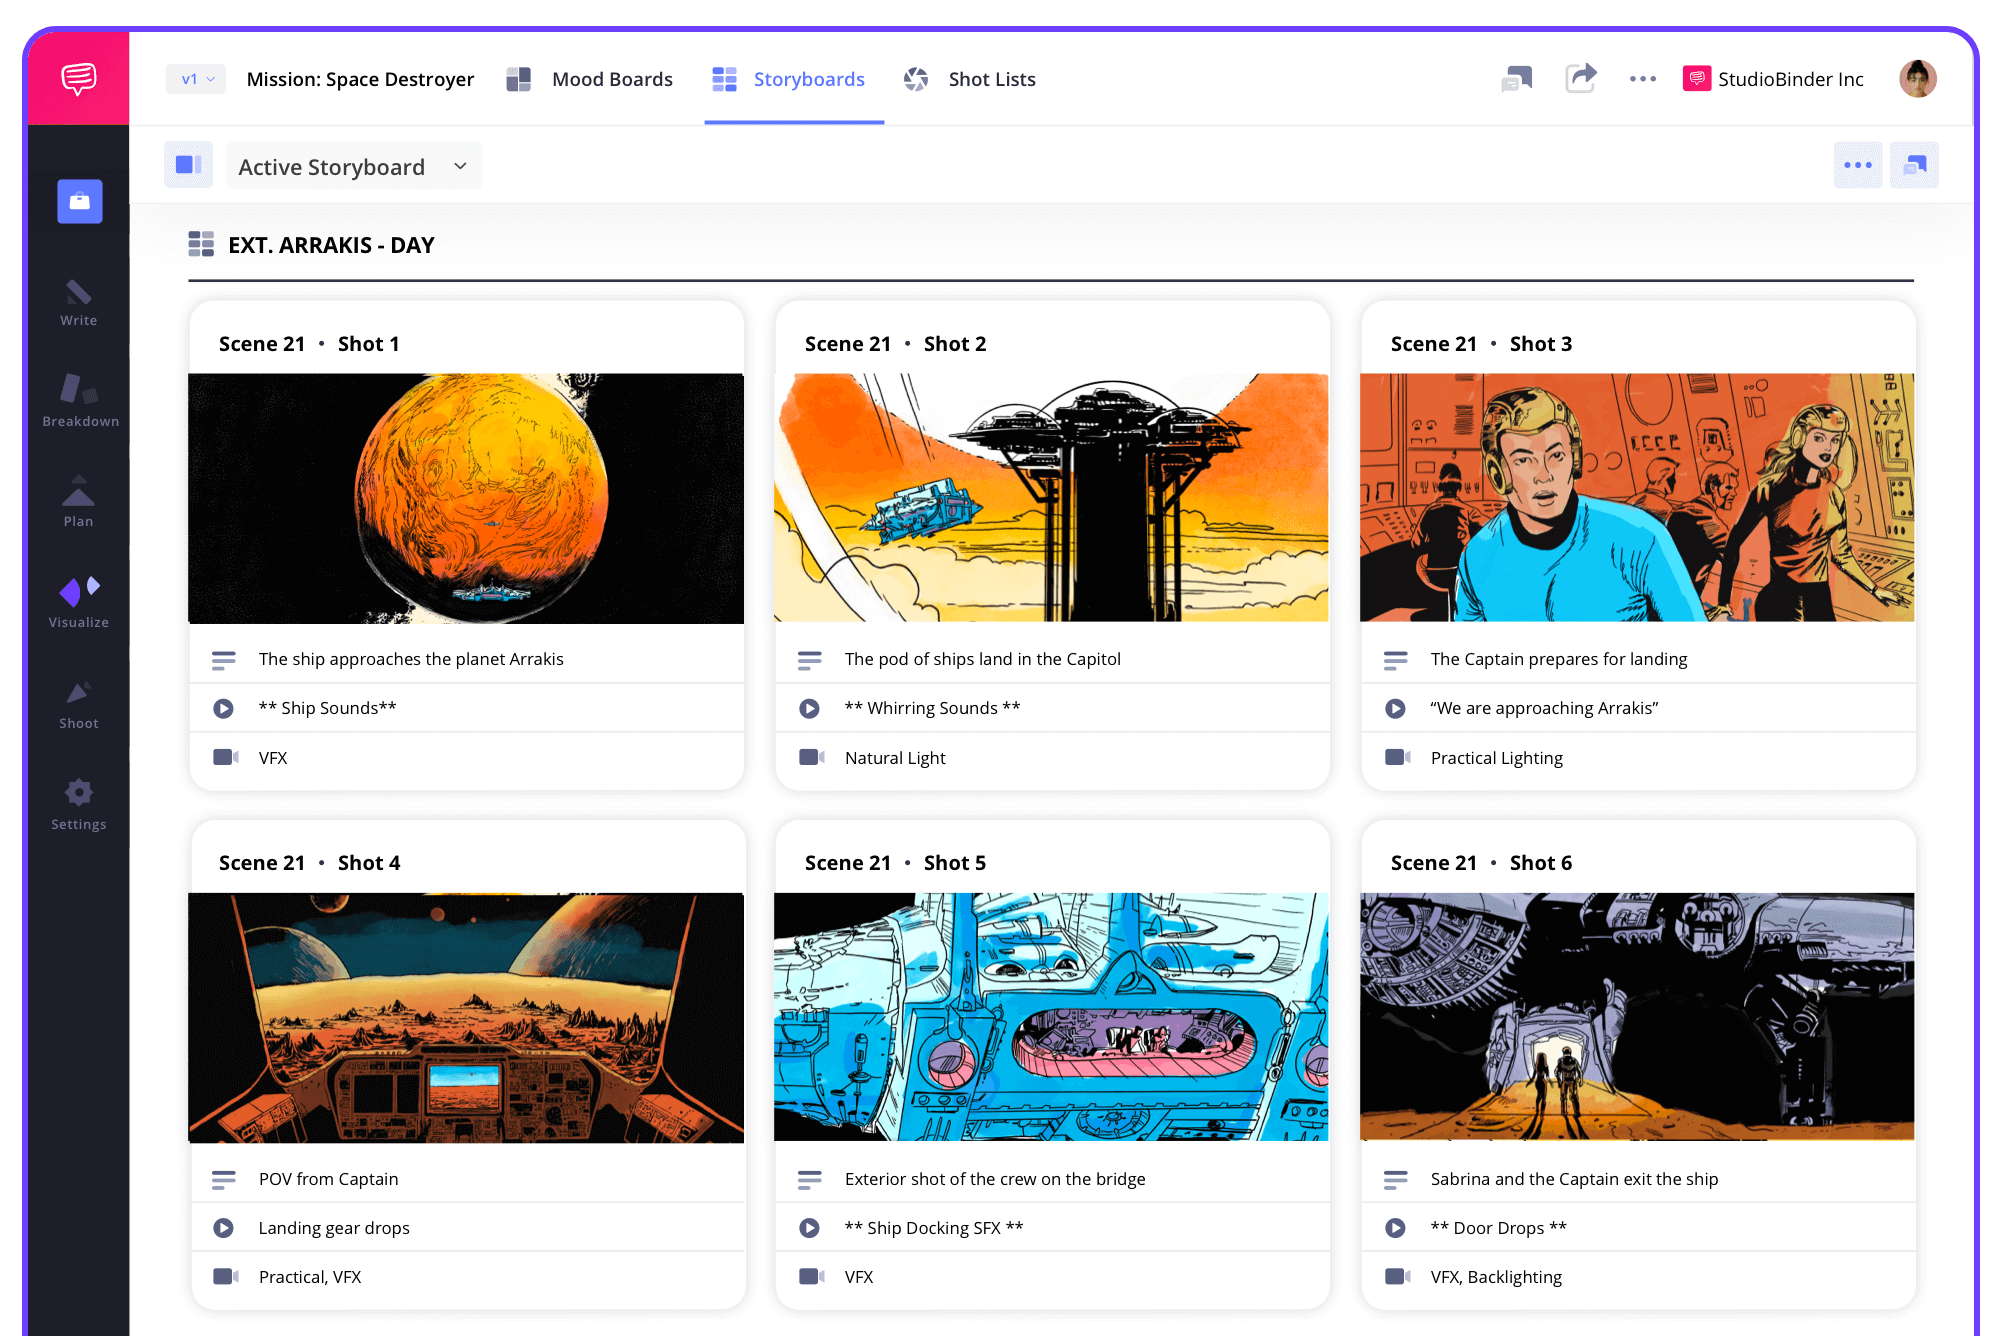
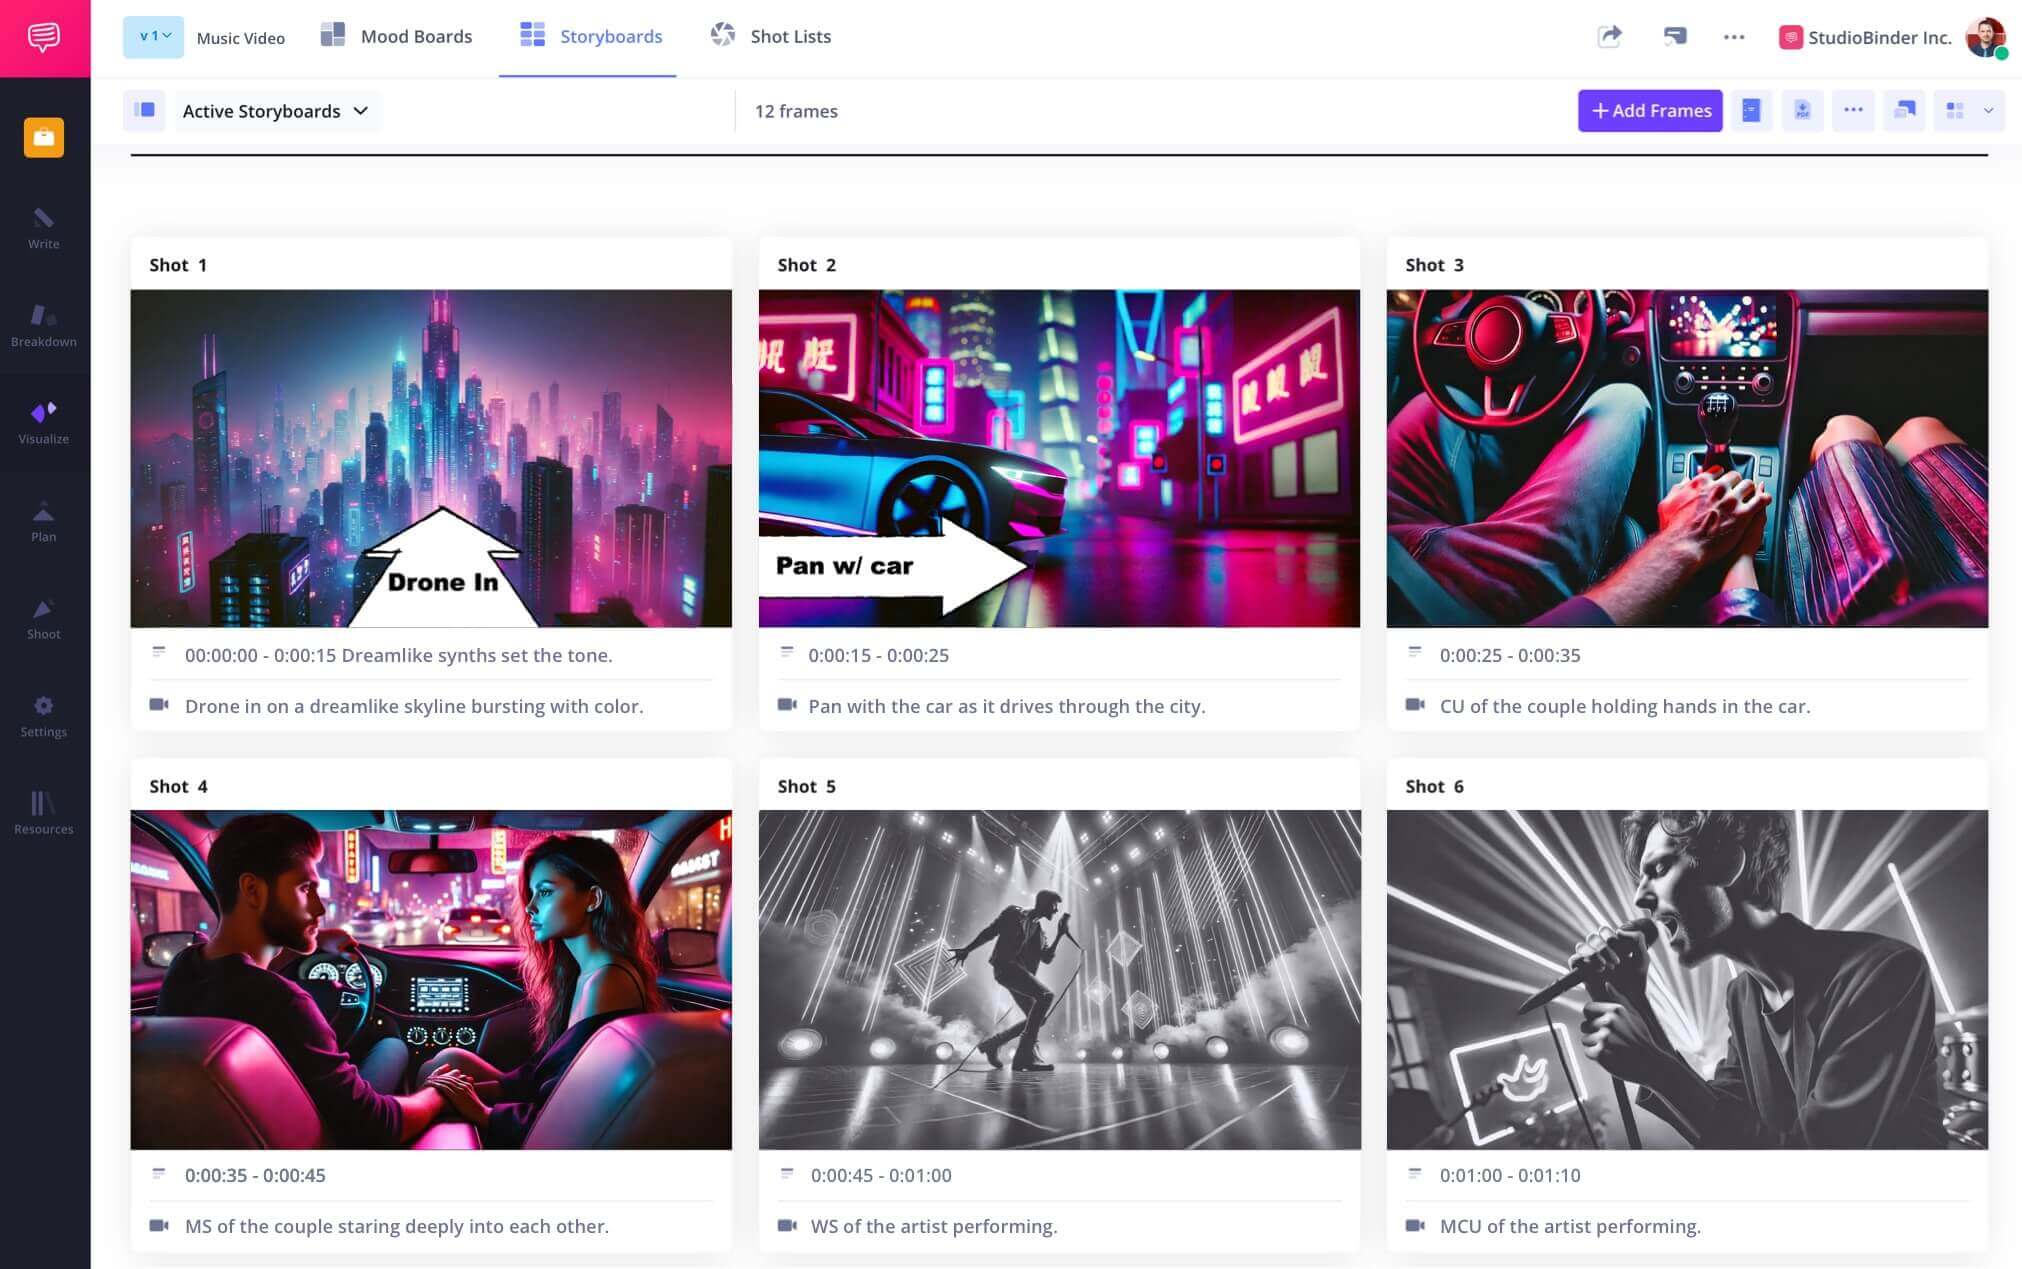
Our storyboarding programs make it easy to turn ideas into structured storyboards. Add images, captions, and shot details while keeping your project organized and production-ready.
Script to Storyboard
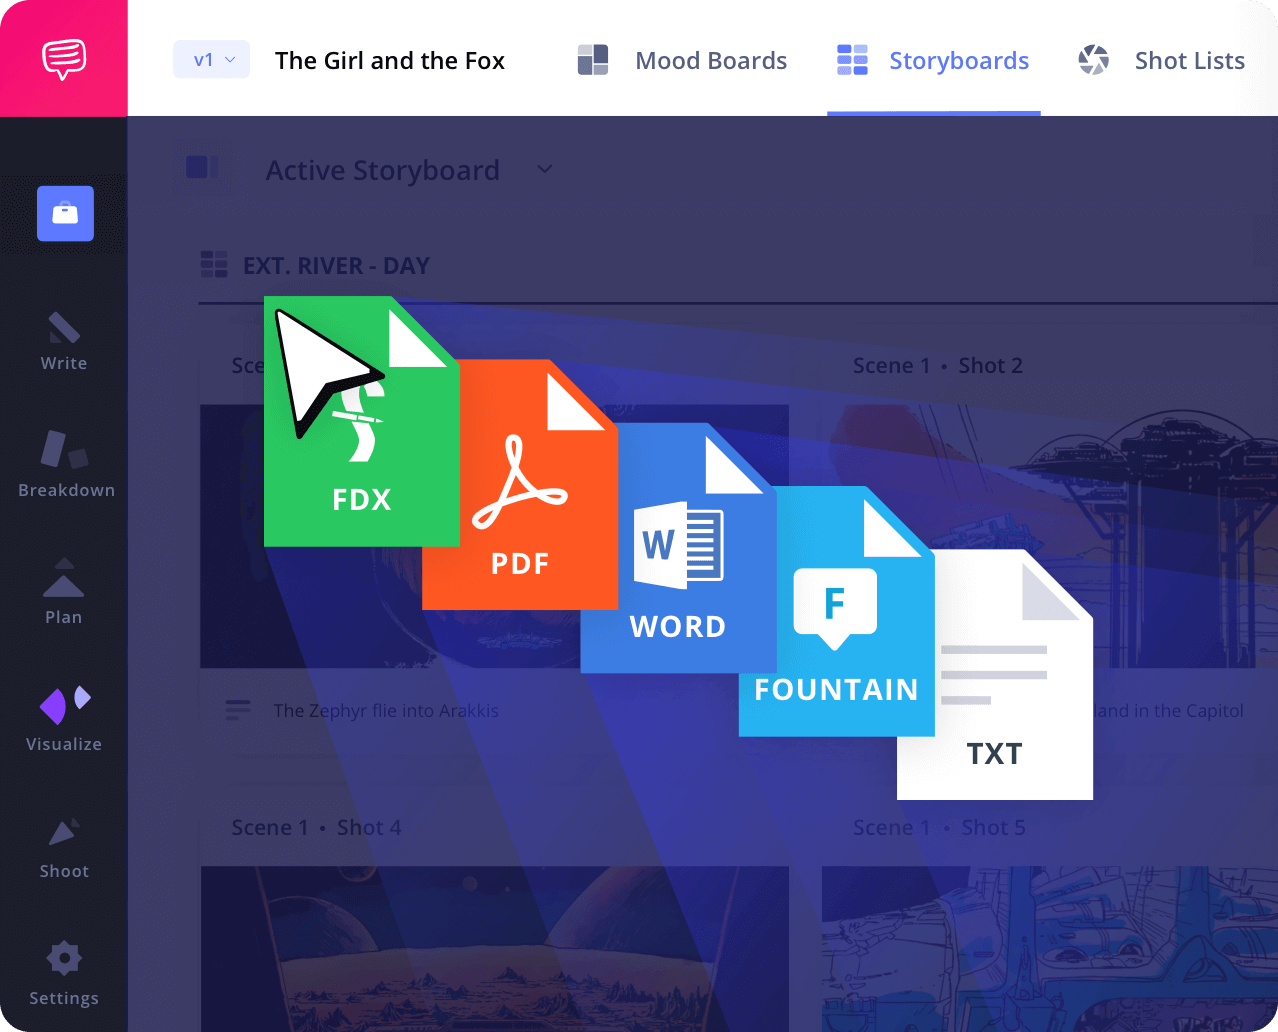
Turn your screenplay into boards
Import your script or write it directly in the platform. The best programs for storyboarding automatically connect text with matching storyboard frames for a seamless workflow.
Shot Tagger
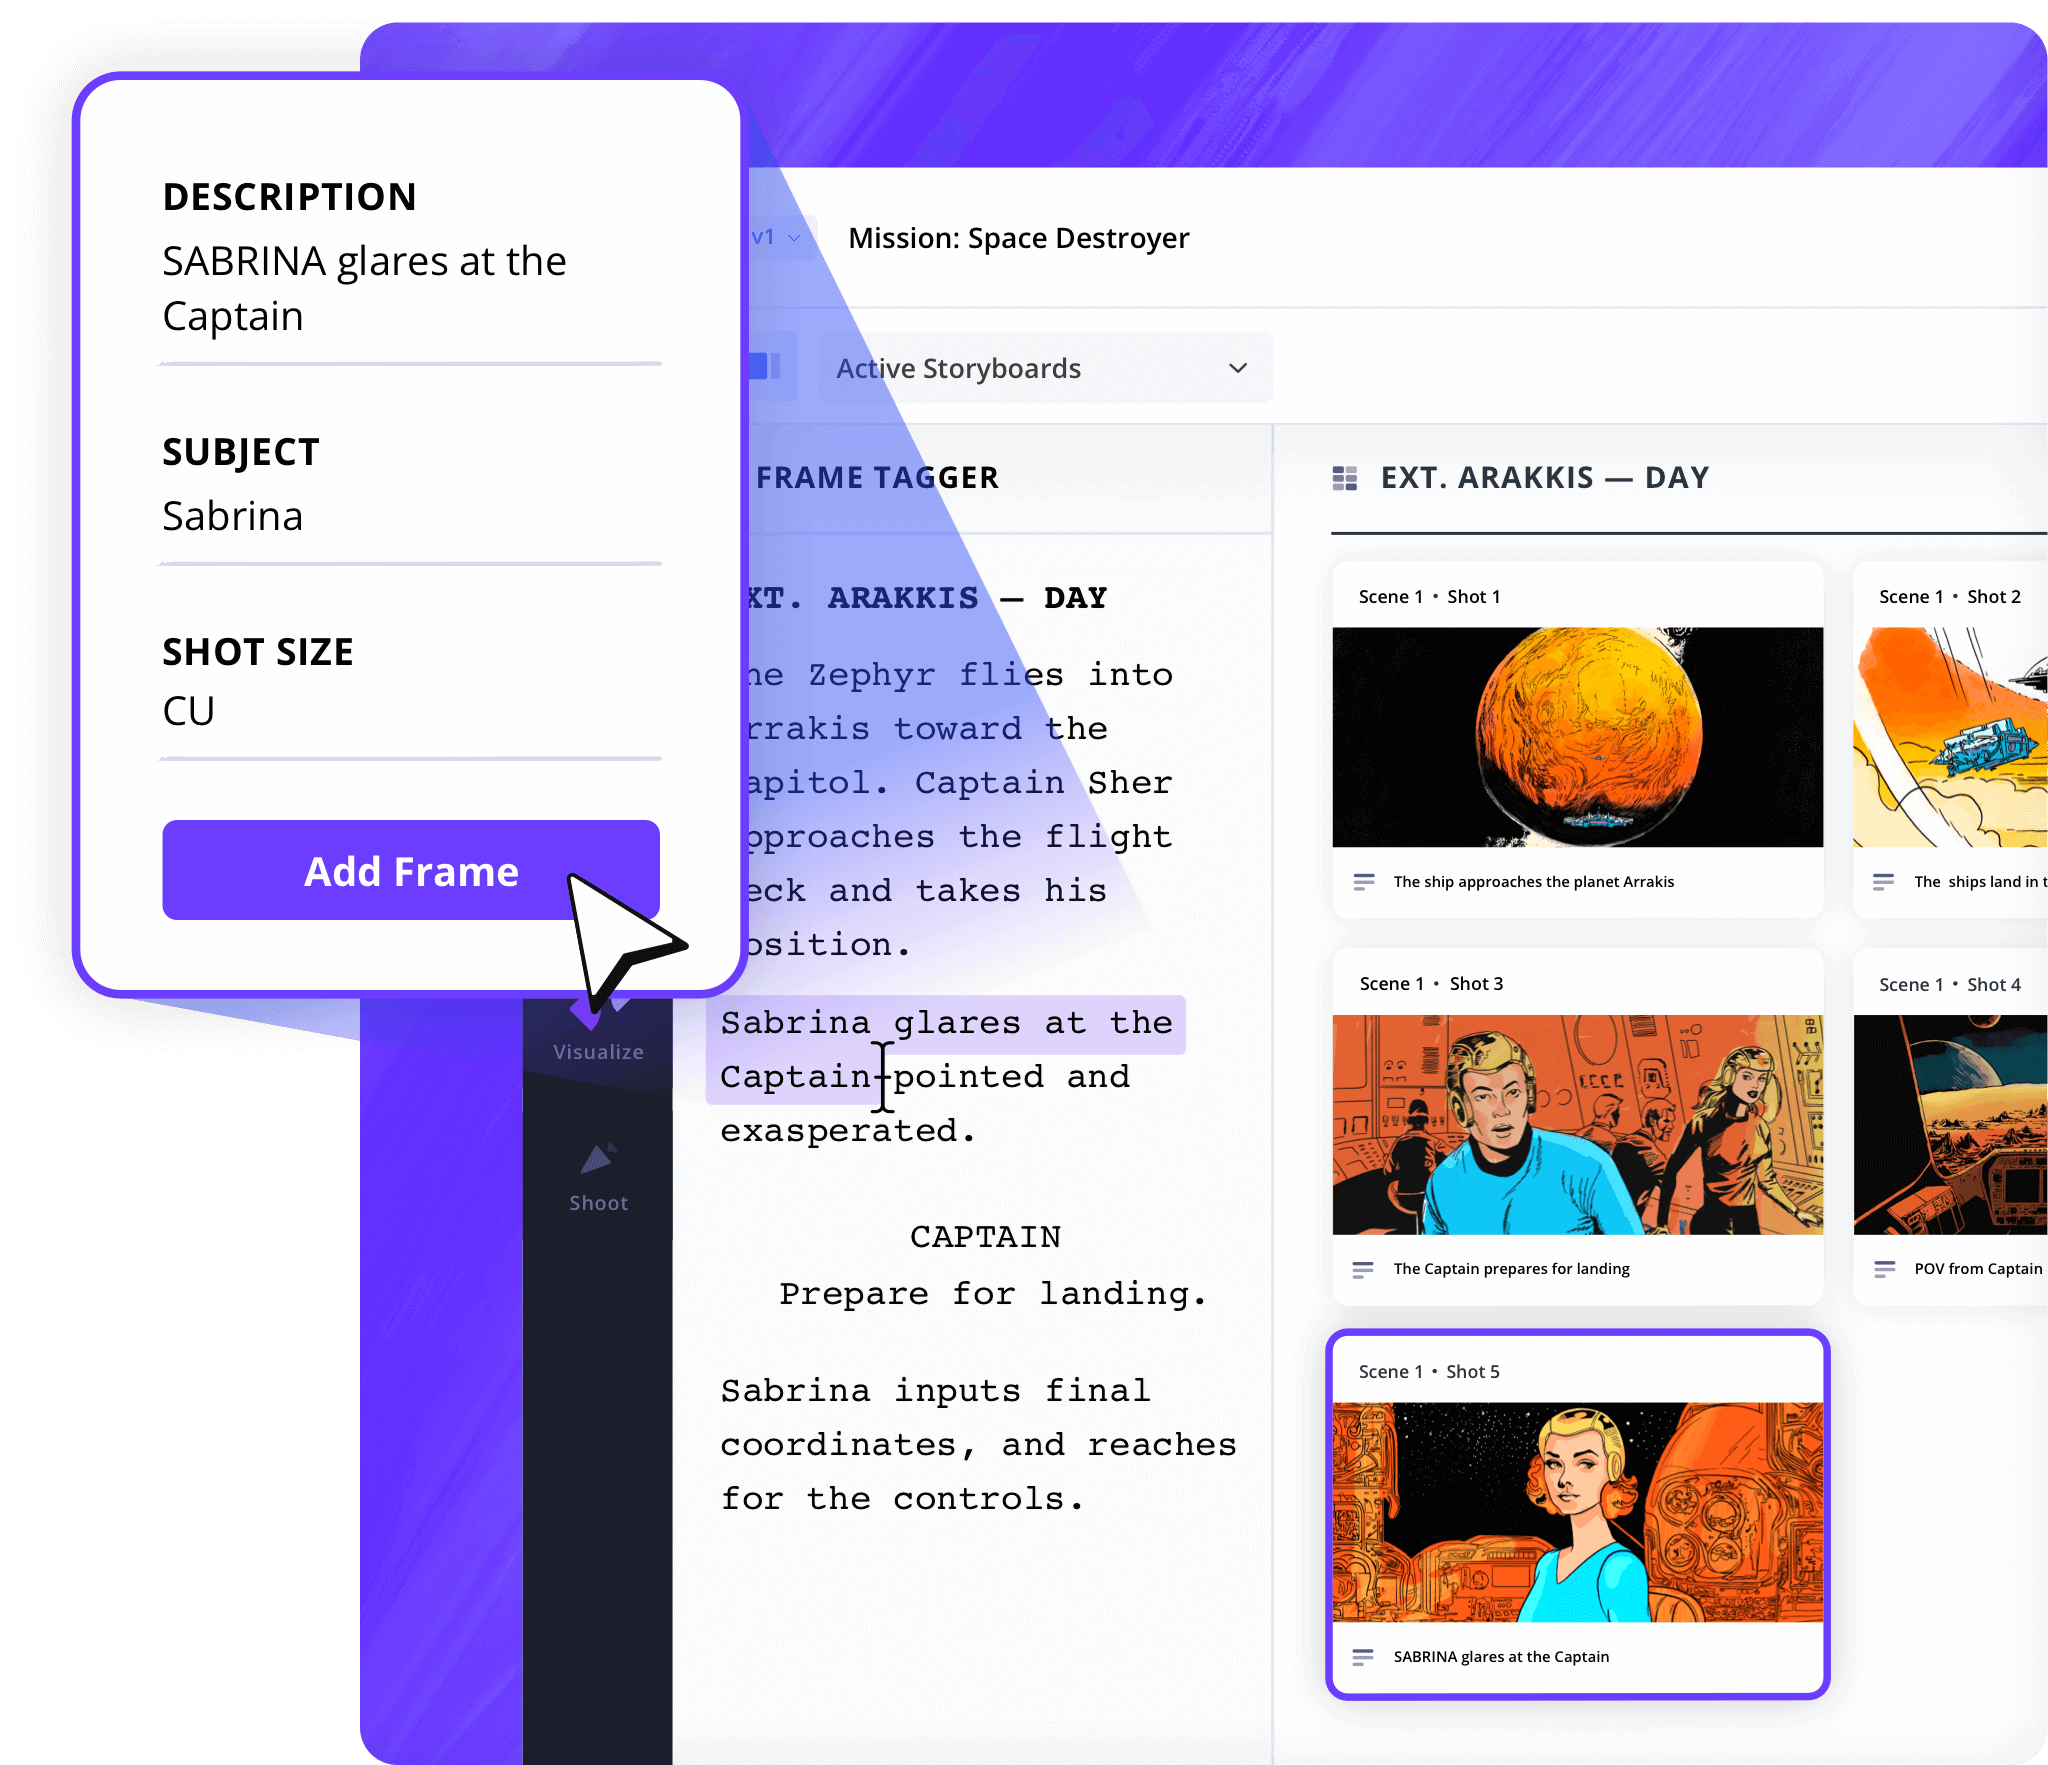
Tag key scenes and actions
Highlight moments in your script to instantly generate storyboard panels. This feature helps storyboard programs keep your visuals aligned with the narrative.

Shot Specs
Preloaded shot details
Select from a variety of camera angles, movements, and framing options. The best program for storyboarding includes templates that speed up production prep.
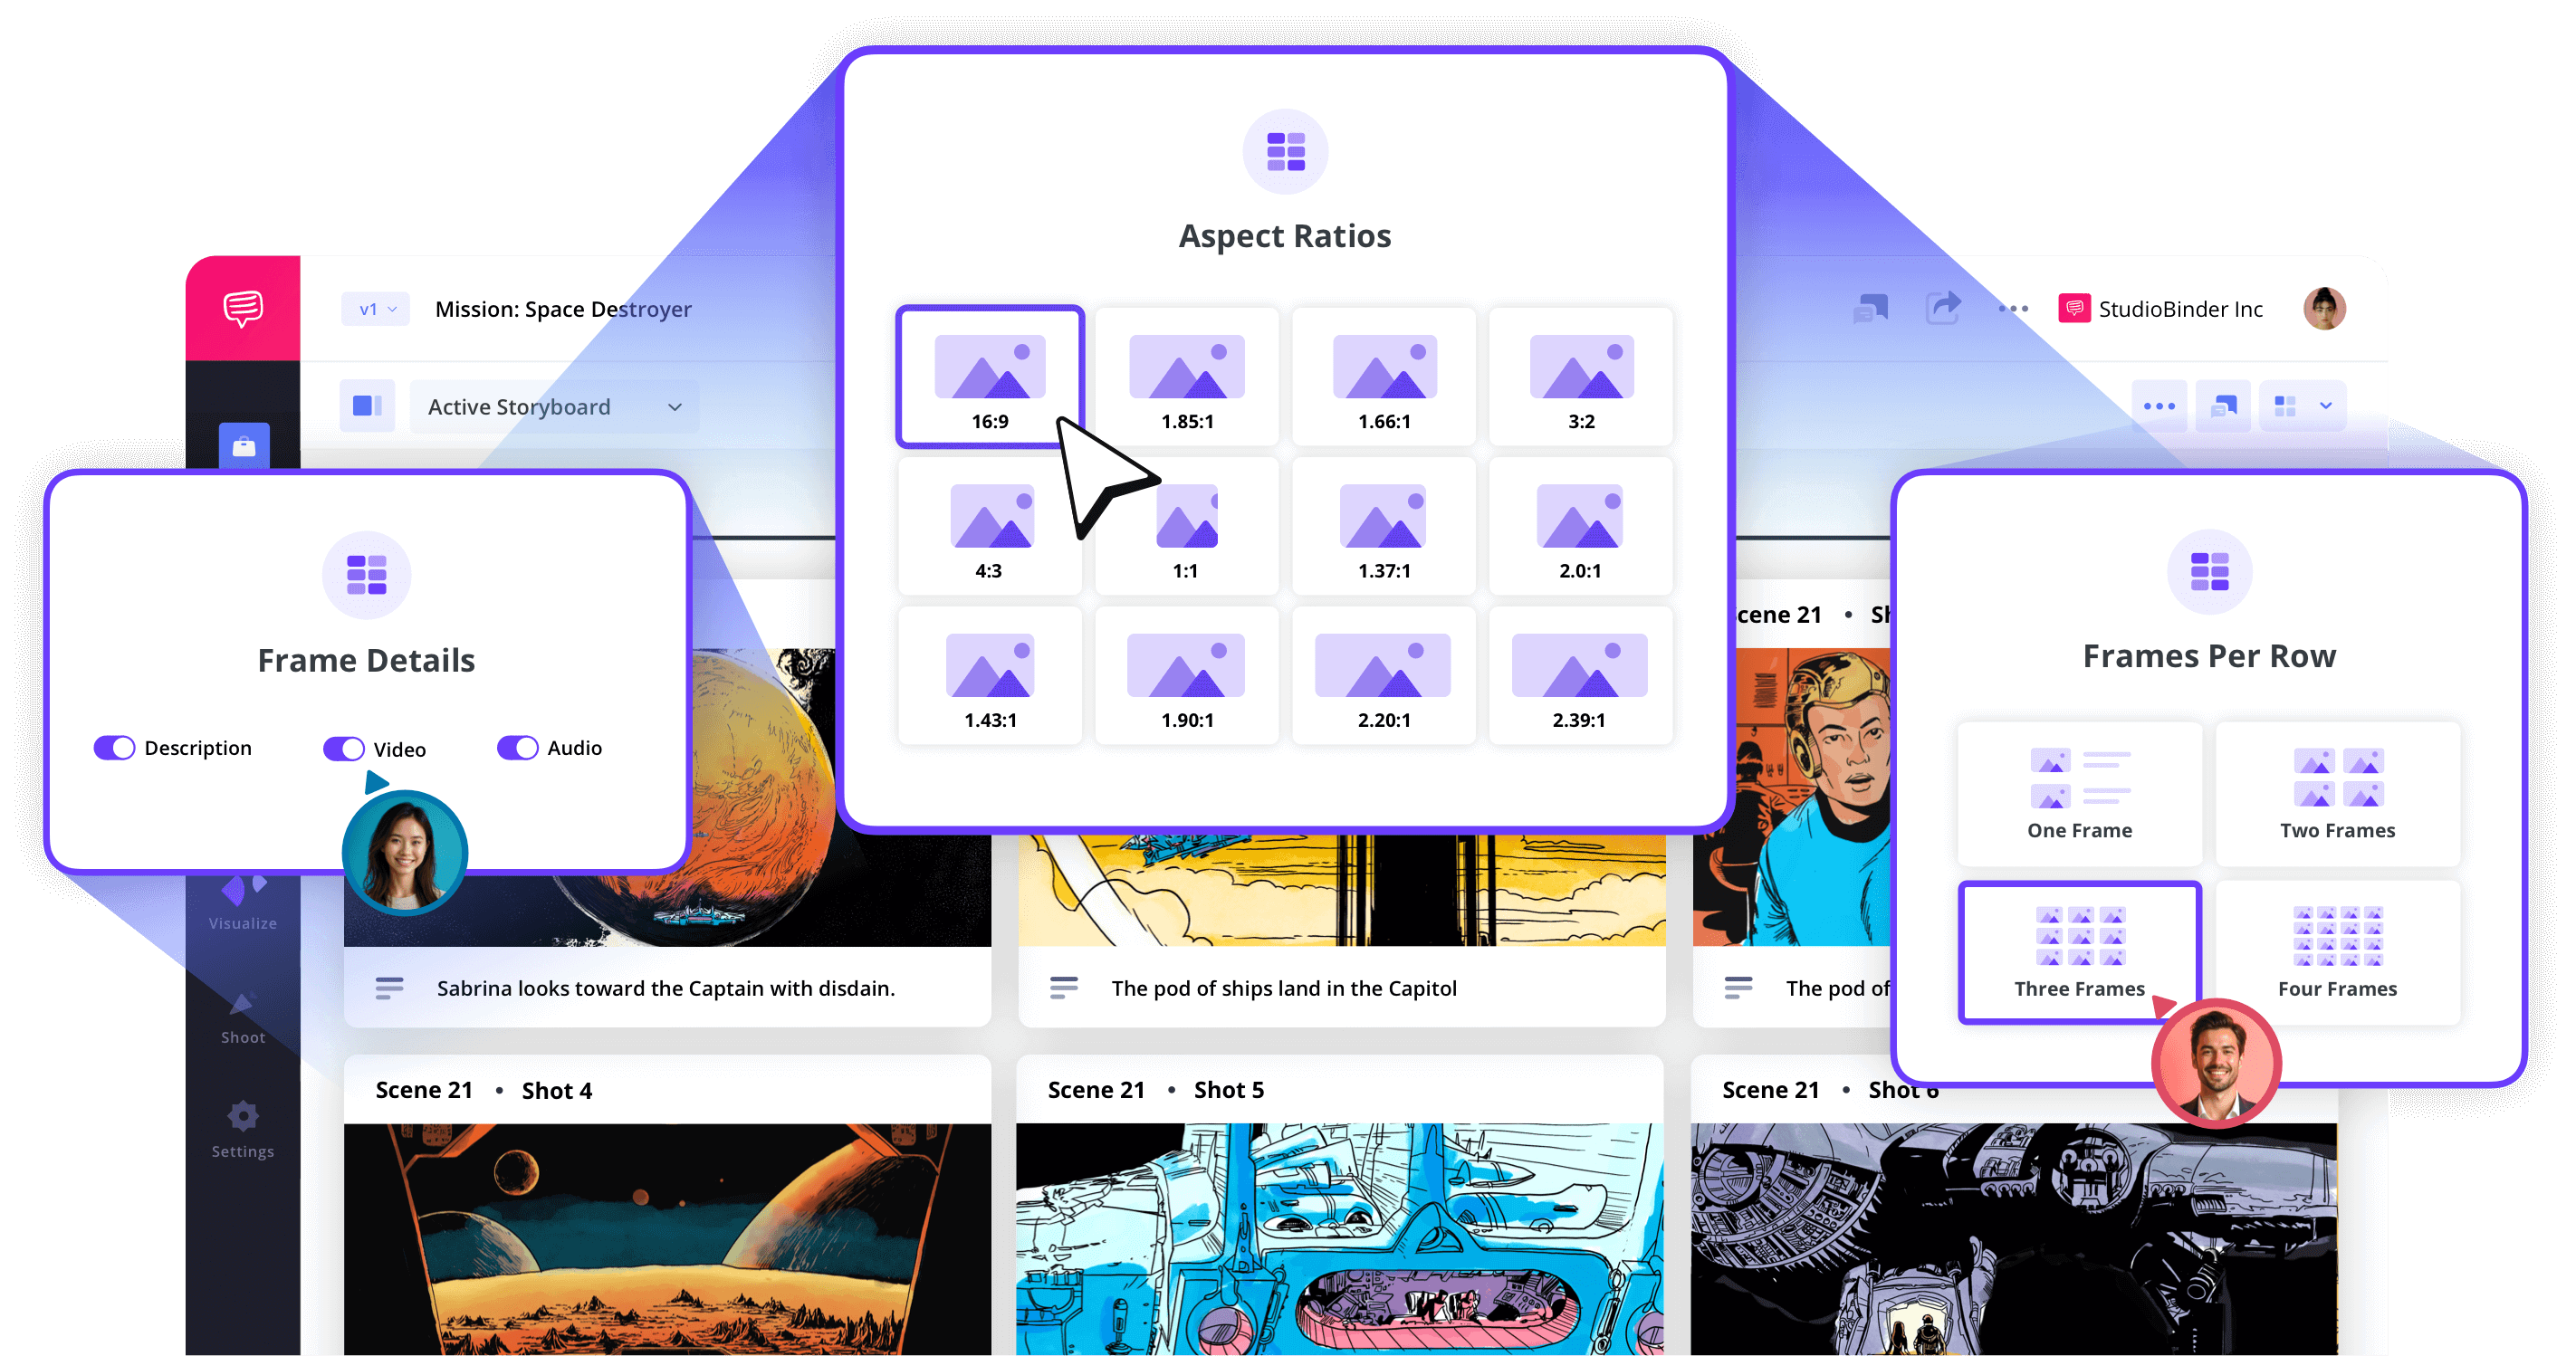
Image Editor
Customize and annotate visuals
Upload sketches or stills, then enhance them with filters, text, shapes, and arrows. Our software for storyboards keeps all visual notes in one place.
Storyboard Groups
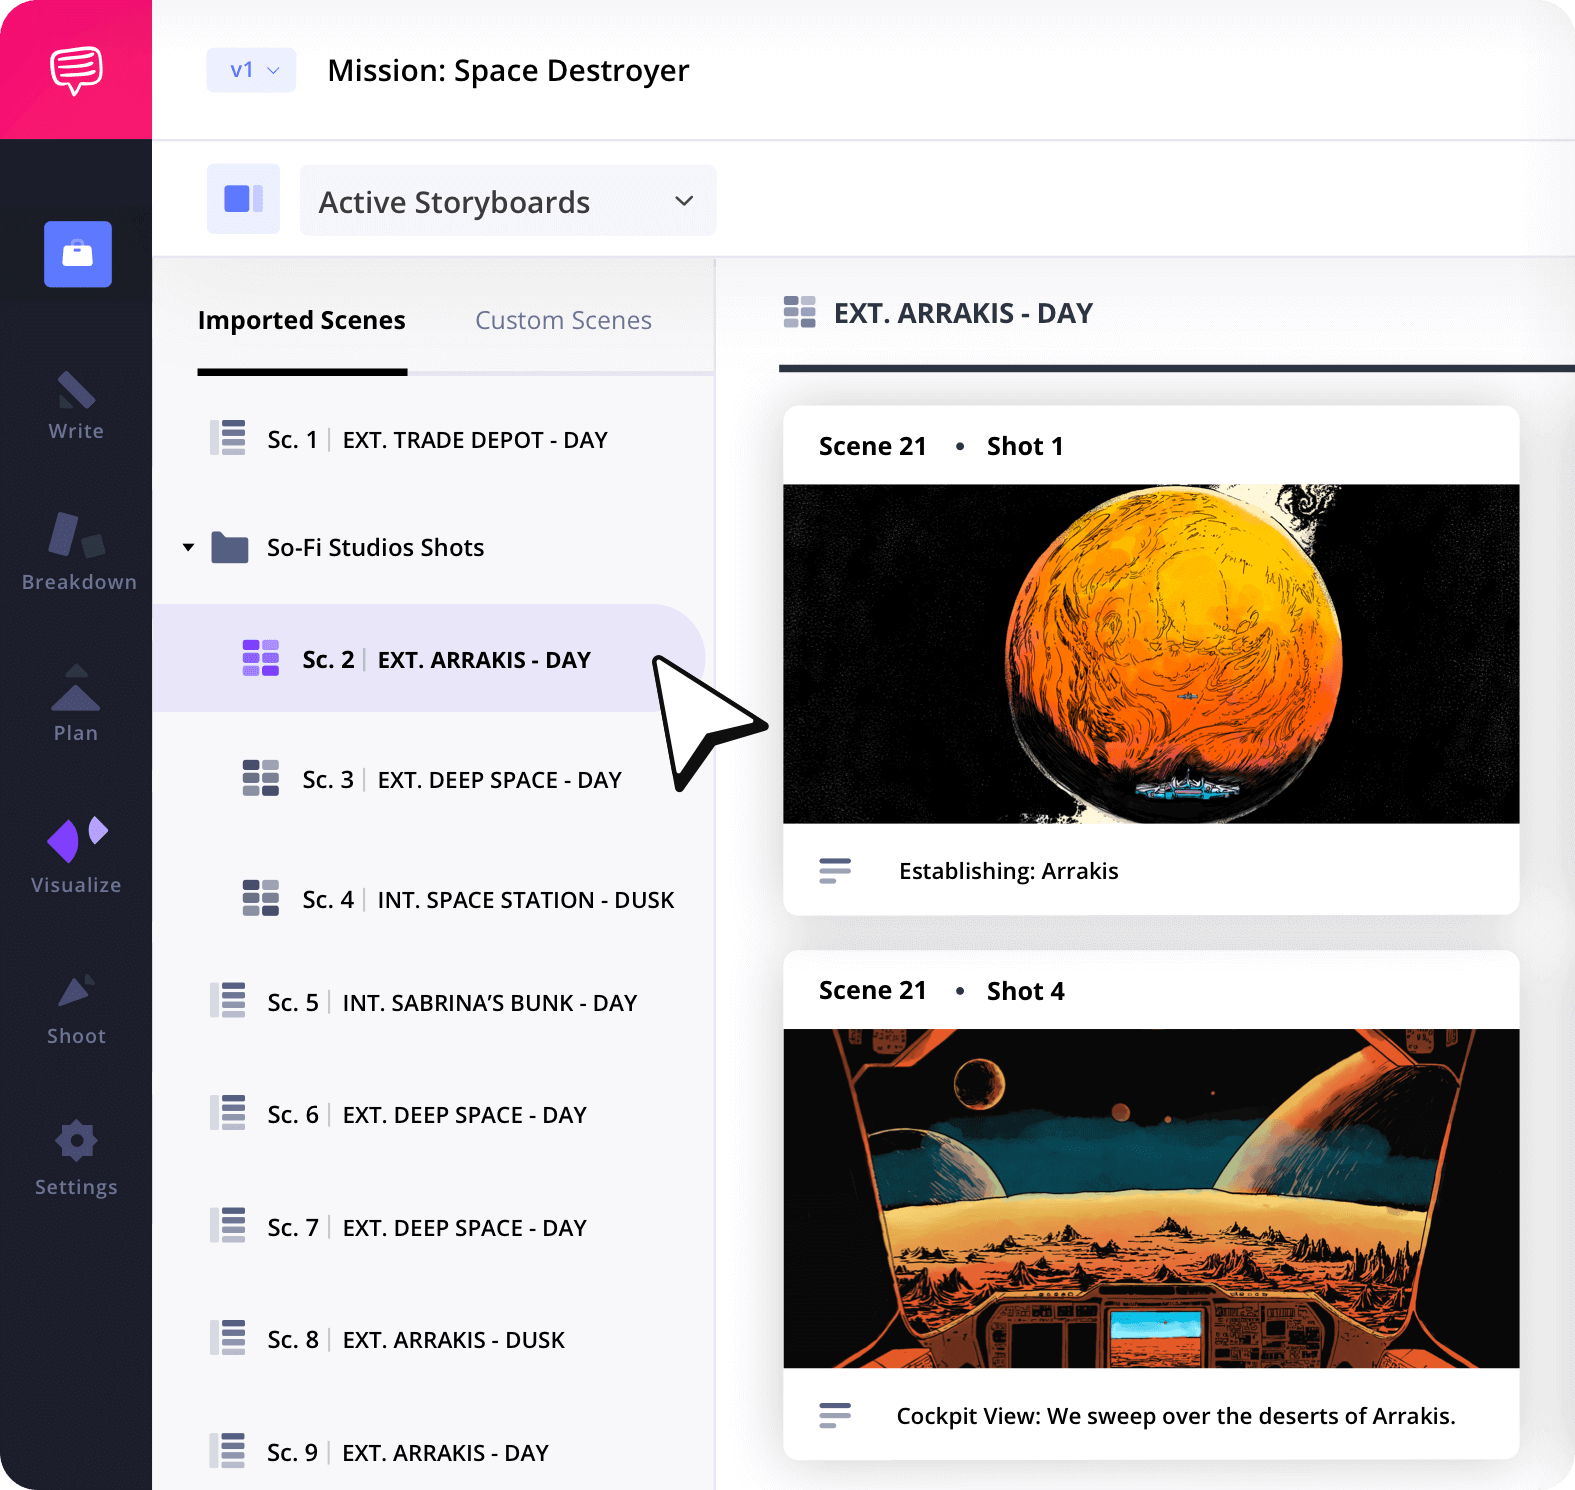
Use groups to organize your storyboards
Group storyboard panels by location, day, or status. The top storyboarding programs help you find and manage the right shots quickly.
Collaborate
Work with your team in real-time
Invite collaborators to add, edit, and comment. Our programs for storyboarding are built for teamwork, making feedback and revisions easier.
Customization
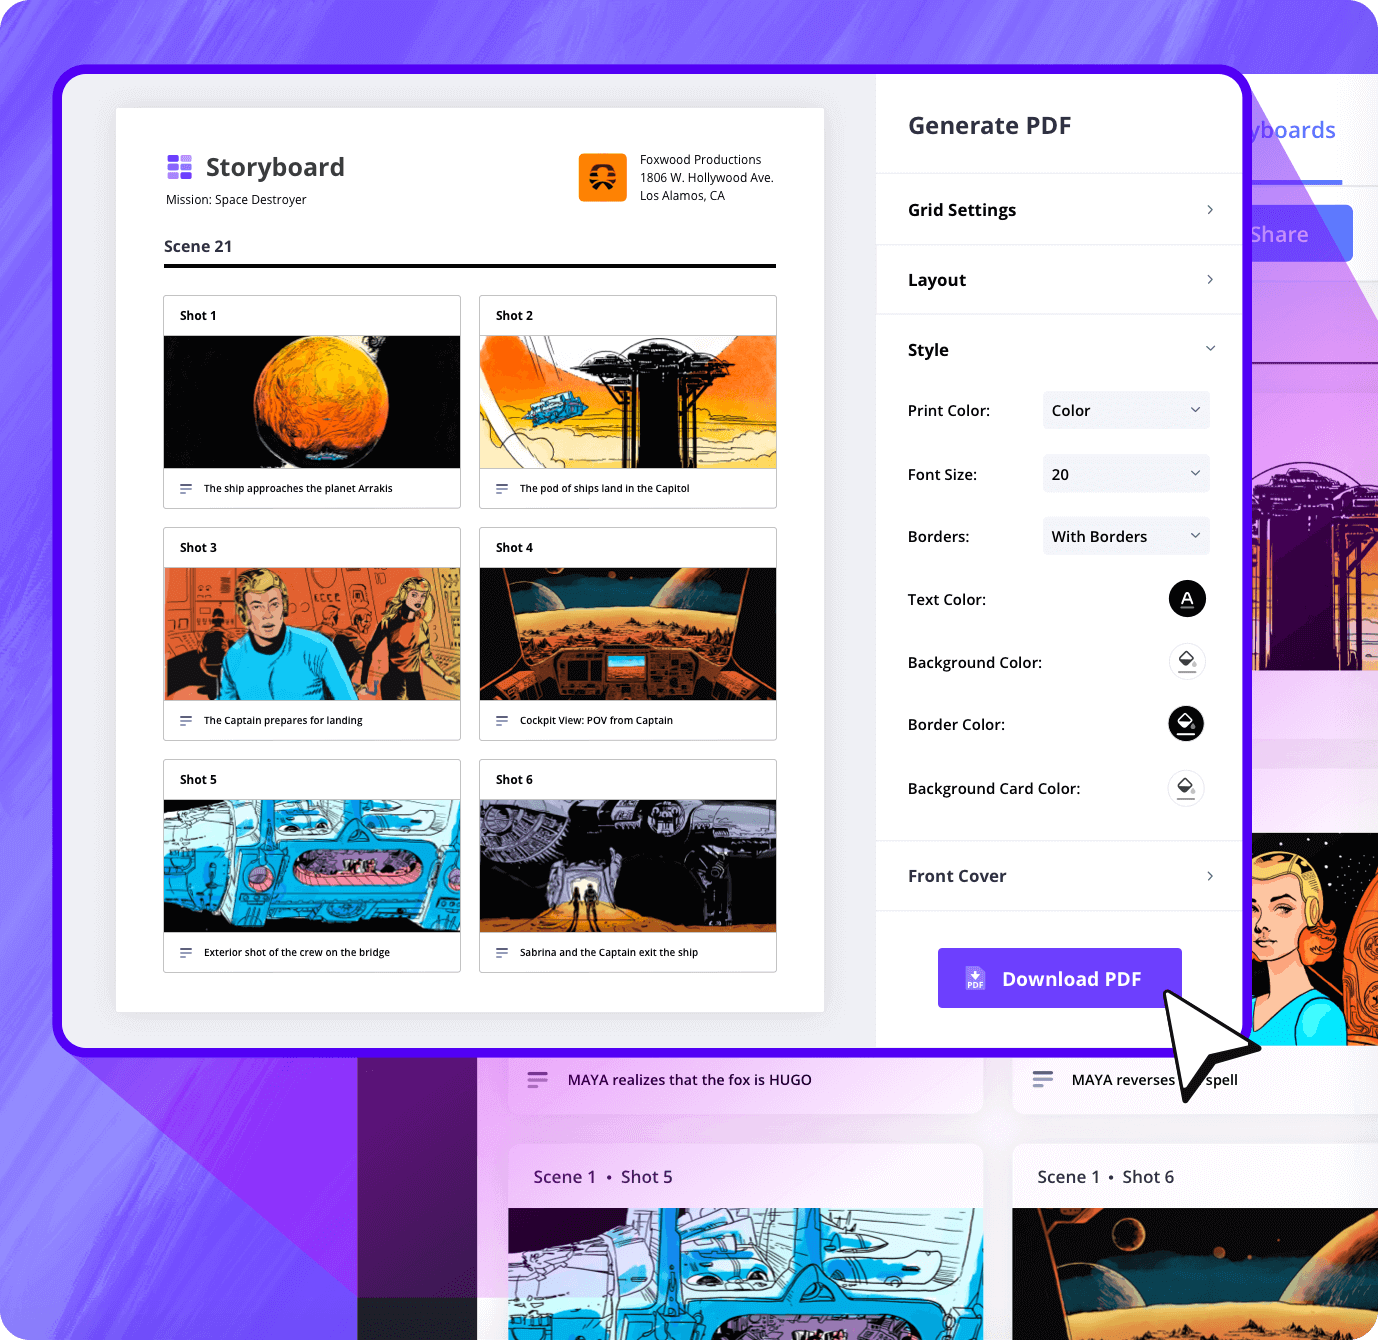
Download branded PDF storyboards
Export professional PDFs with custom layouts, branding, and cover pages. The best programs for storyboarding let you control how your boards look when presenting.
Sharing
Share live links to your digital storyboards
Send secure links or grant access to teammates. Online storyboard programs make it easy for everyone to stay in sync without sharing files.
Explore Features
More storyboard features
Aspect Ratios
Choose an aspect ratio that best suits your project.
Column Layouts
Adjust how many columns your storyboard will have.
Image Library
Reuse storyboard panels from previous projects.
Shot Numbering
Choose between digits, letters, or a custom shot numbering.
Storyboard Archive
Archive old storyboards to keep an accessible history.
Color-Code Shots
Label or call out specialty shots with colors.

Frequently Asked Questions
Your questions, answered
The best storyboard software is any one that understands the nuances and functions of the storyboard process. StudioBinder, for example, takes into consideration the collaborative possibilities of storyboarding, which is why there is a built-in comments sidebar. For more precise visualization, the best storyboard software should also include, as StudioBinder does, the ability to fully edit and customize the images with tools to crop, adjust, and annotate.
The basic rule of storyboarding is clarity. If your images are hard to understand, it defeats the purpose. So, even if you use stick figures and the most rudimentary drawings, the form and function of the shot should come across clearly.
If you're new to storyboarding, fear not! The process is very straightforward and the only limitation is your imagination. A storyboard is simply meant to visualize individual shots in your project, and how you create those images is up to you. But here are some quick steps to get you started.
- Start with a blank storyboard template
- Add an image to each frame that represents a single shot/set-up
- Insert notes and descriptions to give the shot context
- Annotate with text and arrows to indicate blocking and camera movement
Storyboards can include many different elements depending on the project and what you and your team prefer, which makes the process clear. That being said, there are some basic elements that every storyboard should include:
- Images
- Descriptions of each shot
- Shot and scene numbers
- Camera directions & character blocking
- Notes for special considerations like stunts or VFX
What are the 8 steps in storyboarding?
Open StudioBinder on your browser.
Click on the Storyboards tab on the project homepage.
Press the "get started" button and choose to either import a script or create a storyboard manually.
Name the storyboard, set the aspect ratio, select the number of frames, and start with blank frames or upload images.
Add an image to each frame from images in the Media Library or upload new images from your computer.
Edit your images with a full suite of tools, including cropping, filters, text, and arrow annotations.
Enter details for each frame, including the scene number, description, and audio or video notes.
Share your storyboard with a custom PDF, send a view-only share link, or invite collaborators and receive feedback.
Customers
Trusted by the Best
Modernizing production workflows at renowned studios worldwide.






Today’s productions use StudioBinder to streamline their process, and collaborate on better content together.
"I can be a part of the conversation and see when someone finishes a task."
Watch Testimonial ➜
"StudioBinder makes pre-production that much quicker for out team."
Watch Testimonial ➜
"Call sheet confirmations have instantly made our life that much easier."
Watch Testimonial ➜
