Storyboard Builder Online
Storyboards in a snap
Plan, organize, and visualize scenes with our storyboard builder online.
Storyboard Builder
Storyboarding and production planning together
StudioBinder’s storyboard builder online combines shot listing, script integration, and call sheets in one workspace. Keep your ideas, visuals, and production notes all in sync from the start.
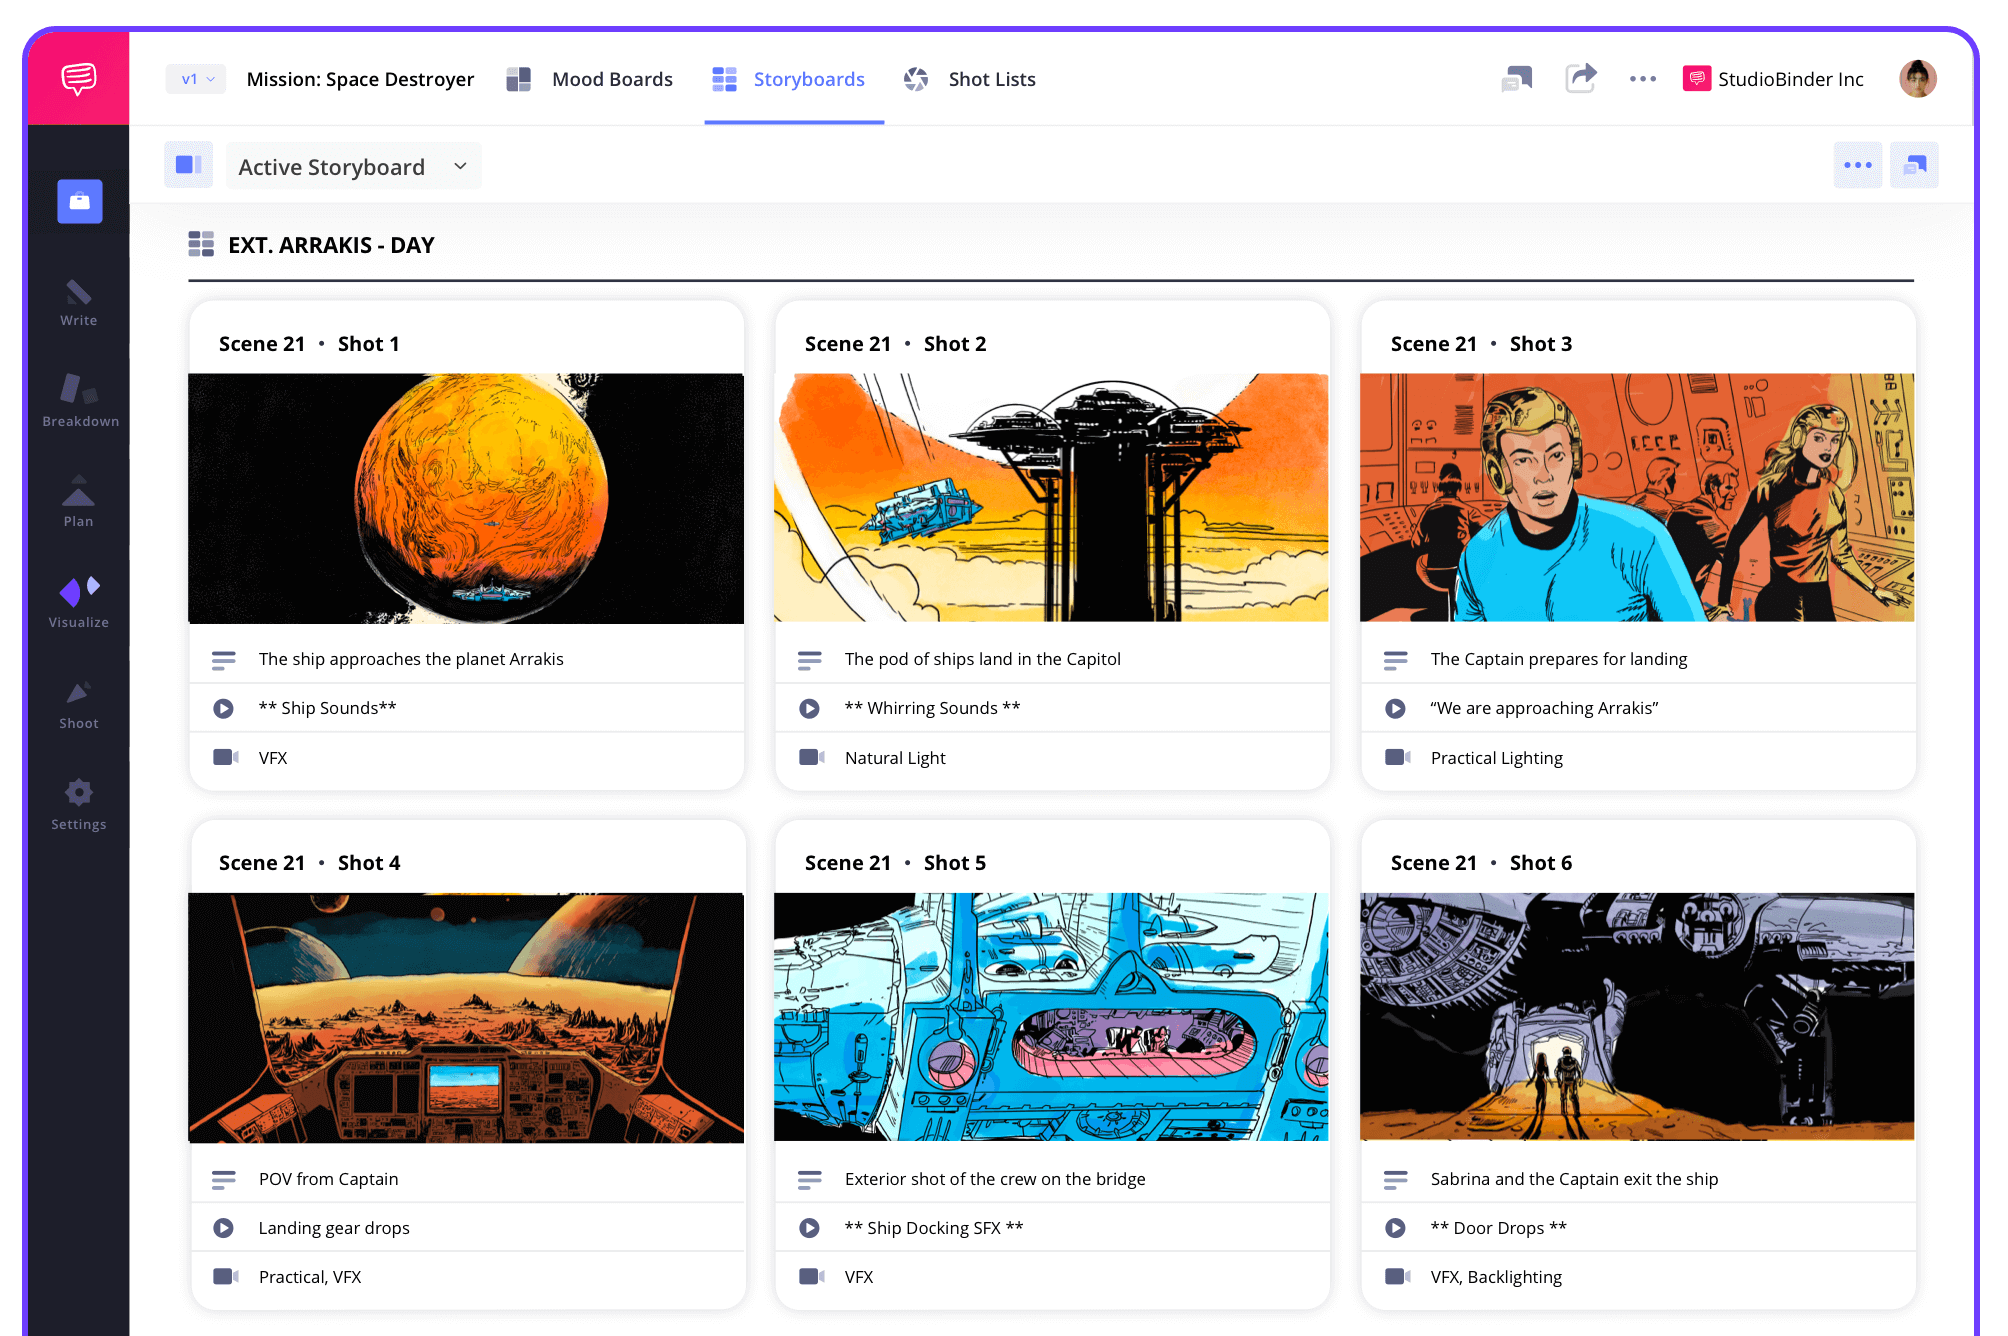
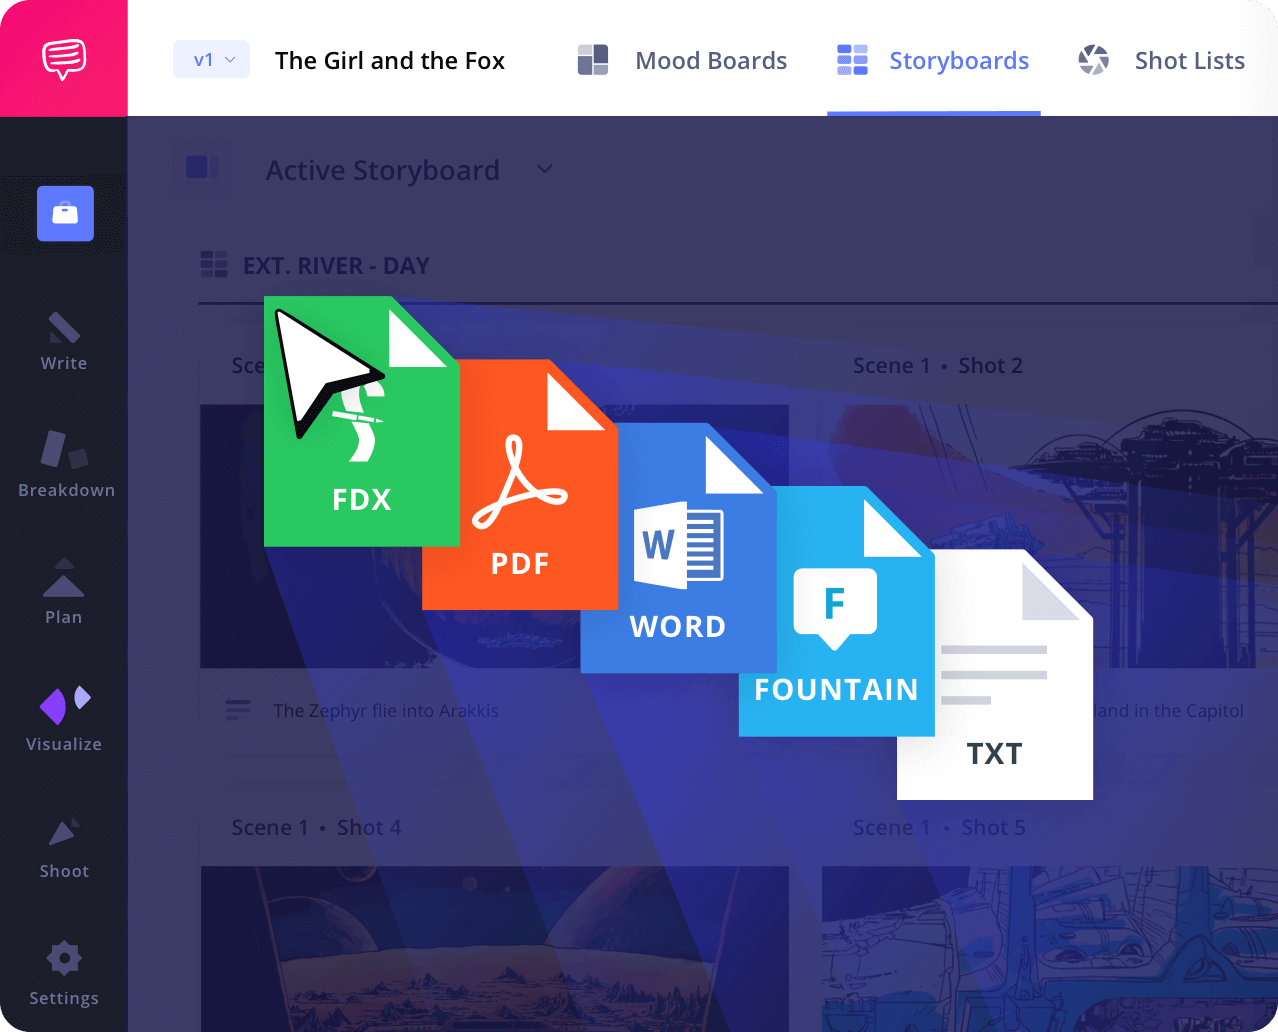
Script to Storyboard
Generate storyboards from your script
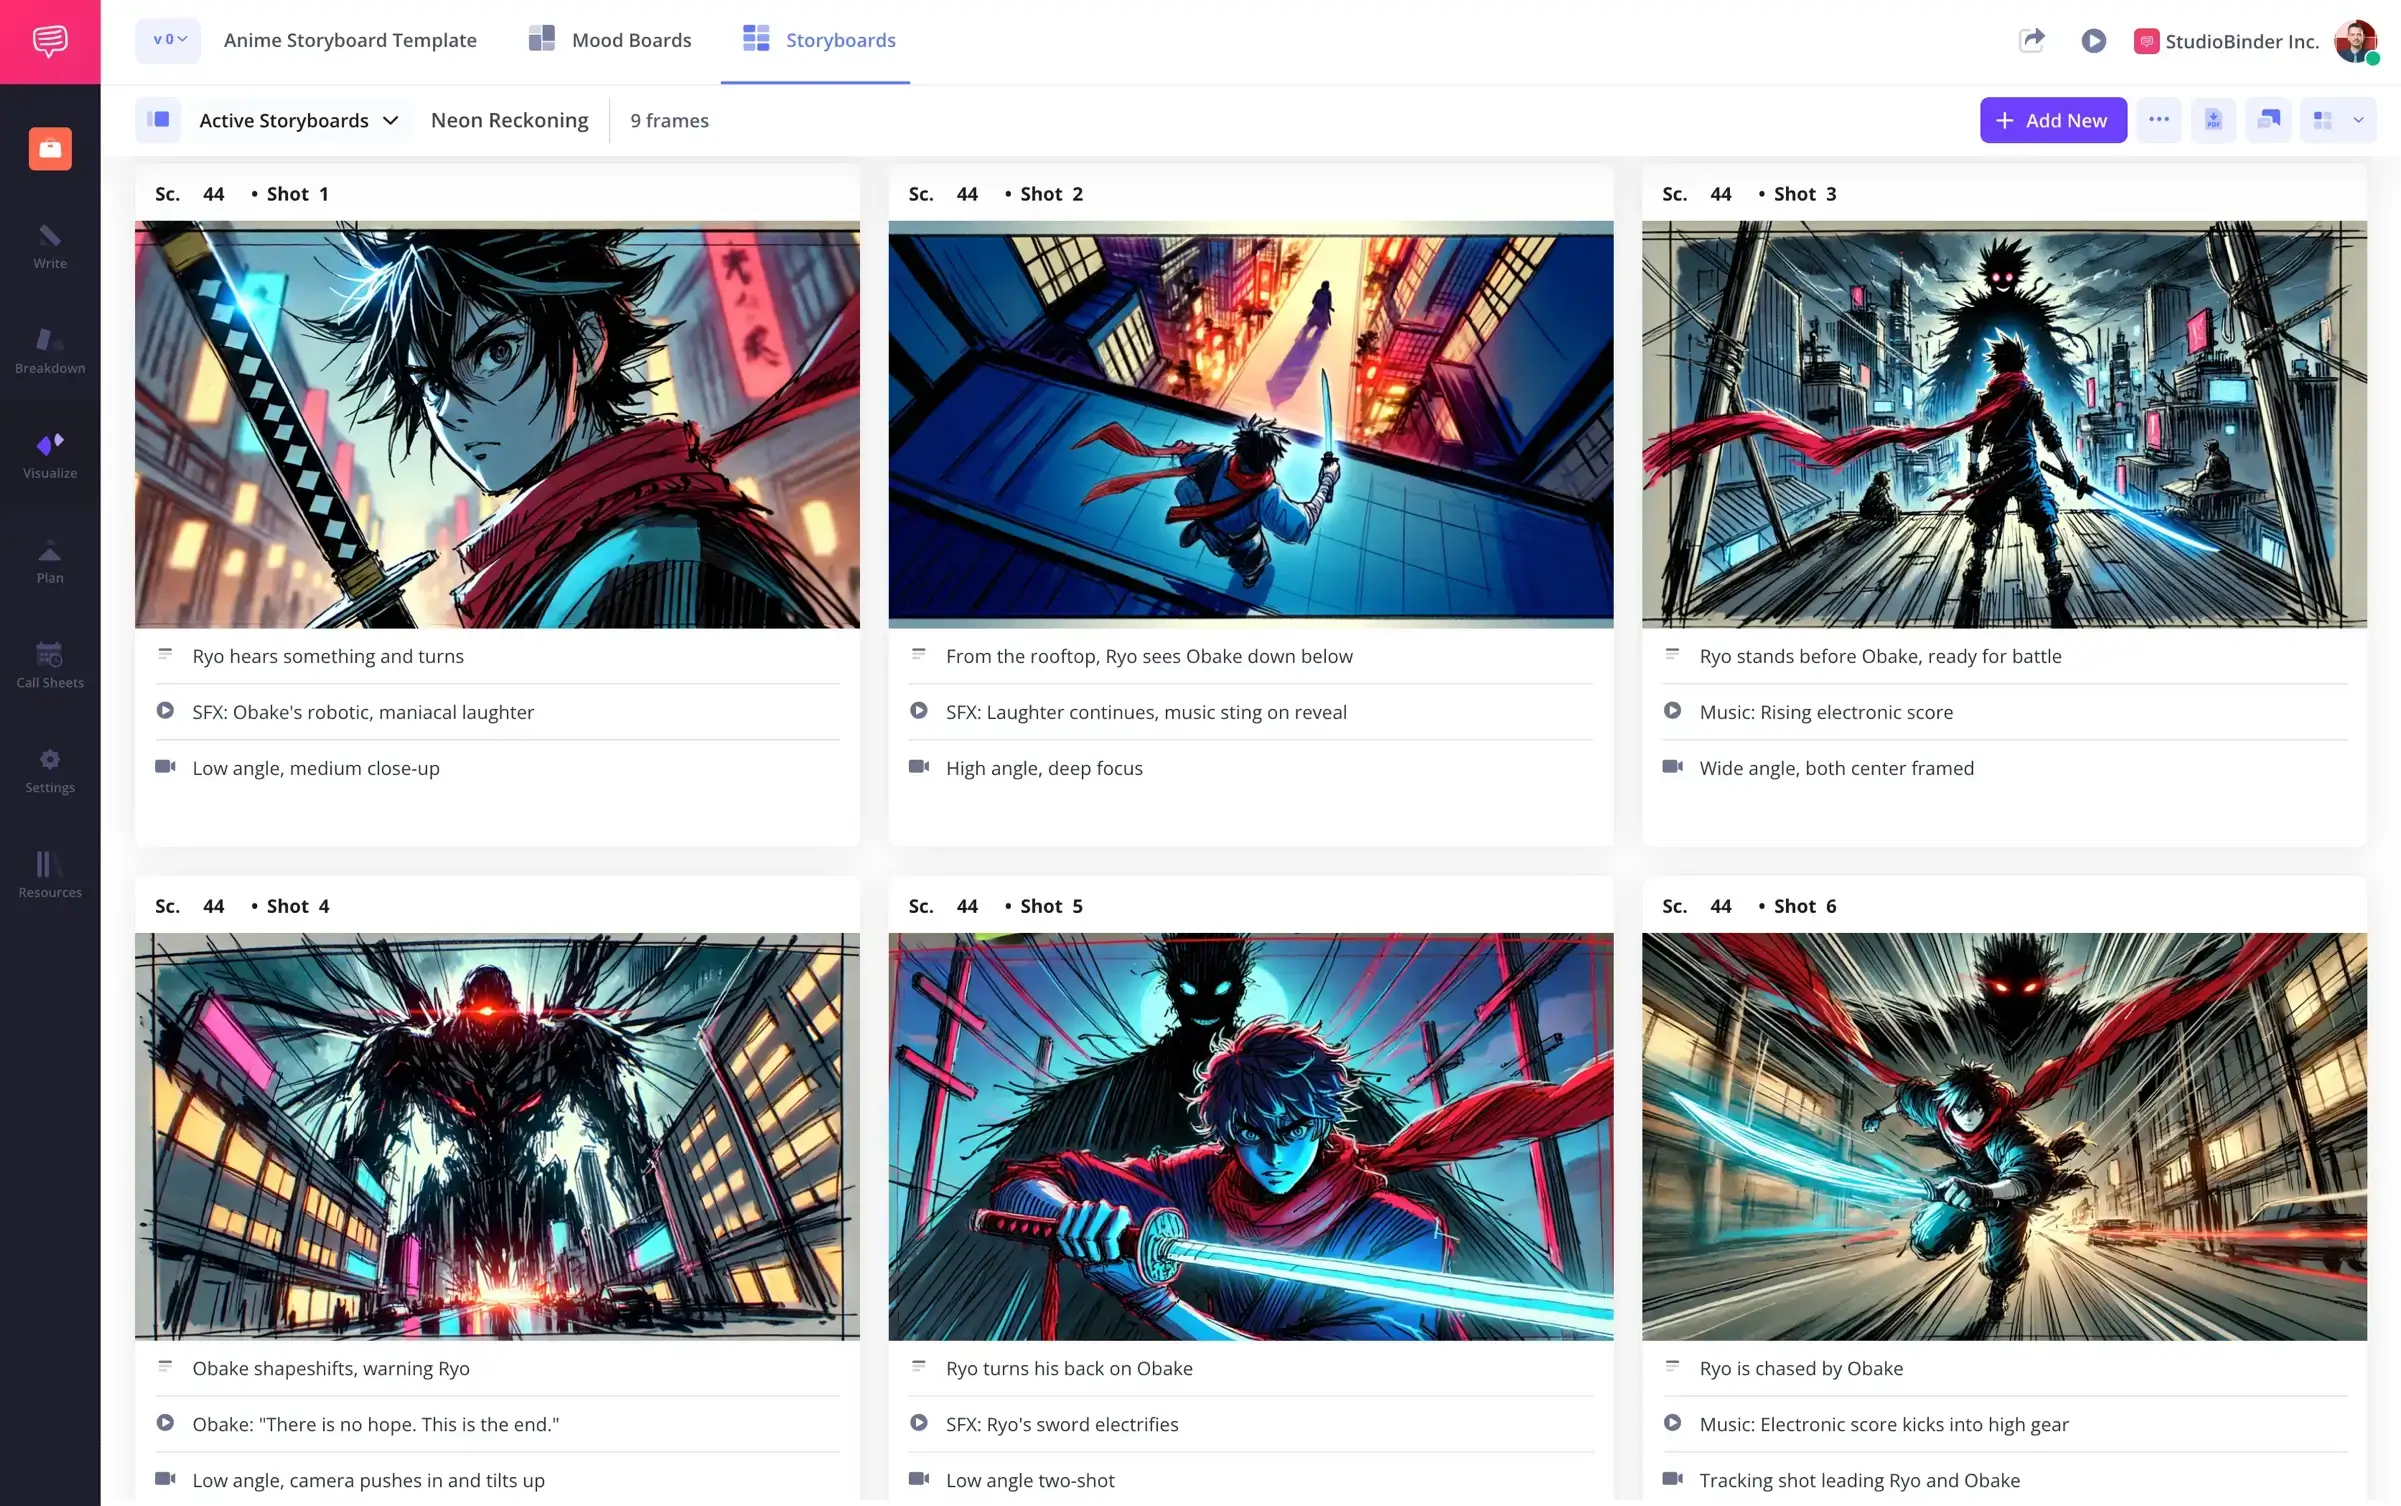
Upload or write your script directly in StudioBinder, and the storyboard builder tool automatically pairs script lines with visual panels, making it simple to see your film before you shoot.
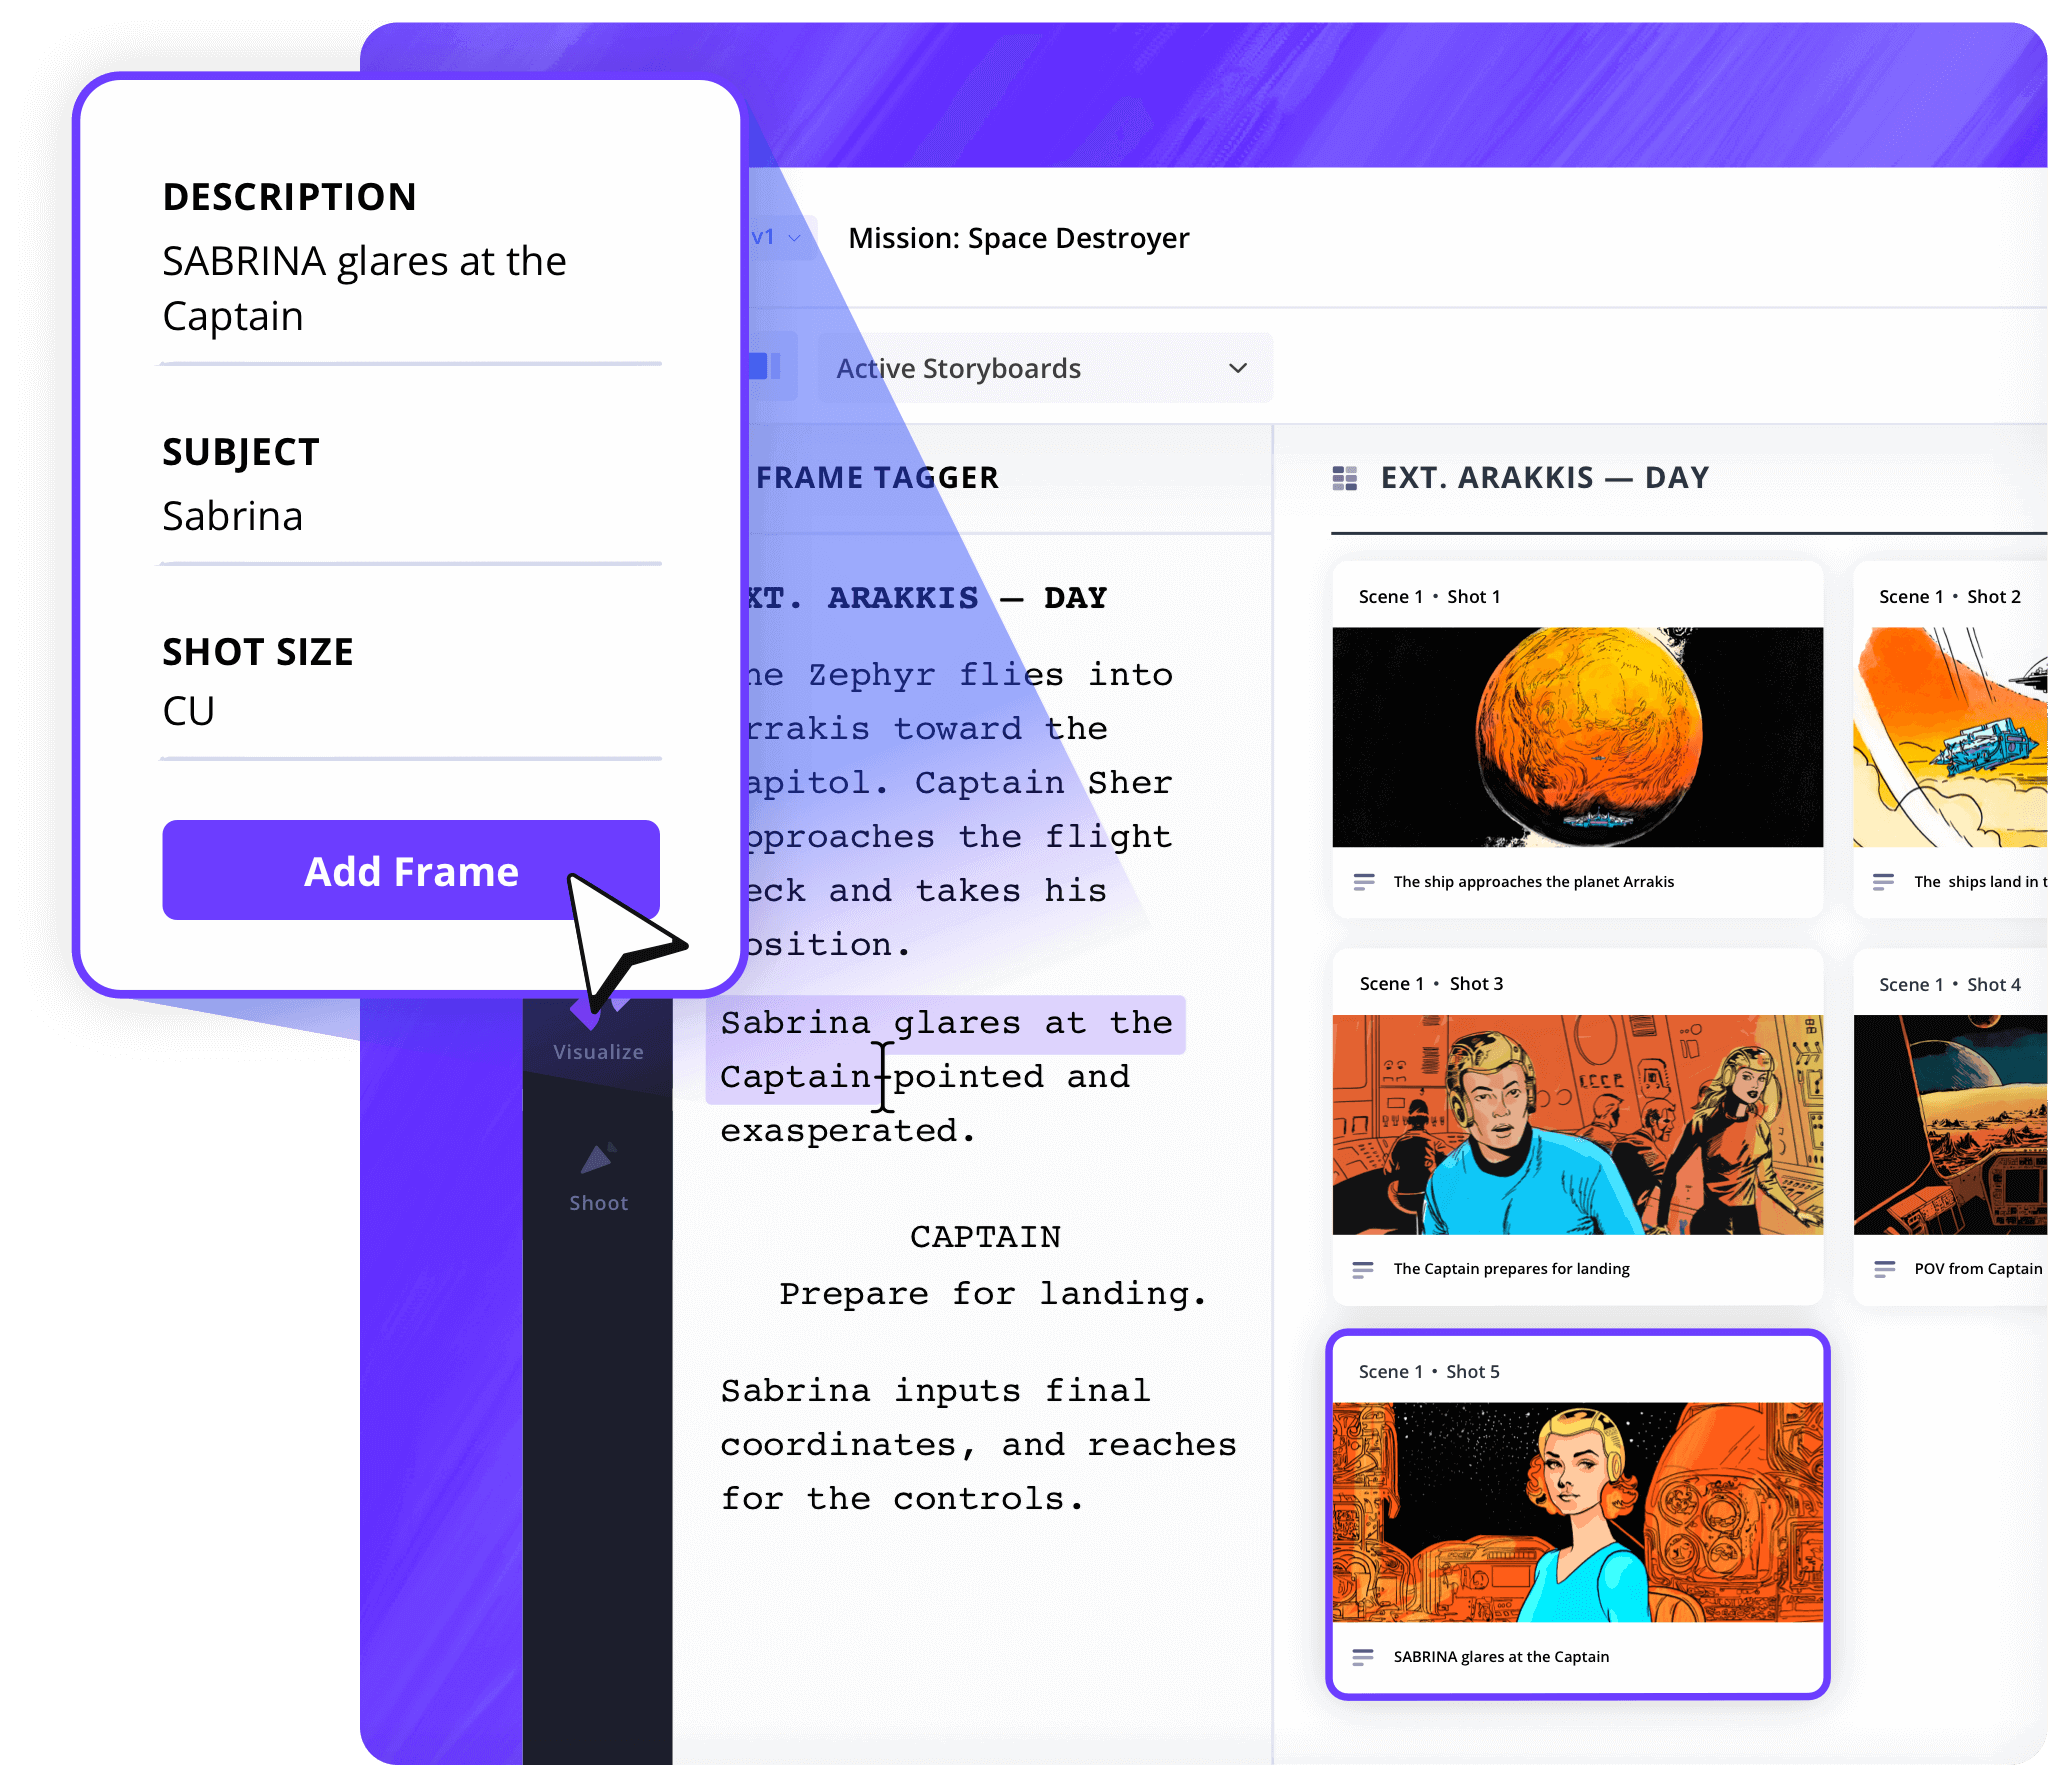
Shot Tagger
Tag shots and create boards in less time
Highlight and tag any part of your script to create a panel instantly with the storyboard creator online, mapping action, dialogue, and camera angles directly from the page to the storyboard.

Shot Specs
Customize your layout
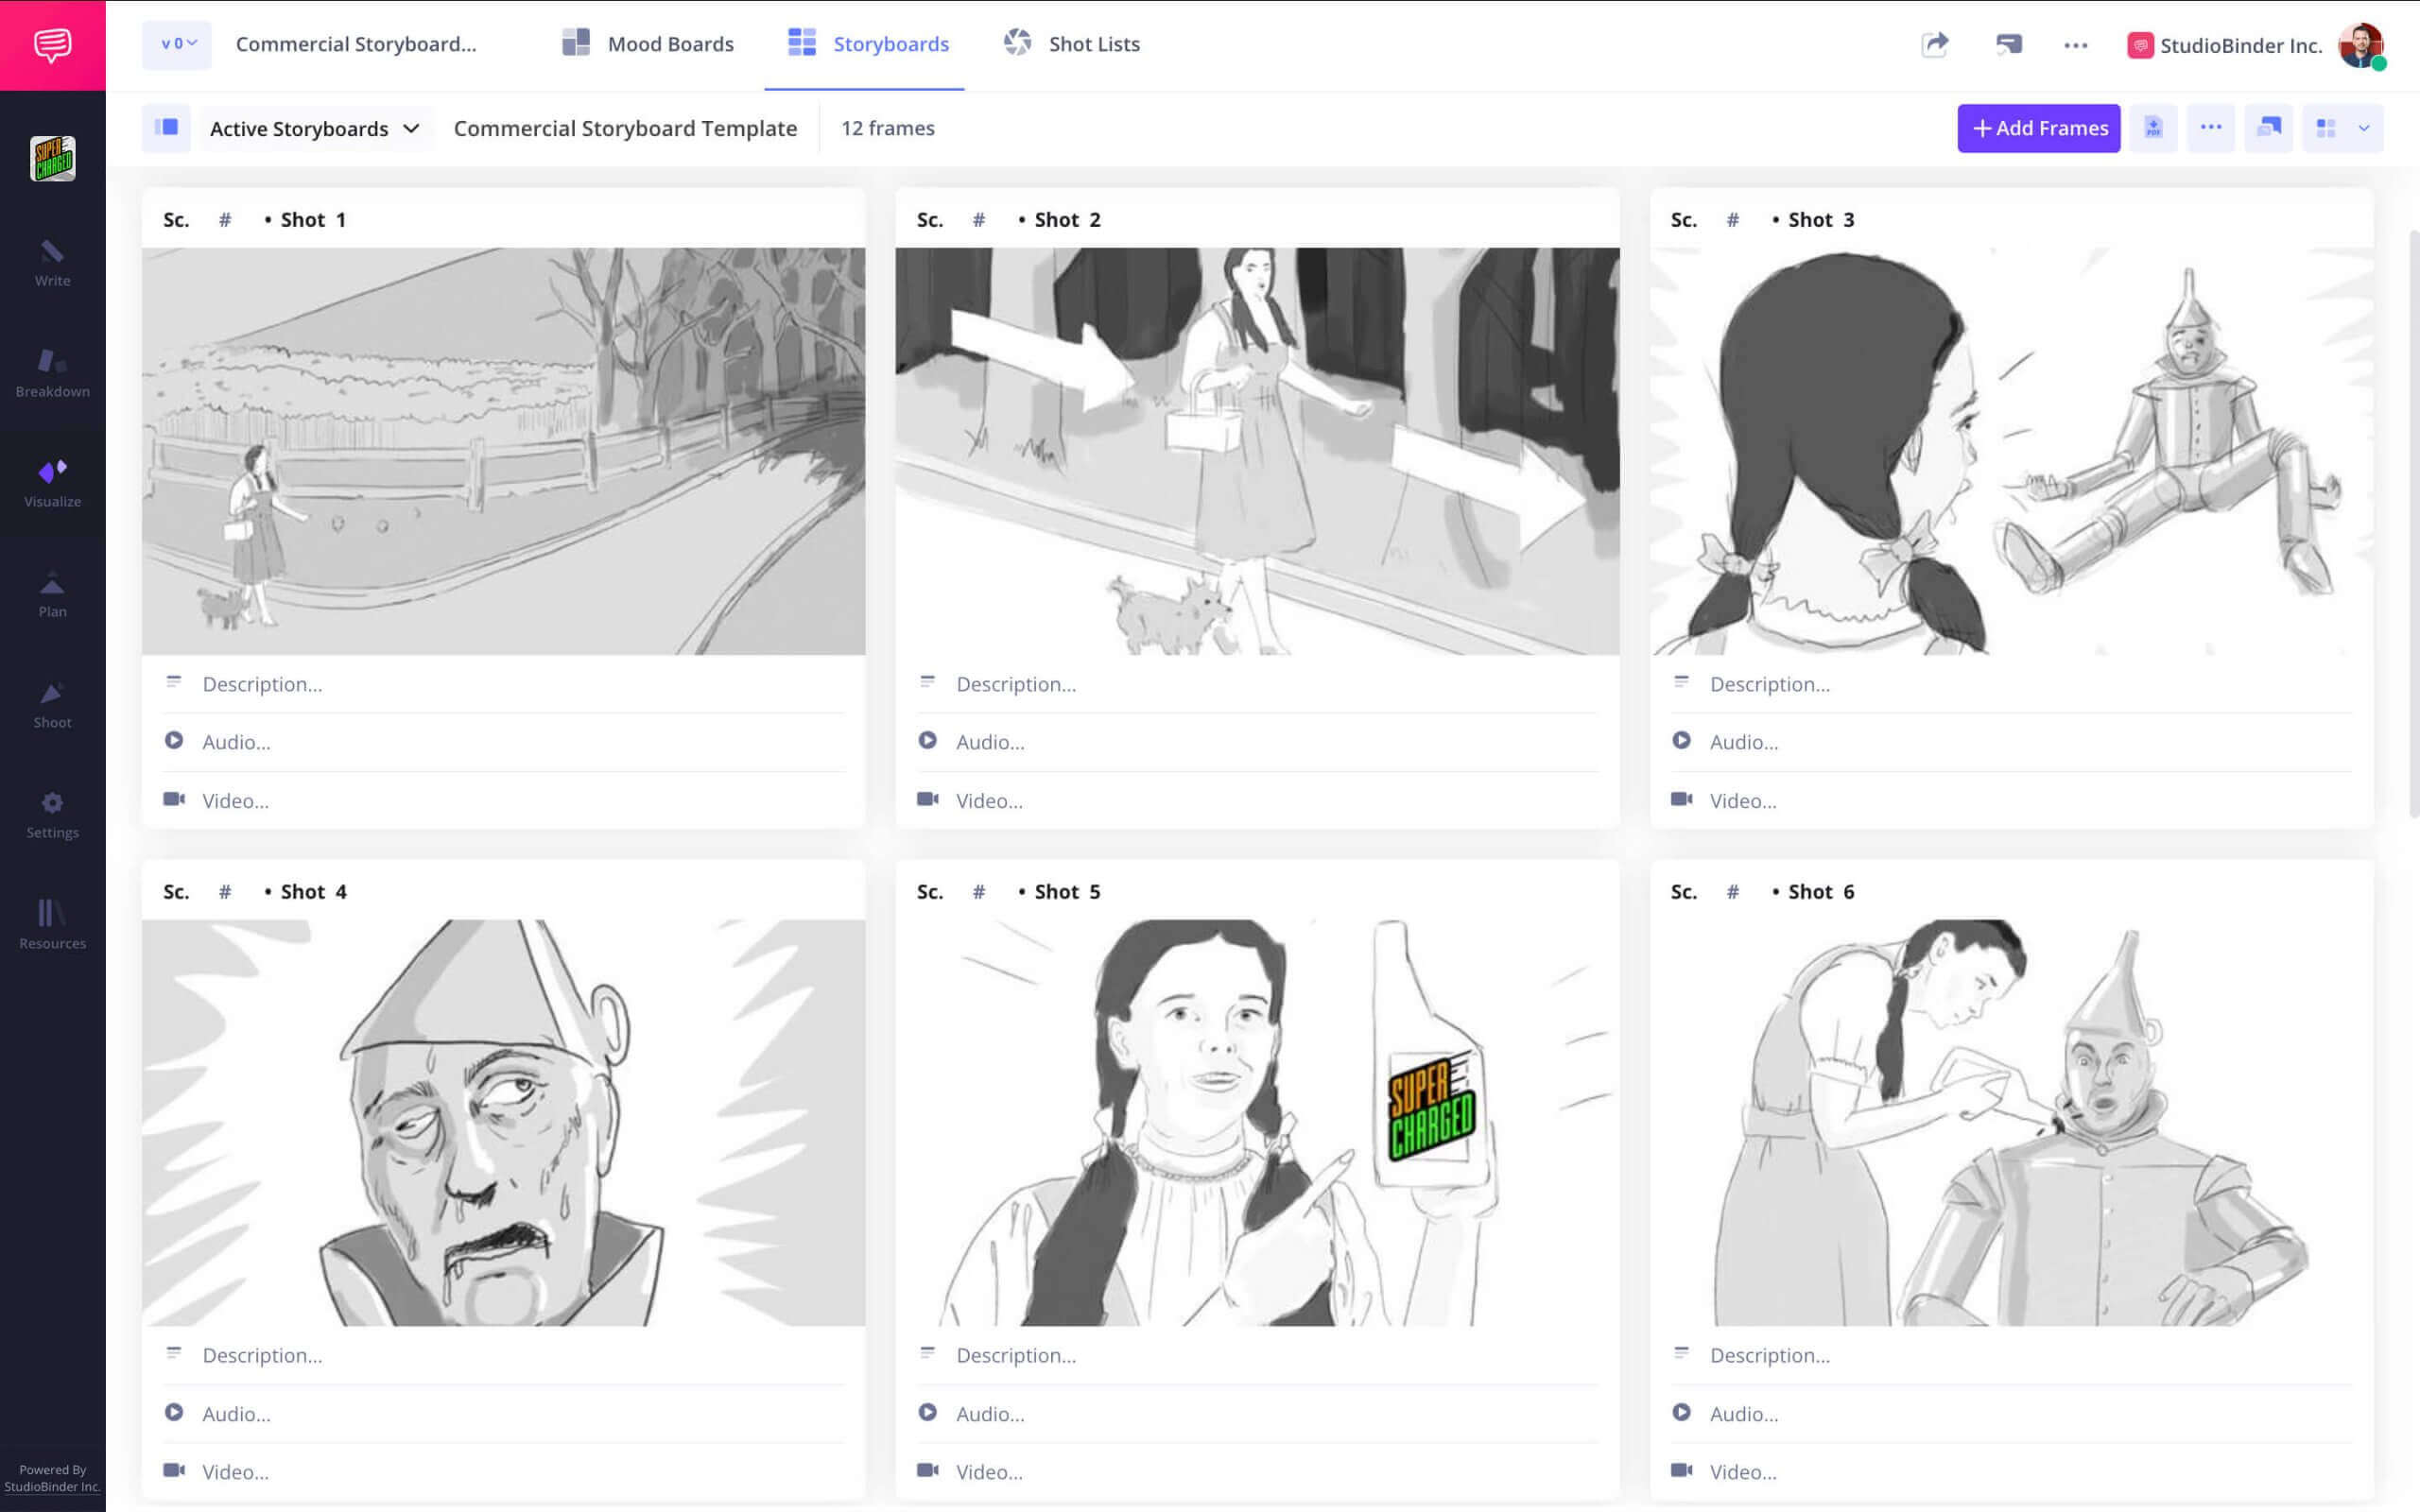
Select from preloaded shot specifications, aspect ratios, and frame guides with the online storyboard maker, using templates designed for film, commercials, and animation projects.
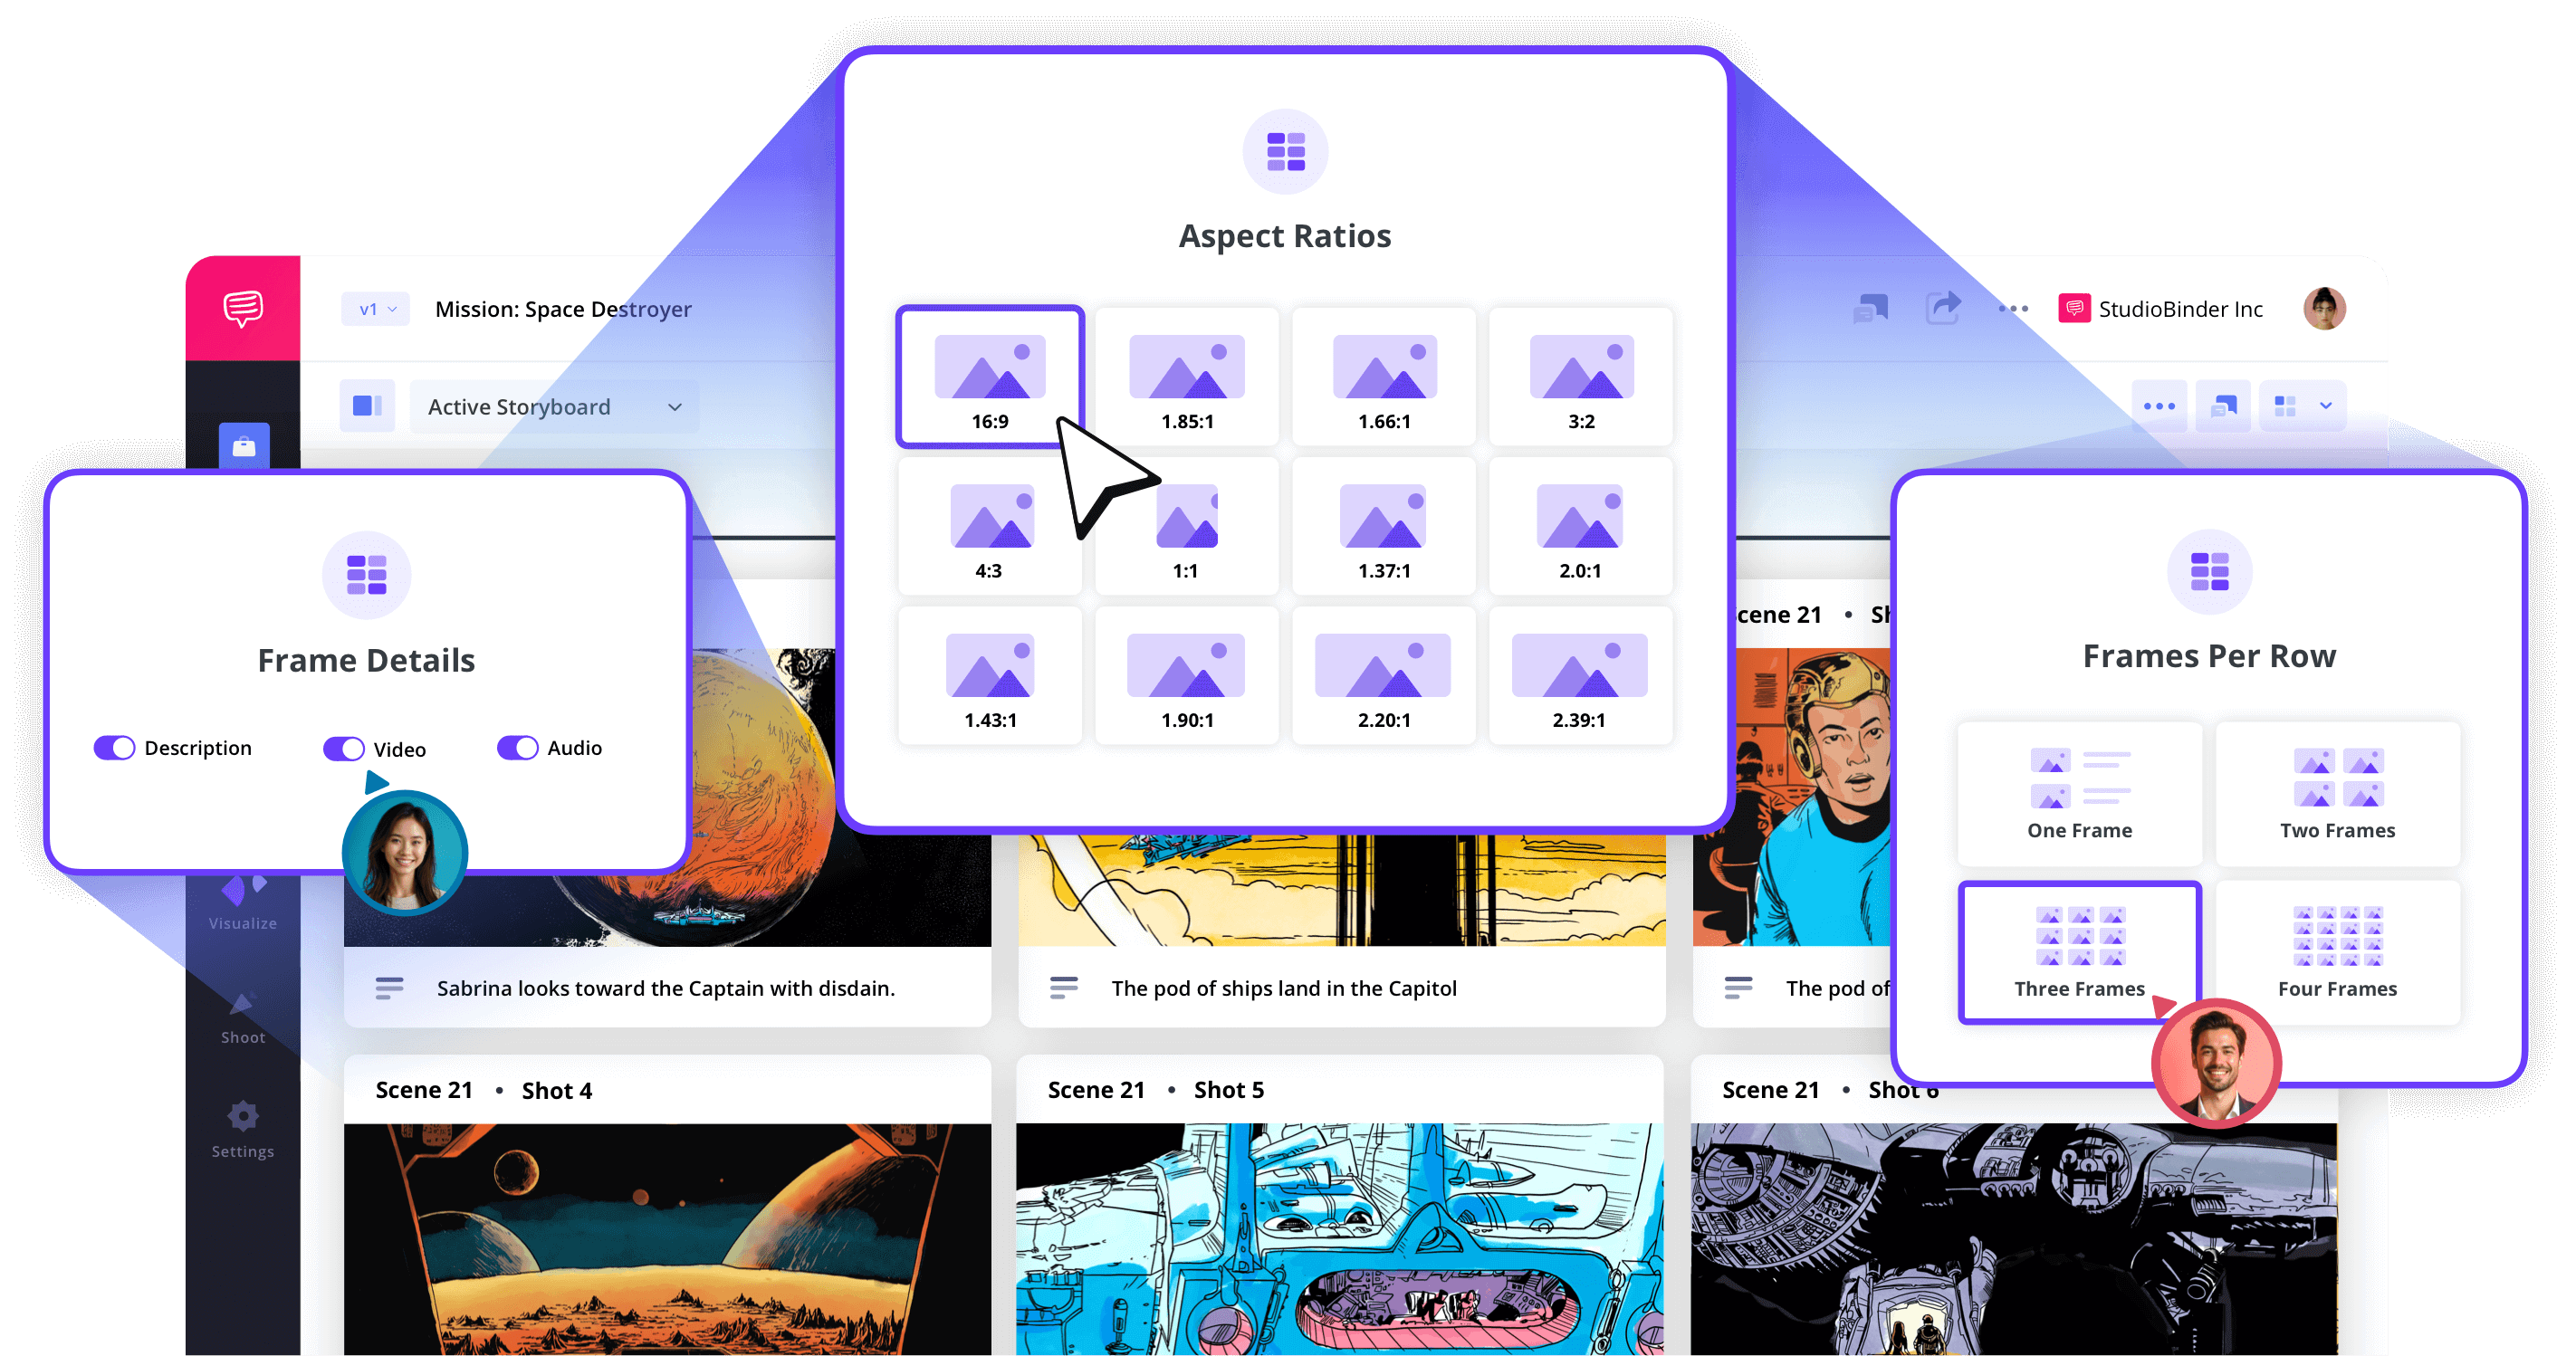
Image Editor
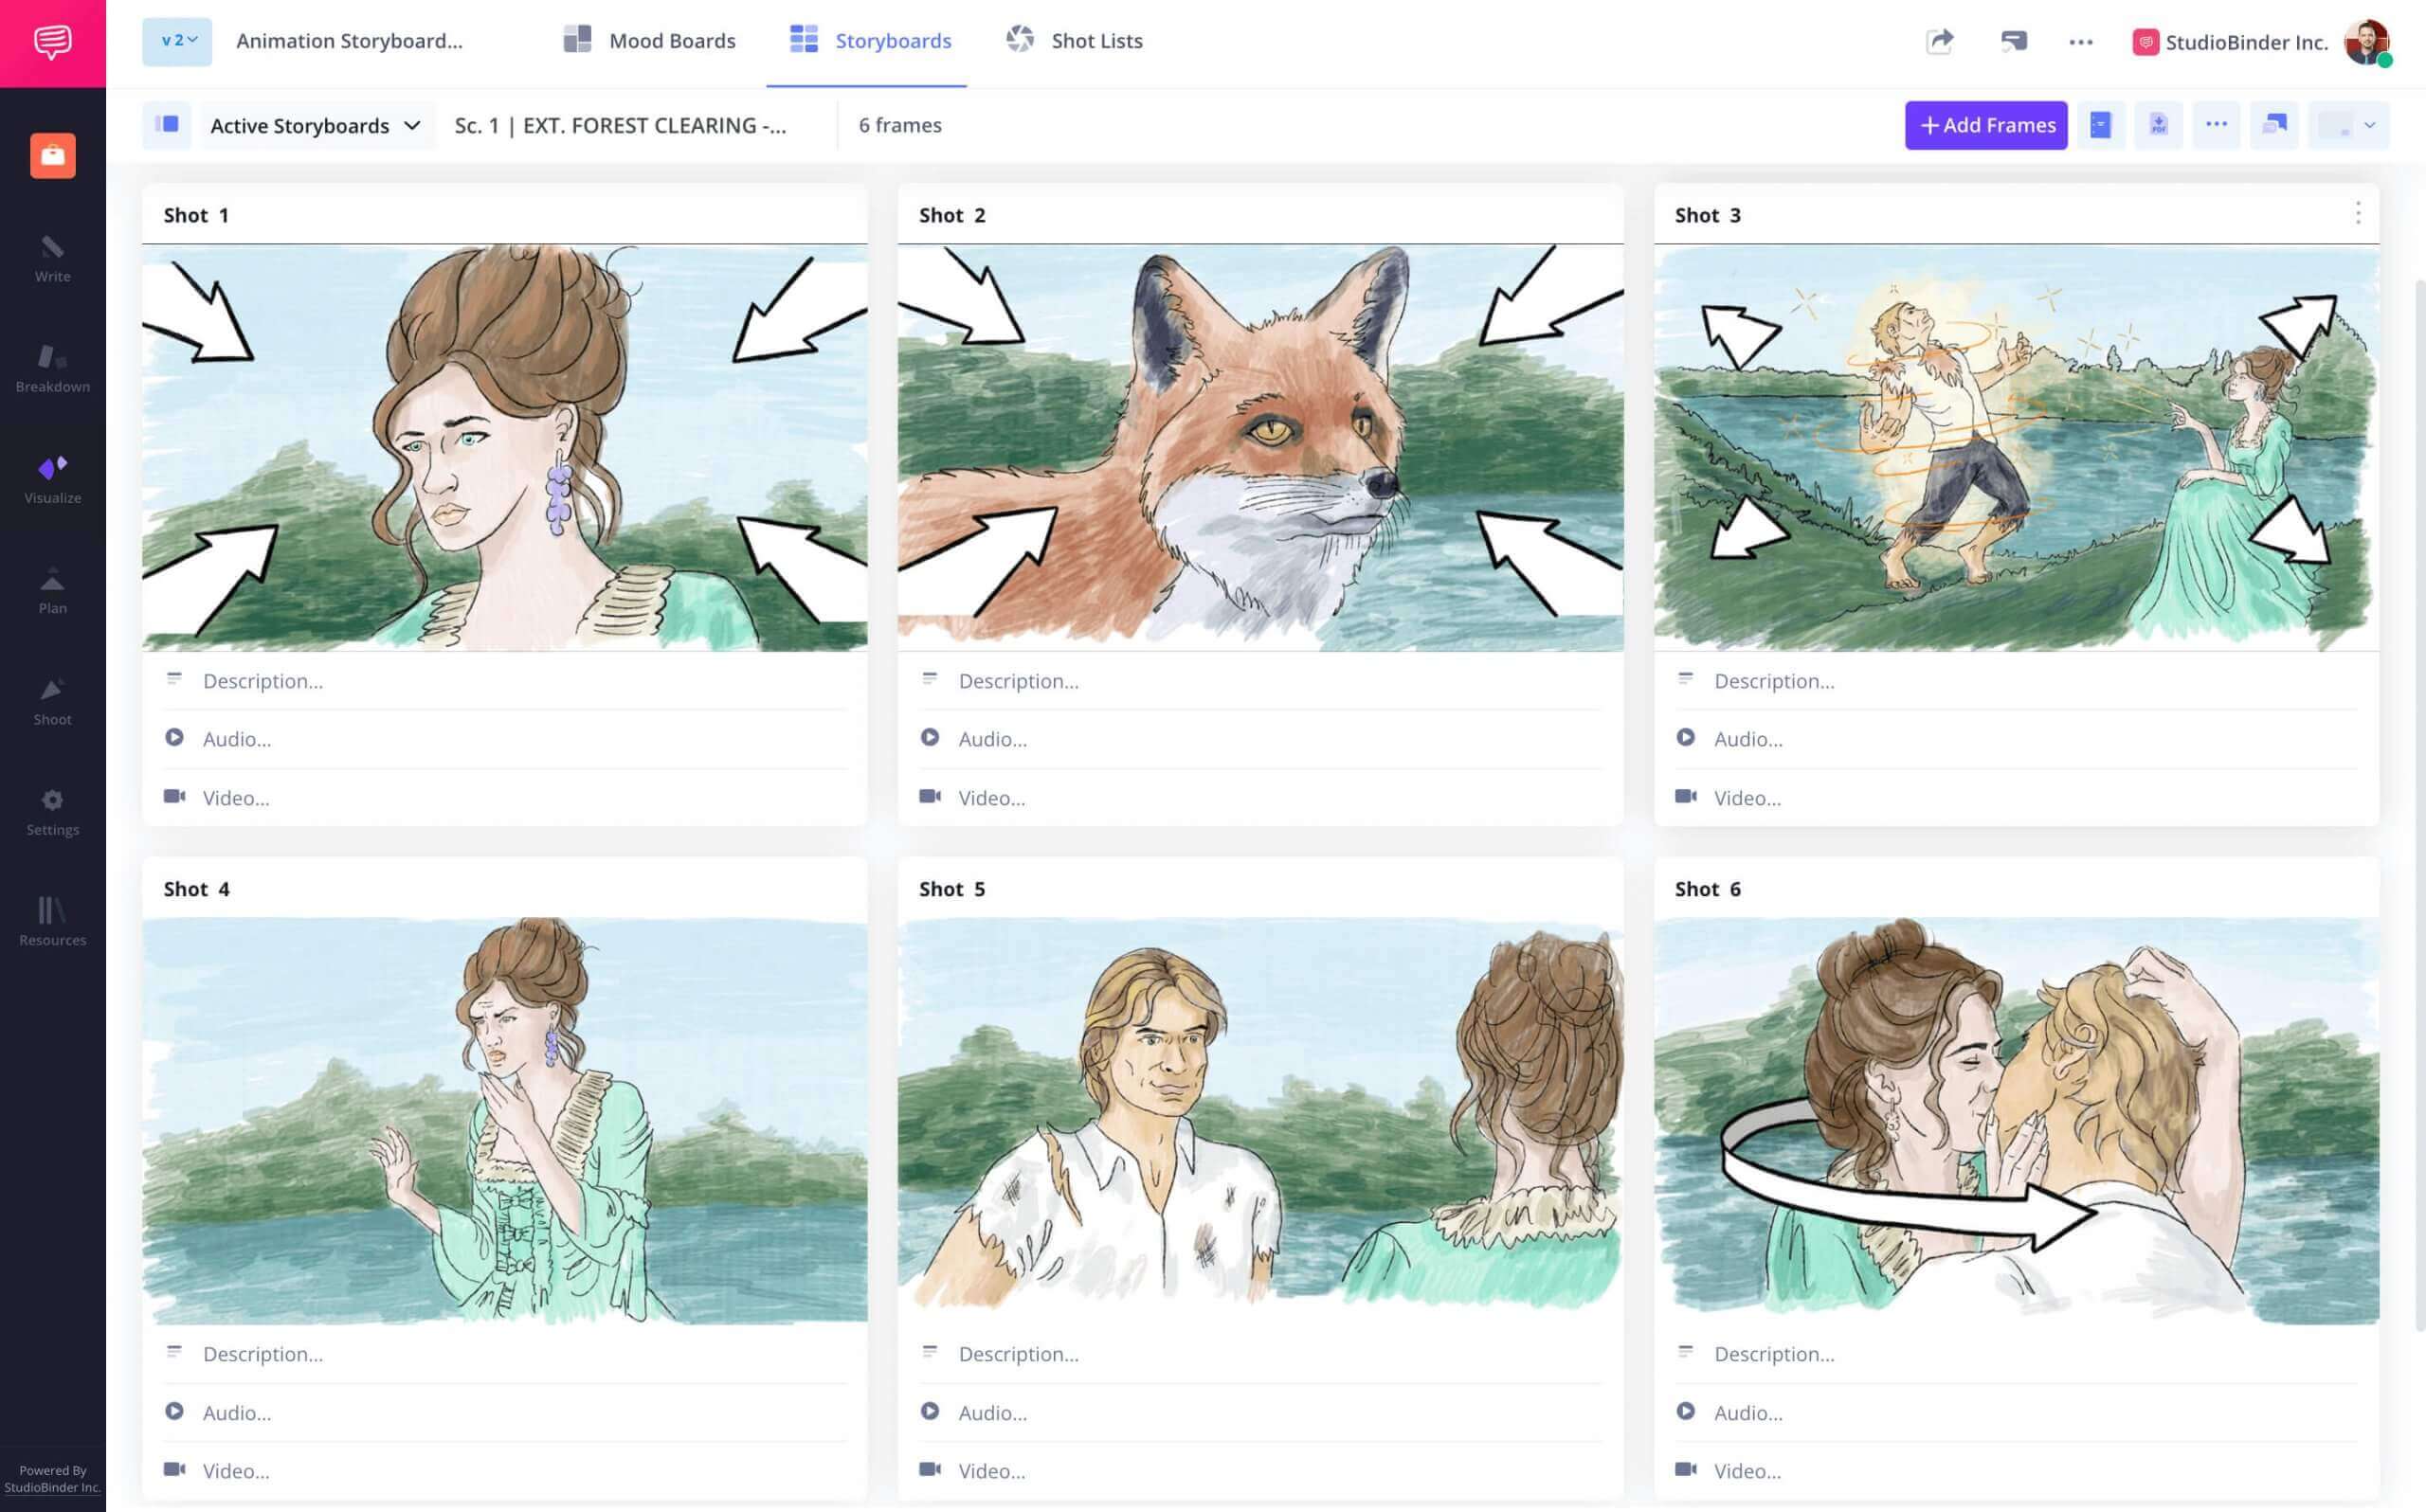
Annotate and add arrows to images
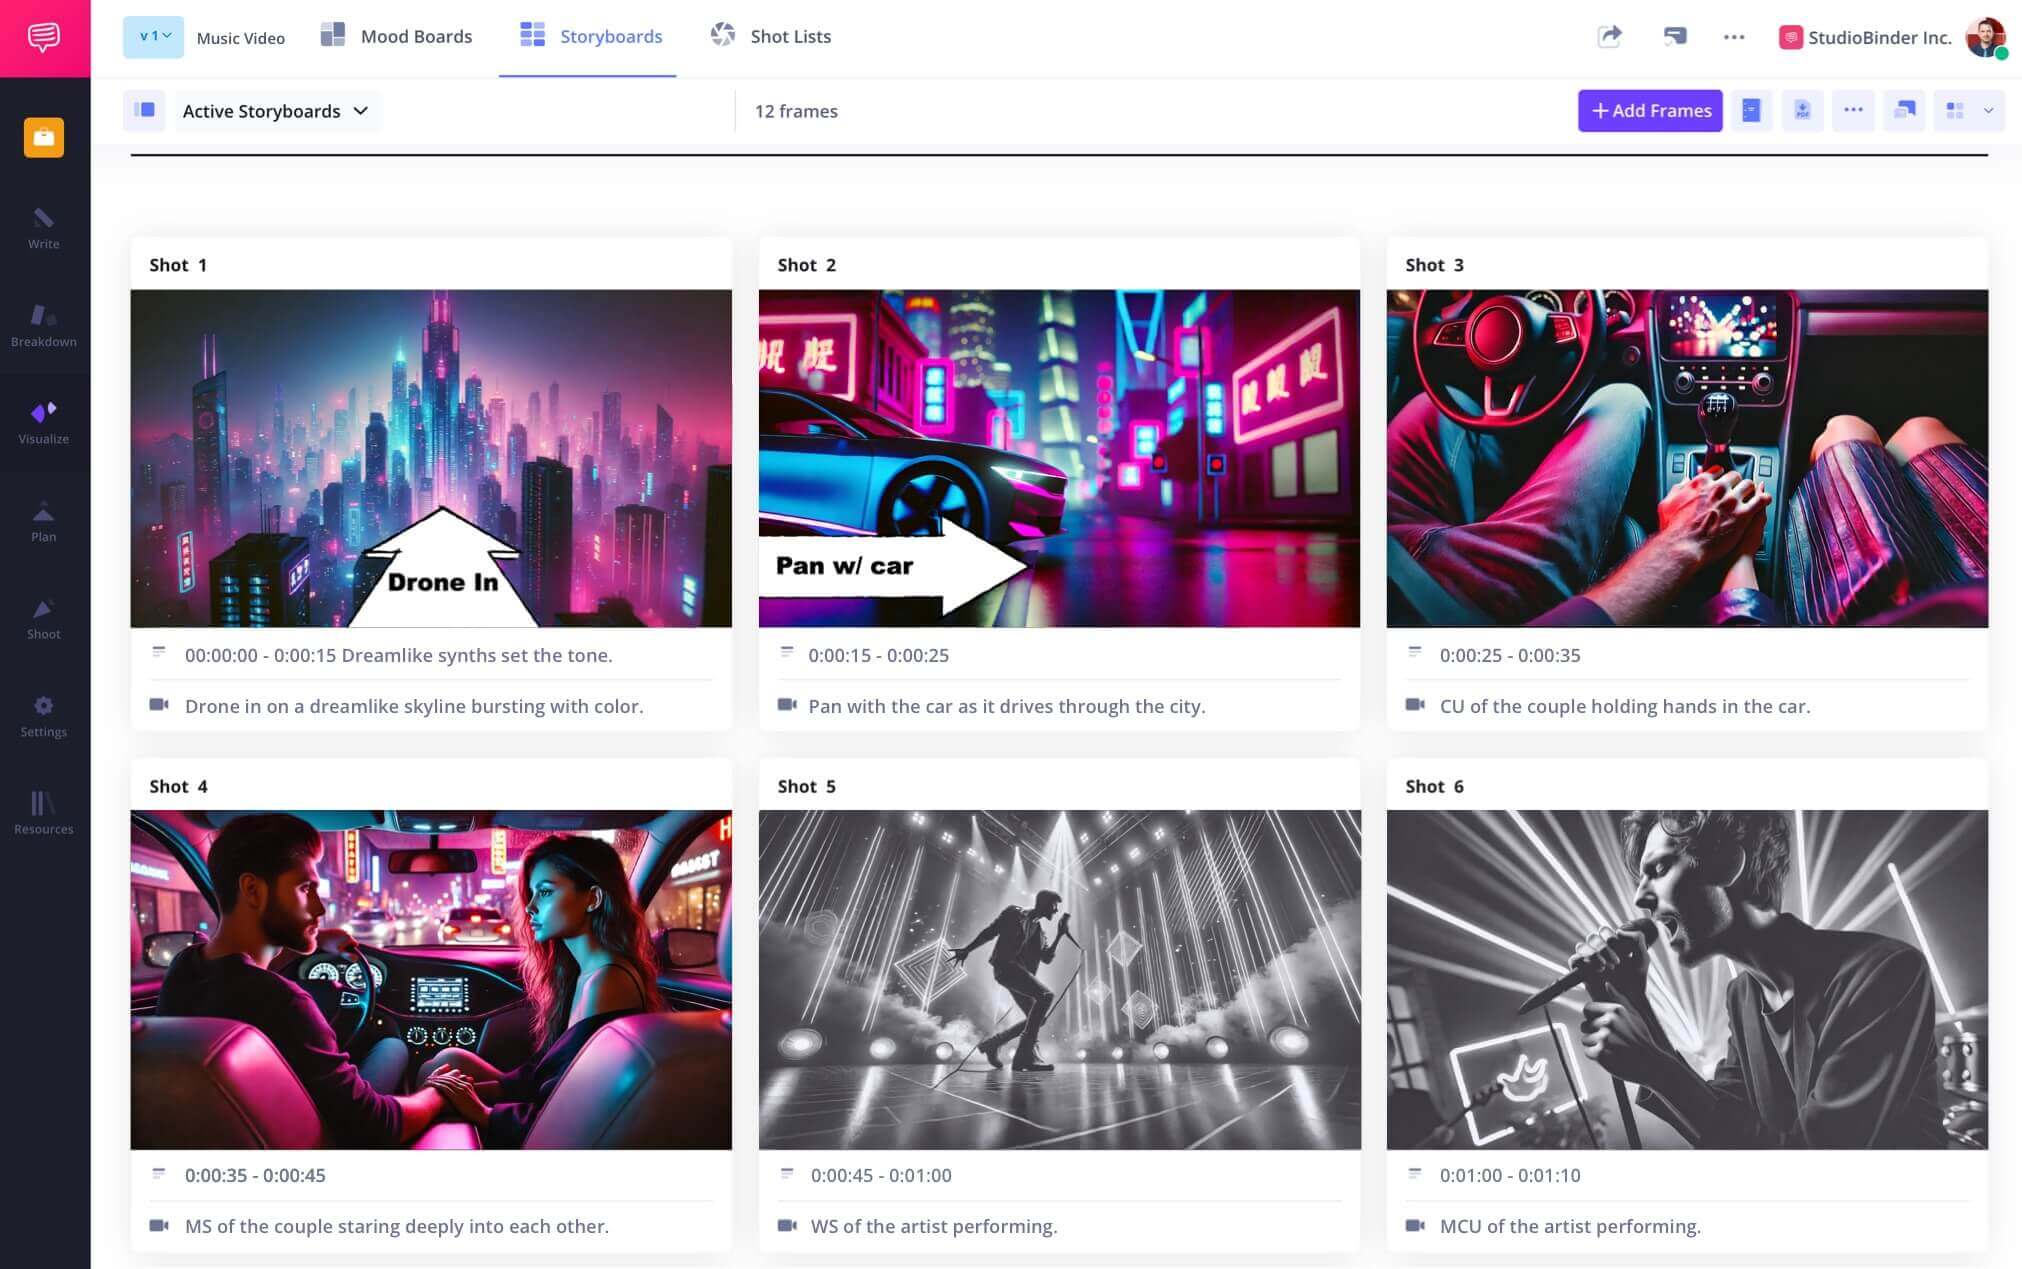
Import photos, sketches, or stills into the storyboard creator tool and use built-in editing features to crop, filter, adjust color, and add storyboard arrows for movement & composition.
Storyboard Groups
Organize your storyboards
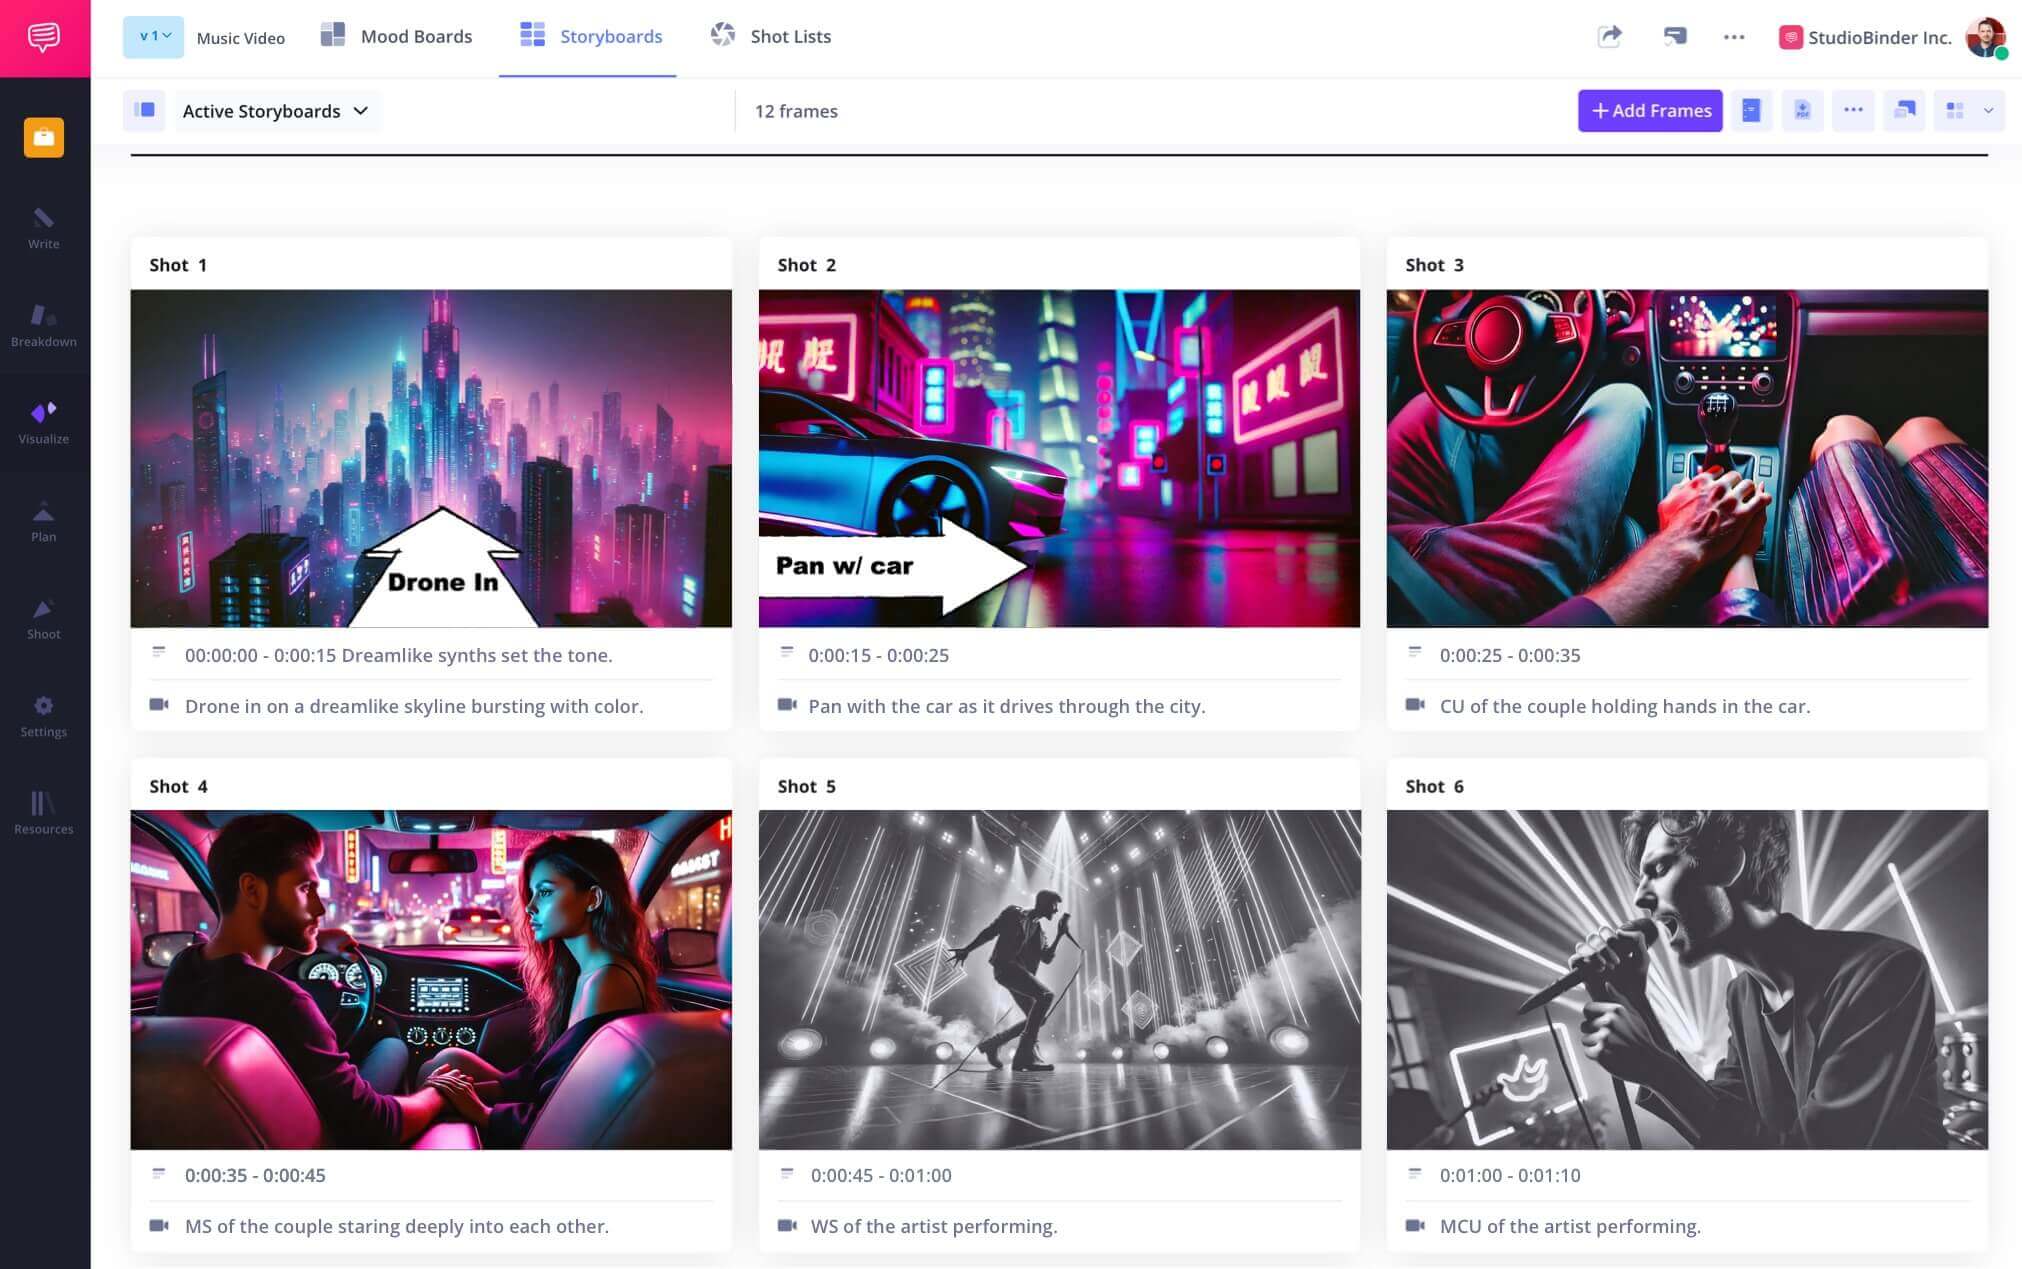
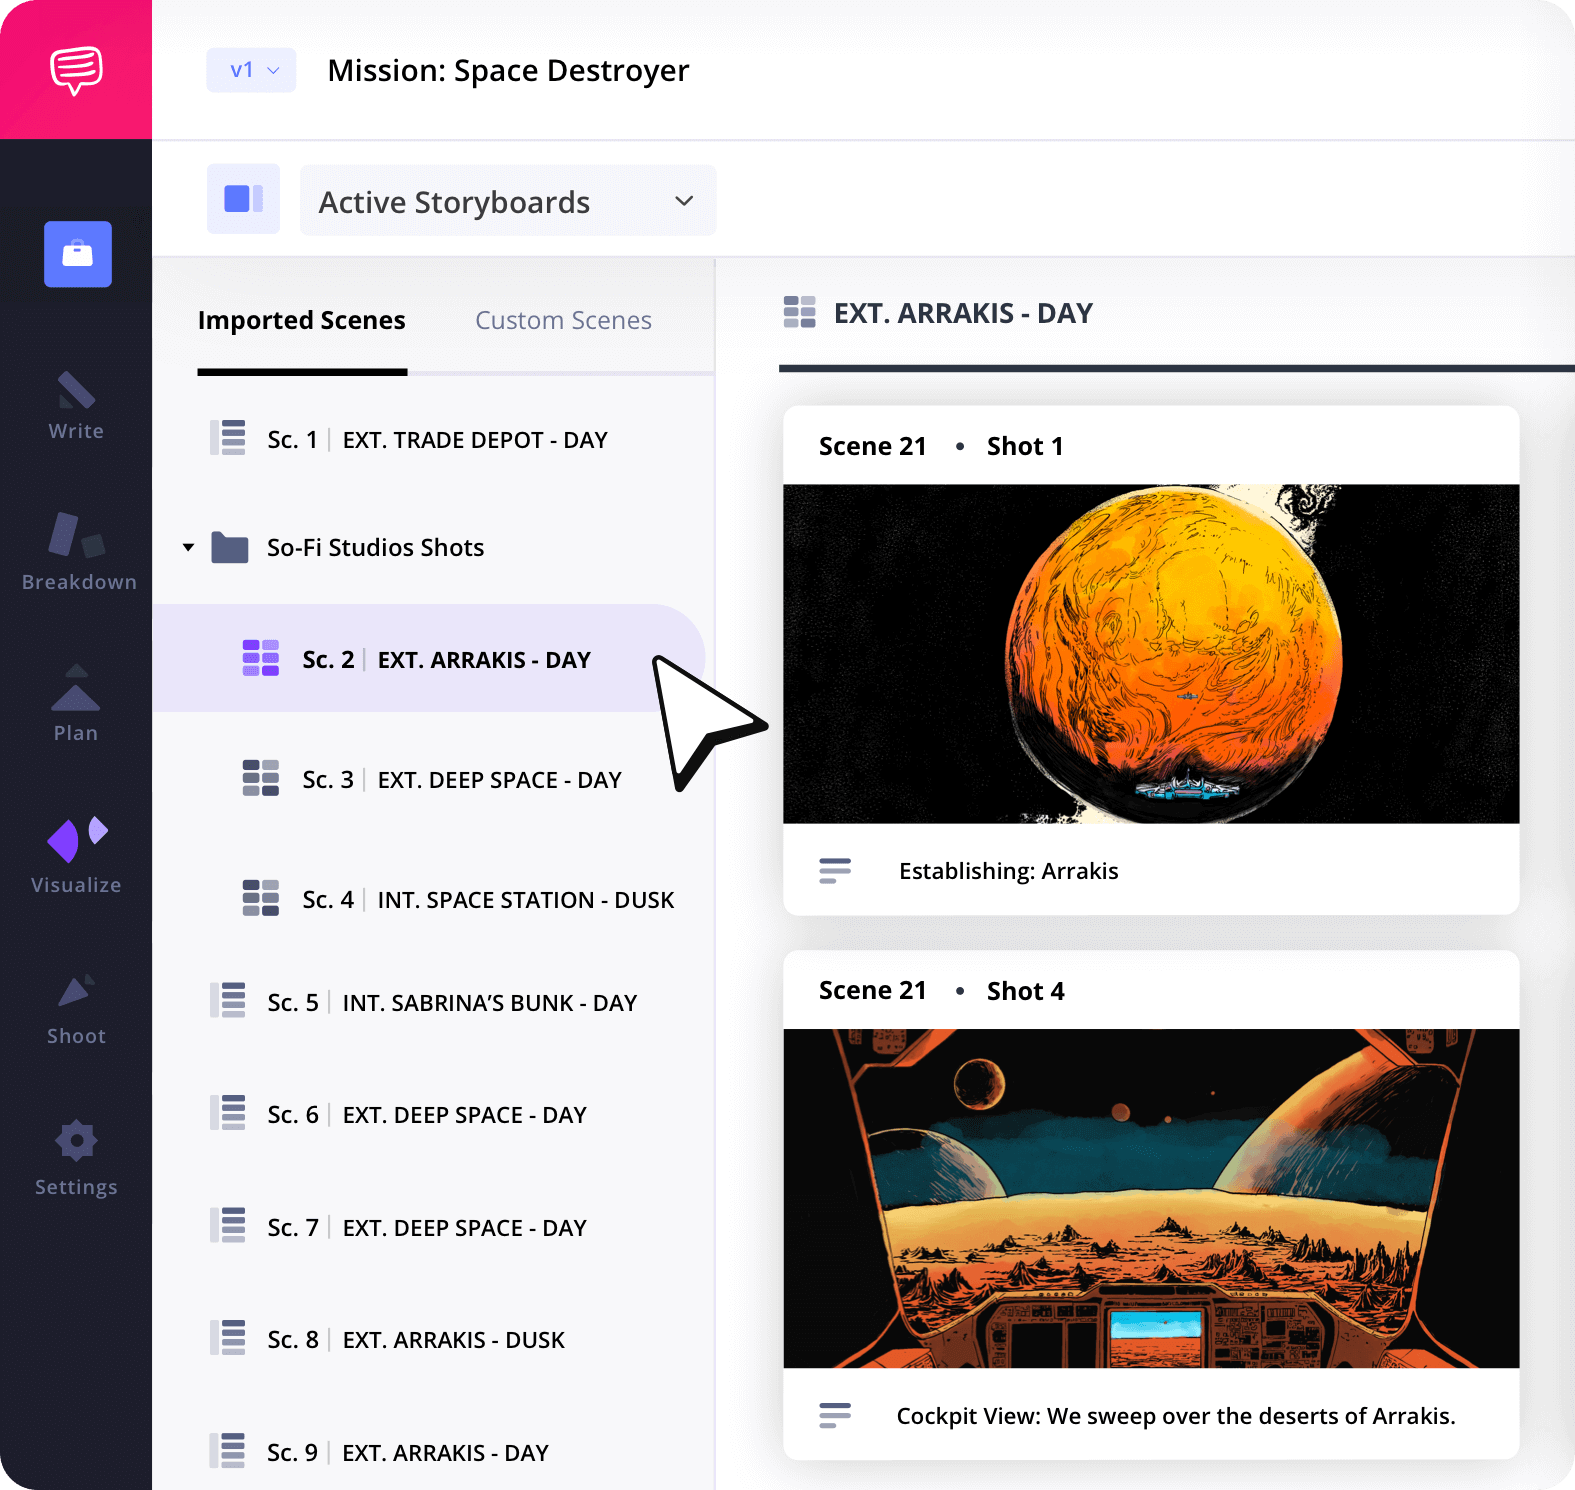
Group storyboard panels by location, shoot date, or sequence with the online storyboard generator, making it easy to manage large productions and keep your visuals organized.
Collaborate
Work on storyboards together
Invite team members to edit, comment, and upload panels instantly using the free storyboard builder online, keeping everyone aligned from directors to department heads.
Customization
Export polished & branded PDFs
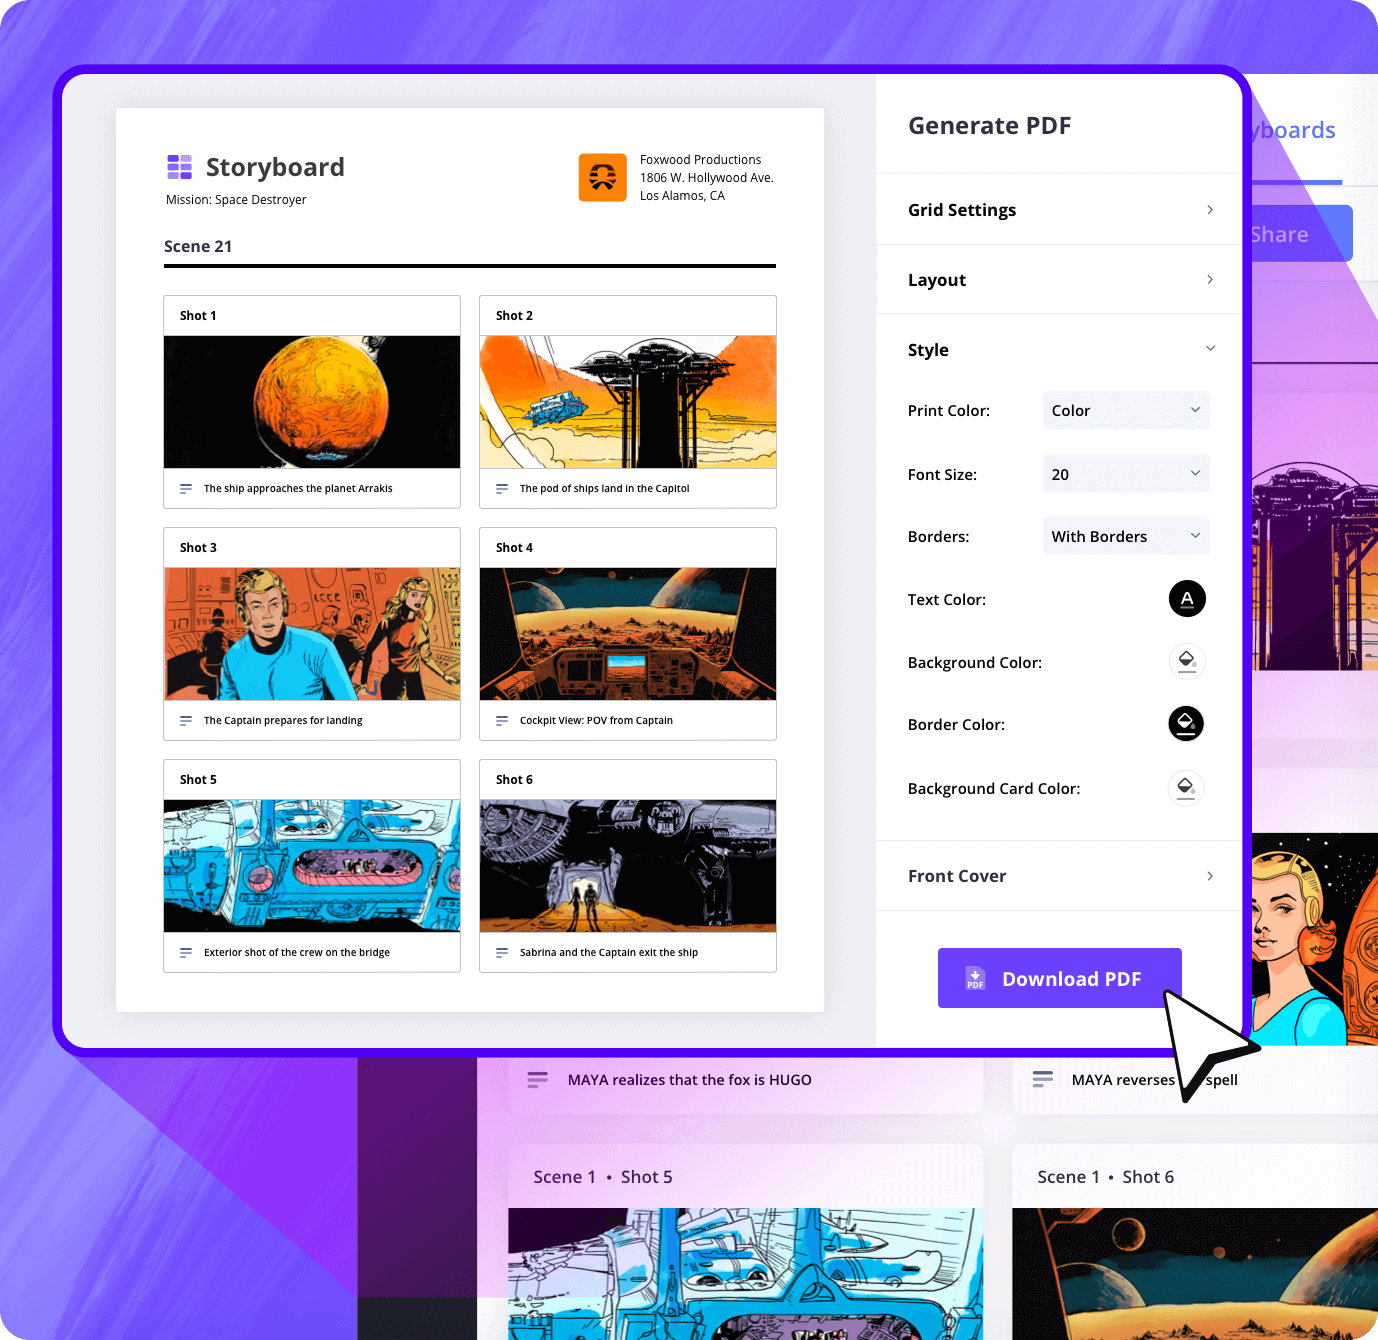
Customize headers, watermarks, page layouts, and colors before exporting with the storyboard online tool to ensure your PDF storyboards look professional for clients and presentations.
Sharing
Share storyboards with a link
Send view-only links or grant editing access to collaborators with our storyboard software online, so your team can review and approve visuals without endless email attachments.
Explore Features
More storyboard features
Aspect Ratios
Choose an aspect ratio that best suits your project.
Column Layouts
Adjust how many columns your storyboard will have.
Image Library
Reuse storyboard panels from previous projects.
Shot Numbering
Choose between digits, letters, or a custom shot numbering.
Storyboard Archive
Archive old storyboards to keep an accessible history.
Color-Code Shots
Label or call out specialty shots with colors.

What are the 8 steps in storyboarding?
Open StudioBinder on your browser.
Click on the Storyboards tab on the project homepage.
Choose to either import a script or create a storyboard manually.
Name the storyboard, set the aspect ratio, and select the number of frames.
Add an image to each frame from the Media Library or upload new images.
Edit your images with a suite of tools, including filters, text, and arrows.
Enter details, including the scene number, description, and notes.
Create a custom PDF, send a view-only link, or invite collaborators for feedback.
Frequently Asked Questions
Your questions, answered
Yes! StudioBinder is free to use. StudioBinder is and will forever be free to access and use whether you are on a Free, Teams, Education, or Enterprise account. However, there may be some additional features or content you get access to with paid subscriptions.
No, most storyboards do not contain dialogue. Maybe a word or two inside the image, but this is very rare. Each panel's description can add context related to the dialogue. For example, "Tommy talks about his dad."
Yes, most AI image generators are able to create storyboard images. With the proper prompts, they can be made to look like a hand-drawn traditional style, or a photorealistic depiction. You can also have the generator include text and storyboard arrows.
This is a big question these days. There are certainly pros and cons on either side of the question, so if it's a question of ethics, you'll have to decide that yourself.
Every Storyboard Artist has their own personal process, but here are 7 basic steps in the storyboarding process that are the most universal.
- Start with a blank template
- Read the script and decide which shots to include
- Add your images (hand-drawn or uploaded)
- Annotate the image with text or arrows, if applicable
- Write a description for each shot with context
- Include notes for special considerations like stunts or VFX
- Share and get feedback, and adjust the storyboard as needed
For beginners, the storyboarding process can be very simple. Start with a blank template and start adding or drawing images in each frame. These represent different shots in your scene from the camera's perspective. Add a description to each shot so when you share it, people will understand the context. Do this for as many shots and scenes as you want, particularly those that will be more complicated to shoot during production.
Yes, storyboards are drawn/written by hand all the time. It's a more laborious process but some creators prefer it to the digital storyboarding process.
Customers
Trusted by the Best
Modernizing production workflows at renowned studios worldwide.






Today’s productions use StudioBinder to streamline their process, and collaborate on better content together.
"I can be a part of the conversation and see when someone finishes a task."
Watch Testimonial ➜
"StudioBinder makes pre-production that much quicker for out team."
Watch Testimonial ➜
"Call sheet confirmations have instantly made our life that much easier."
Watch Testimonial ➜
