Fashion Design Mood Board Template
Visualize your fashion designs
Mood boards serve as a visual guide, combining a variety of inspirations into one cohesive presentation. Crafting a fashion design mood board requires thoughtful curation and creativity to clearly express your fashion ideas.
While our guide will illustrate using digital platforms like StudioBinder’s mood board creator for ease of organization and collaboration, the process remains universal.
Steps in this guide
Step 1
1. Find Examples
With a new fashion design project, start with a new mood board. —a clean slate for brainstorming. Fashion mood boards vary greatly depending on the project at hand. For a high-fashion collection, you might look at editorial shoots, color trends, and fabric textures, while a streetwear line focus on urban and cultural symbols.
Explore existing mood board examples from fashion designers or fashion campaigns to understand different styles and components. Make notes of elements that resonate with you, such as the color palettes or the way images are arranged.

How to do this in StudioBinder
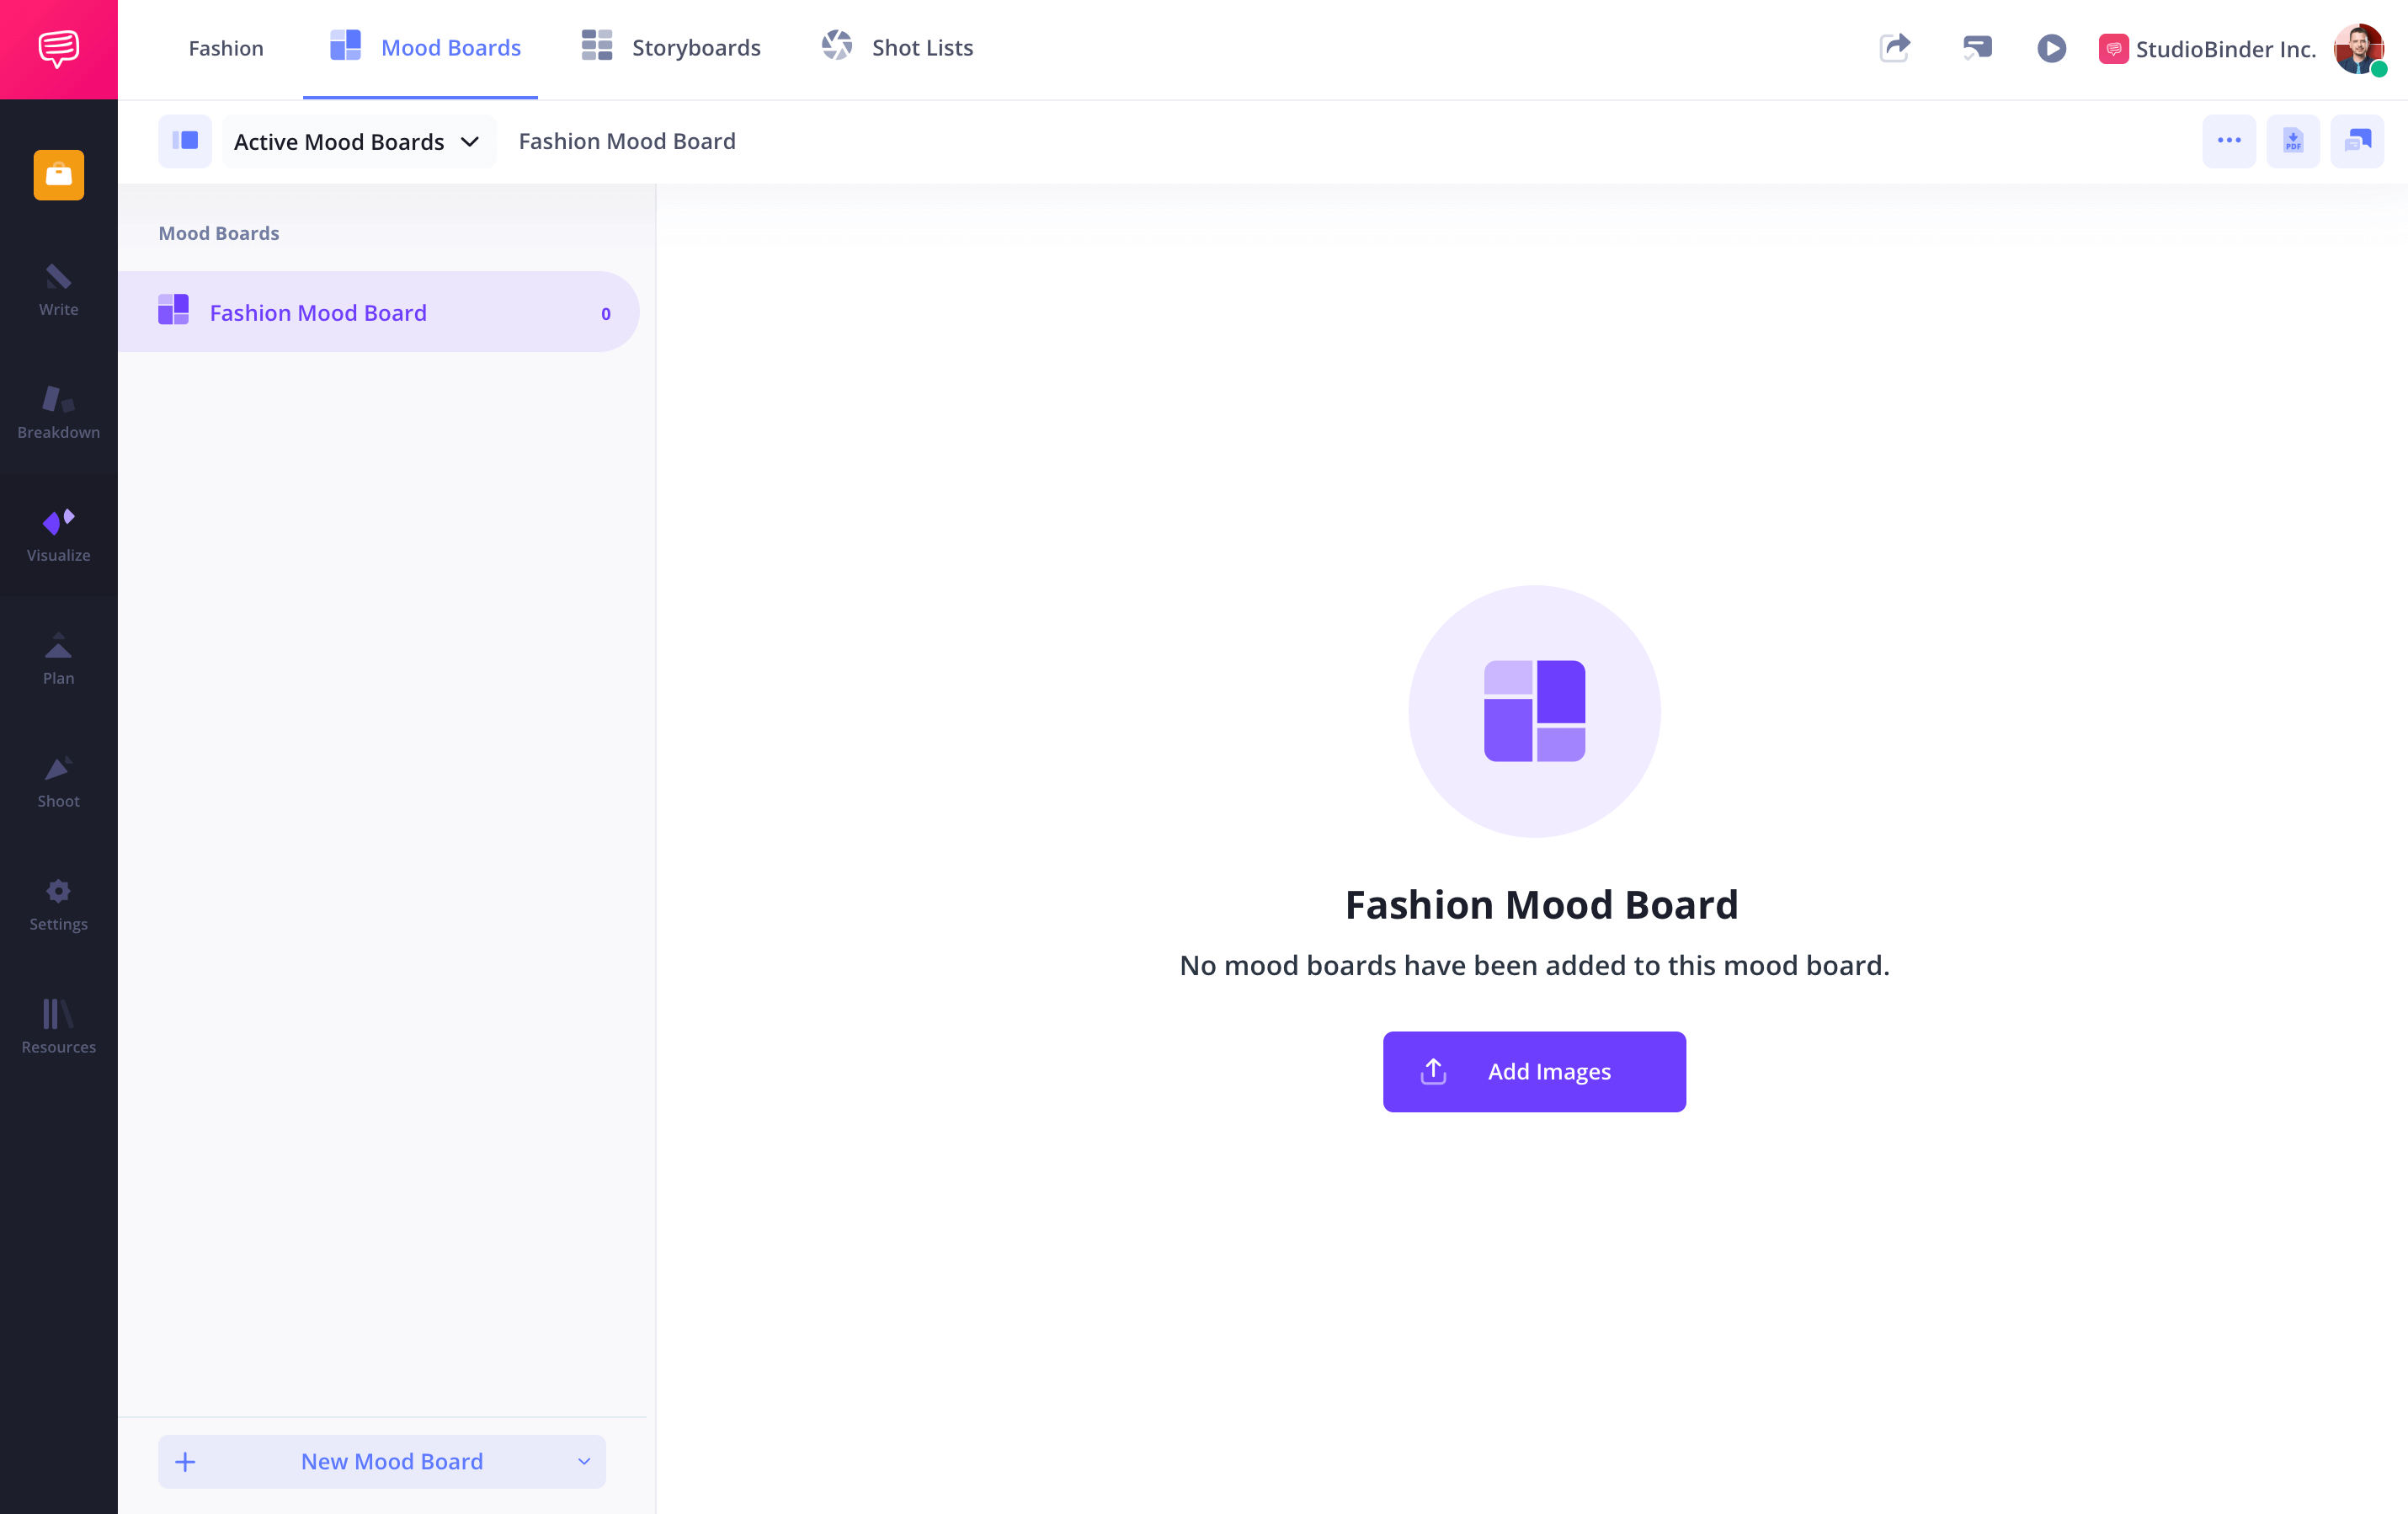
- From the project page, select Mood Board.
- Create mood boards for every important category.
Step 2
2. Gather Images
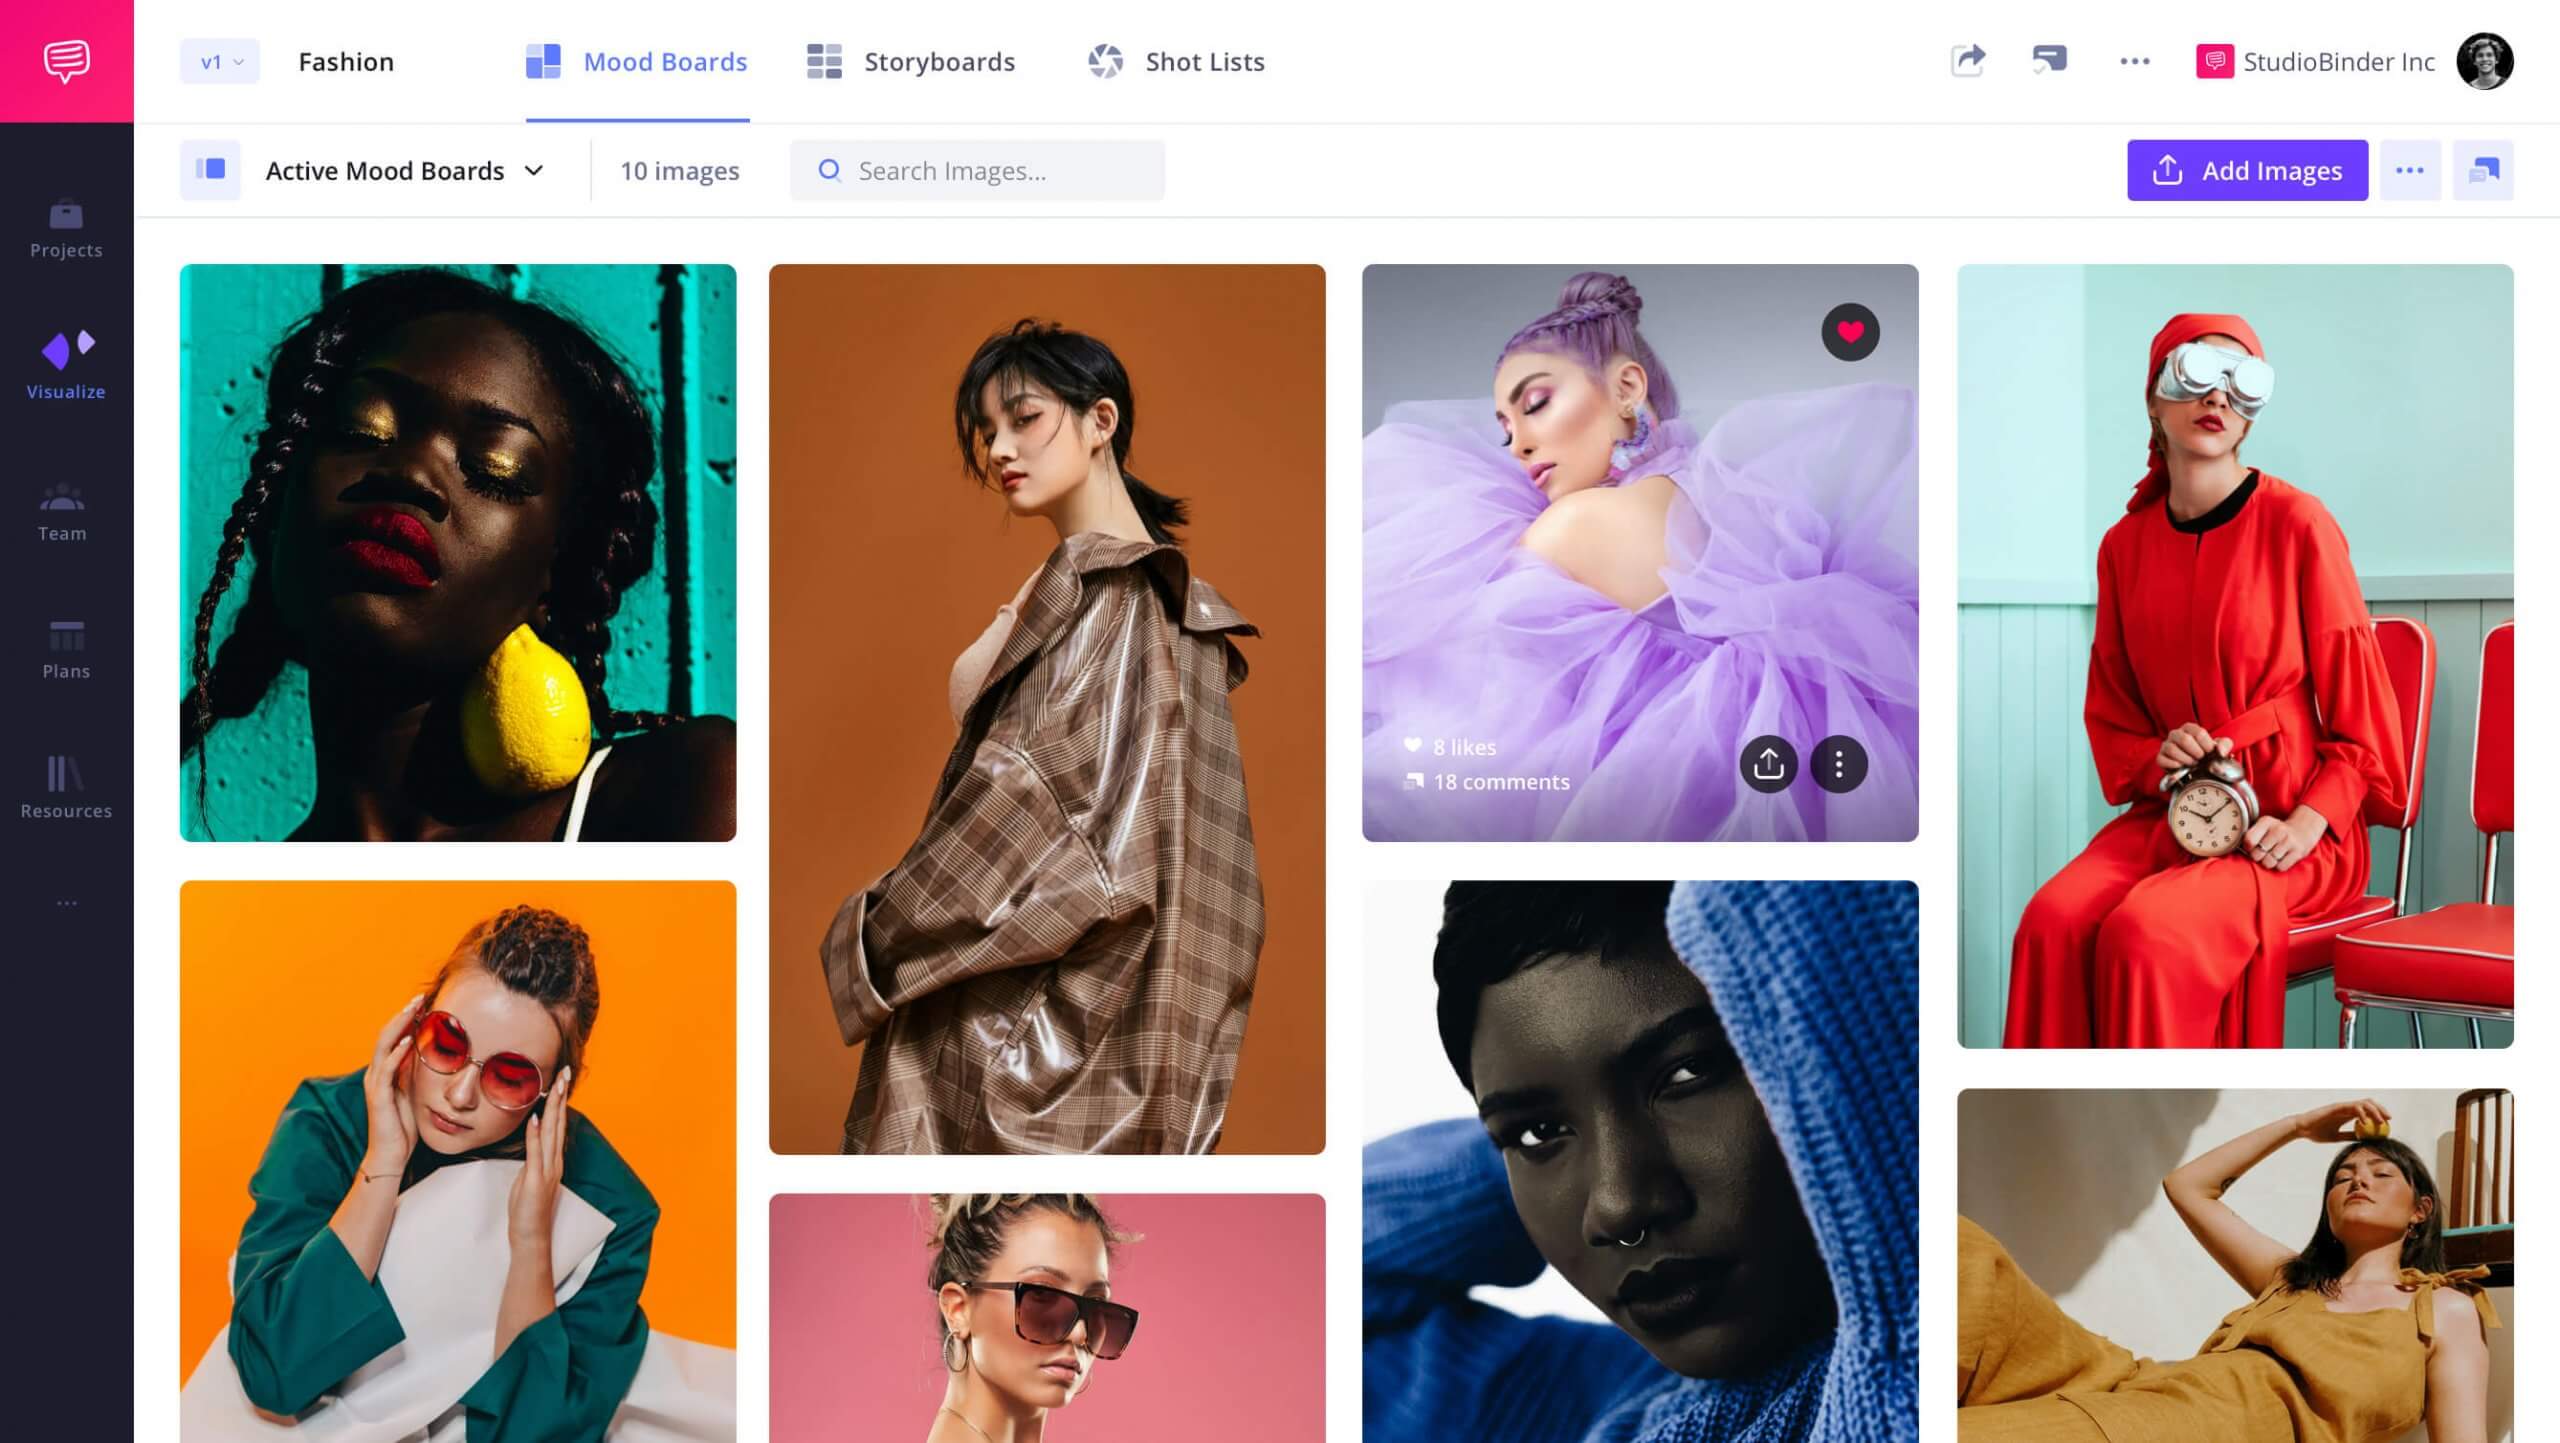
With a clear direction in mind, it’s time to start gathering images. Fashion mood boards thrive on visual diversity, so explore fashion magazines, editorials, online platforms like Pinterest, or even your own photographs.
Focus on images that speak to your theme, whether it be specific silhouettes, shapes, textiles, or color schemes. Don’t shy away from including non-fashion elements like architecture or nature that might inspire the overall aesthetic.


How to do this in StudioBinder
- Search the web and save images to your computer.
- Upload images to your various mood boards.
Step 3
3. Add Details
Build out the details of your mood board to solidify the design concept. Incorporate text to clarify themes or explain choices. Add fabric swatches or color palettes that align with your design concept, providing a tactile reference for materials and finishes.
Design is in the details. This step is crucial for fashion designers to communicate precise aesthetic directions to their teams.


How to do this in StudioBinder
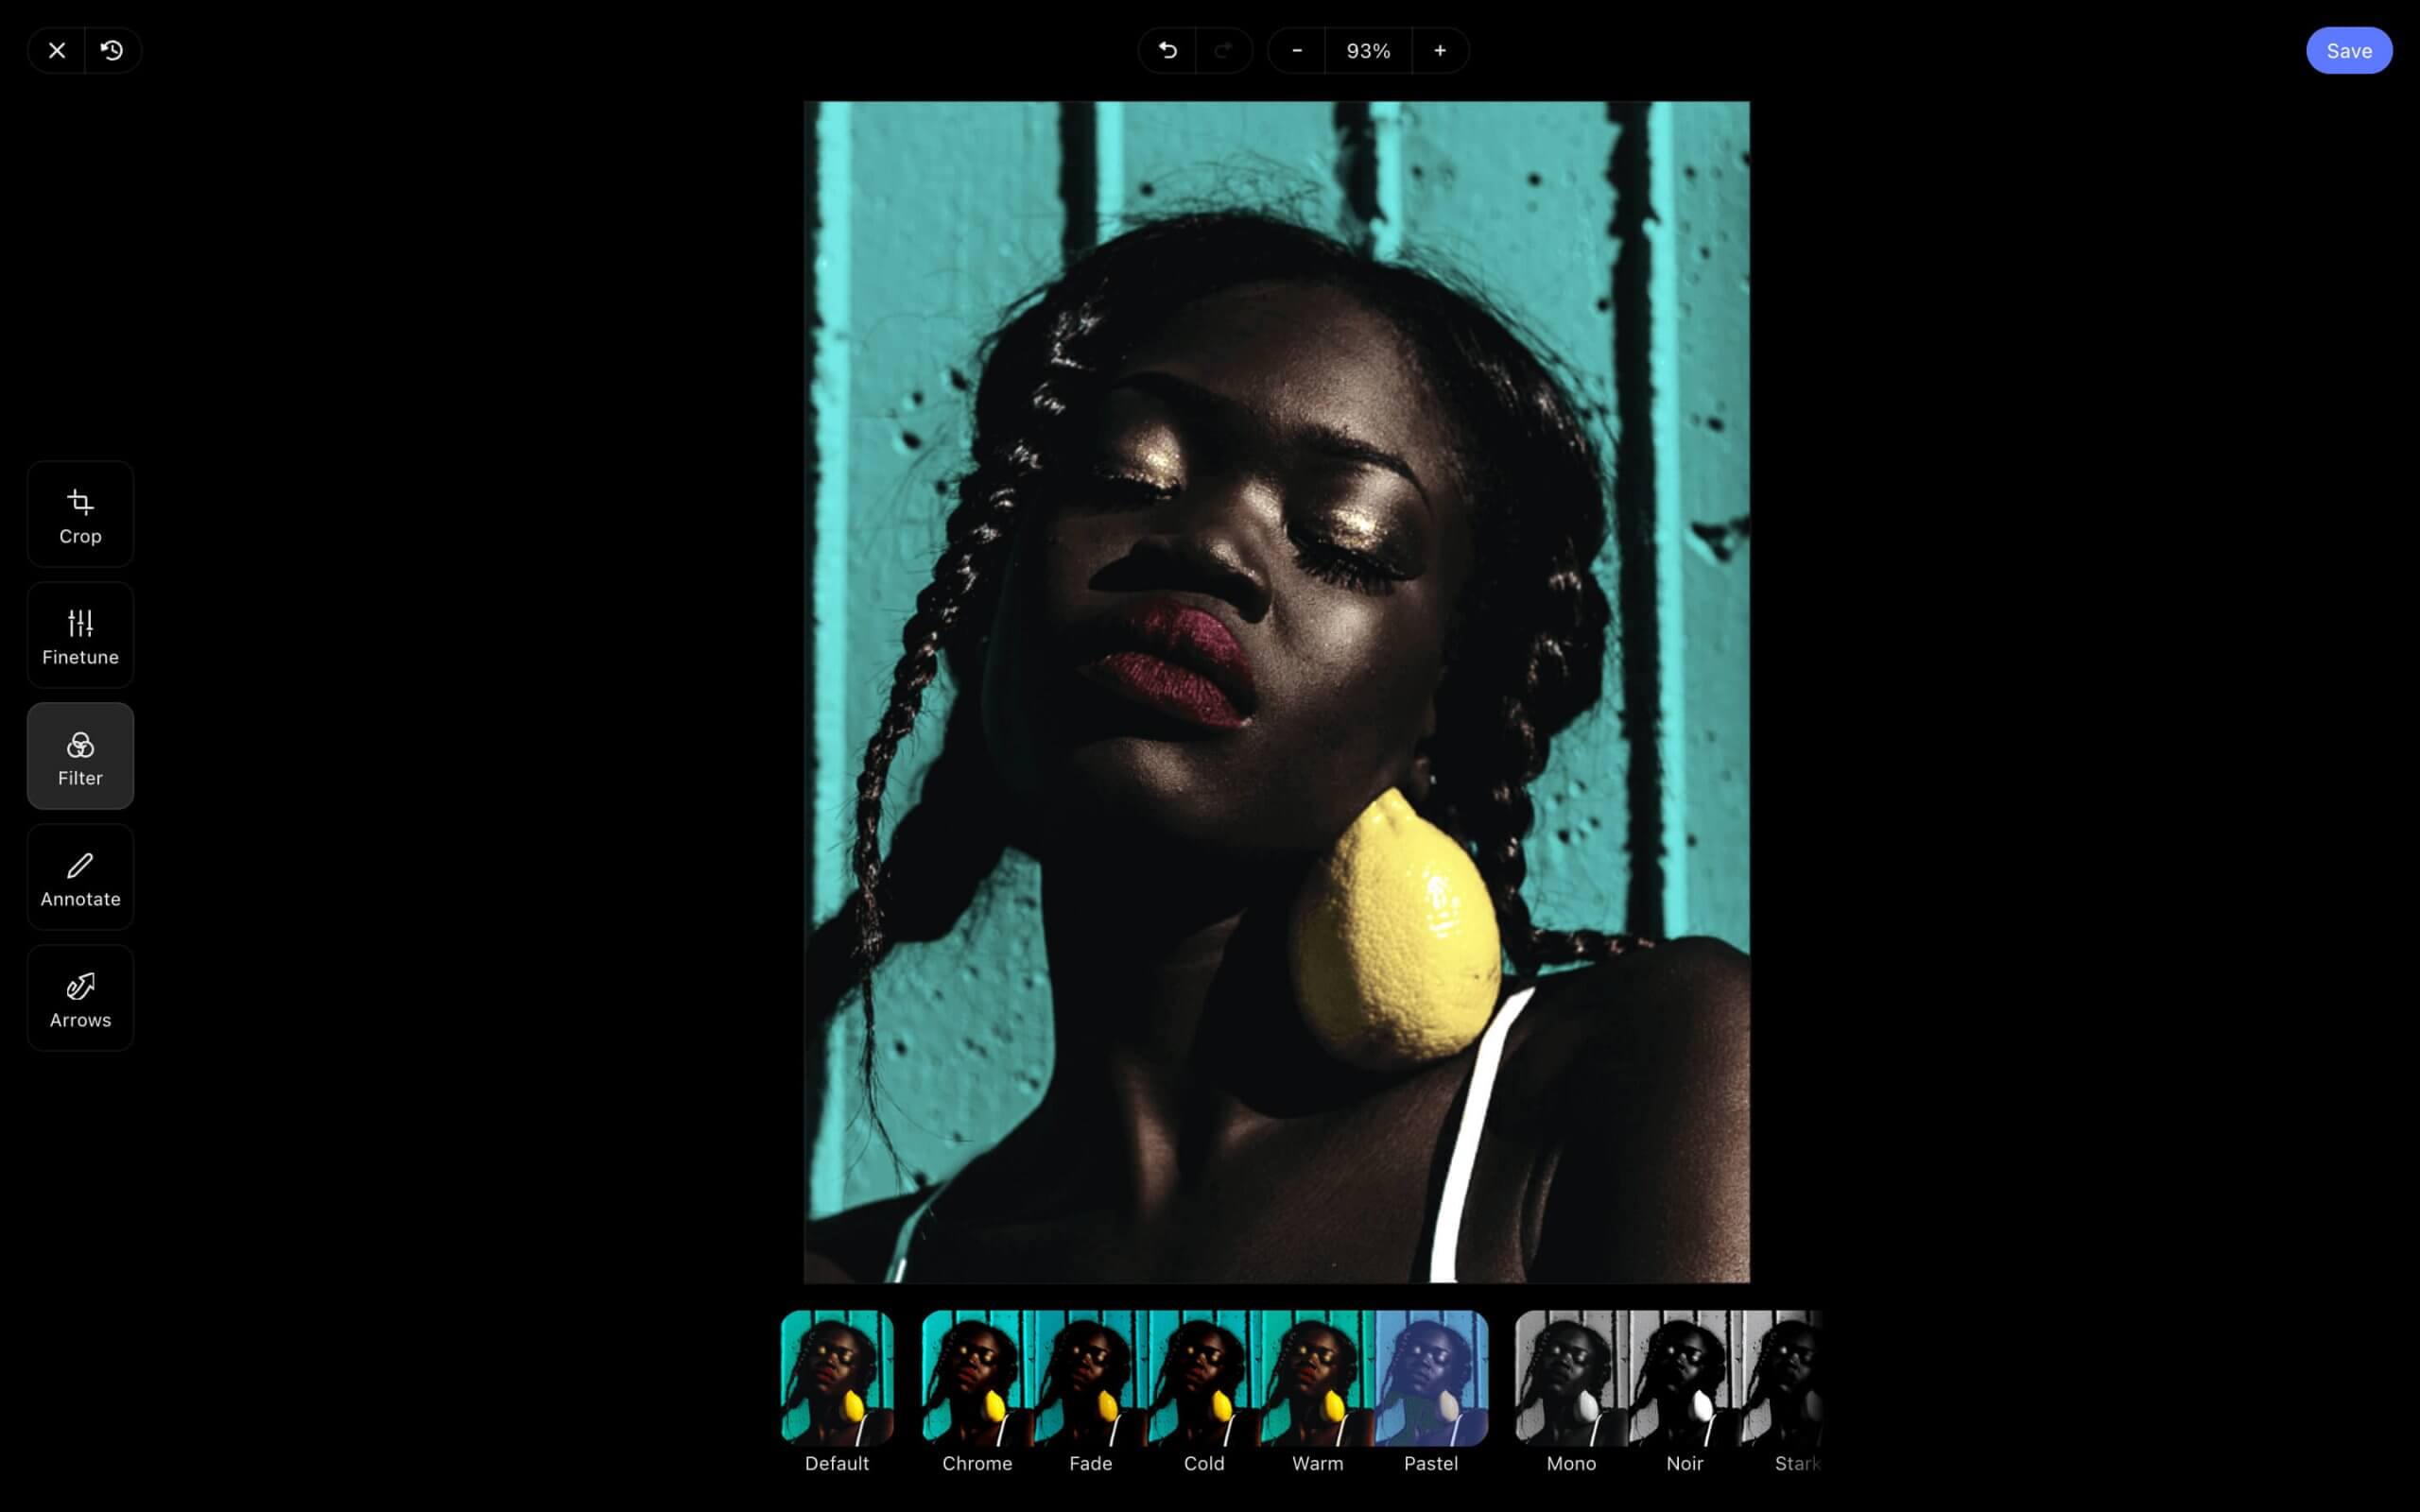
- Open the image from the mood board.
- Select Edit.
- Crop, annotate, or fine tune your image settings.
Step 4
4. Arrange the Mood Board
The arrangement of your mood board should reflect the flow and hierarchy of your design ideas. Group related images together—perhaps by color, texture, or theme. This arrangement will not only highlight the core inspiration but also provoke new creative thoughts and provide a clear narrative for your collection.
How to do this in StudioBinder
- Consider "zones" to group images in proximity.
- Drag to rearrange images into a layout that tells a story.
Pro Tip — Curate images based on different film elements such as cinematography, locations, characters, lighting, production design, composition, etc.
Step 5
5. Collaborate & Share
A mood board is not just a personal tool; it’s a communication bridge between you and your team.
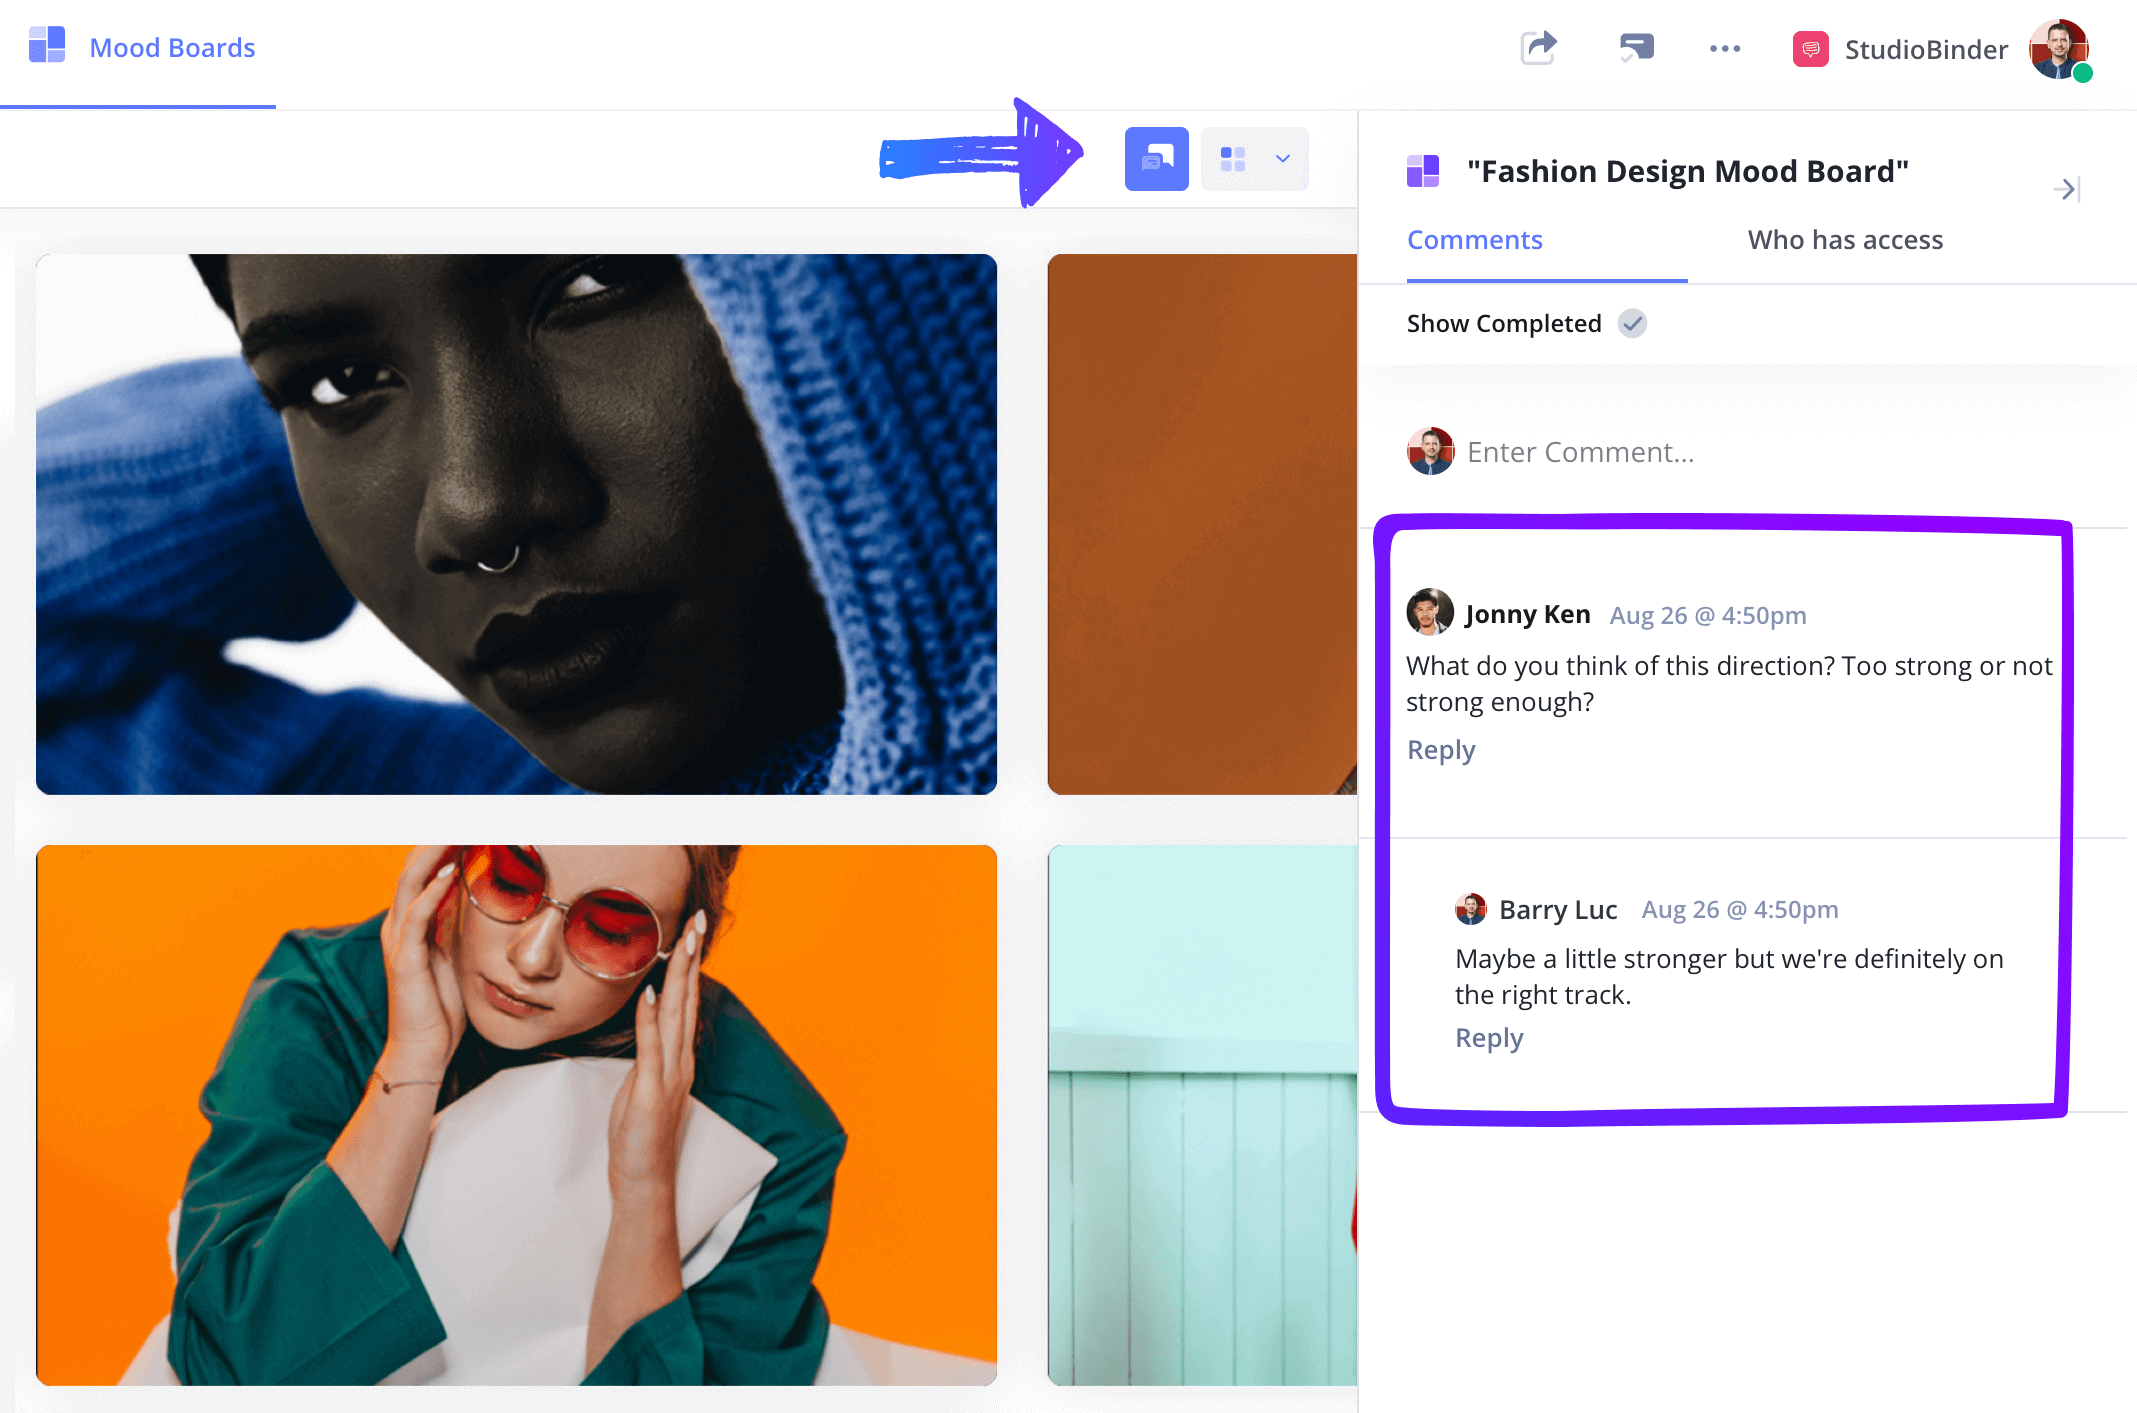
Constructive feedback can refine your design concepts while simultaneously getting your design, marketing, and manufacturing all on the same page.


How to do this in StudioBinder
- Create a View Only link or Invite Collaborators to work with you.
- Use the Comments sidebar to review feedback.
Conclusion
Fashion Design Mood Board Complete
Mood boards are a powerful tool to visually articulate your fashion design concepts. They guide the creative journey from the beginning, establishing consistency and clarity from conception to execution.
This fashion design mood board template is one of many creative mood board templates you can use. Browse all other creative templates on our Templates page.