home → Camera Angles → Hip Level Shot
Hip Level Shot Definition
What is a hip level shot?
A hip level shot positions the camera around the height of a subject’s hips, offering a viewpoint that shifts the focus downward while still staying relatively neutral. It’s often used to highlight actions or movement– like walking, drawing a weapon, or hand gestures. Though less common than eye or shoulder level shots, hip level framing can add subtle tension to a scene, drawing attention to the body rather than the face.
For more, read our full breakdown of camera angles, including examples that illustrate the various functions.

Meanings & Purpose
Hip level shot examples
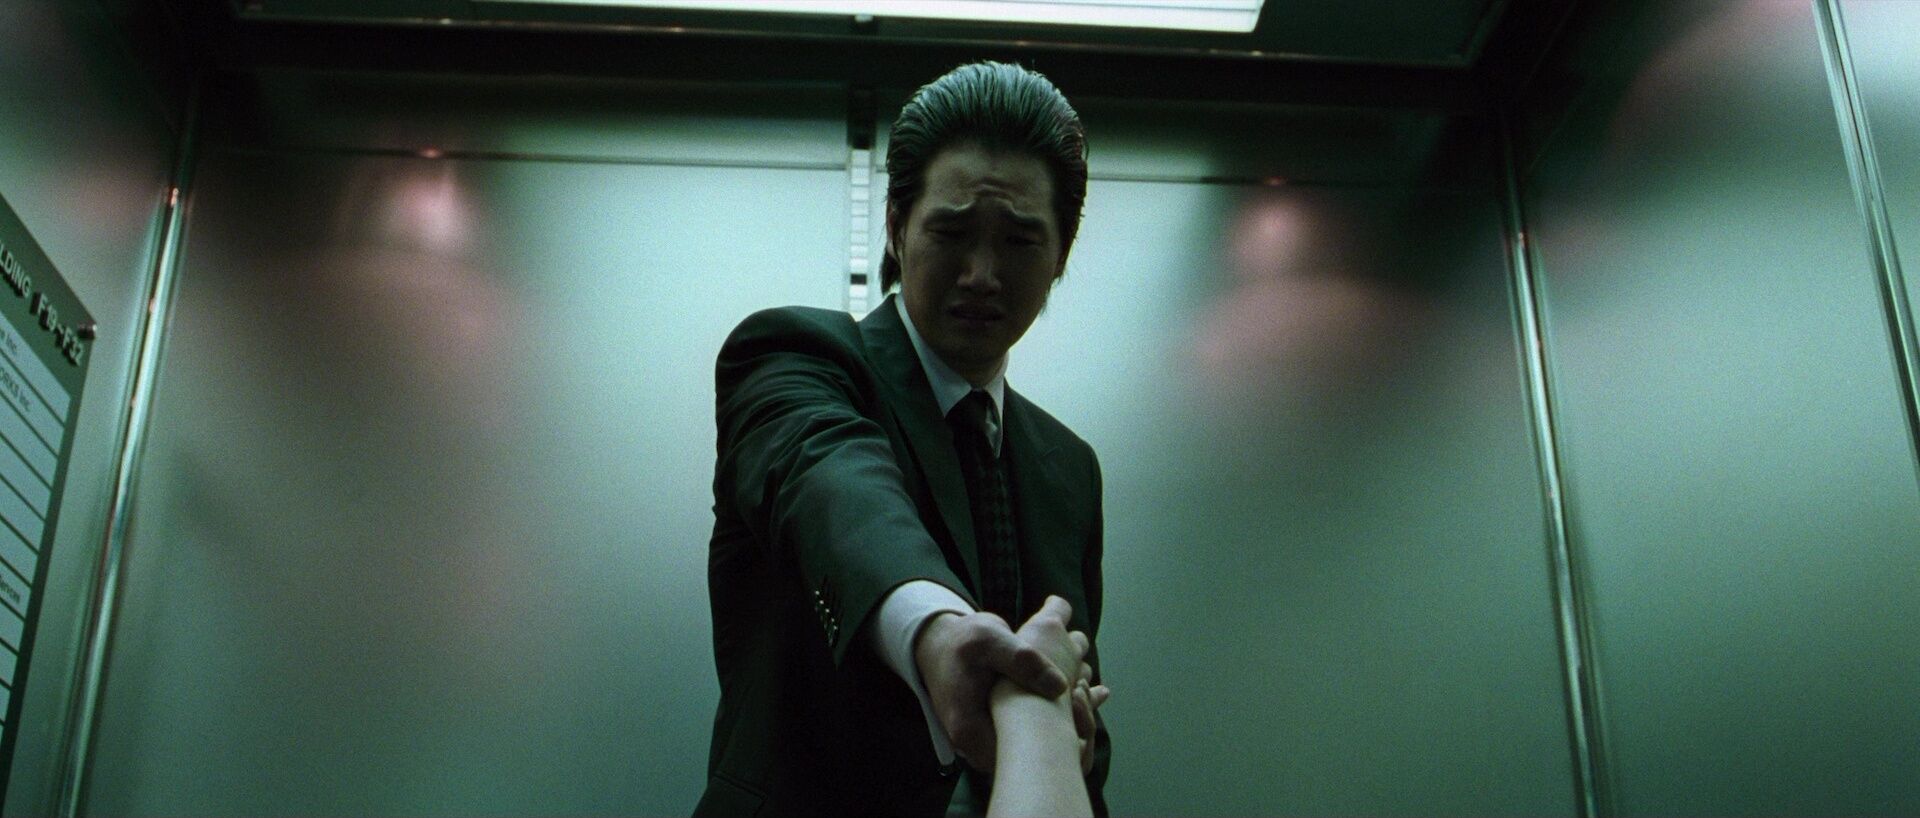
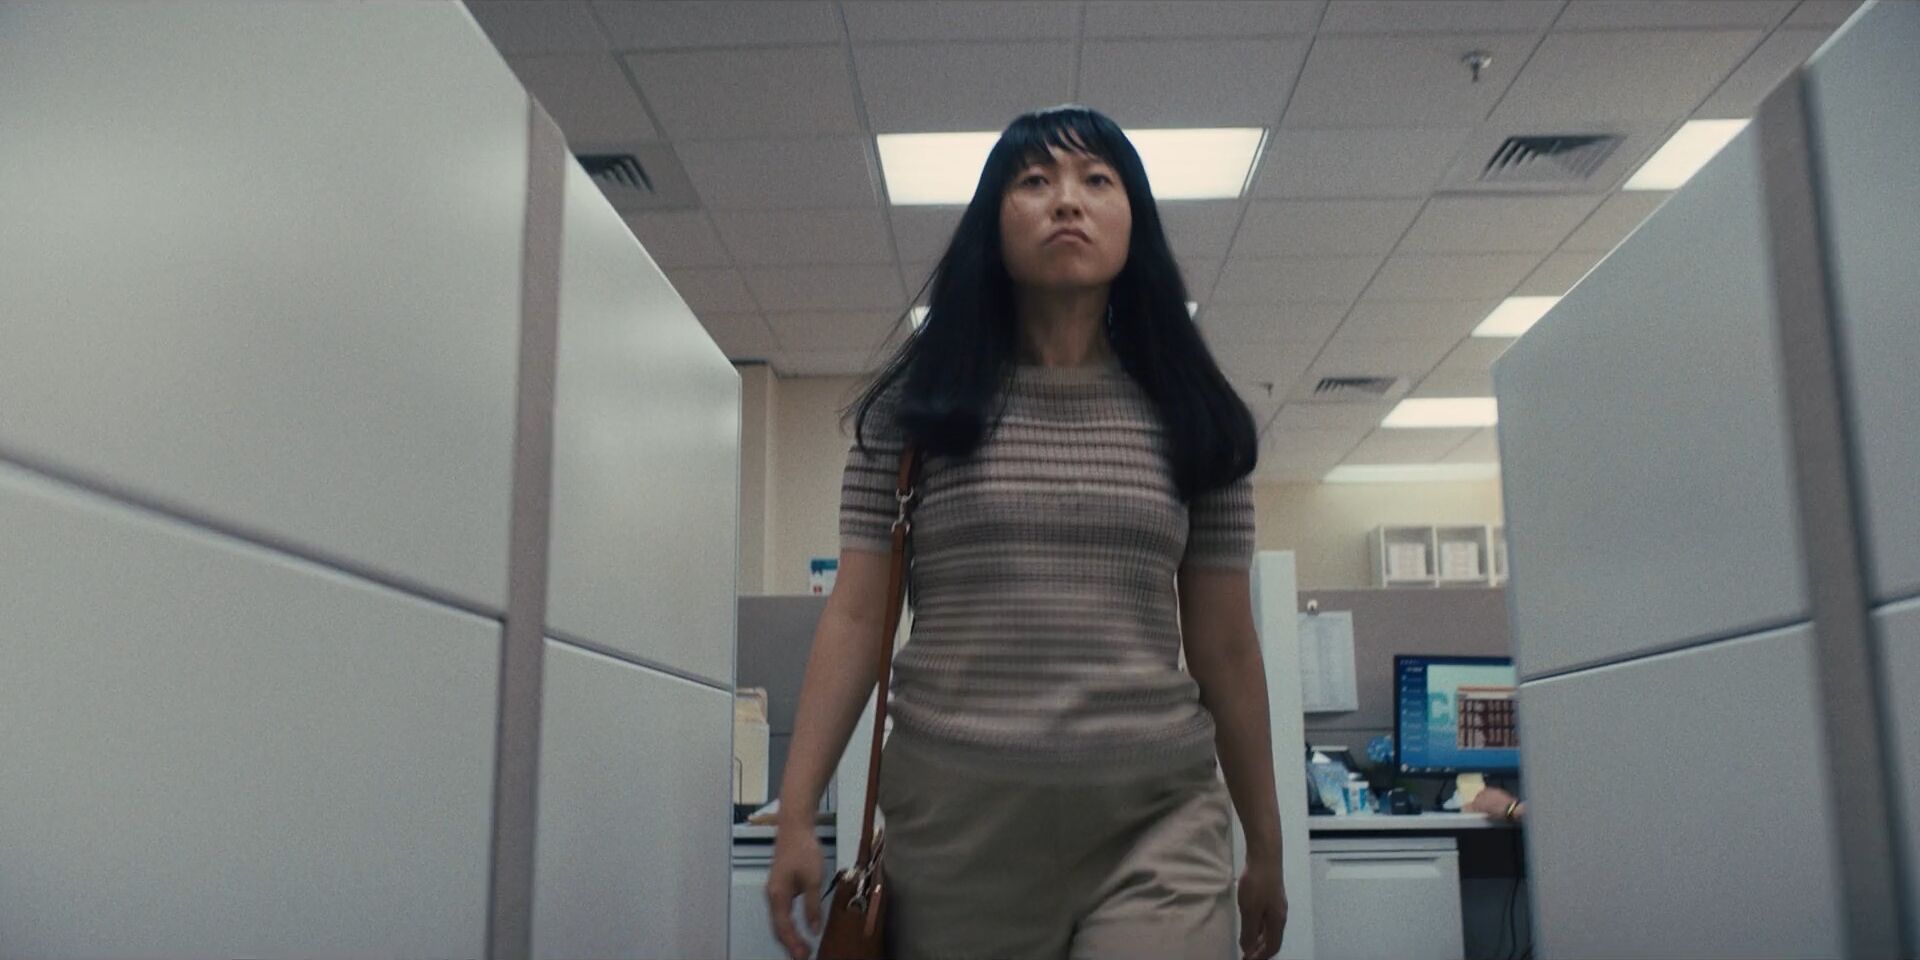
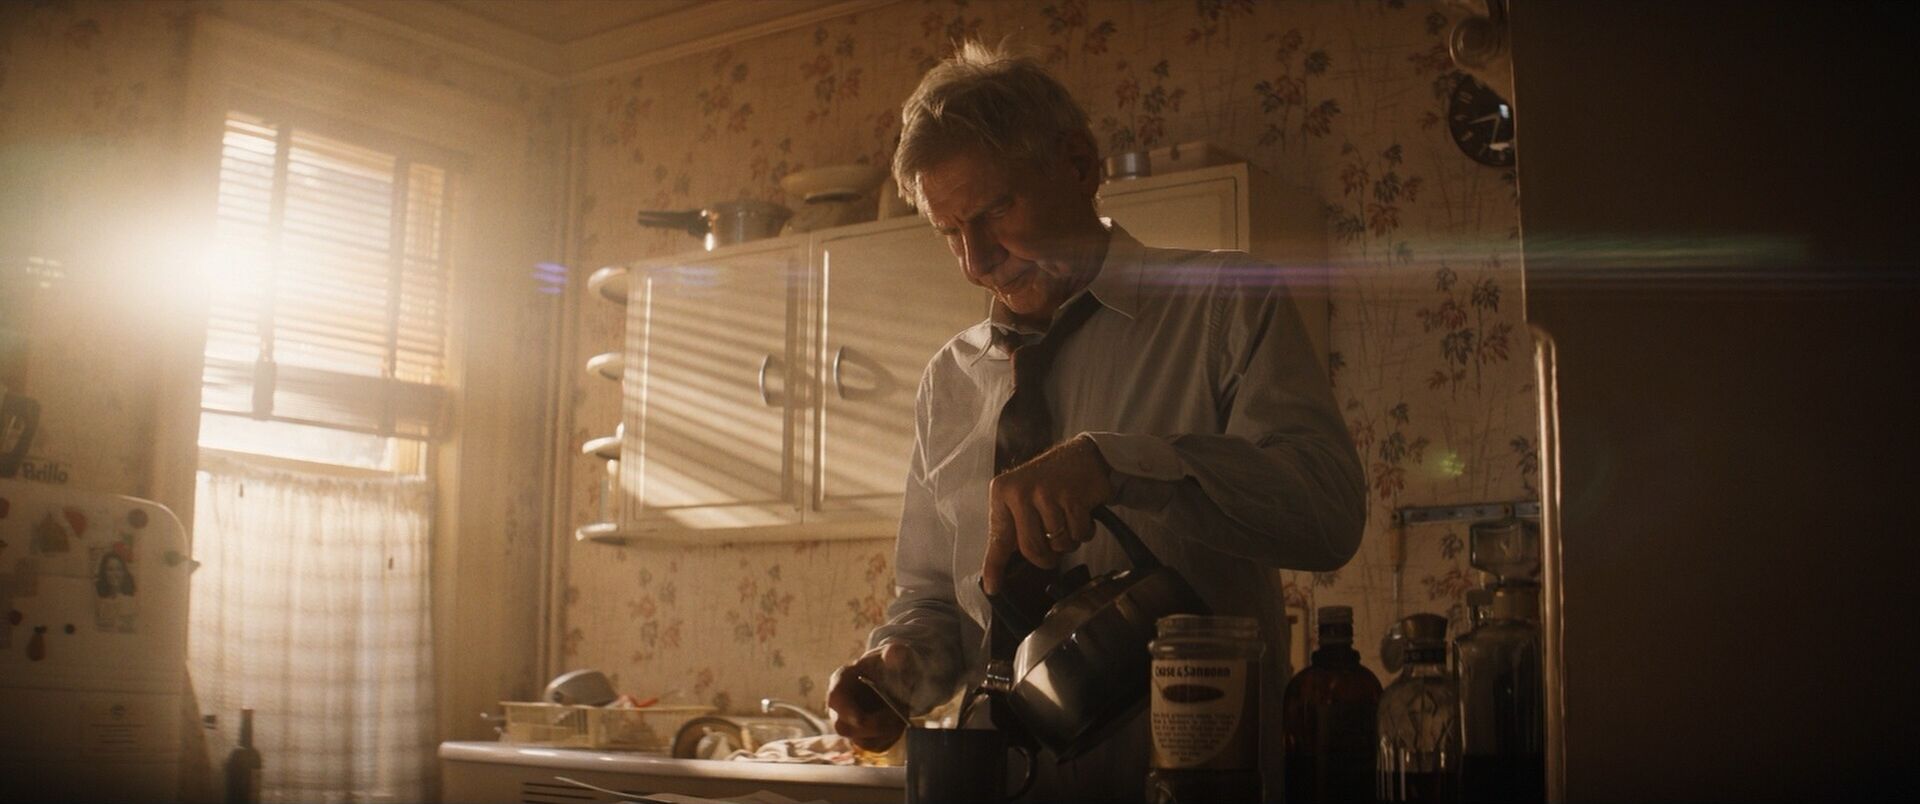
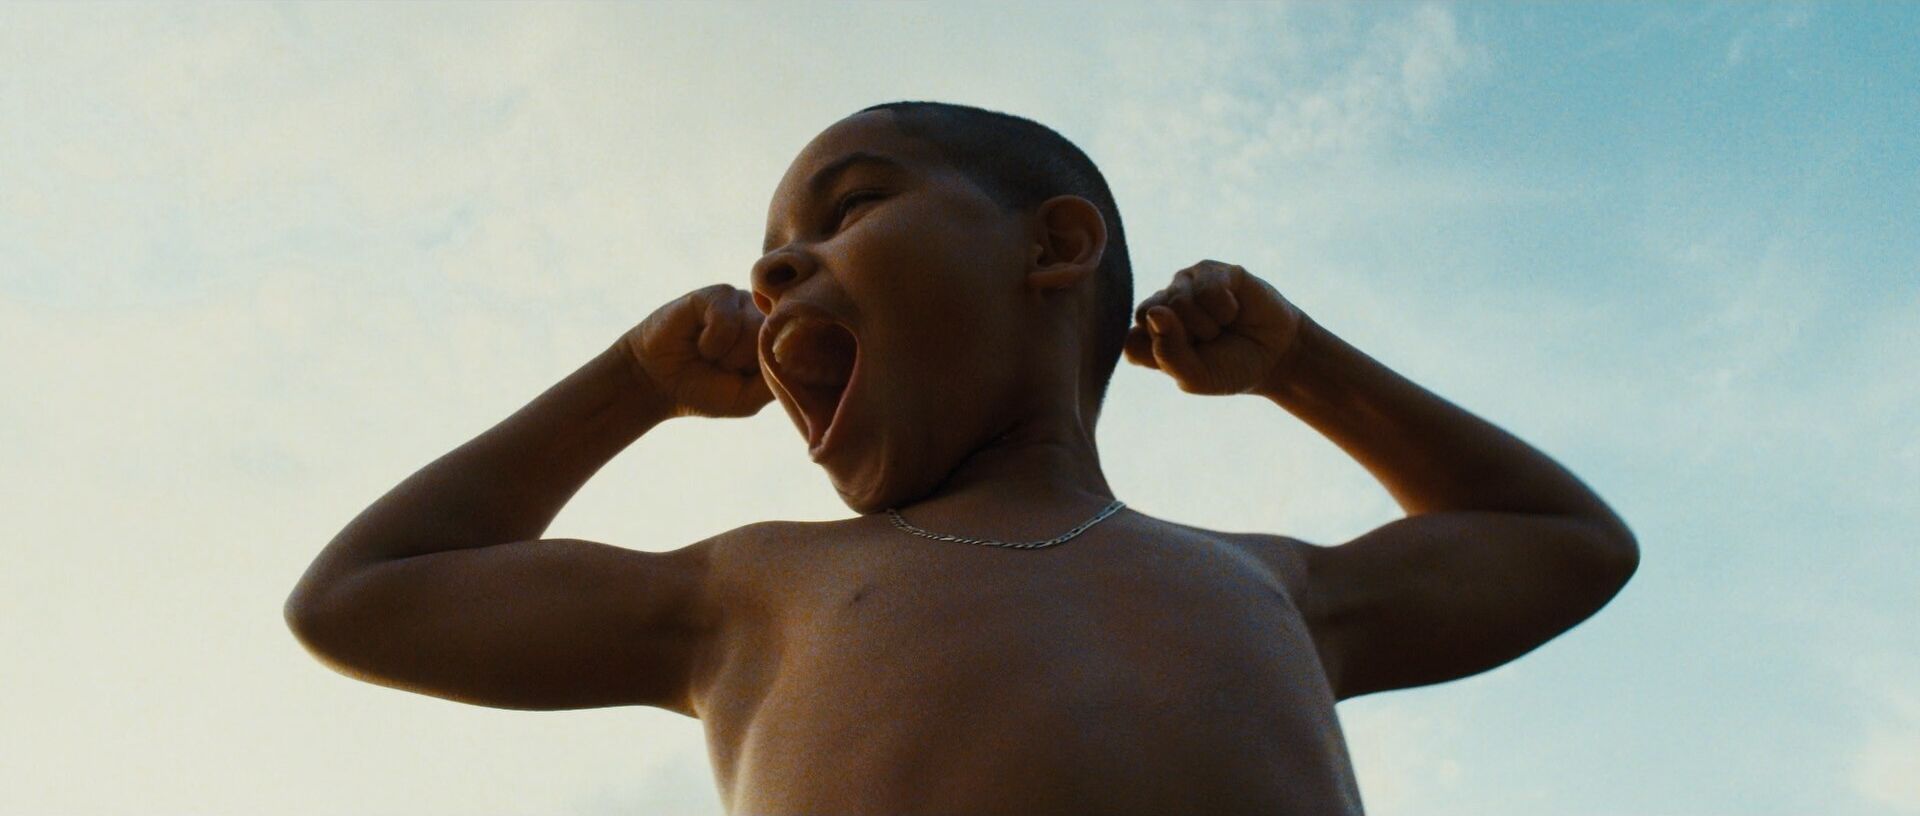
Before we explore the storytelling potential of hip level shots, it’s helpful to see how they’re used on screen. This curated gallery showcases how this subtle angle reframes scenes: drawing attention to the body and its interaction with space.
Directs focus to hands and gestures
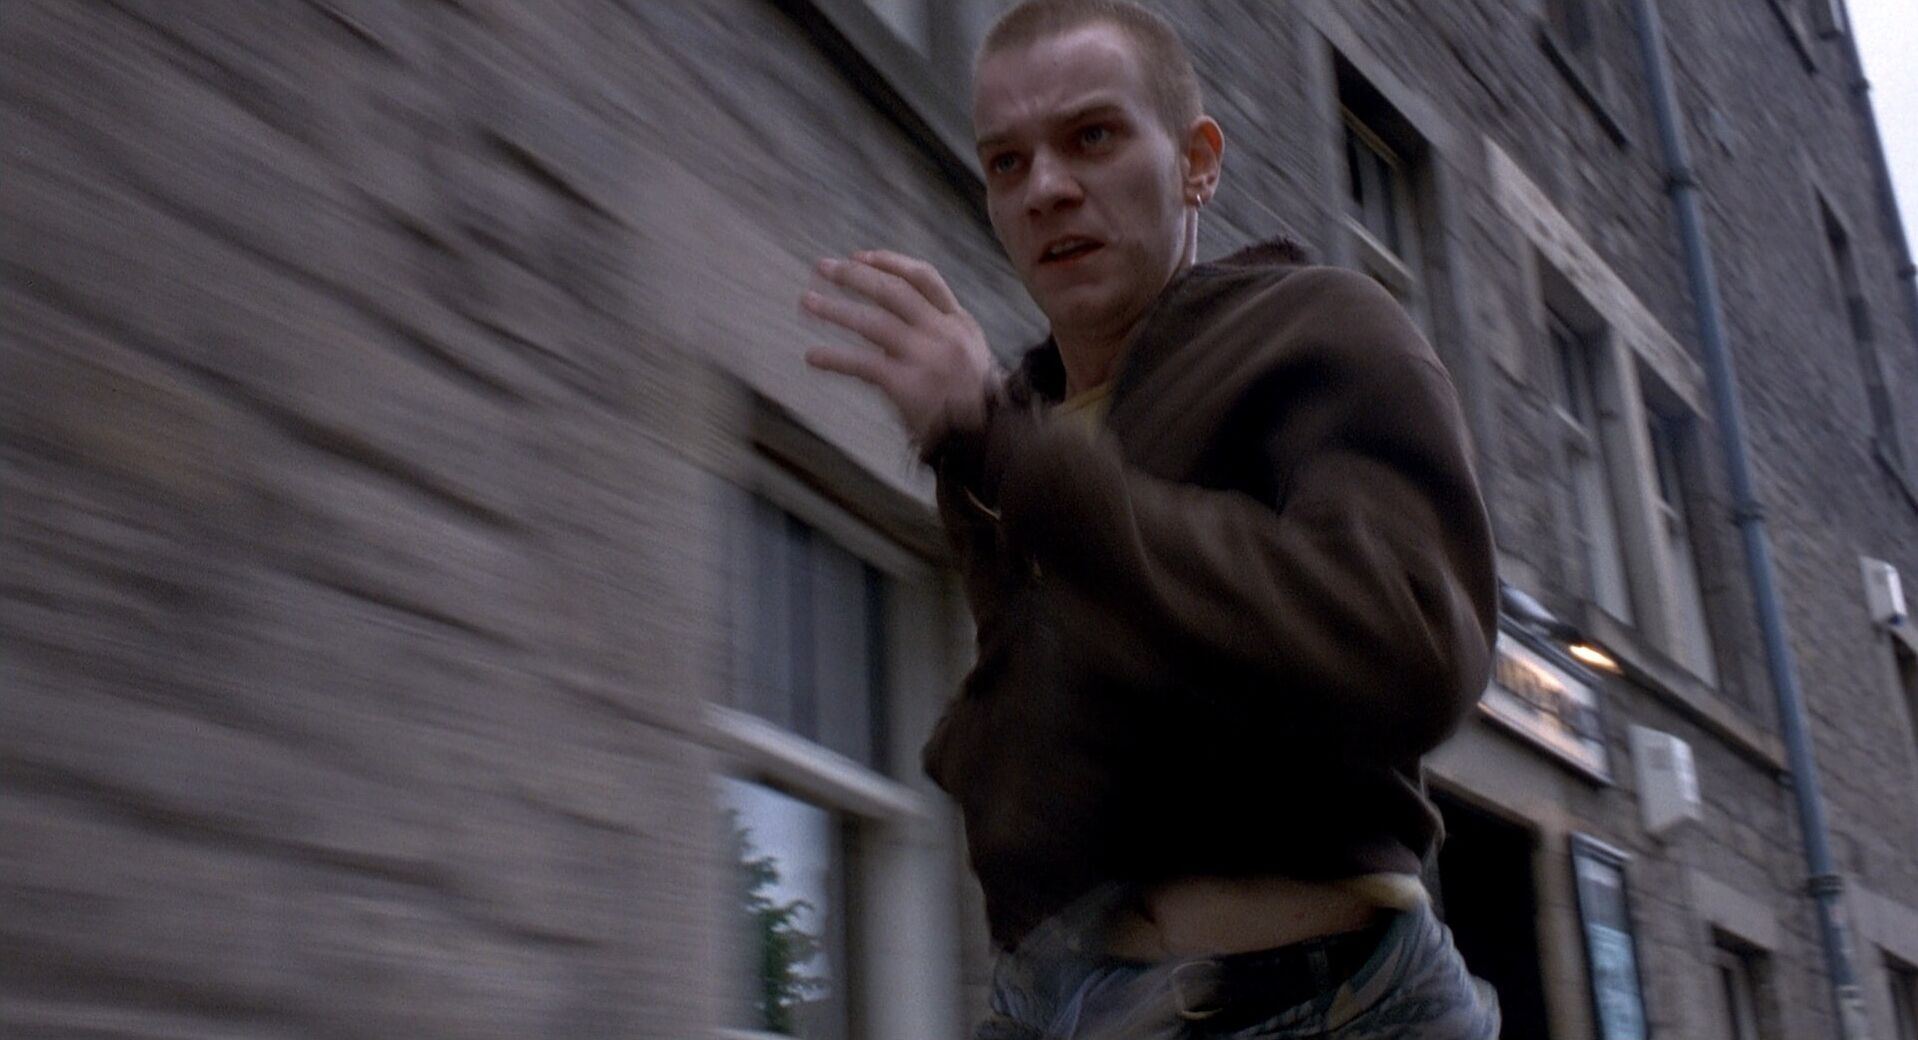
Captures physicality and character movement
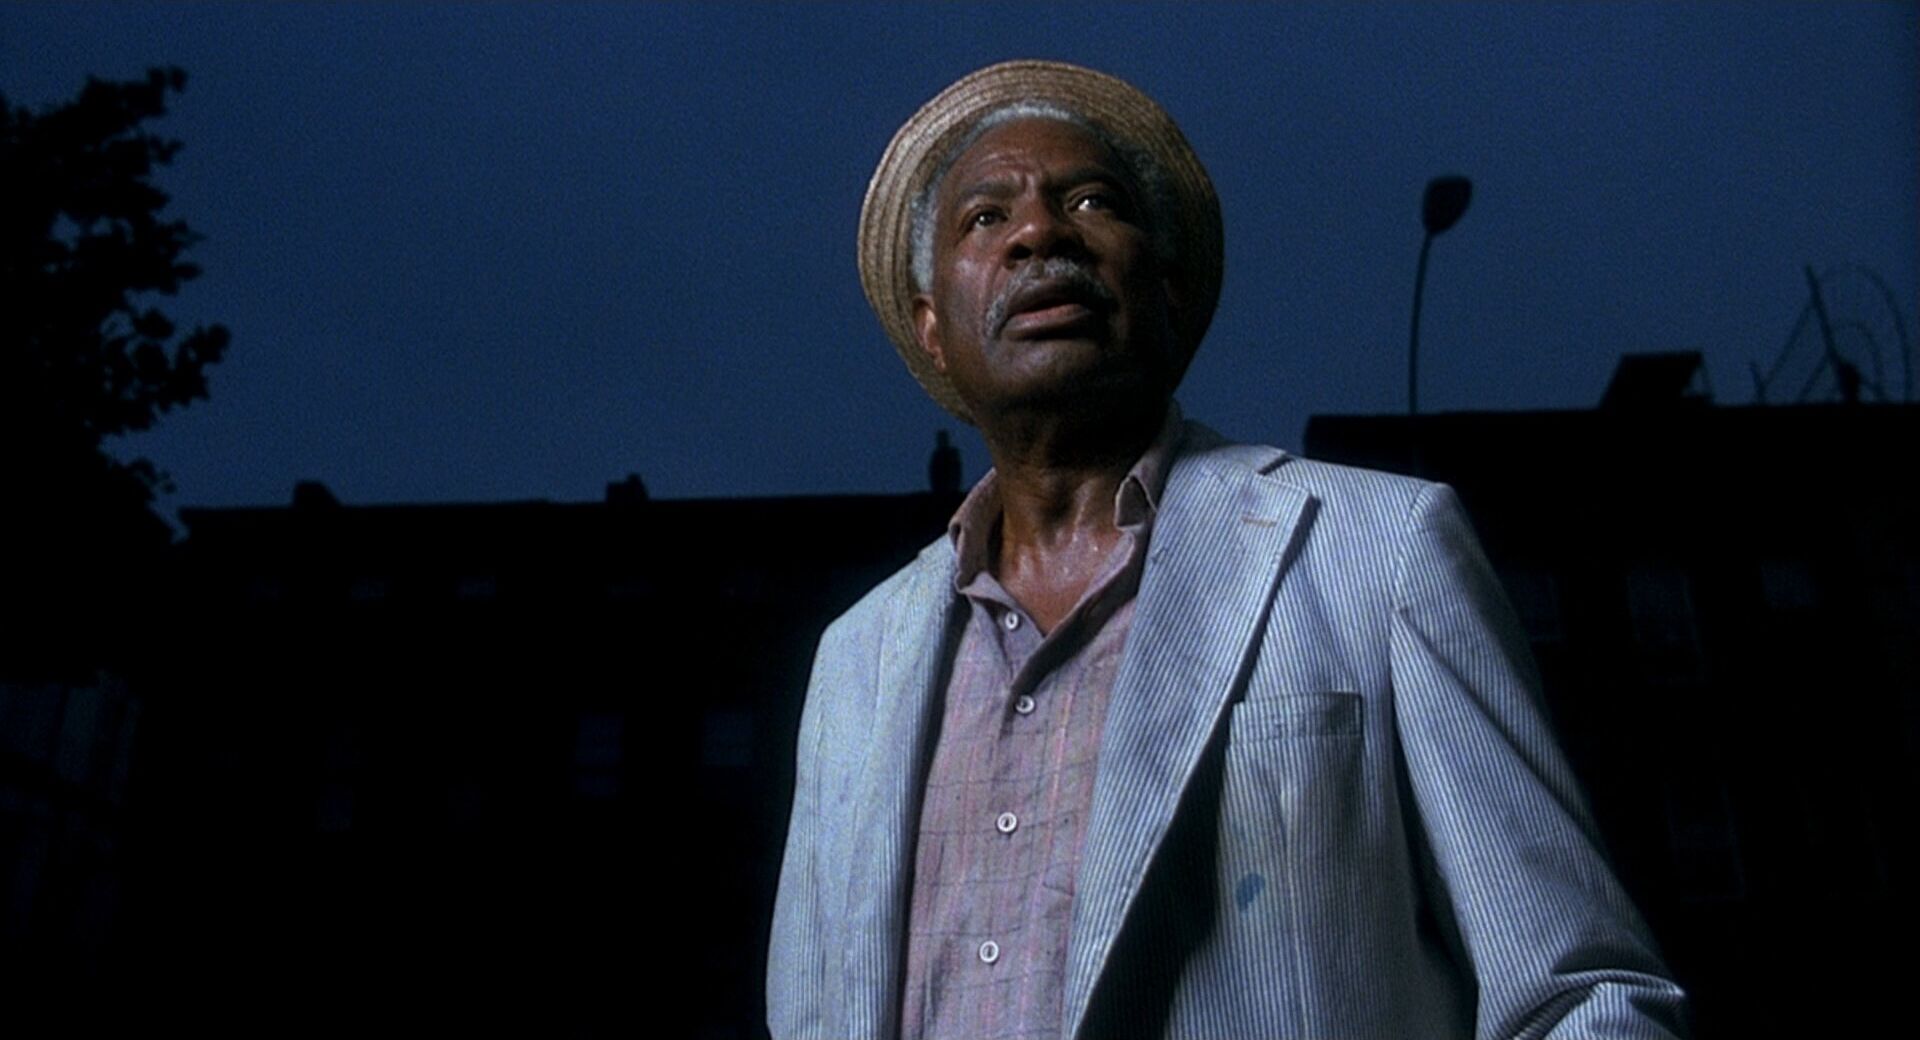
Provides a grounded viewpoint
Frames moments of tension
Usages
What does a hip level shot do?
Hip level shots may not be as ubiquitous as eye level shots, but their grounded perspective brings its own unique strengths. By placing the camera around waist height, this angle subtly shifts focus from the eyes to the body, emphasizing movement, gesture, and how characters relate to their space. Here are some ways hip level shots shape tone.
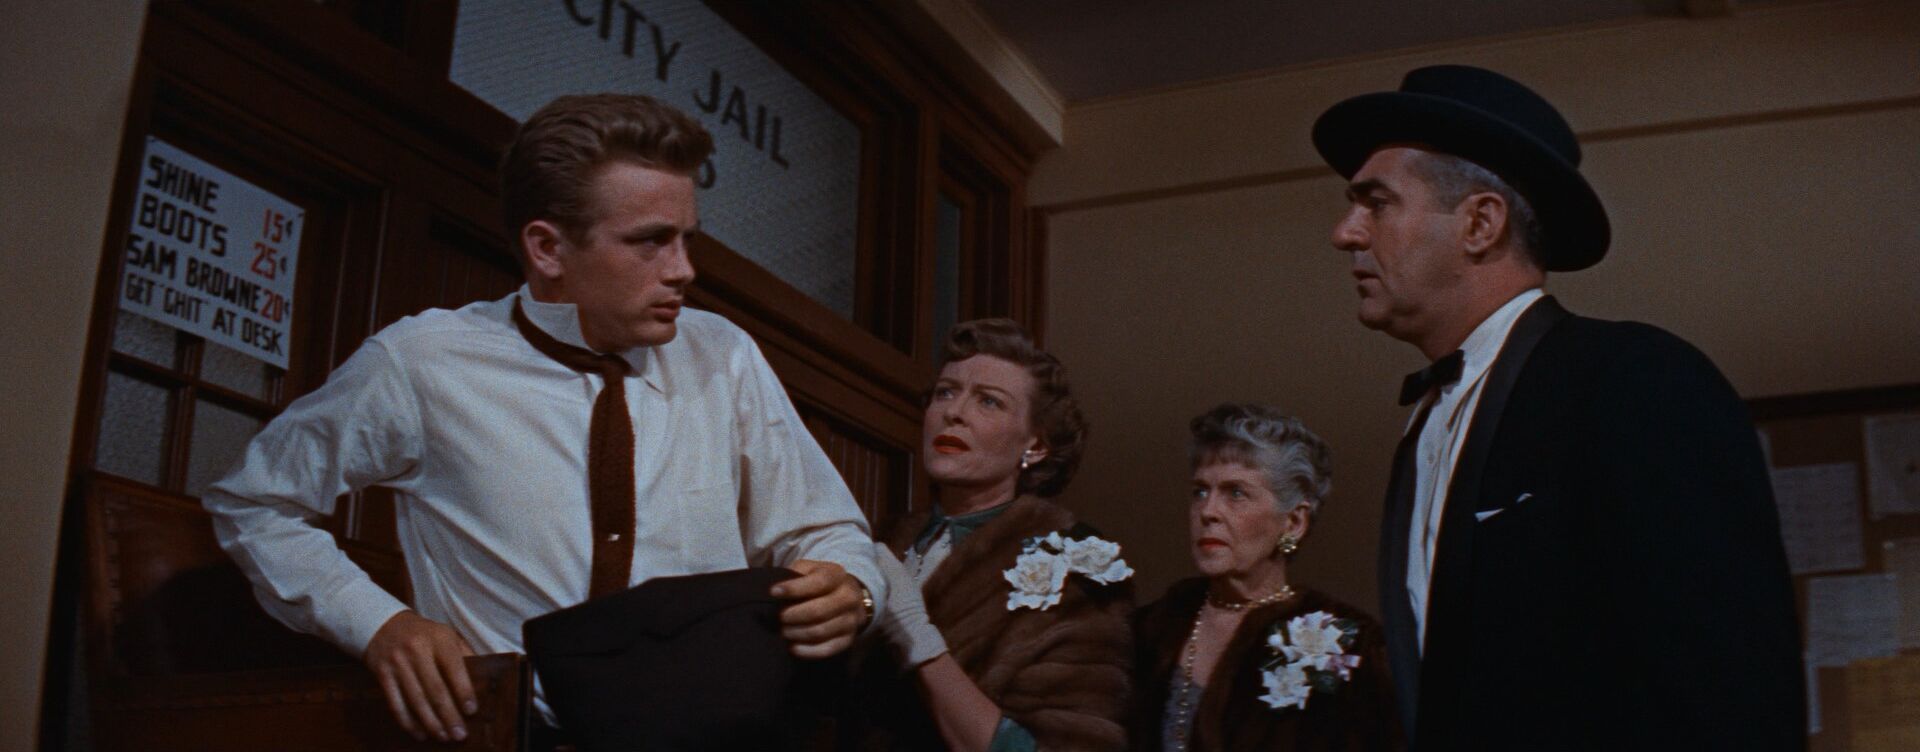
Subtle Authority
Shooting from the waist can make a character feel slightly elevated without exaggerating their power, giving them quiet control in the frame.
Tactile Action
This angle naturally captures hand movements like drawing a weapon, picking up an object, or opening a door, when those actions are vital to the scene.
Detached Observation
By not being eye-to-eye with the subject, hip level shots can create emotional distance, encouraging the audience to observe rather than empathize.
Grounded Realism
Hip level shots can offer a realistic view of human behavior focusing on the middle of the body as opposed to eye level or ground level shots that wouldn't.
Qualities
Hip level vs shoulder level shot
Hip level and shoulder level shots can look similar at a glance, but each offers a distinct visual perspective that affects how the audience reads a scene.
A shoulder level shot frames the subject from just below the eye line, typically placing the camera near the upper torso. It maintains a sense of realism while subtly elevating the subject’s presence, often giving them a quiet sense of strength or control.
A hip level shot, on the other hand, positions the camera around waist height. This angle draws more attention to the body and physical actions and can create a sense of groundedness or even emotional distance.
While both are considered relatively neutral, shoulder level tends to emphasize presence and poise, whereas hip level leans into gesture and spatial awareness. The choice between them can shift the focus of a shot without radically altering the tone.

Case Study
Shot listing a hip level shot
Time to take a look at the hip level shot in its favorite genre: the Western. In this sequence from The Good, The Bad and The Ugly, the hip level shots are a vital component of the scene. What purpose does the hip level shot serve?
Click on the shot list below to see how the scene plays out.


Hip level shots often go unnoticed, but that's part of what makes them effective. Positioned around the subject's waist, this angle creates a grounded, bodily perspective that shifts the viewer's focus.
Let's break down how hip-level framing can shape character presence, emphasize movement, and add texture to visual storytelling.
Unique Pairings
How should you combine a hip level shot with other camera techniques?
How to combine the hip level shot
Hip level shots become even more effective when paired with other visual strategies. The angle can offer a stylized view that can subtly shift how characters and movement are perceived. Here are some ways to combine hip-level framing with other techniques:
- Medium Shot: Commonly paired with hip-level placement, this composition captures body language in full without sacrificing intimacy.
- Push-In: A slow push-in from hip height can create mounting tension.
- Tracking Backward: Tracking the camera in reverse at hip height can give a character power while on the move.
- Shallow Focus: With the lens set low, shallow depth of field can emphasize specific physical details like reaching hands or concealed items.
- Tilt Down: Tilting the camera slightly downward from hip height can steer attention to lower-body actions or objects on the ground.
- Crane: Starting from a hip-level position and rising upward with a crane move can make for a great hero shot.
Frequently asked questions about the hip level shot
Hip level shots highlight a character’s body and movements rather than their facial expressions. They’re often used to:
- Emphasize gestures or actions like walking or handling objects
- Show how a character moves through space
- Create a grounded, physical perspective
Over-the-hip shots place the camera near or just above the subject’s hips, which can:
- Provide a sense of intimacy while maintaining some distance
- Highlight interactions between characters
- Offer an observational viewpoint that feels more physical
Simple: position your camera roughly at the subject’s waist or hip height. Frame the shot so the torso and lower body are in focus, adjusting as needed to capture relevant gestures or movement while maintaining natural composition.
Use a hip level shot when you want to draw attention to a character’s actions or create a slightly low-angle perspective. It’s especially effective in scenes with movement, tension, or when facial expressions aren’t the main focus.