Free Storyboard Creator for Students
Visualize like a pro
Explore a free storyboard creator for students that works entirely online with StudioBinder's all-in-one platform.
Storyboard Builder
From script to visuals instantly
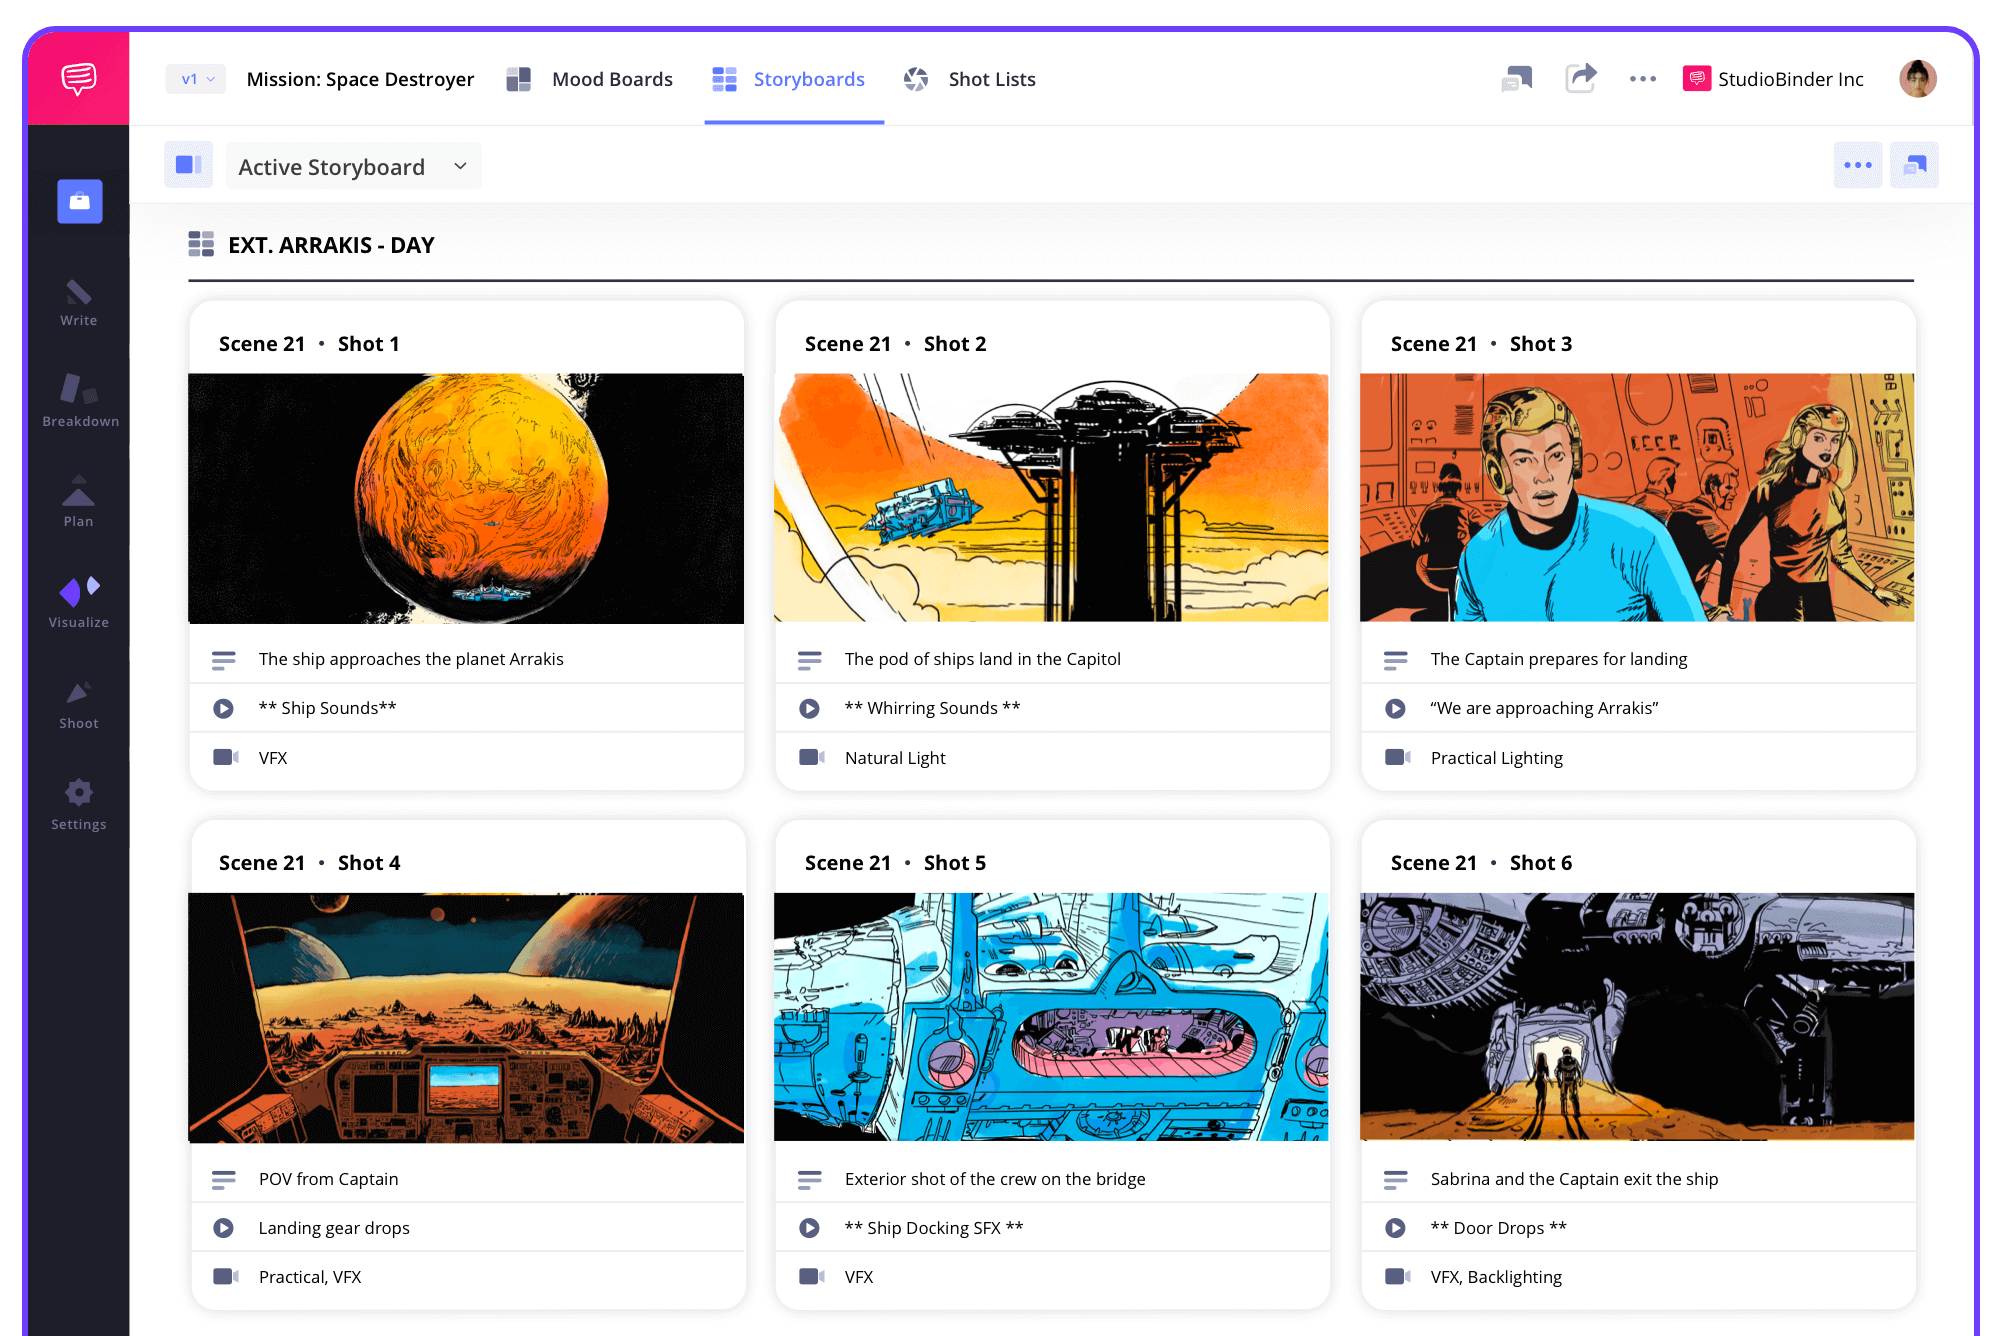
Our free storyboard creator online helps you turn your script or idea into a structured visual plan. Students can upload images, write scenes, and build out visual sequences.
Script to Storyboard
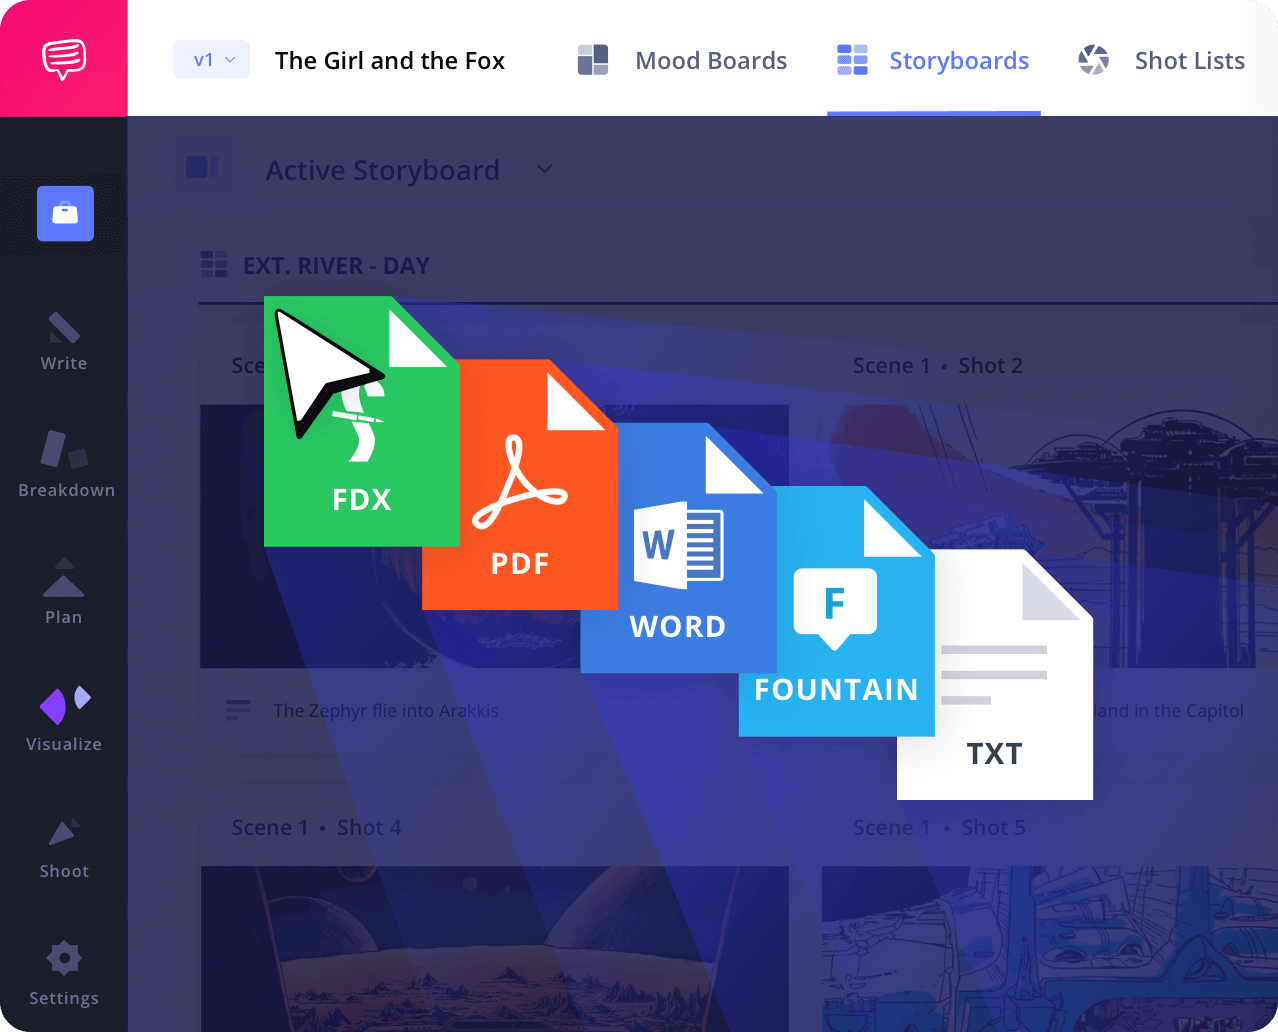
Import your script to create a storyboard
Import a screenplay or write directly in the platform. Our storyboard creator free feature syncs your text with visuals so students can see how each line translates to a scene.
Shot Tagger
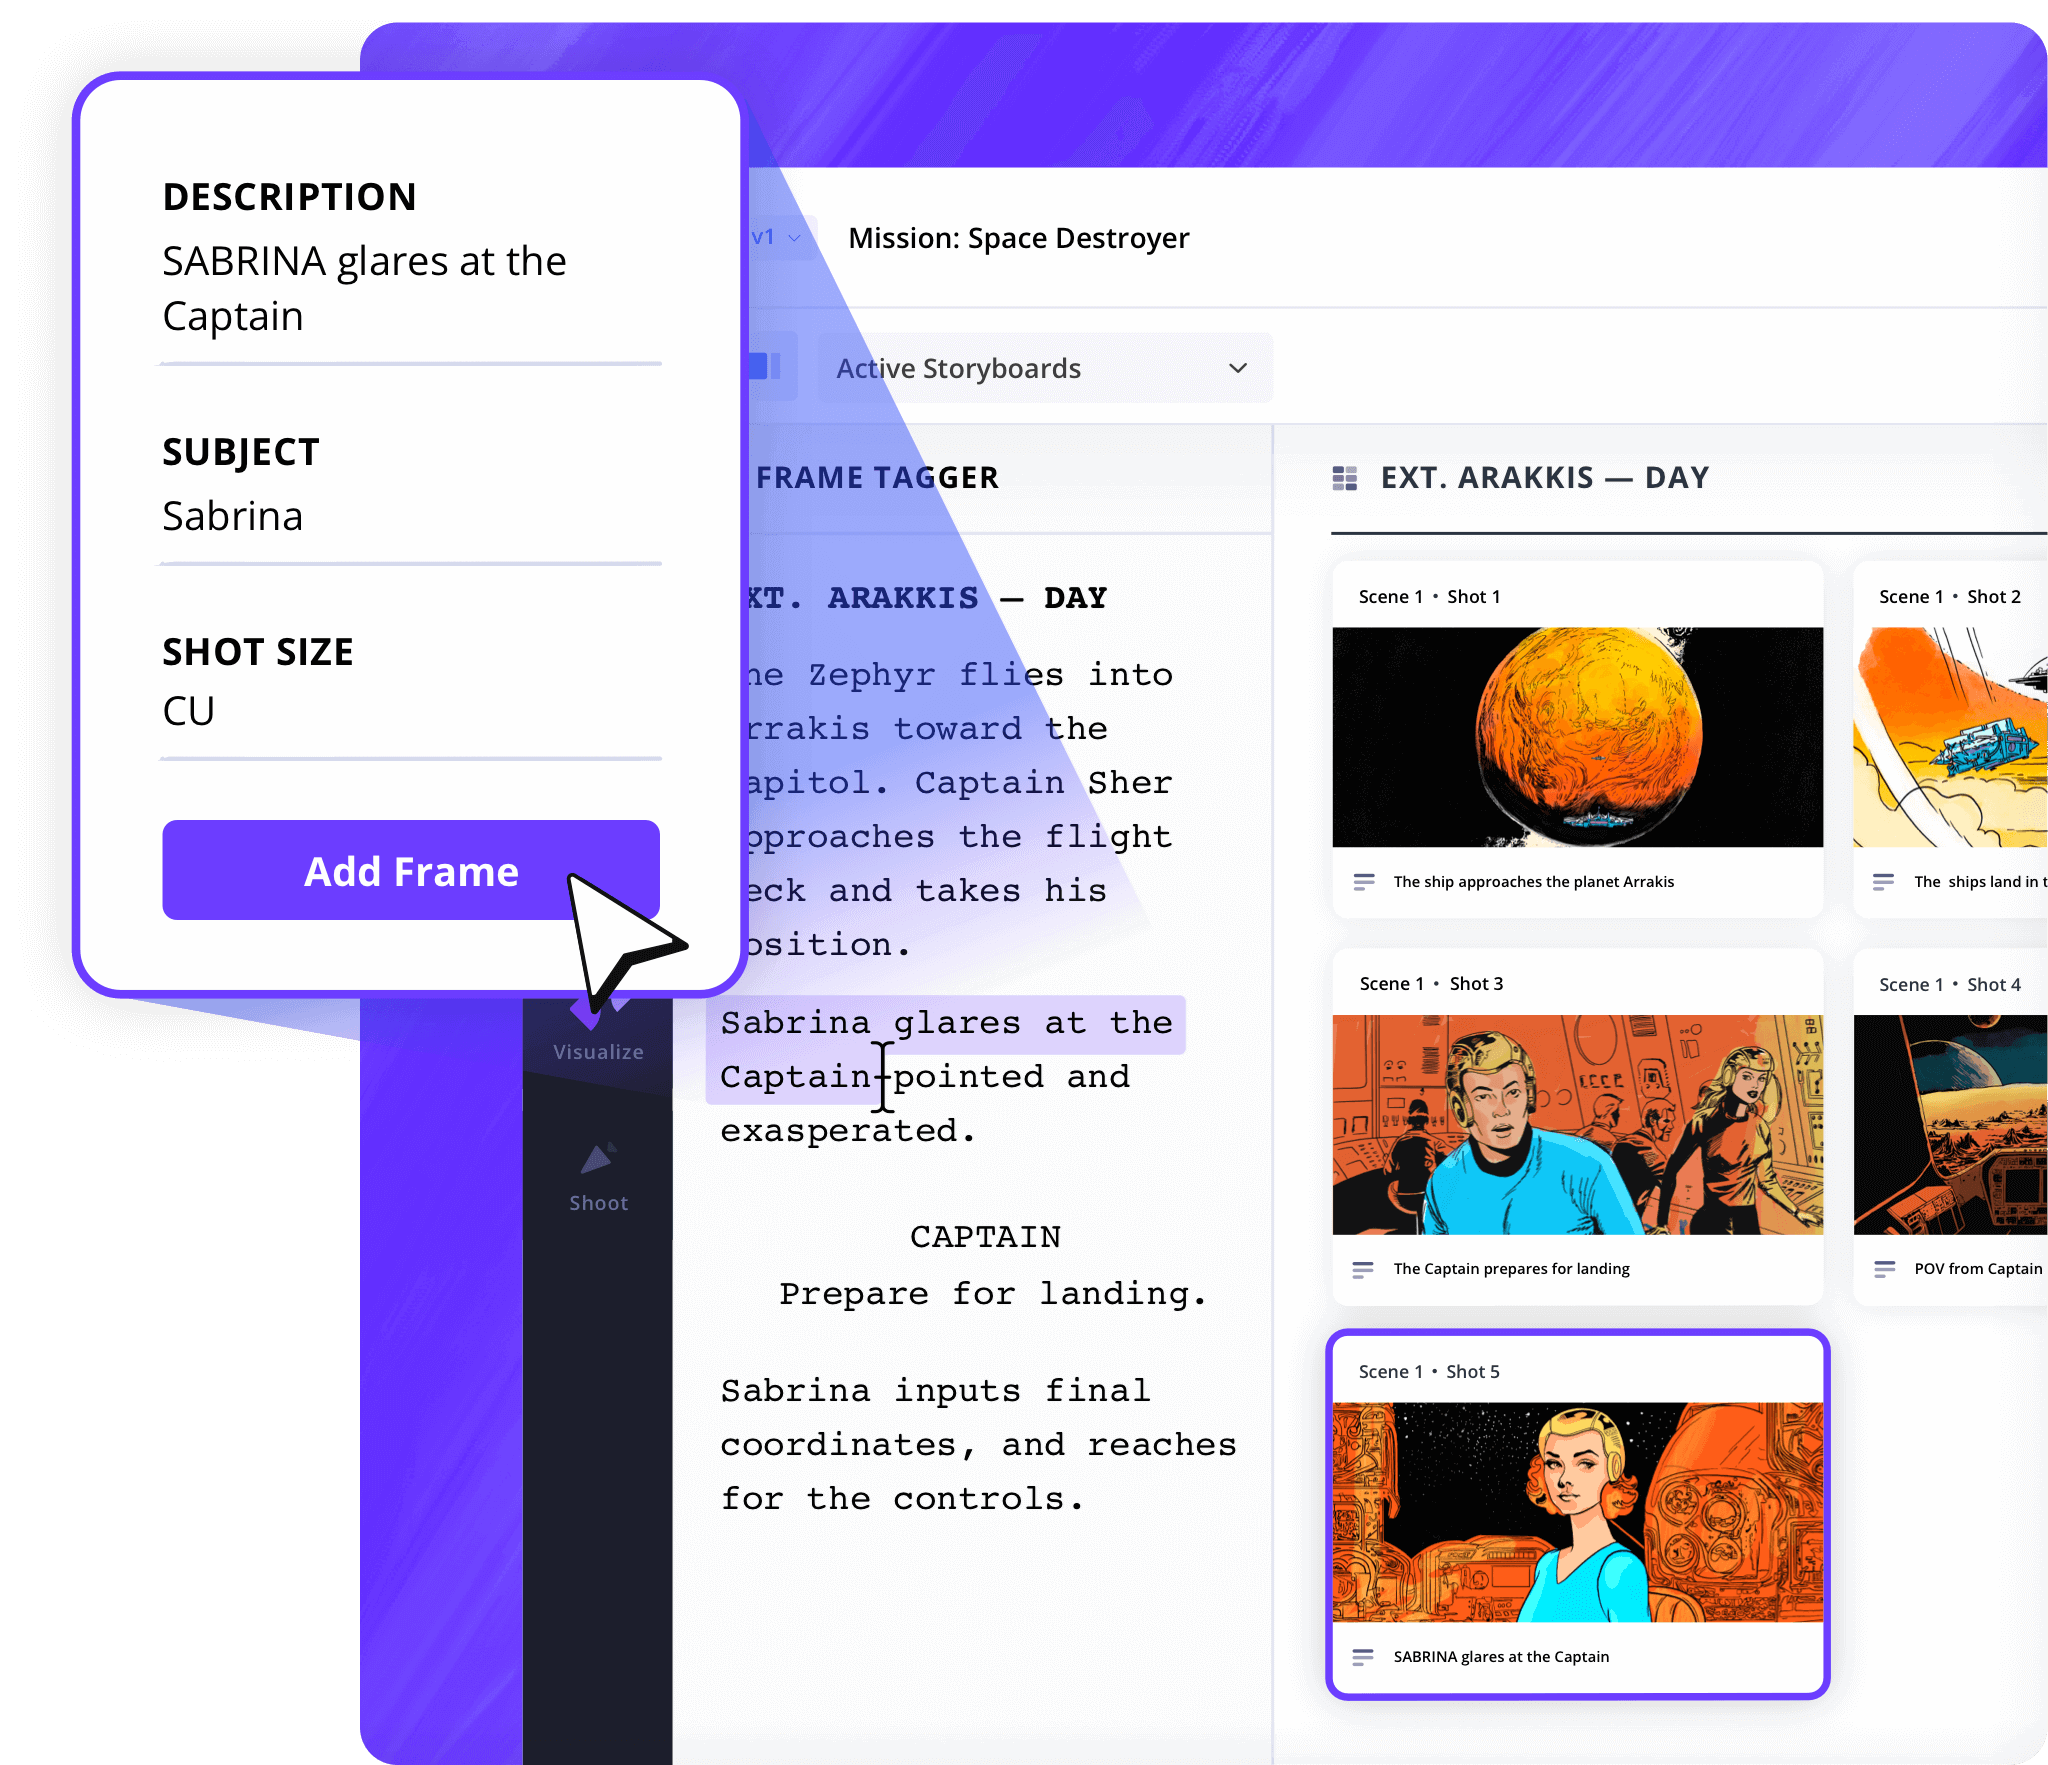
Tag shots from your script directly
Select parts of the script to generate storyboard panels automatically. This website storyboard creator simplifies the process of identifying important scene beats.

Shot Specs
Customize your layout
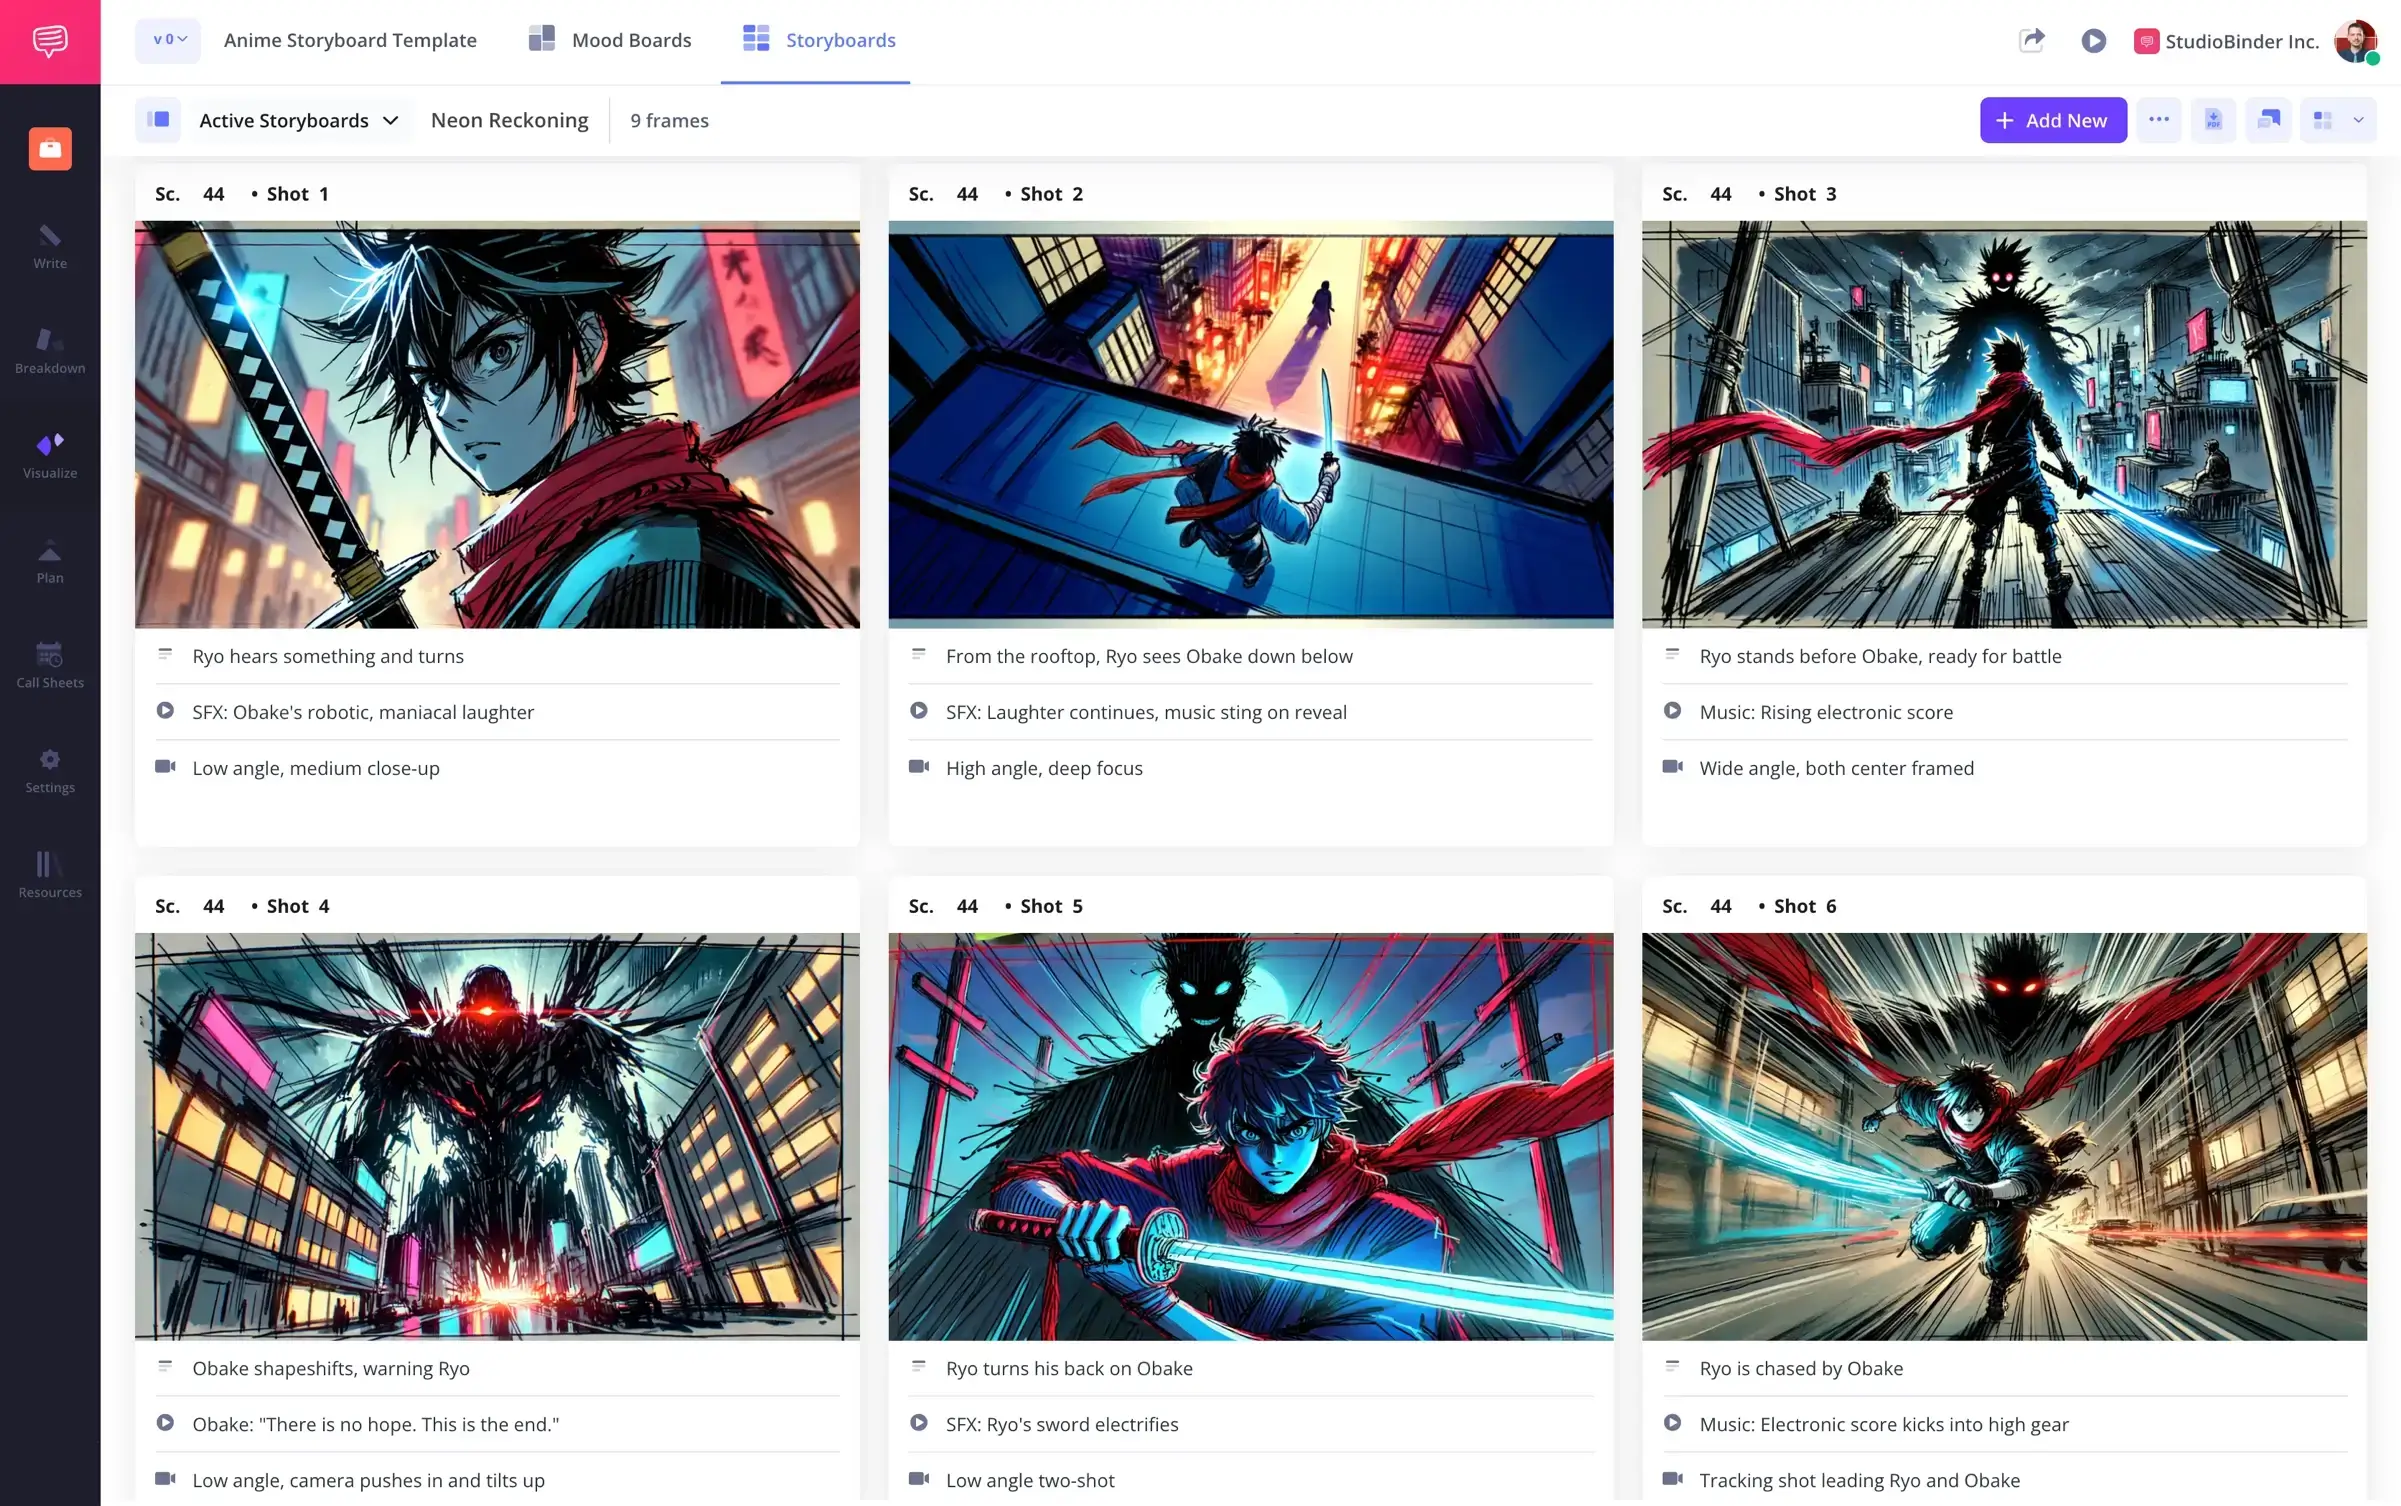
Choose from preloaded shot types and storyboard formats to speed things up. Students working on short films or animations can quickly access the layout that works best.
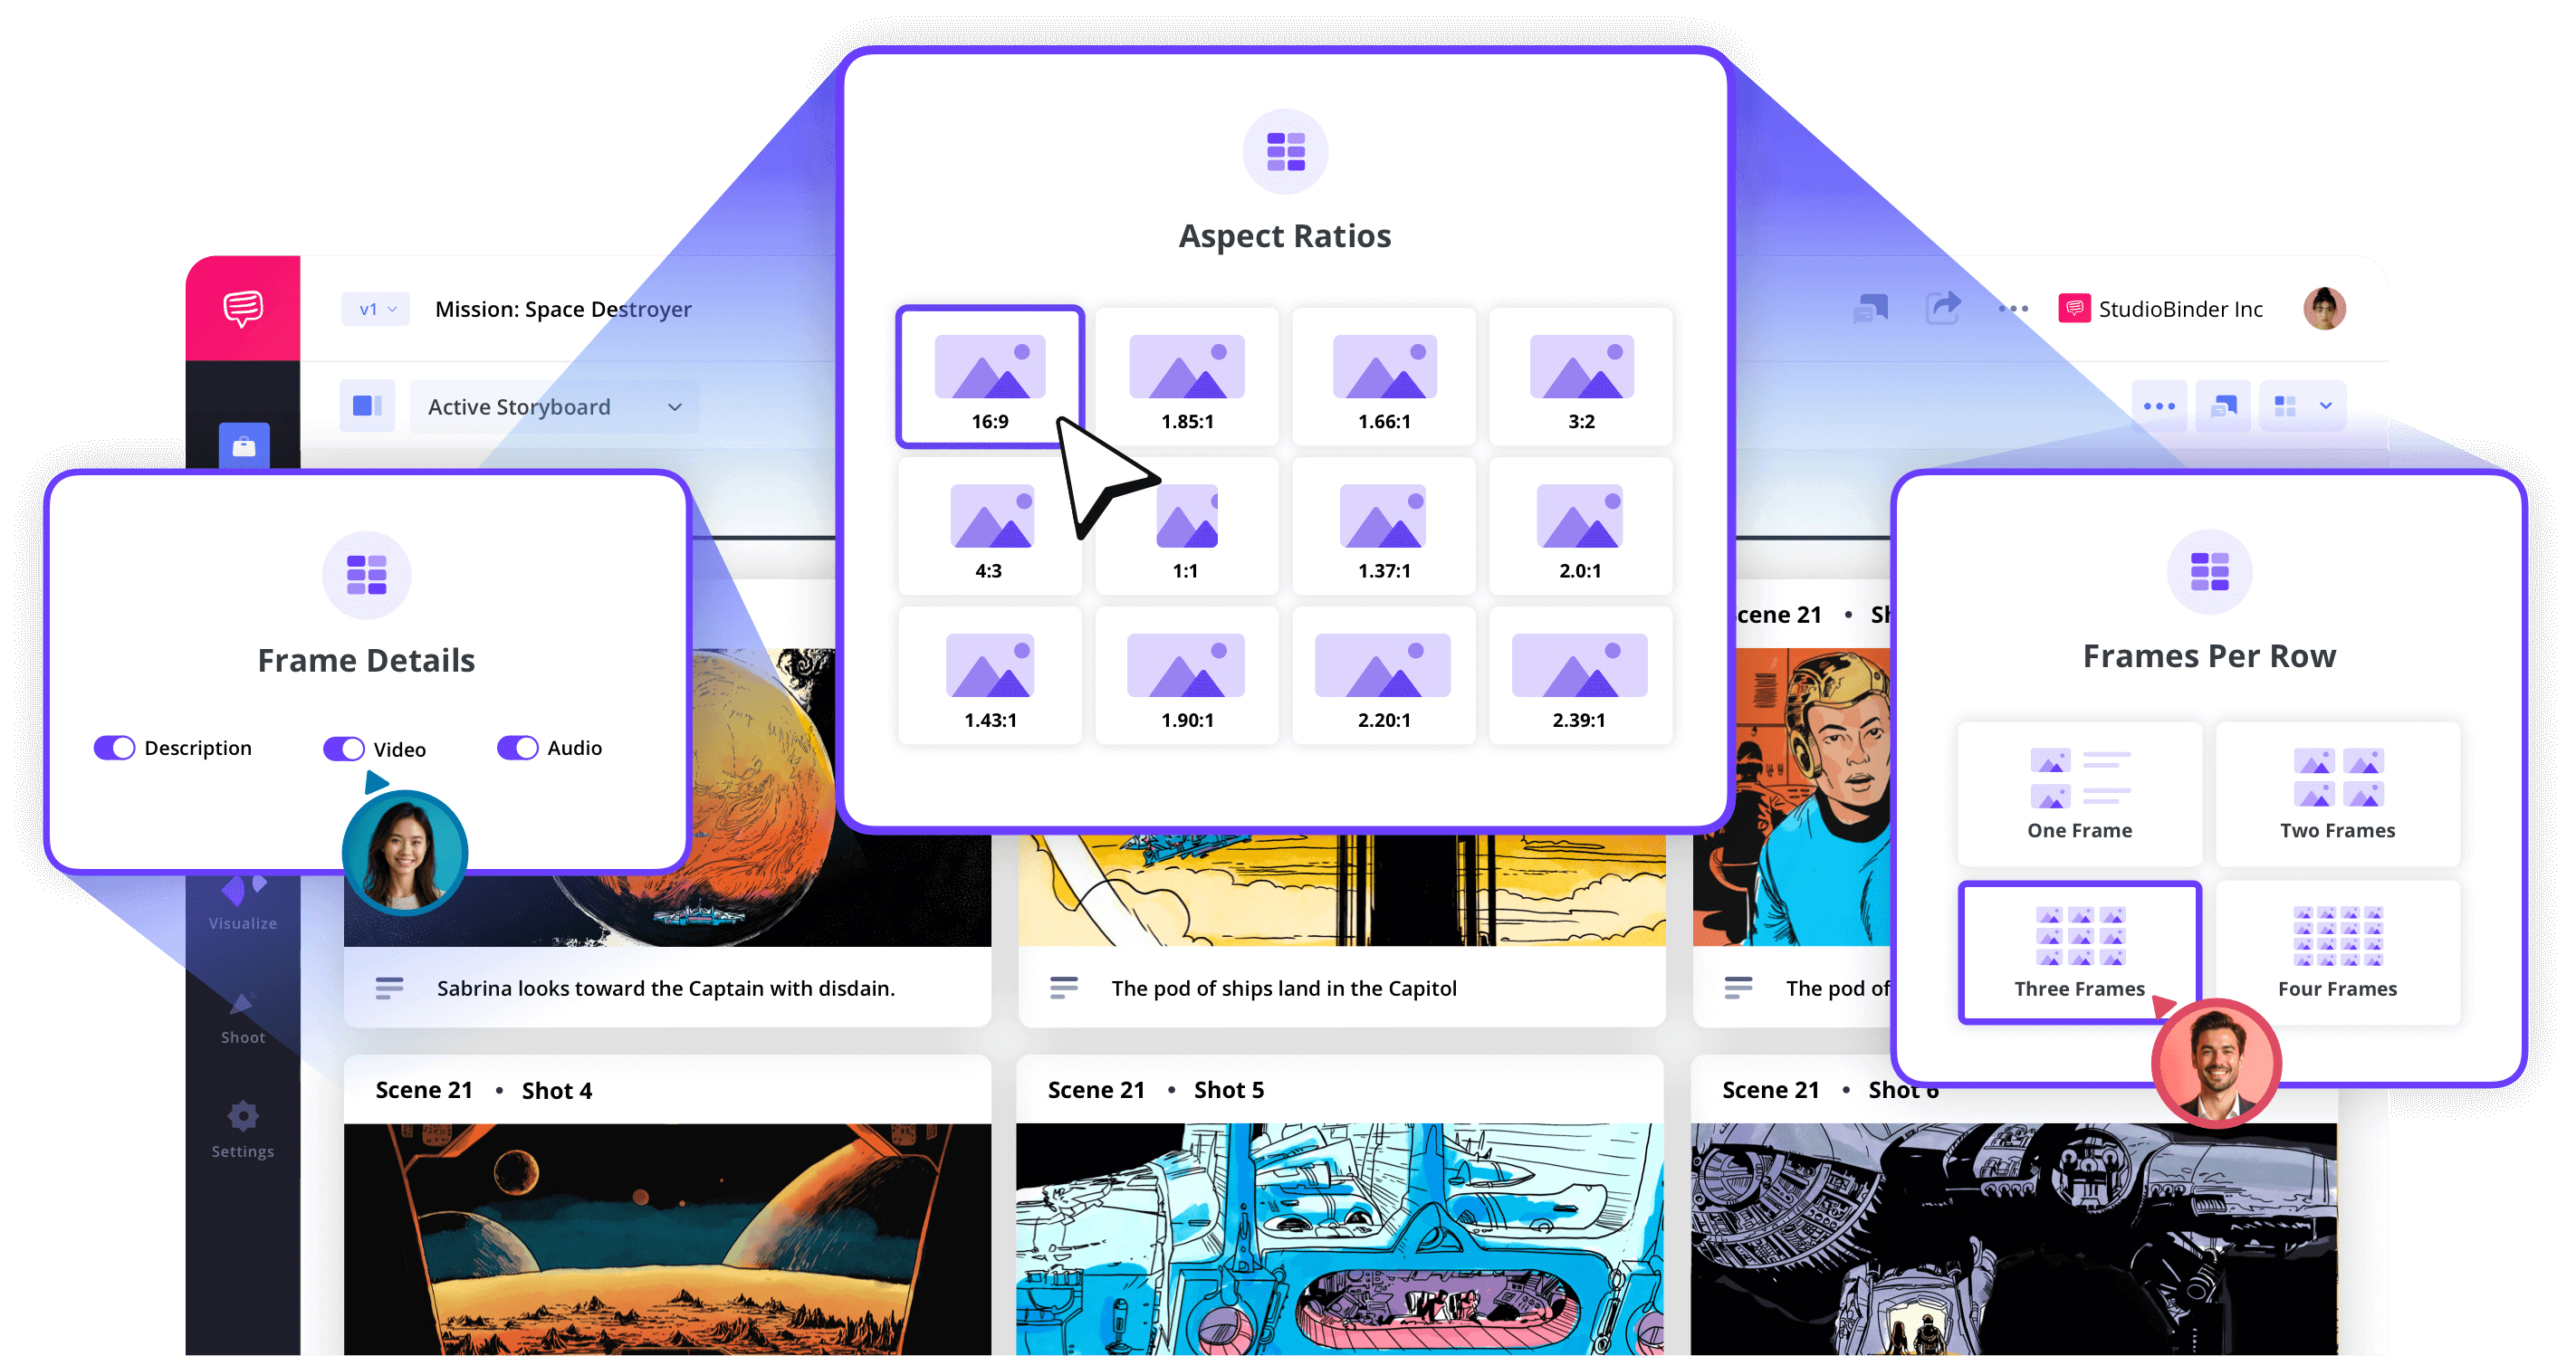
Image Editor
Sketch, import and annotate
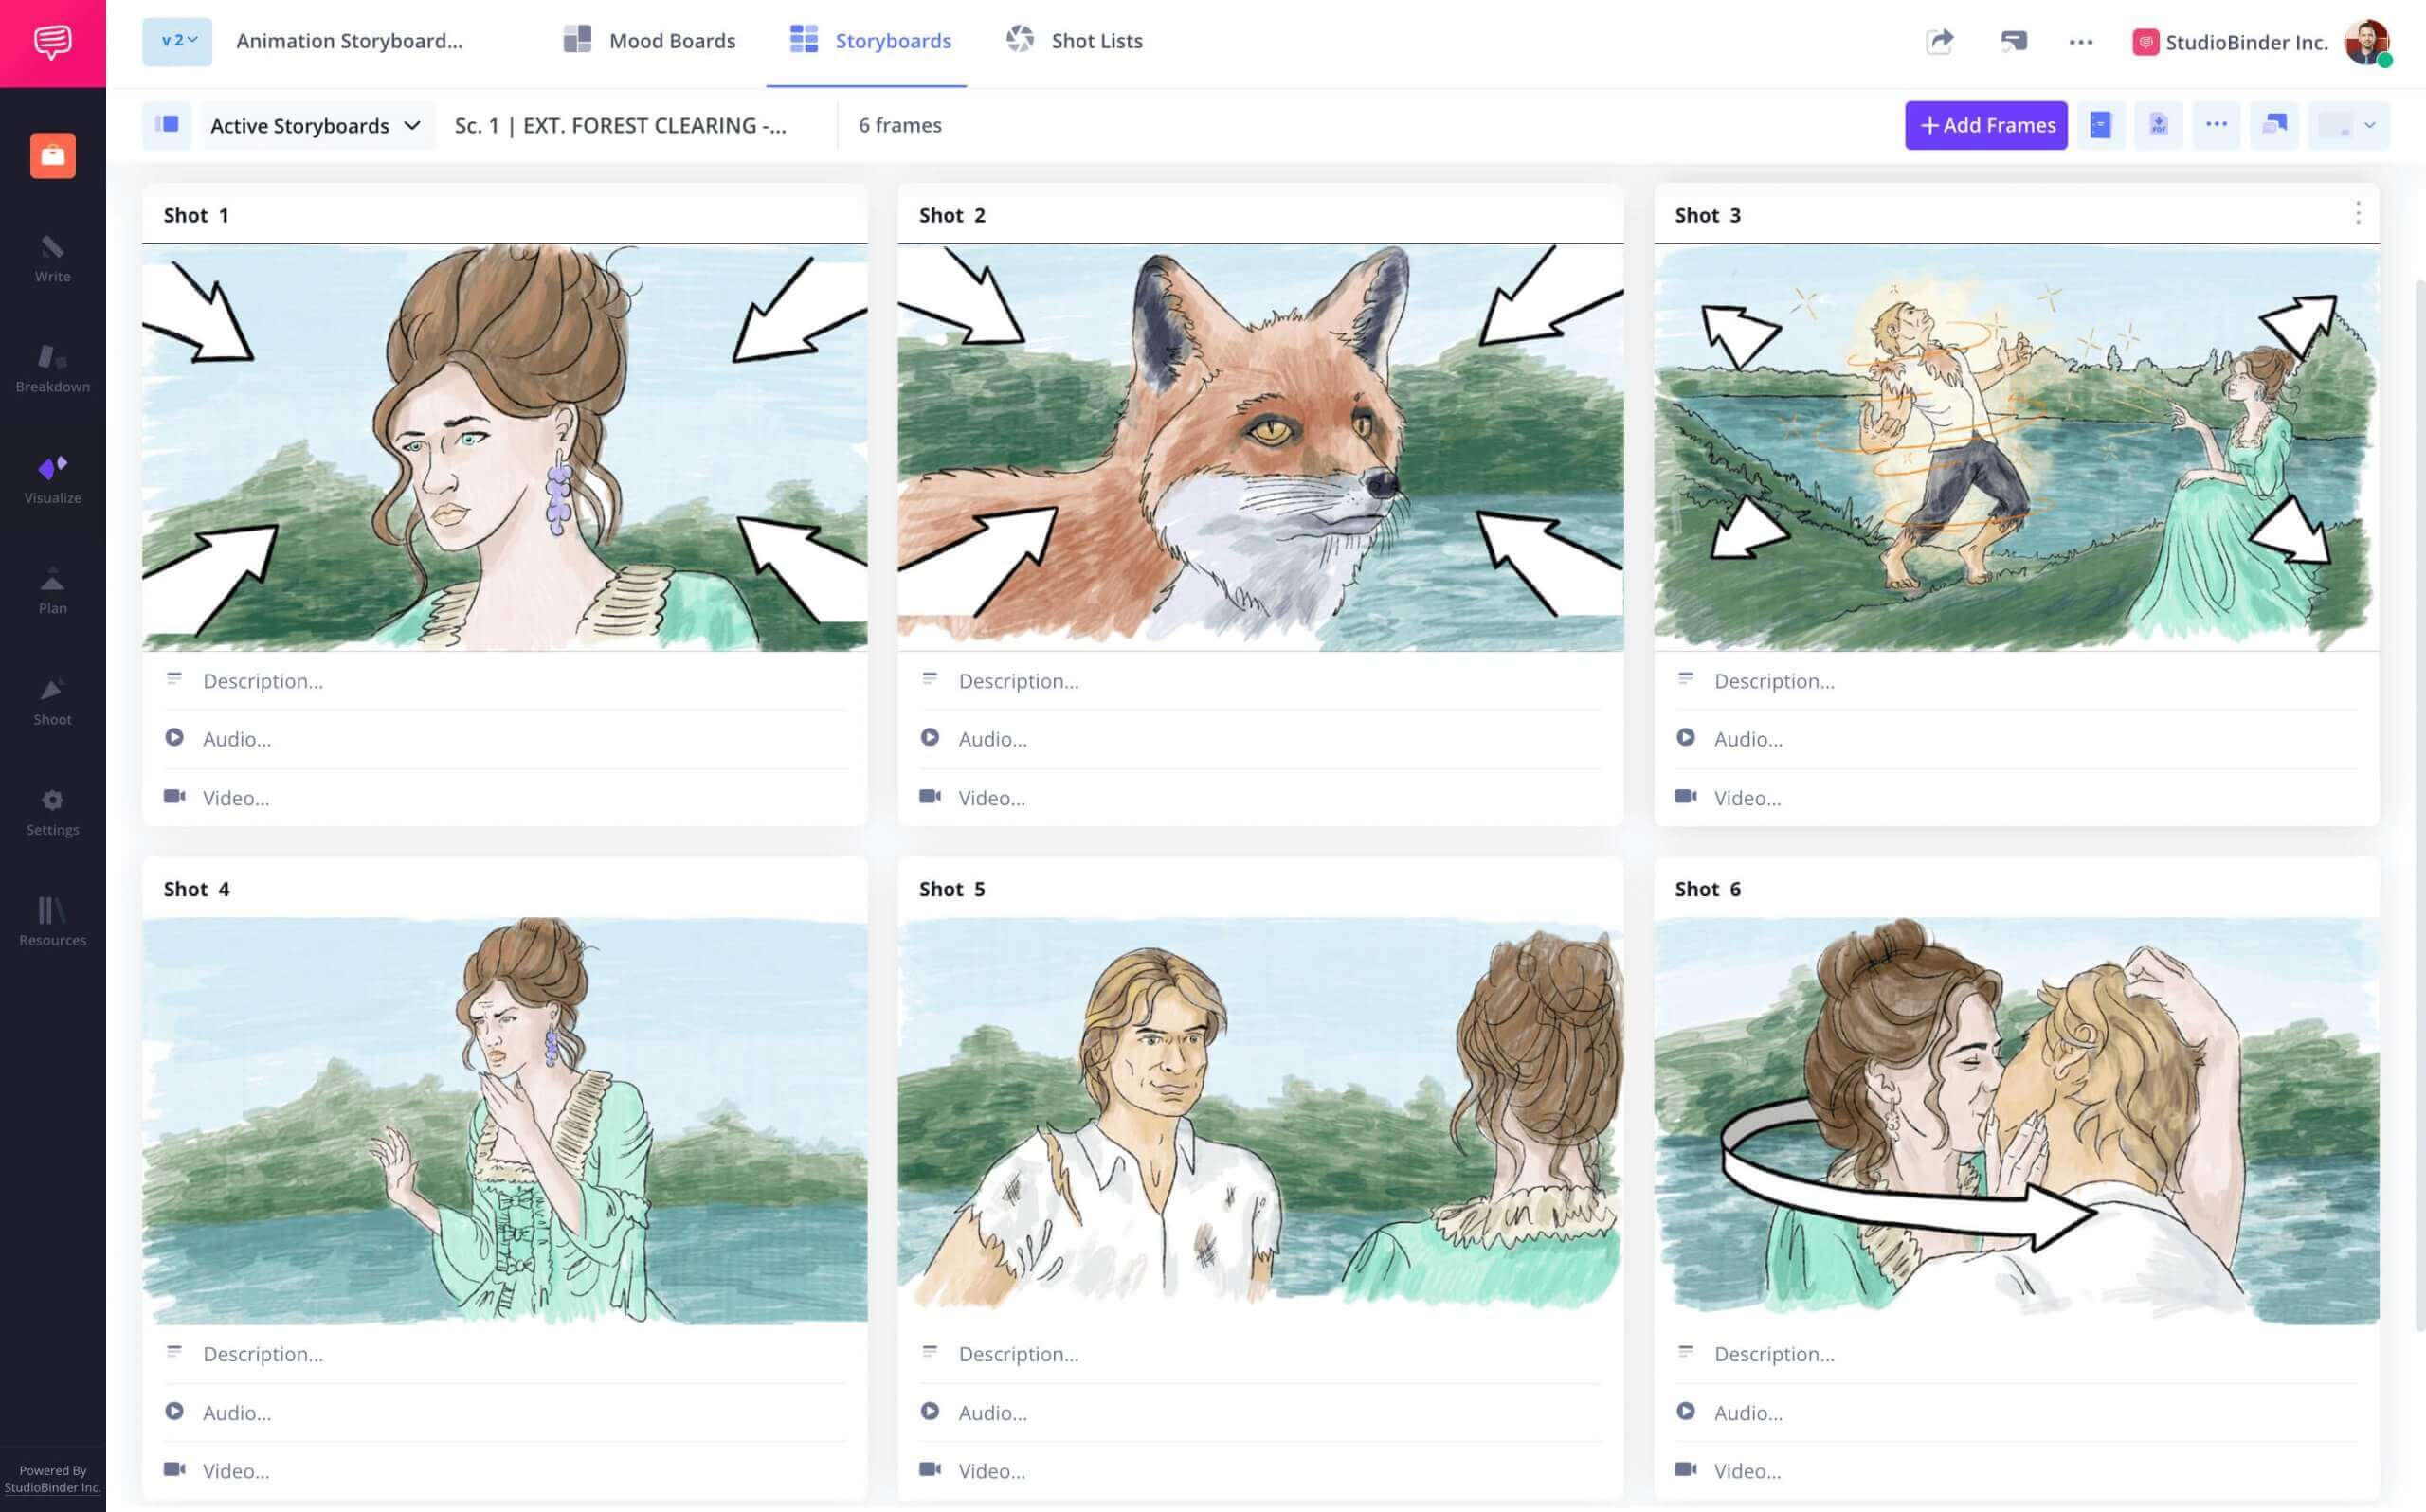
Use our tools to upload rough sketches, adjust visuals, and add directional arrows or filters. It’s perfect for creating a storyboard free with a personal touch for class.
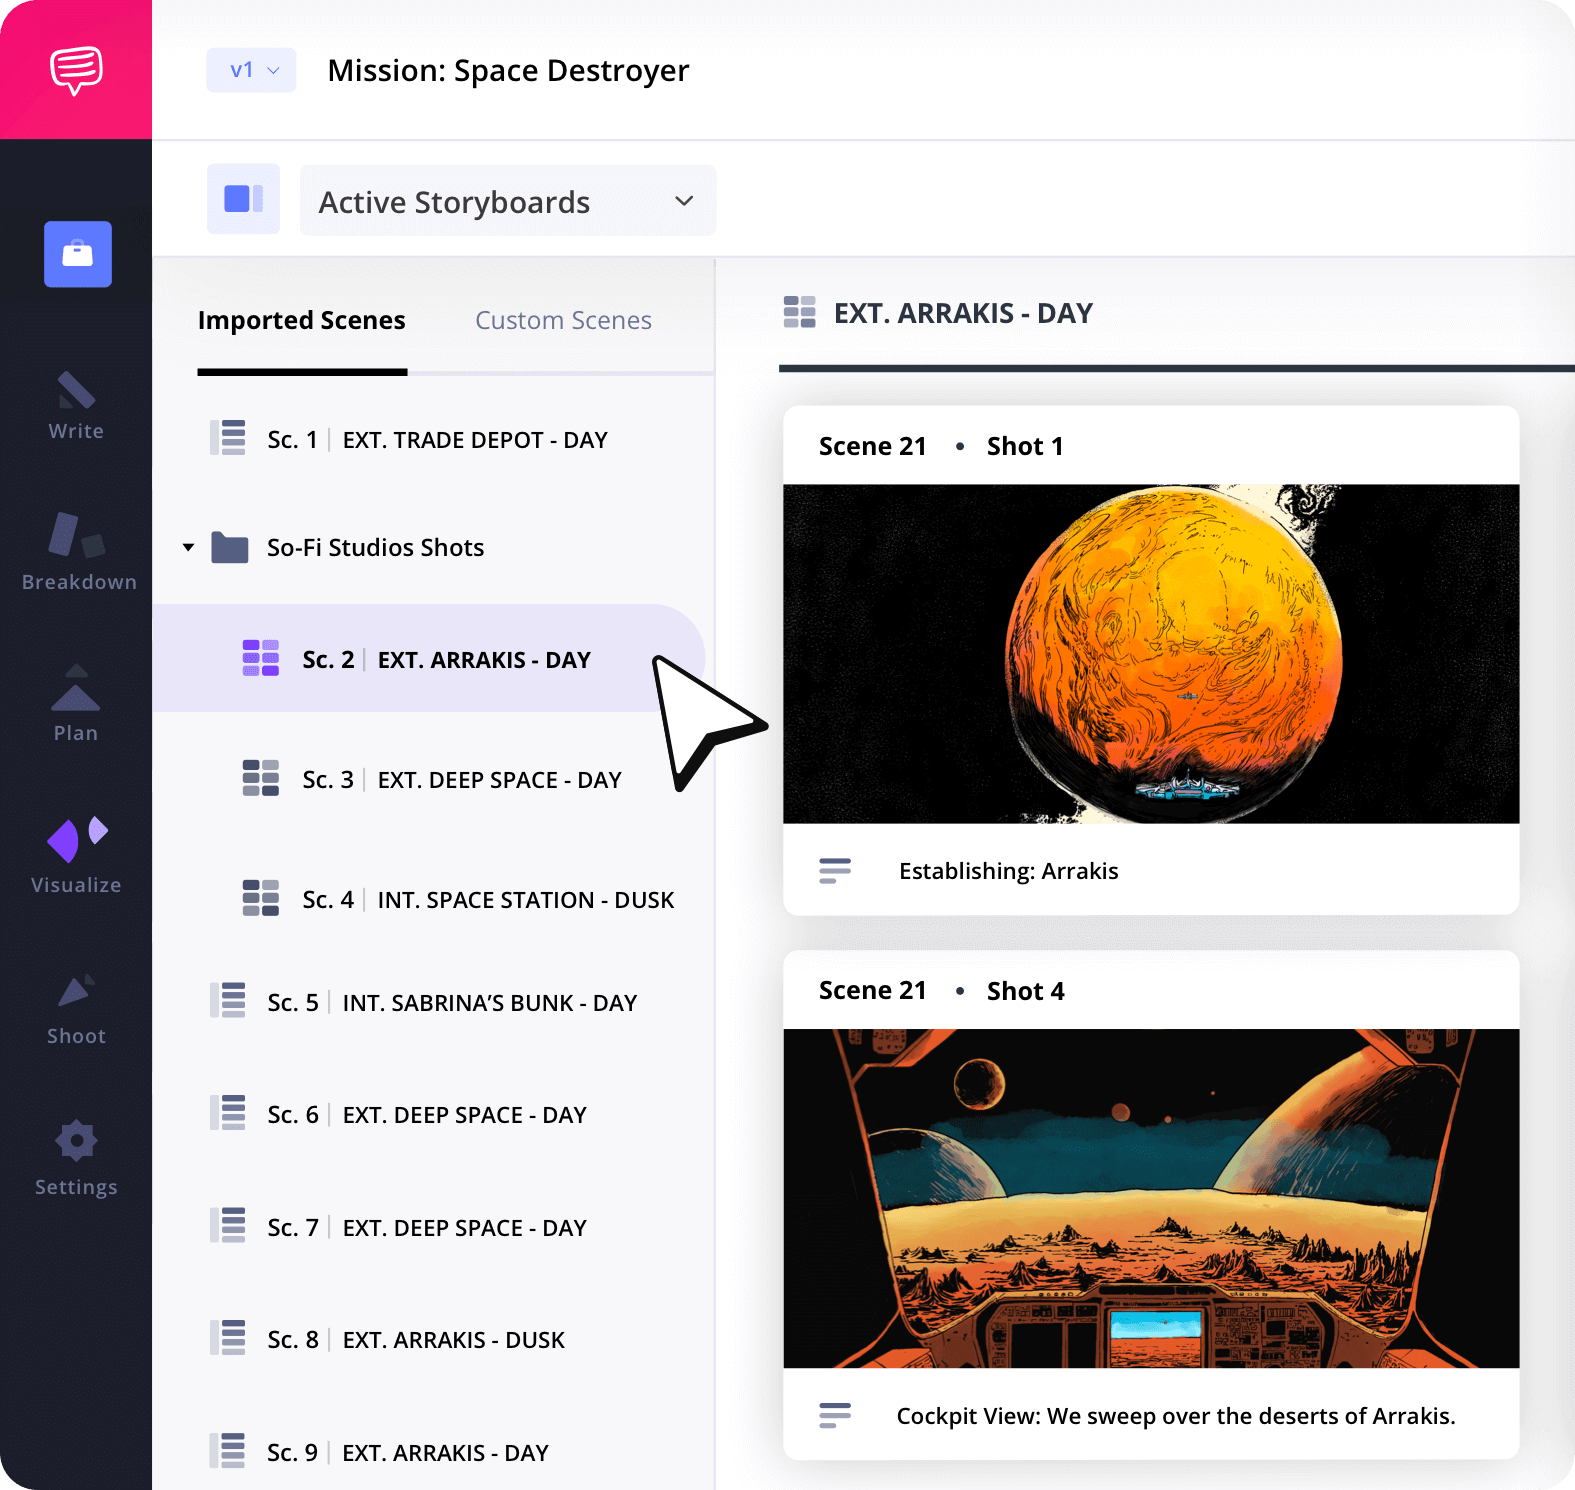
Storyboard Groups
Keep your storyboards organized
With folders and tagging, the free storyboard online tool helps students separate scenes by act, location, or deadline. This is great for solo or collaborative projects
Collaborate
Work on storyboards together
Invite classmates into your storyboard creator online project to contribute panels, leave comments, and make edits together. This is ideal for group presentations or films.
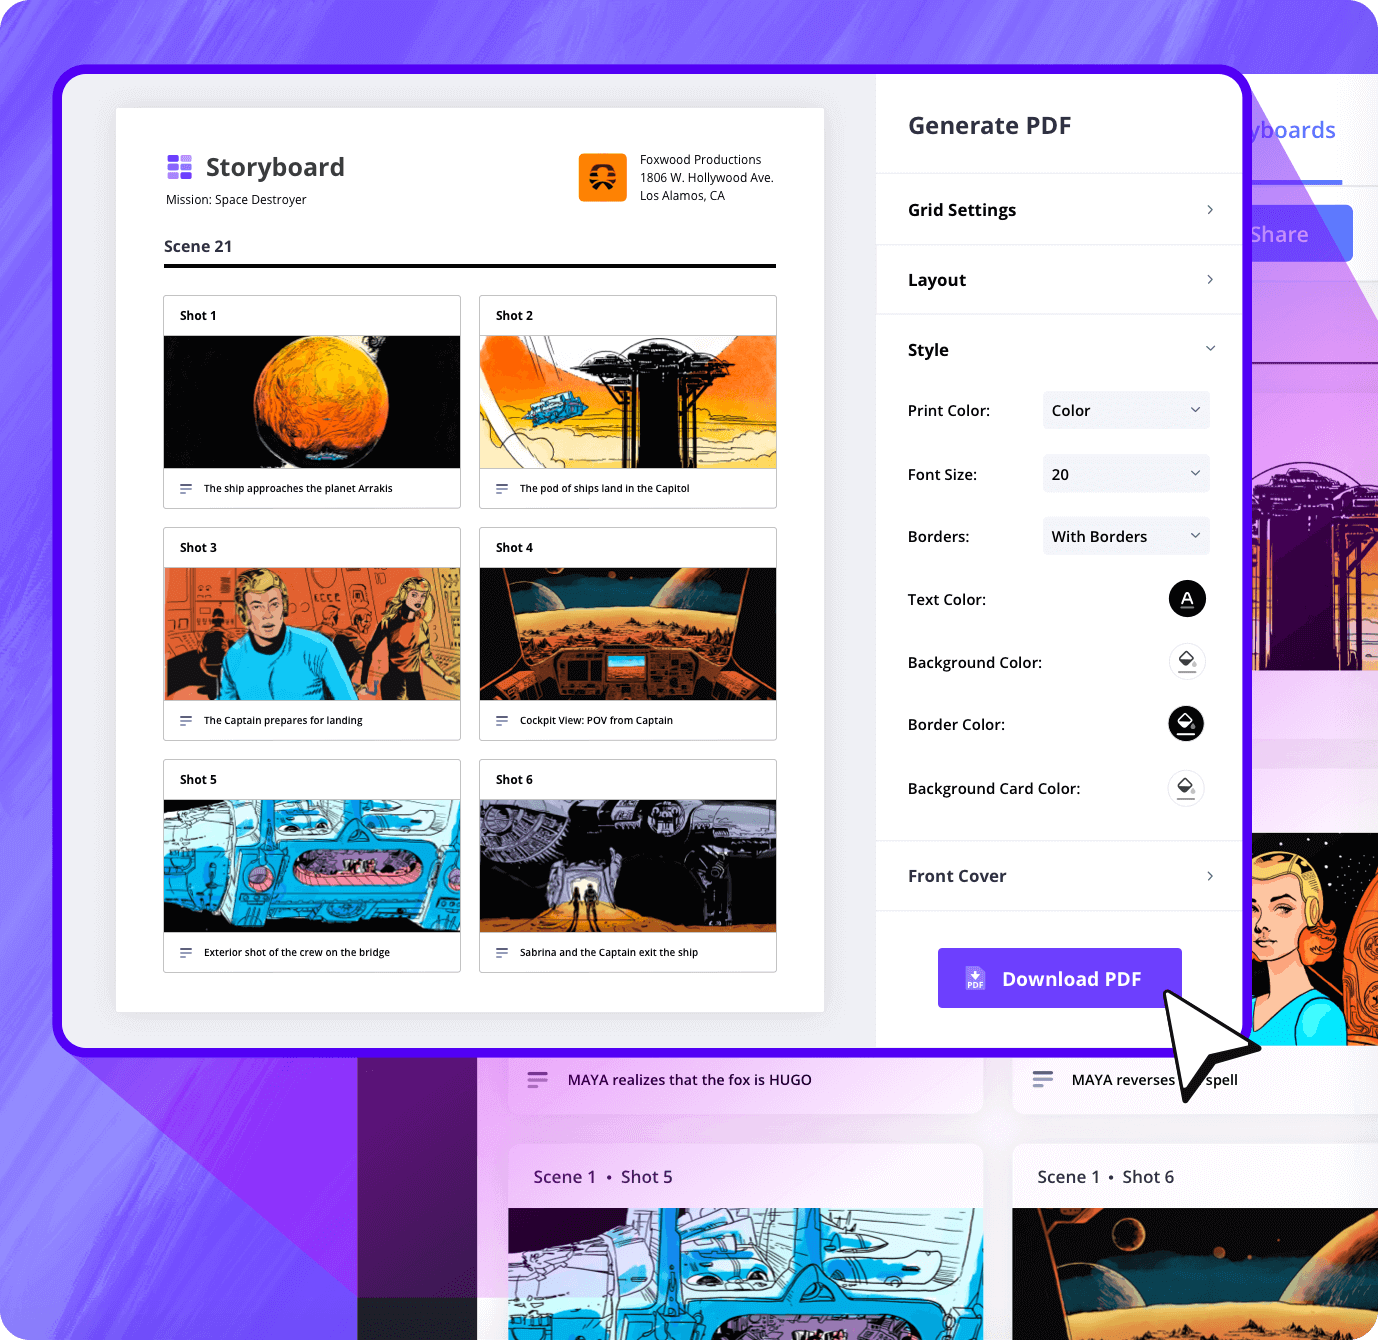
Customization
Personalize your final storyboard PDF
Choose from several layout and formatting options to make your storyboard stand out. Use the free storyboard creator online to produce a clean PDF ready for submission or printing.
Sharing
Easily send boards to classmates
With a click, share your project using private view-only links. This free online storyboard creator for students gets you feedback without downloads.
Explore Features
More storyboard features
Aspect Ratios
Choose an aspect ratio that best suits your project.
Column Layouts
Adjust how many columns your storyboard will have.
Image Library
Reuse storyboard panels from previous projects.
Shot Numbering
Choose between digits, letters, or a custom shot numbering.
Storyboard Archive
Archive old storyboards to keep an accessible history.
Color-Code Shots
Label or call out specialty shots with colors.

What are the 8 steps in storyboarding?
Open StudioBinder on your browser.
Click on the Storyboards tab on the project homepage.
Choose to either import a script or create a storyboard manually.
Name the storyboard, set the aspect ratio, and select the number of frames.
Add an image to each frame from the Media Library or upload new images.
Edit your images with a suite of tools, including filters, text, and arrows.
Enter details, including the scene number, description, and notes.
Create a custom PDF, send a view-only link, or invite collaborators for feedback.
Frequently Asked Questions
Your questions, answered
You don't necessarily need a script before you start storyboarding, but that's how it's usually done. Sometimes you want to experiment with the visuals before writing the script. Maybe seeing your vision on paper will help the writing process. But, again, almost always a script is necessary before storyboarding.
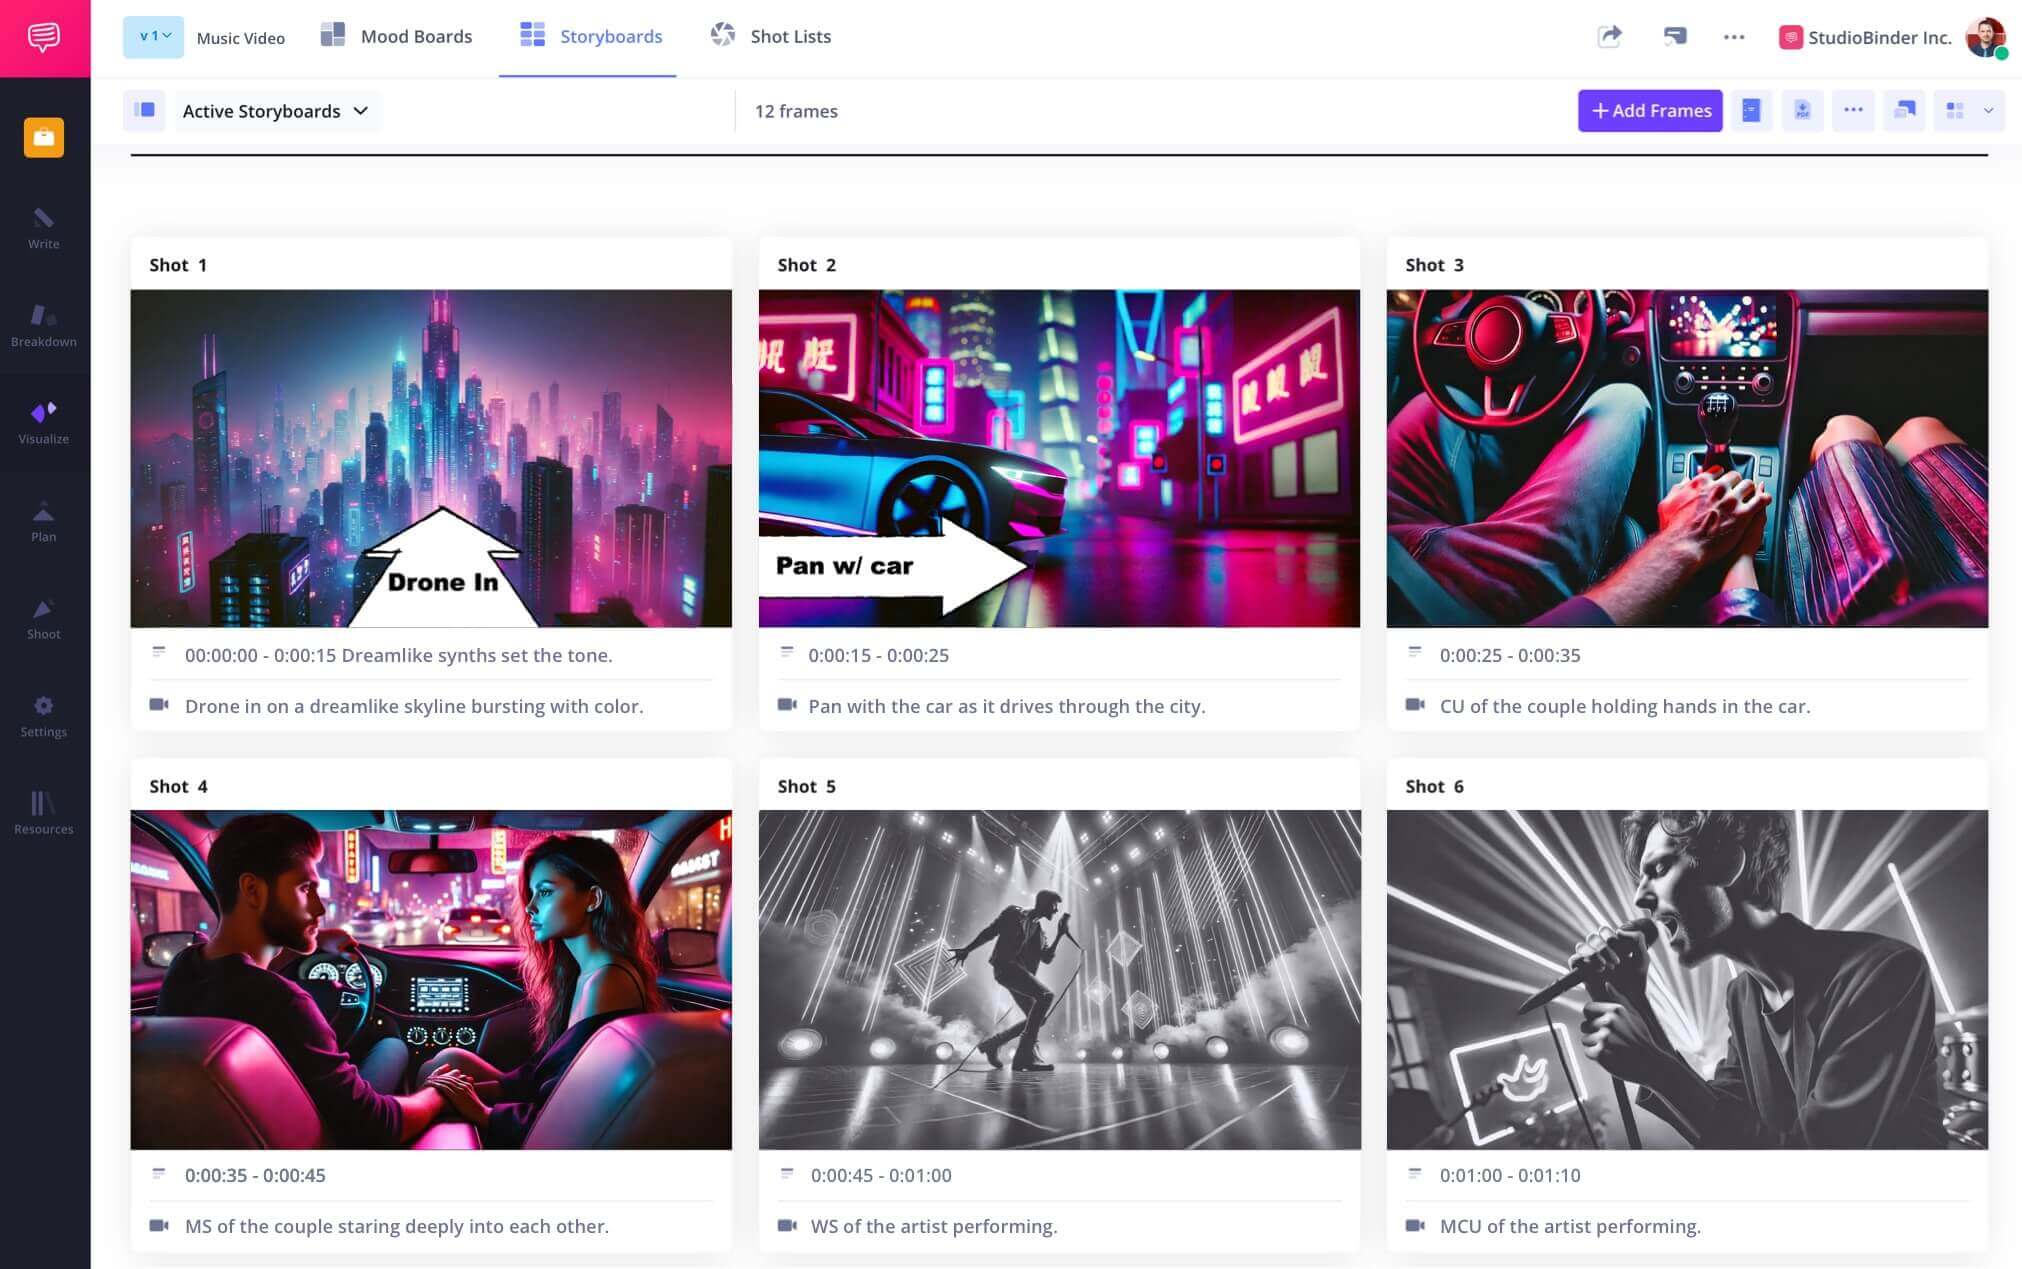
This is completely up to you. The more images you have, the more detailed and comprehensive the storyboard will be. On a single page, you might have anywhere from 12 to 15 images, but for larger, more detailed images, maybe as few as 4.
The one element that seems least necessary for a storyboard is dialogue. Your frames should be dedicated to the image composition, not crowded with dialogue bubbles. If you need to specify the dialogue, it's best to give a summary in the shot's description, e.g., "Pamela asks for money."
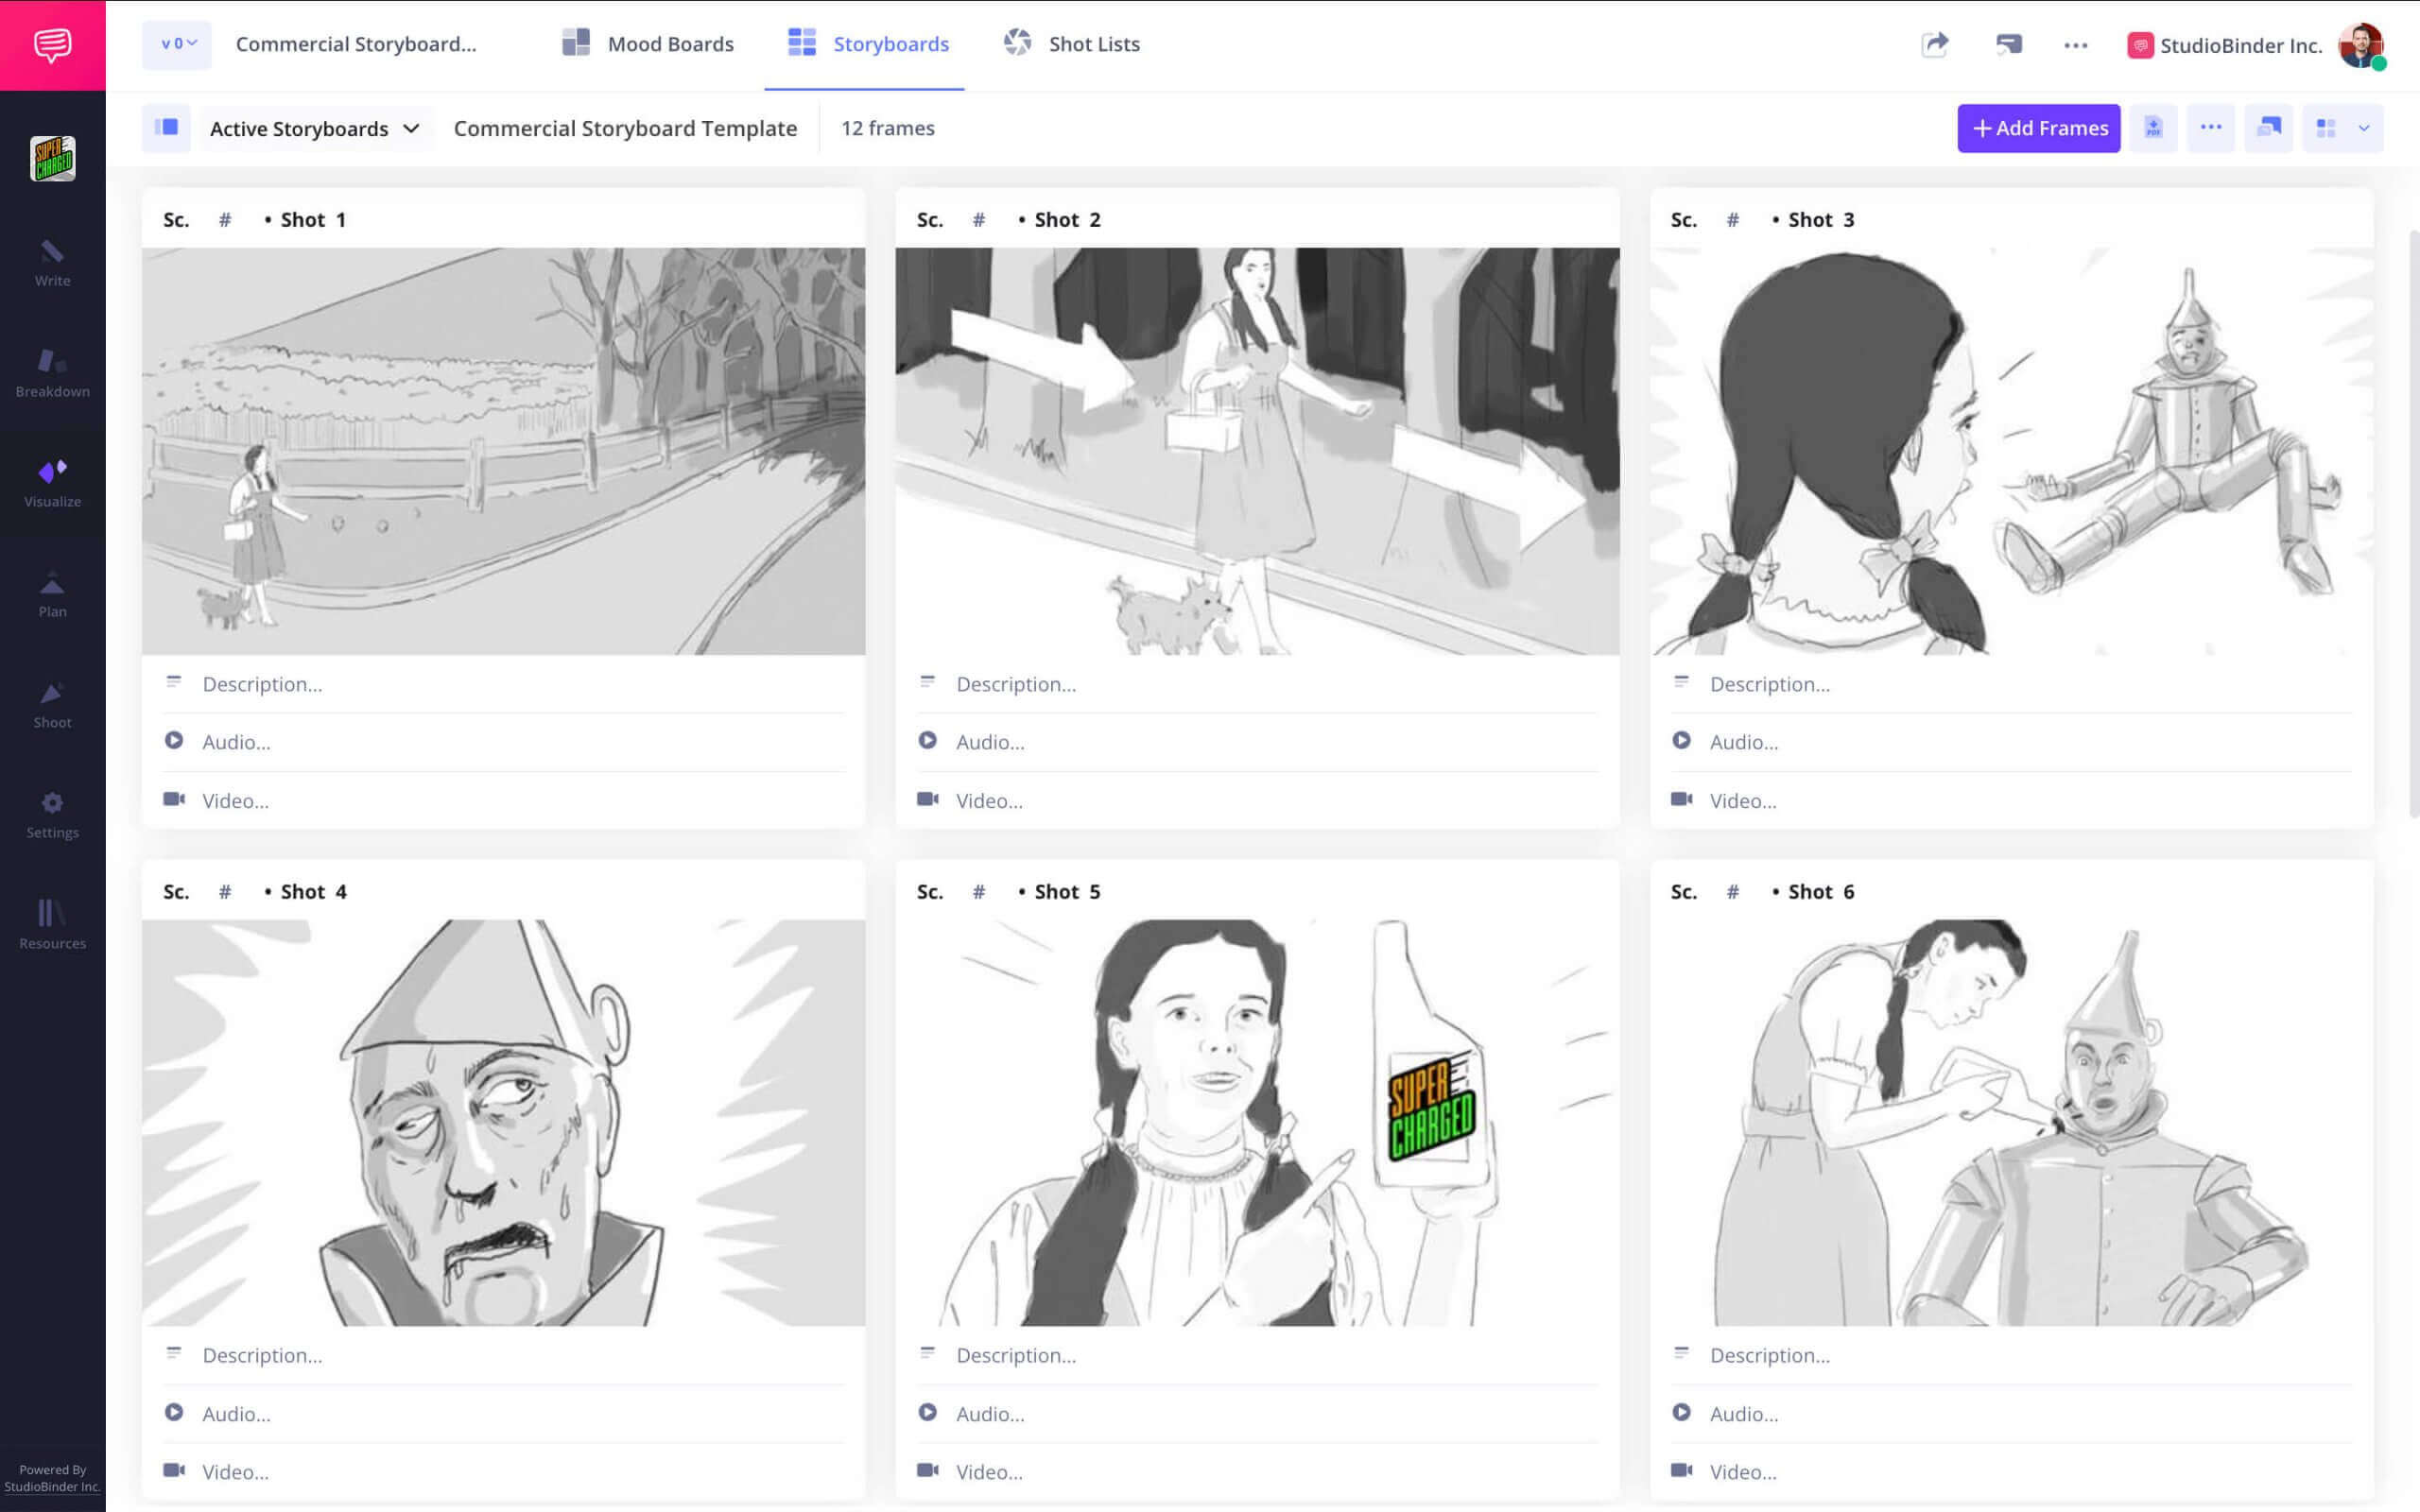
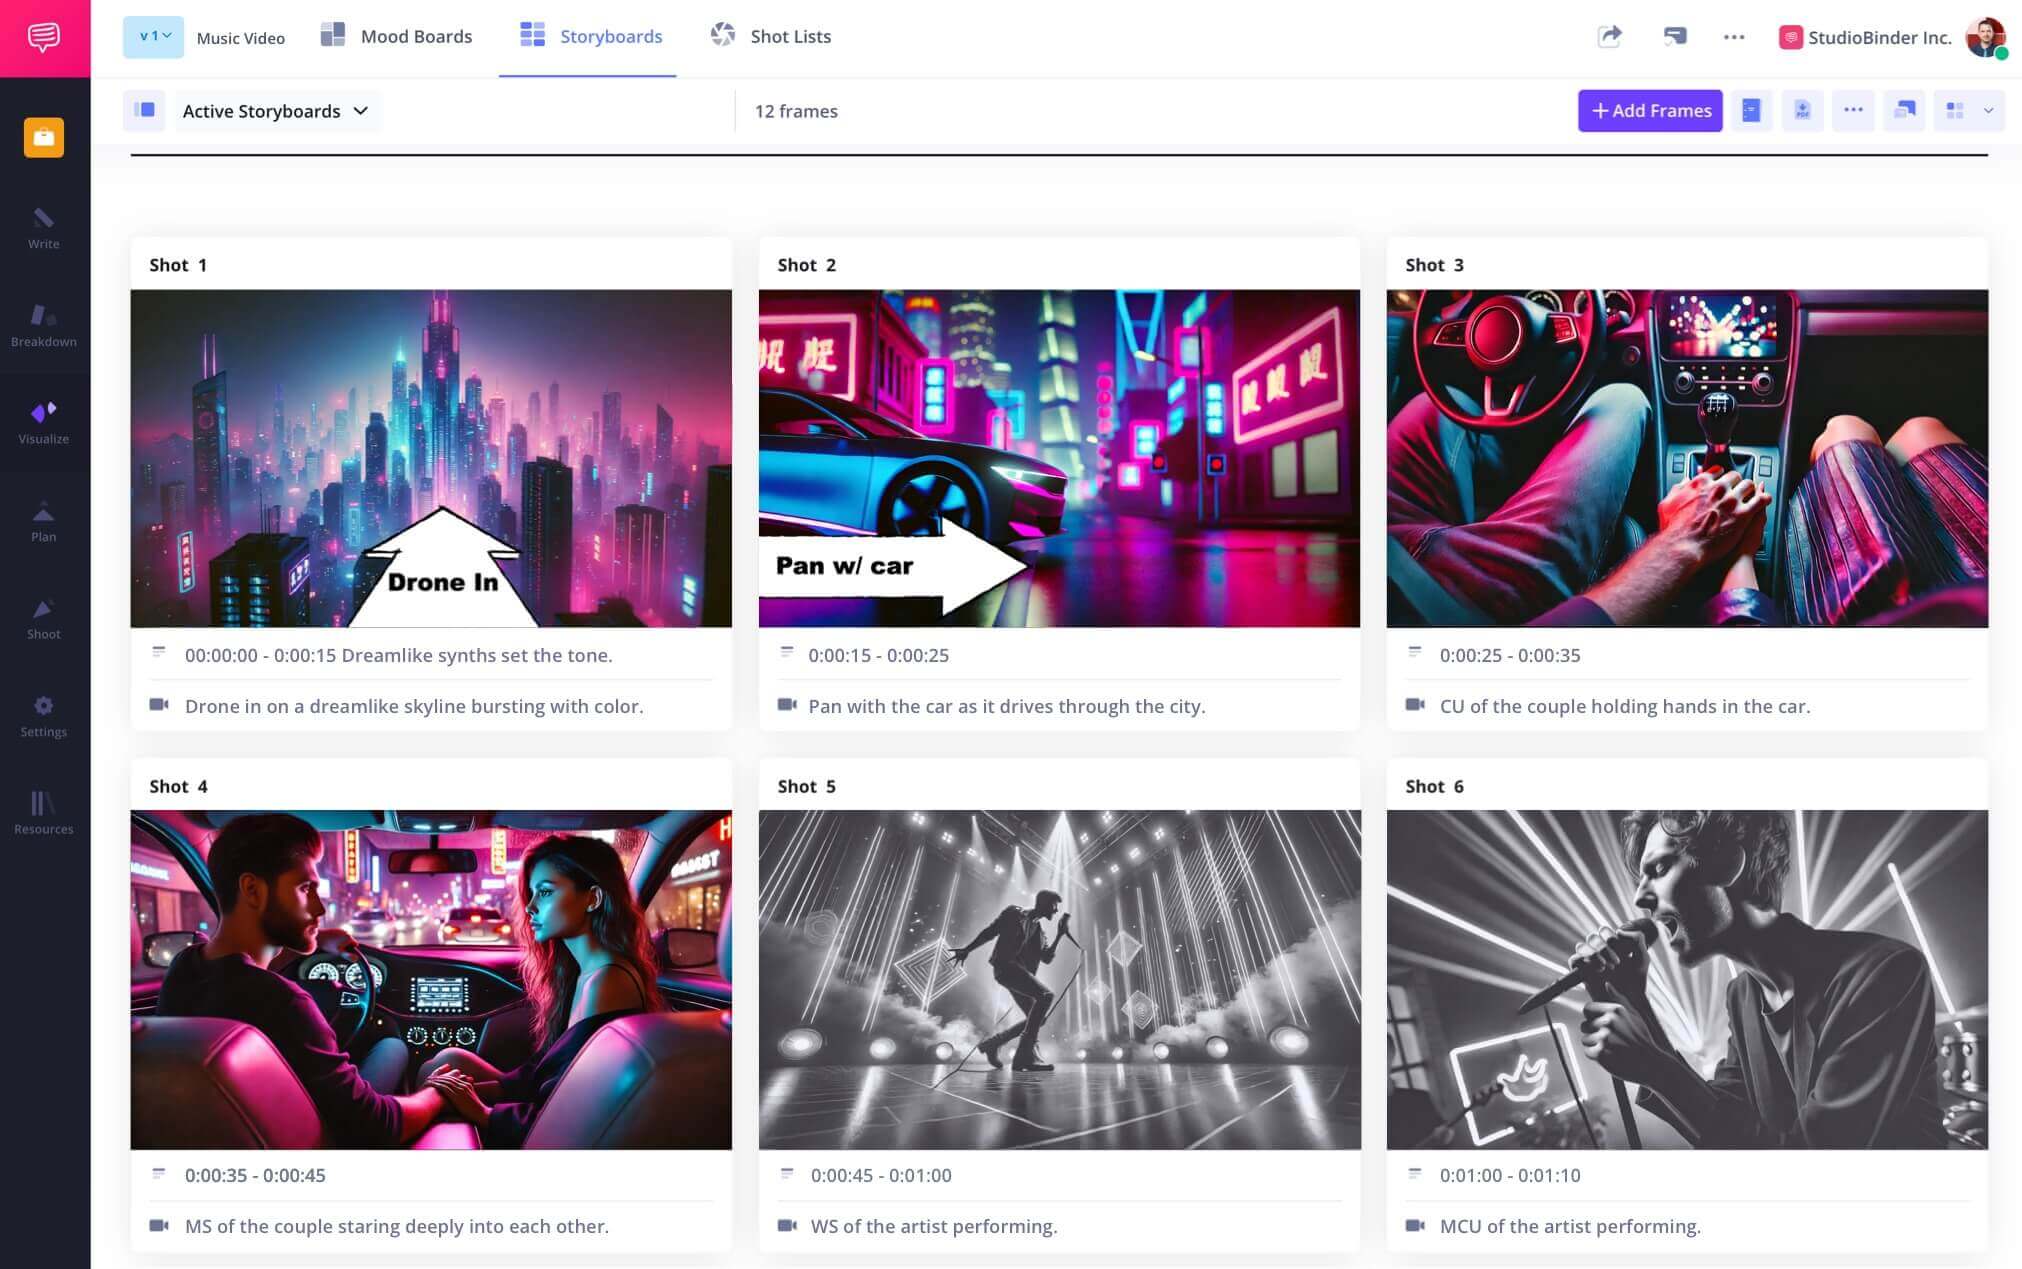
A professional storyboard will be detailed and clear so that anyone reading it will understand each shot and how they connect from one to the next. This means images that capture character blocking and movement, including text and arrows to specify said movement. The shots are also given scene and shot numbers to keep everything organized.
Your storyboard is your own, so make it however you see fit. Some can be very complex, while others are direct and simple. But, in general, here are some elements that most storyboards contain:
- Individual frames that represent individual shots
- Scene and shot numbers
- Descriptions that explain the shot
- Text and arrows to clarify character and camera movement
- Notes for special considerations like sound design, stunts, VFX, etc.
Creating a storyboard can be a completely personal process. This could be simple thumbnail sketches in your script or elaborate illustrations. But whichever method suits you best, there are some basic steps to creating any storyboard:
- Read the script and start thinking about your shot choices
- Add an image to each storyboard frame representing a single shot
- Storyboards should be arranged in chronological order
- Insert text or arrows to annotate camera or character movements
- Write descriptions and notes for each shot
Typically, you'll want to have the script more or less complete when you begin to storyboard. It's also a good idea to have department heads, such as your cinematographer and production designer, involved in the storyboard process for thorough collaboration.
Customers
Trusted by the Best
Modernizing production workflows at renowned studios worldwide.






Today’s productions use StudioBinder to streamline their process, and collaborate on better content together.
"I can be a part of the conversation and see when someone finishes a task."
Watch Testimonial ➜
"StudioBinder makes pre-production that much quicker for out team."
Watch Testimonial ➜
"Call sheet confirmations have instantly made our life that much easier."
Watch Testimonial ➜
