home → TEMPLATES → Storyboard
Corporate Video Storyboard Template
Create effective corporate videos
Corporate videos often struggle to capture attention and communicate effectively. A well-structured corporate video storyboard template can transform your video production process, ensuring clarity and engagement.
For our guide, we'll utilize StudioBinder’s storyboard creator to demonstrate each step, but these principles apply to any storyboarding software or even traditional pen and paper. Whether you’re using stick figures or high-quality illustrations, a storyboard helps visualize your project shot by shot, ensuring smooth execution.
Steps to create a corporate video storyboard
1. Decide your presentation format
Step 1
1. Decide your presentation format
Choosing the right video storyboard template is essential for structuring your project. Do you prefer professional storyboarding with detailed illustrations or simple stick figures for quick reference?
This is a step where you need to decide whether you need one, two, four, or even more panels per page.
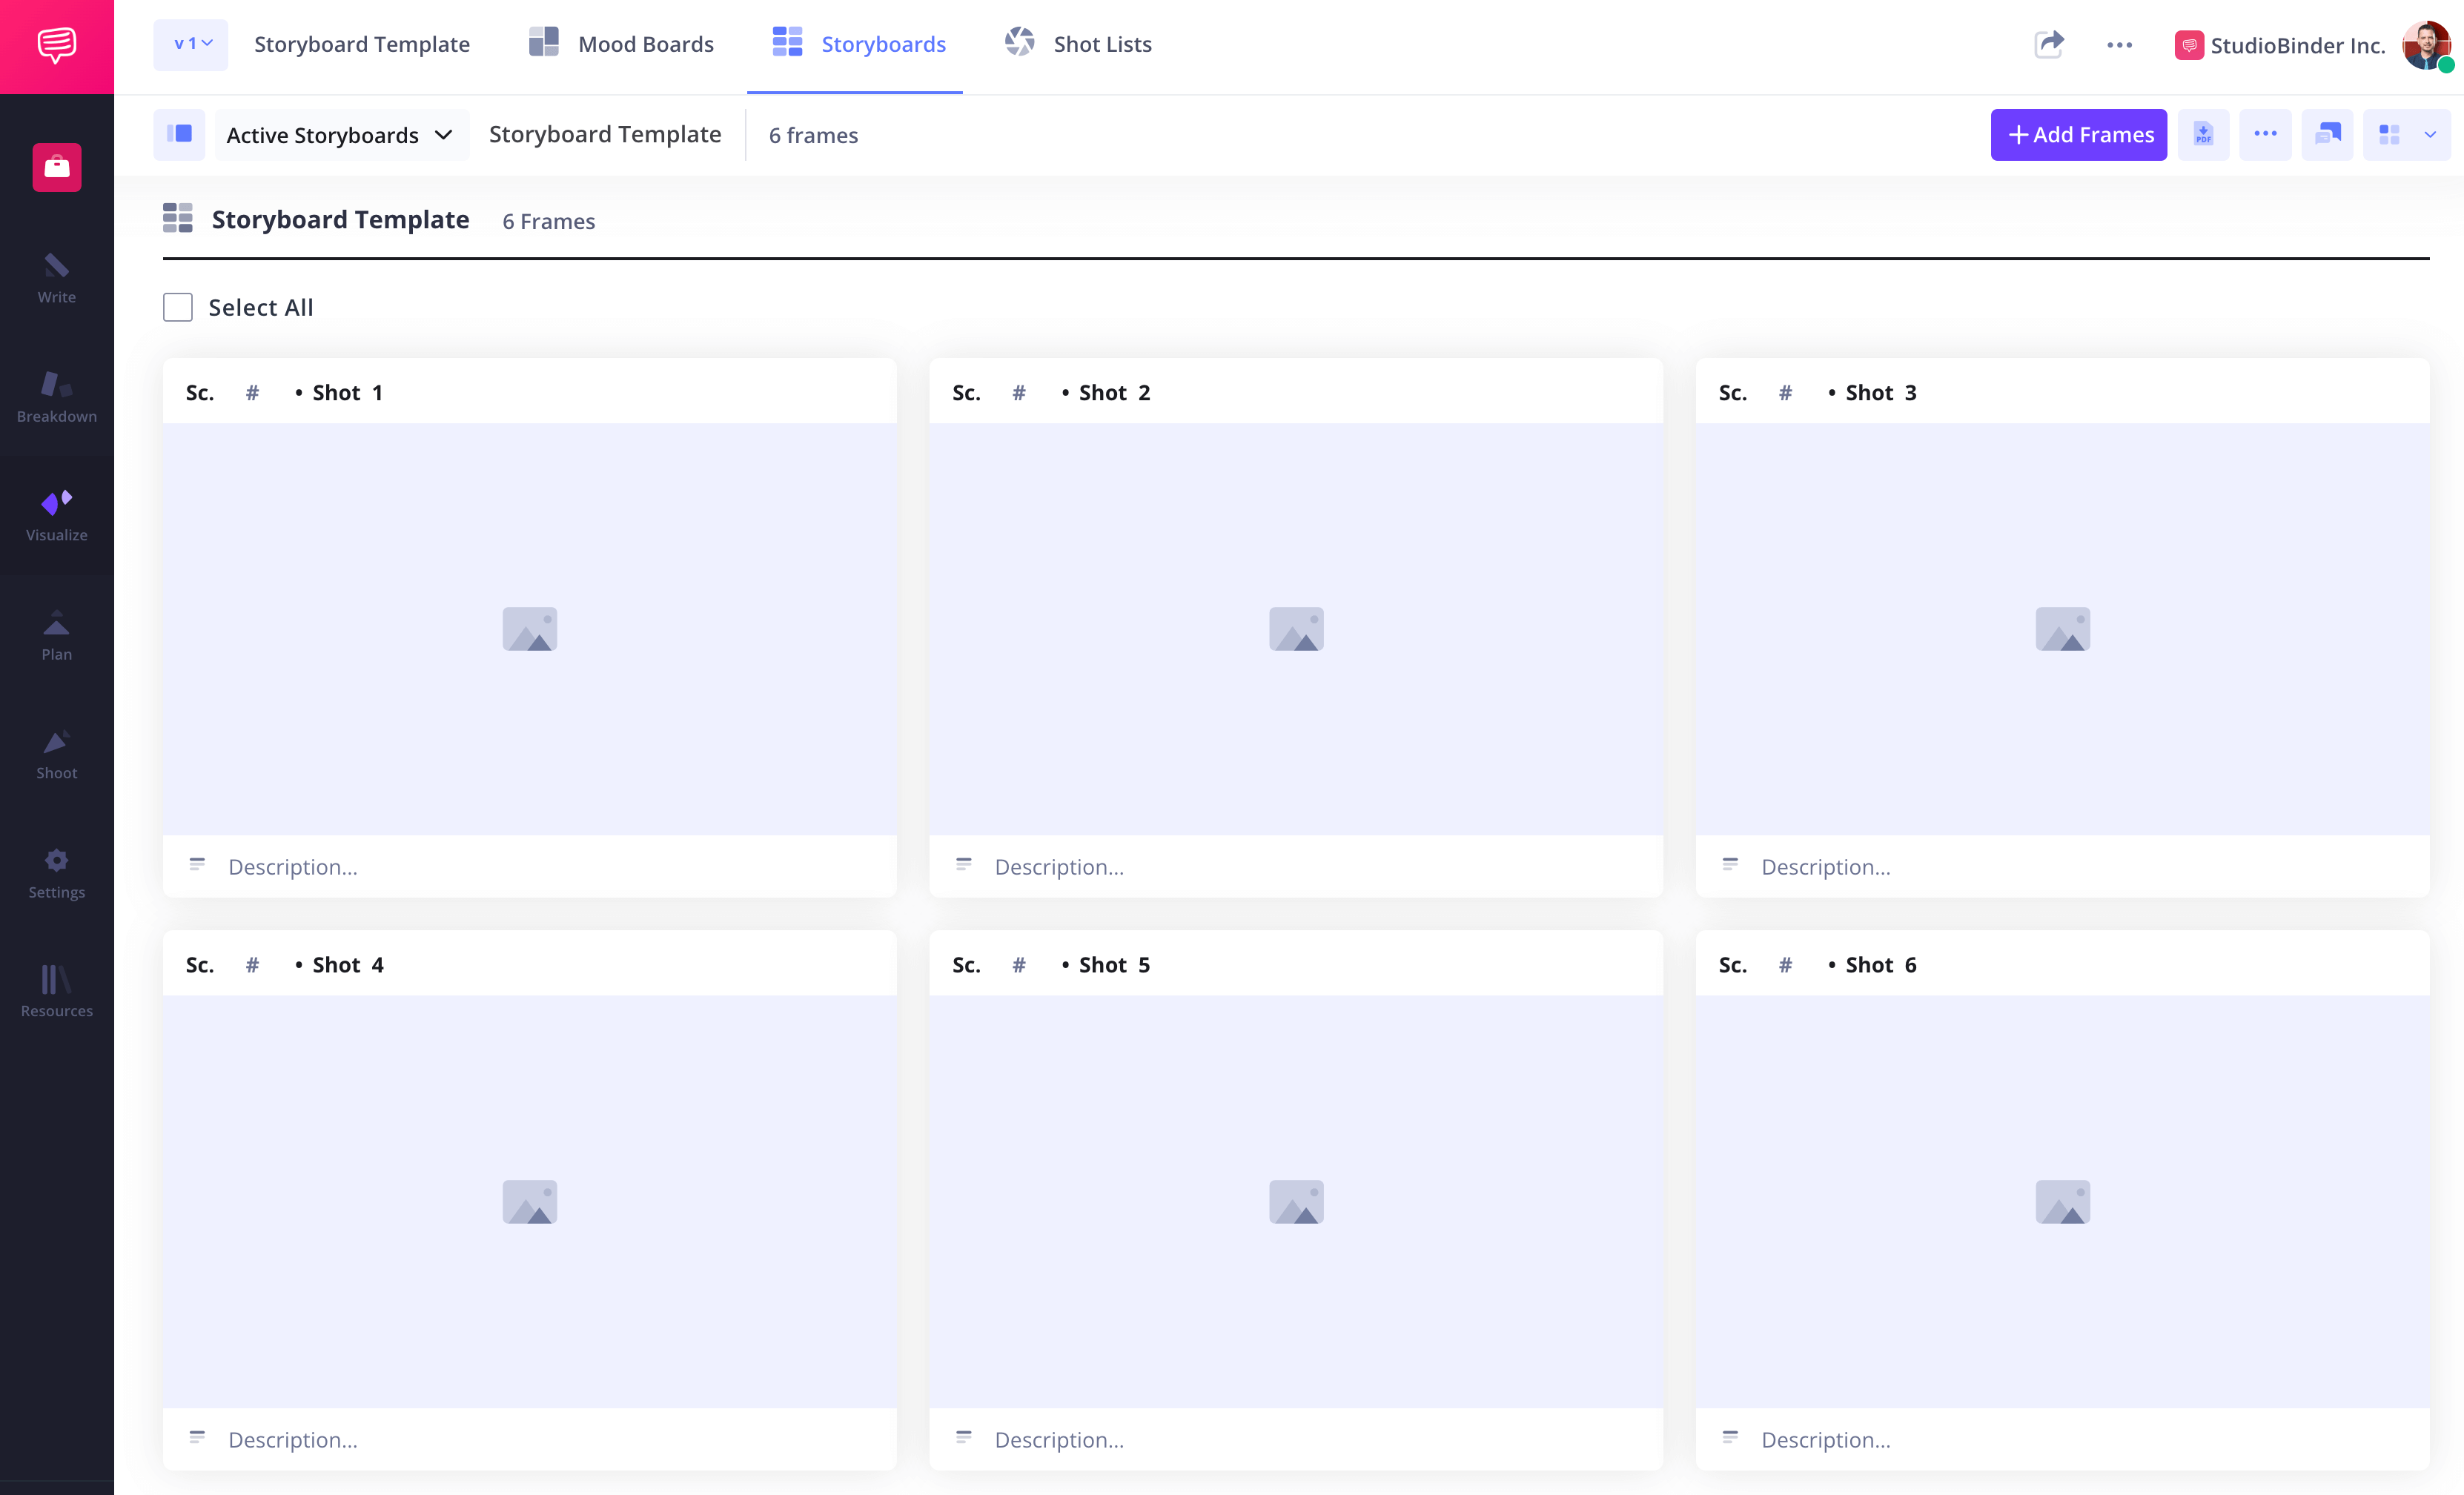
How to do this in StudioBinder
- Switch between 1-4 columns for different view types.
- Hide or reveal shot specs (scene number, description, audio, video).
- Fit the image to the aspect ratio automatically.
Step 2
2. Read the scene
Your script serves as the foundation for creating a video storyboard. Before placing visuals, analyze the scene and determine how best to convey the message.
Decide on the types of shots to use here like close-ups or wide shots.
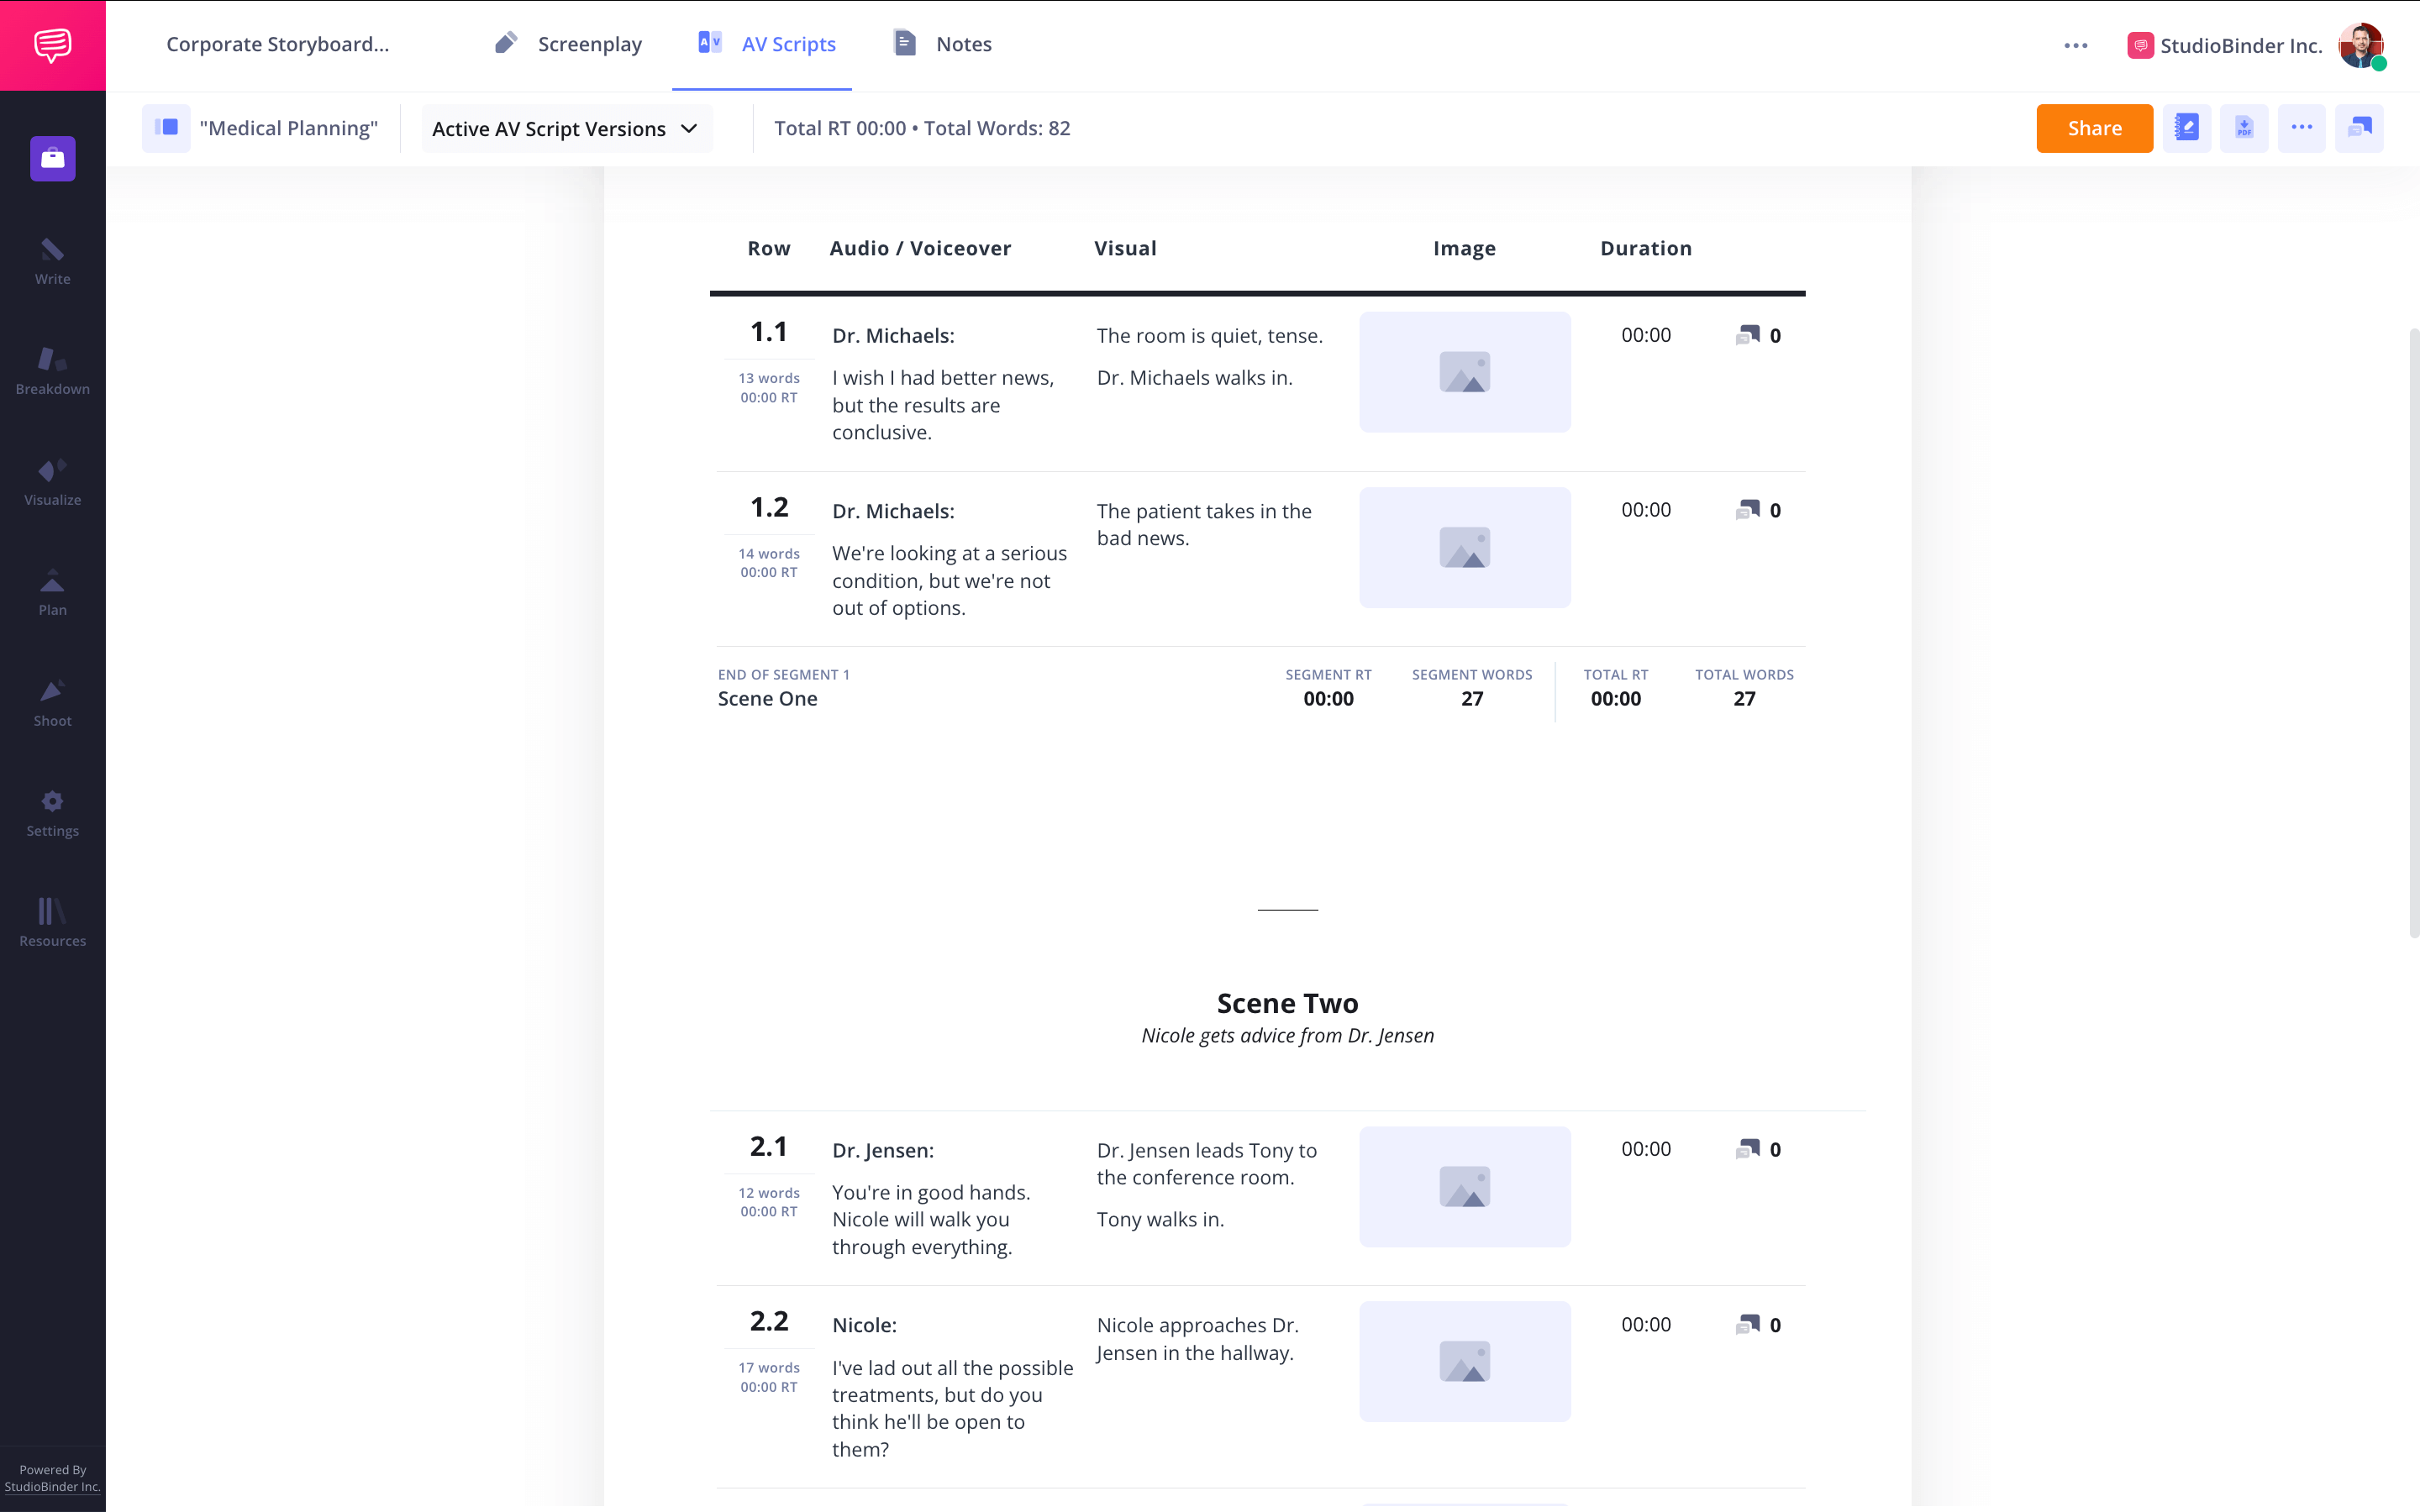

How to do this in StudioBinder
- Import your script to generate blank storyboards automatically.
- Tag each line to create a new panel in the storyboard creator.
Step 3
3. Create or find images
Whether you draw them, hire an artist, or use stock images, visuals are the backbone of your corporate video storyboard template. Arrange your images in story order to maintain narrative flow and clarity.
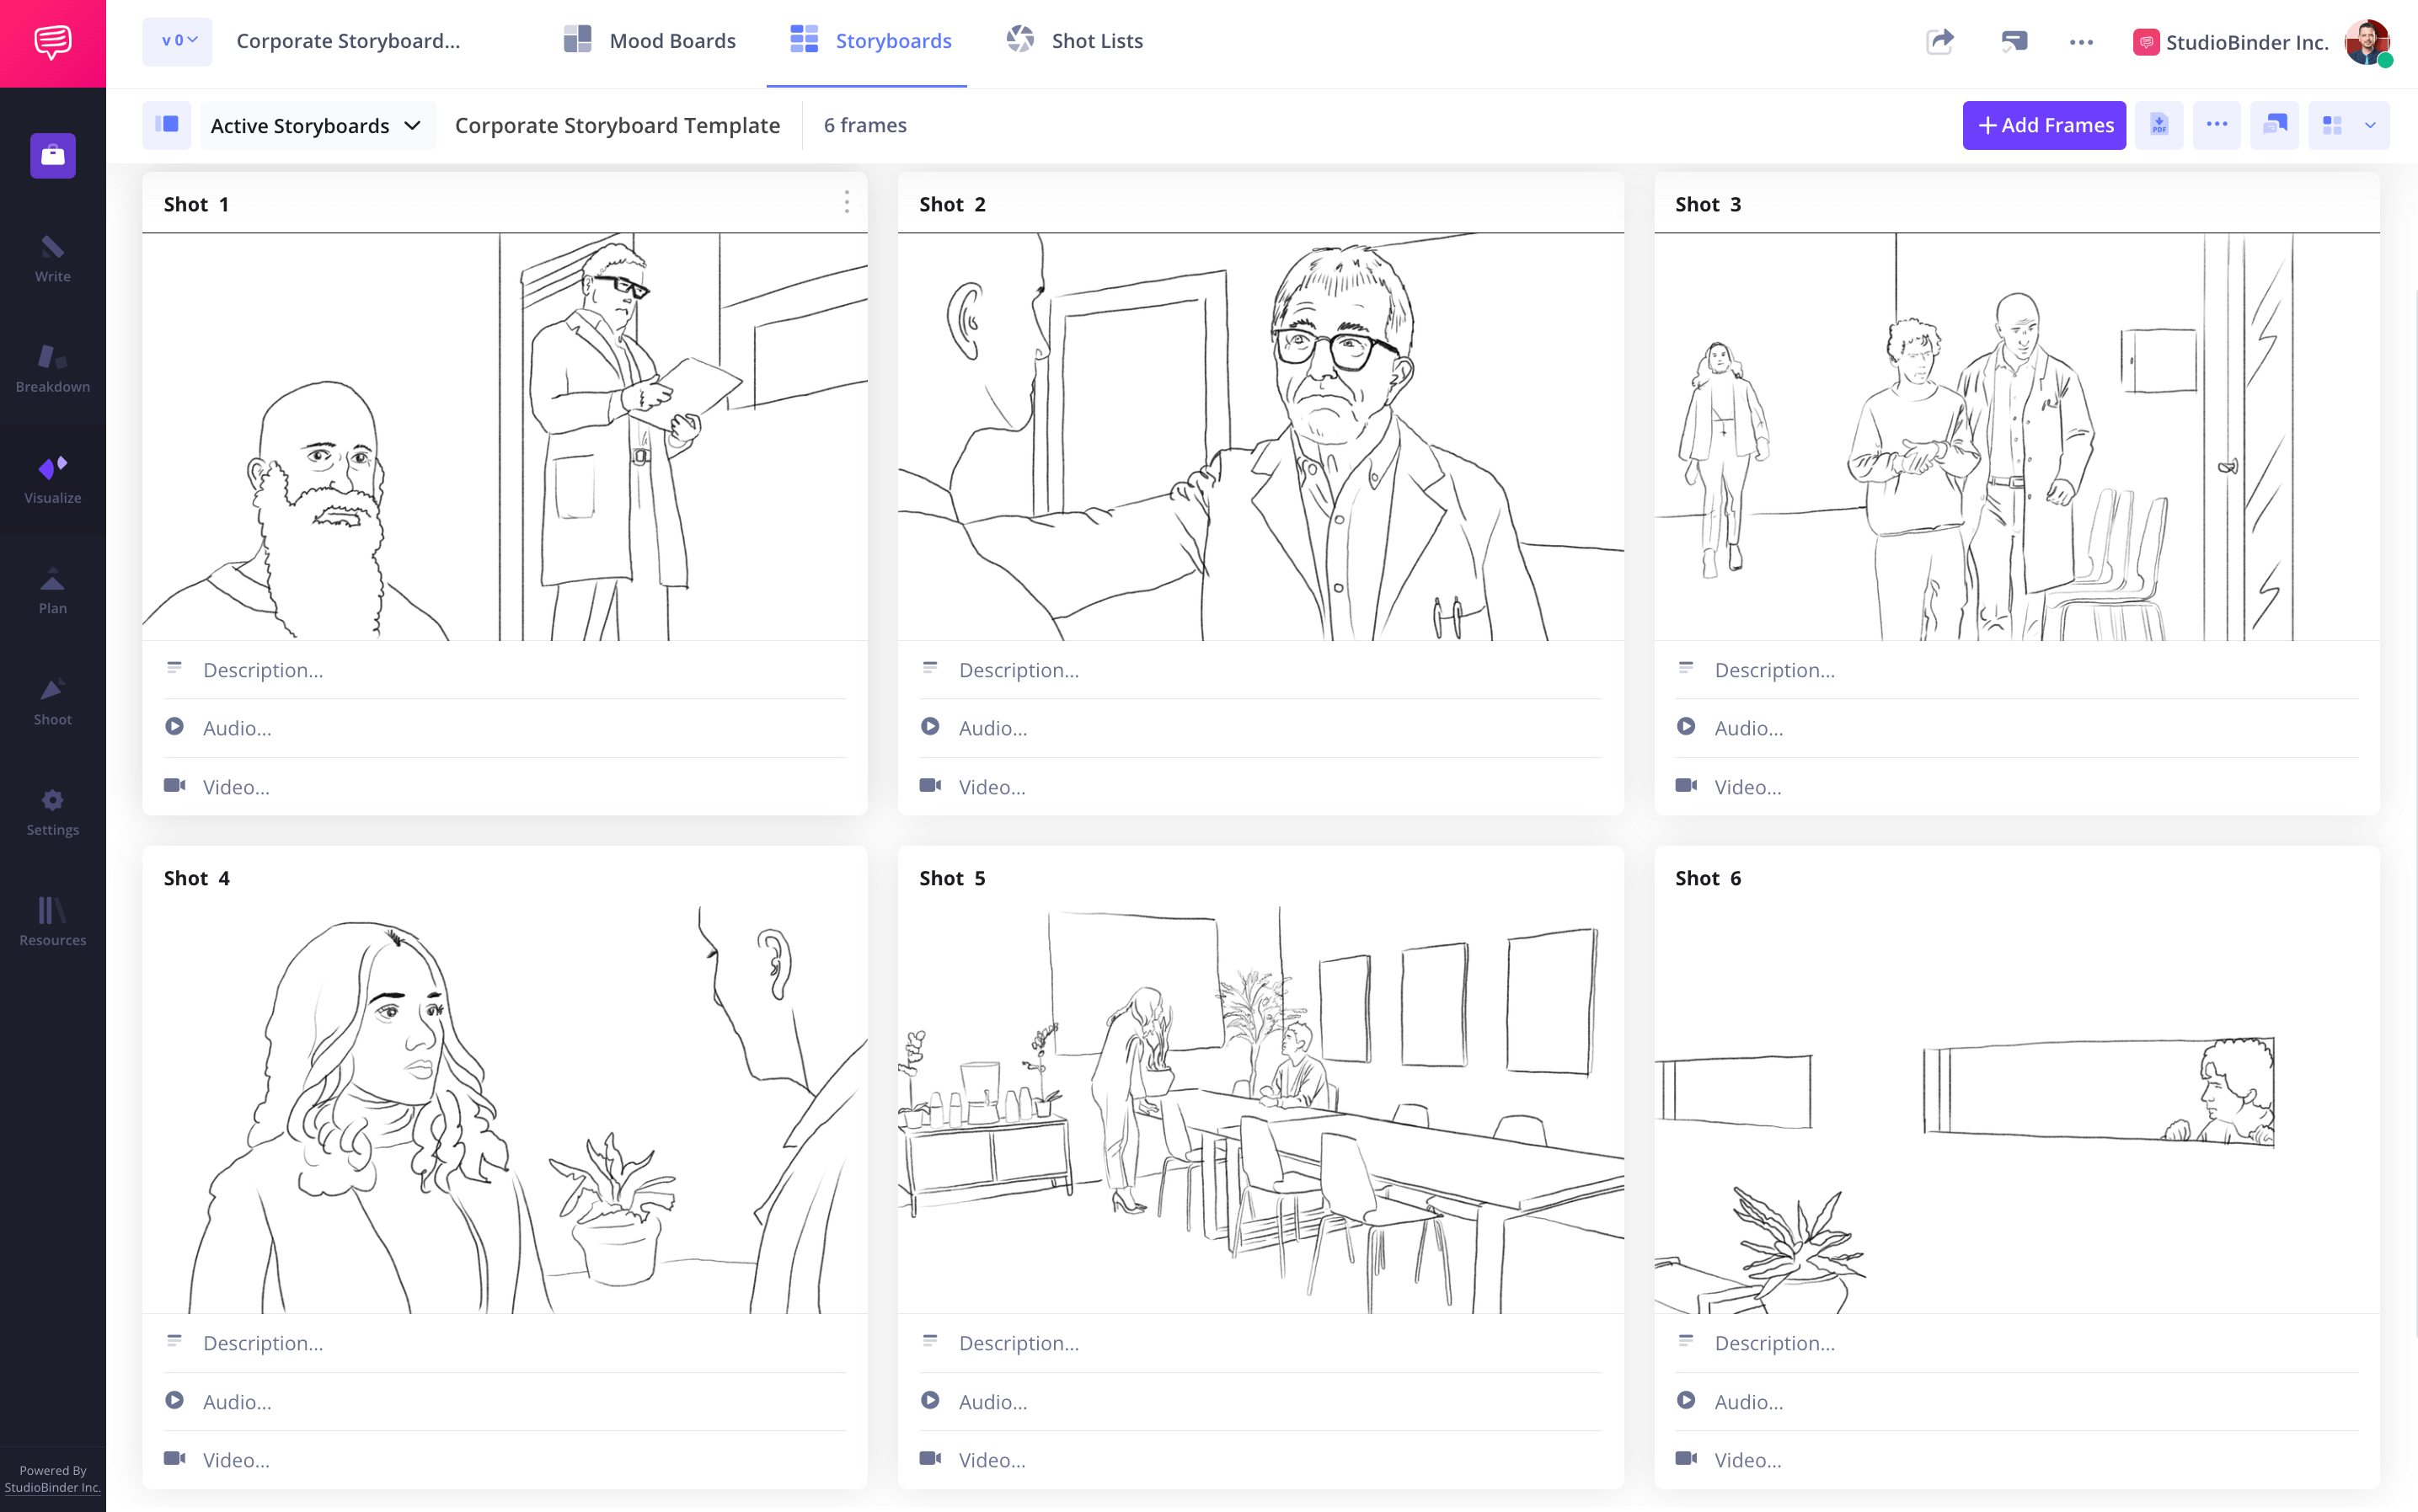

How to do this in StudioBinder
- Upload images from your device or previous projects.
- Use your webcam to capture hand-drawn frames.
- Reorder the images with a simple click-and-drag.
Step 4
4. Add descriptions and annotations
Enhance clarity with annotations, scene descriptions, and visual cues. This step is crucial in pre-production to ensure everyone involved understands the vision.
If you're creating a corporate video internally or for a client, context and details will help your storyboards be understood. Add details to your images with descriptions, notes, and visual cues like arrows for movement. Describe the shot type, any special camera angles, and key actions.
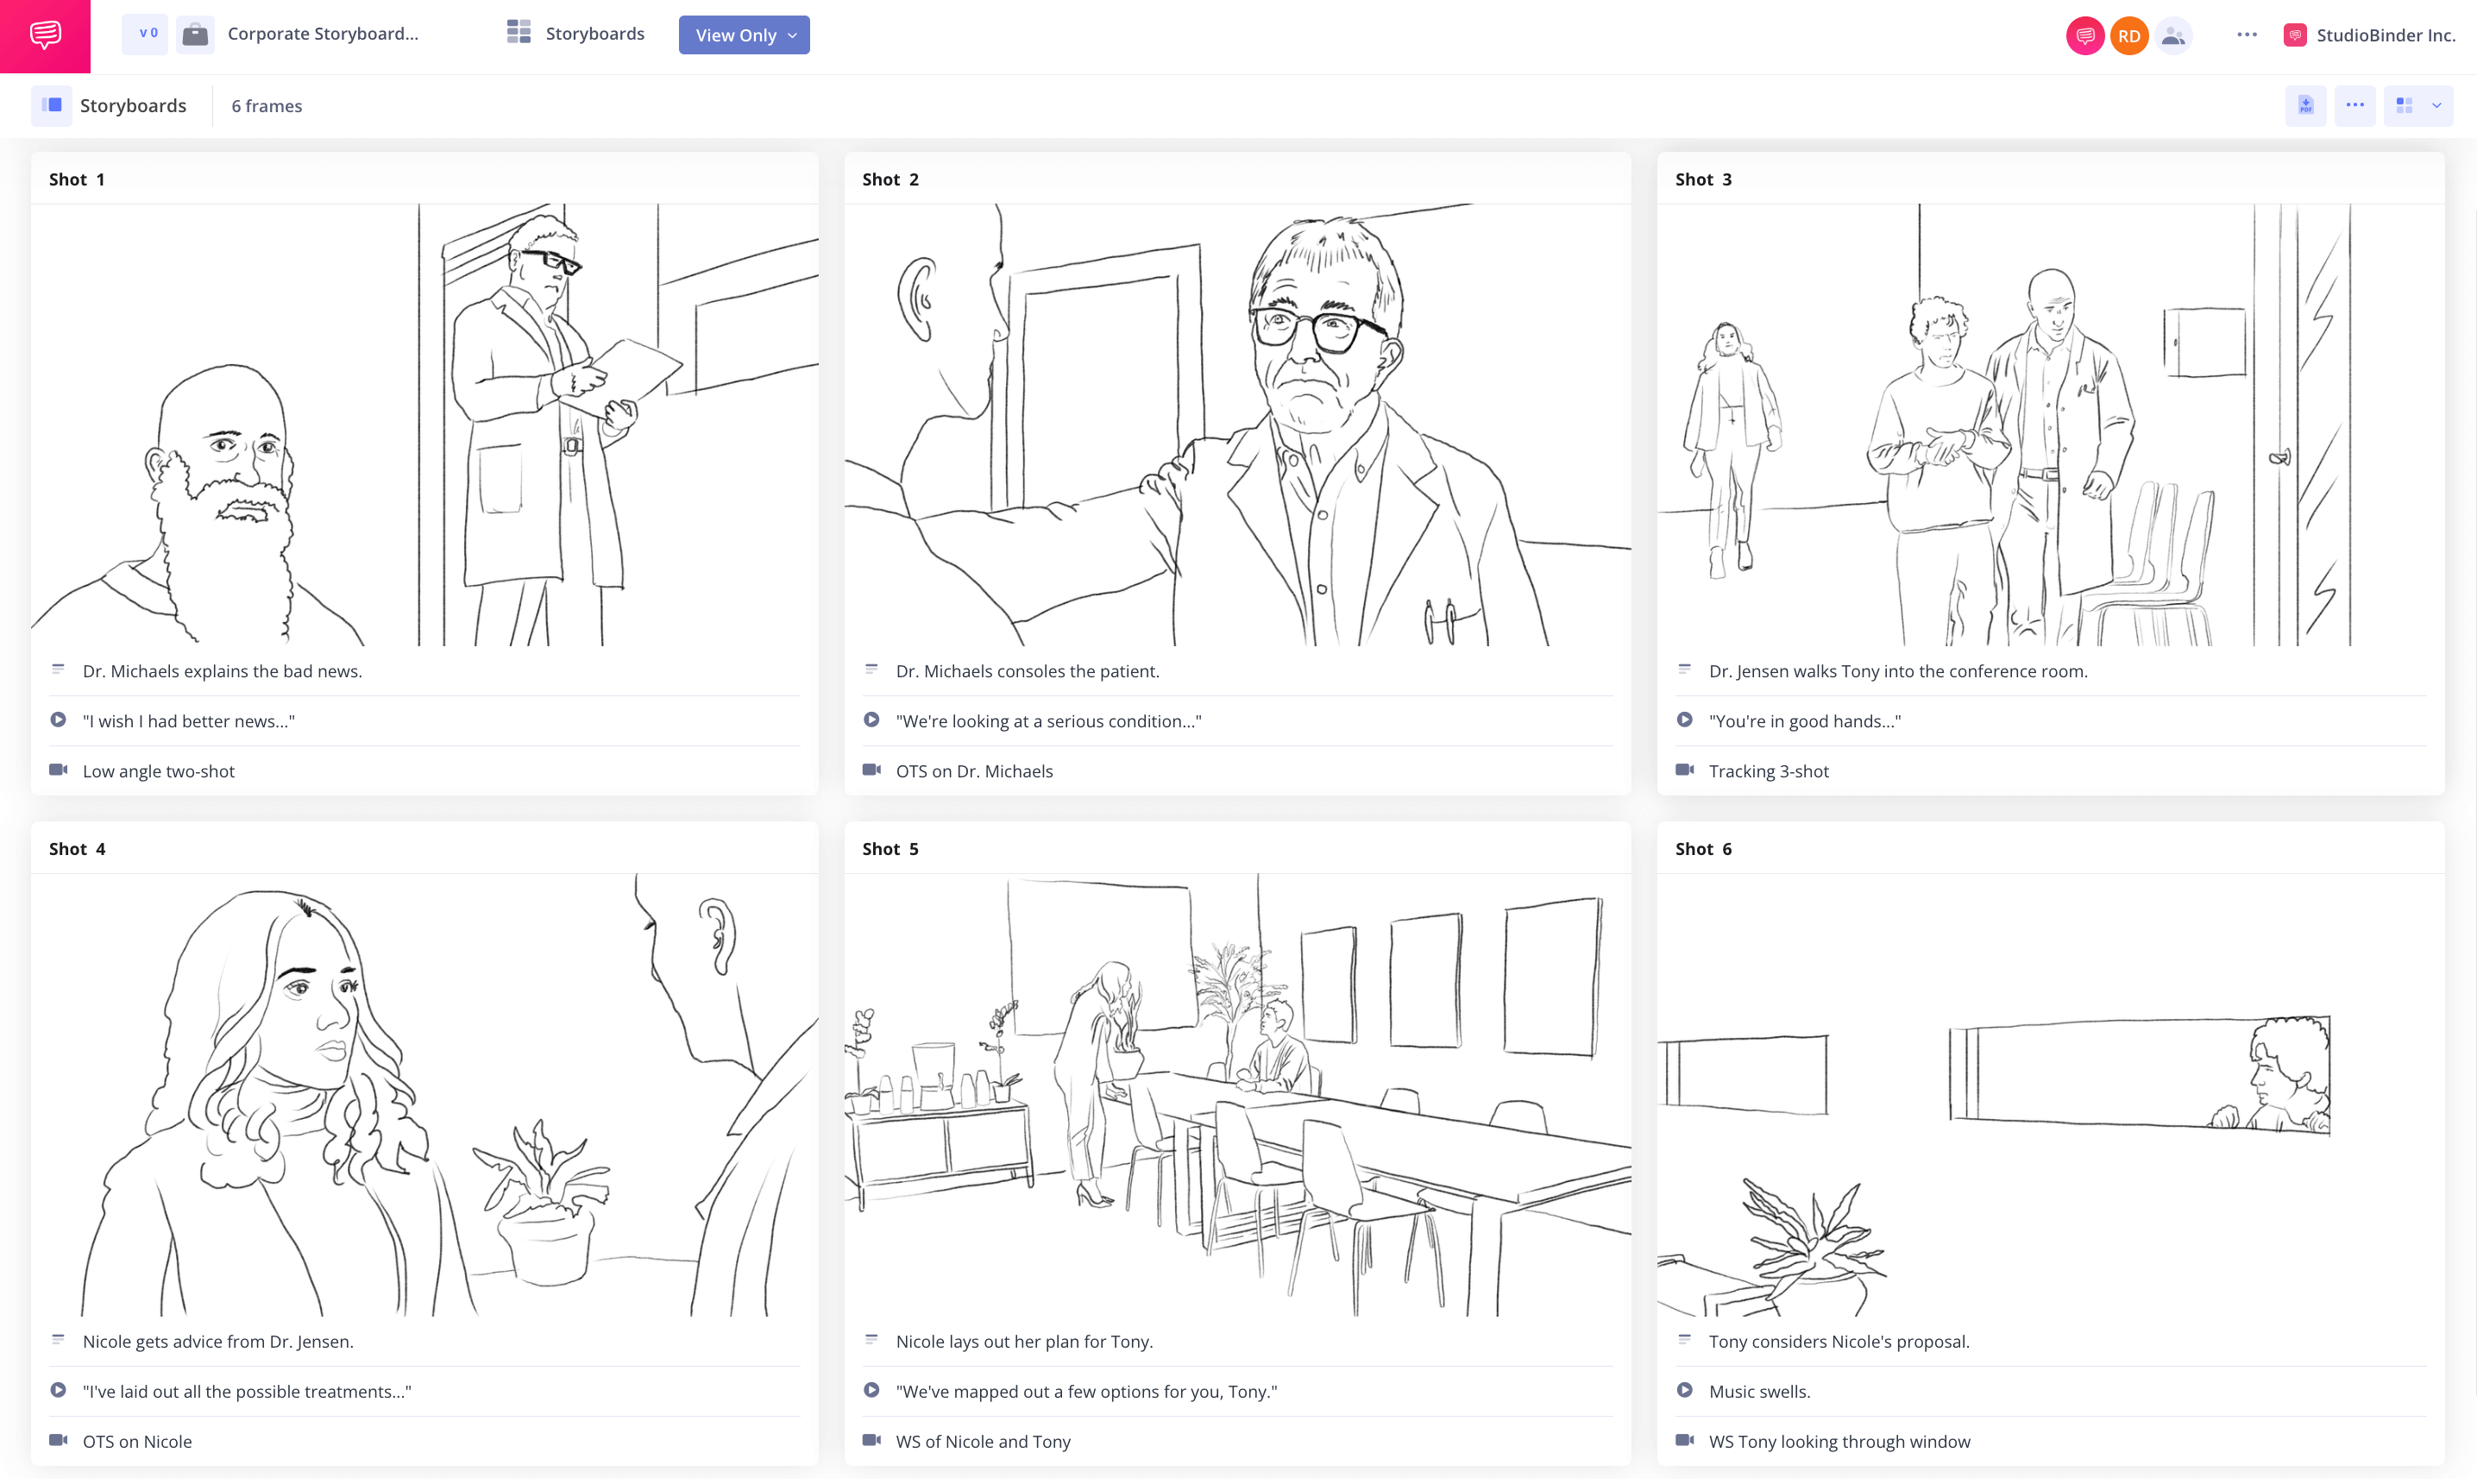

How to do this in StudioBinder
- Add scene descriptions, audio information like dialogue, and video information explaining the visual.
- Quickly add arrows, text and shapes to further clarify the direction.
Step 5
5. Share and collaborate
Corporate videos often require feedback from multiple stakeholders. Sharing your storyboard template with your team or client ensures alignment before production begins.
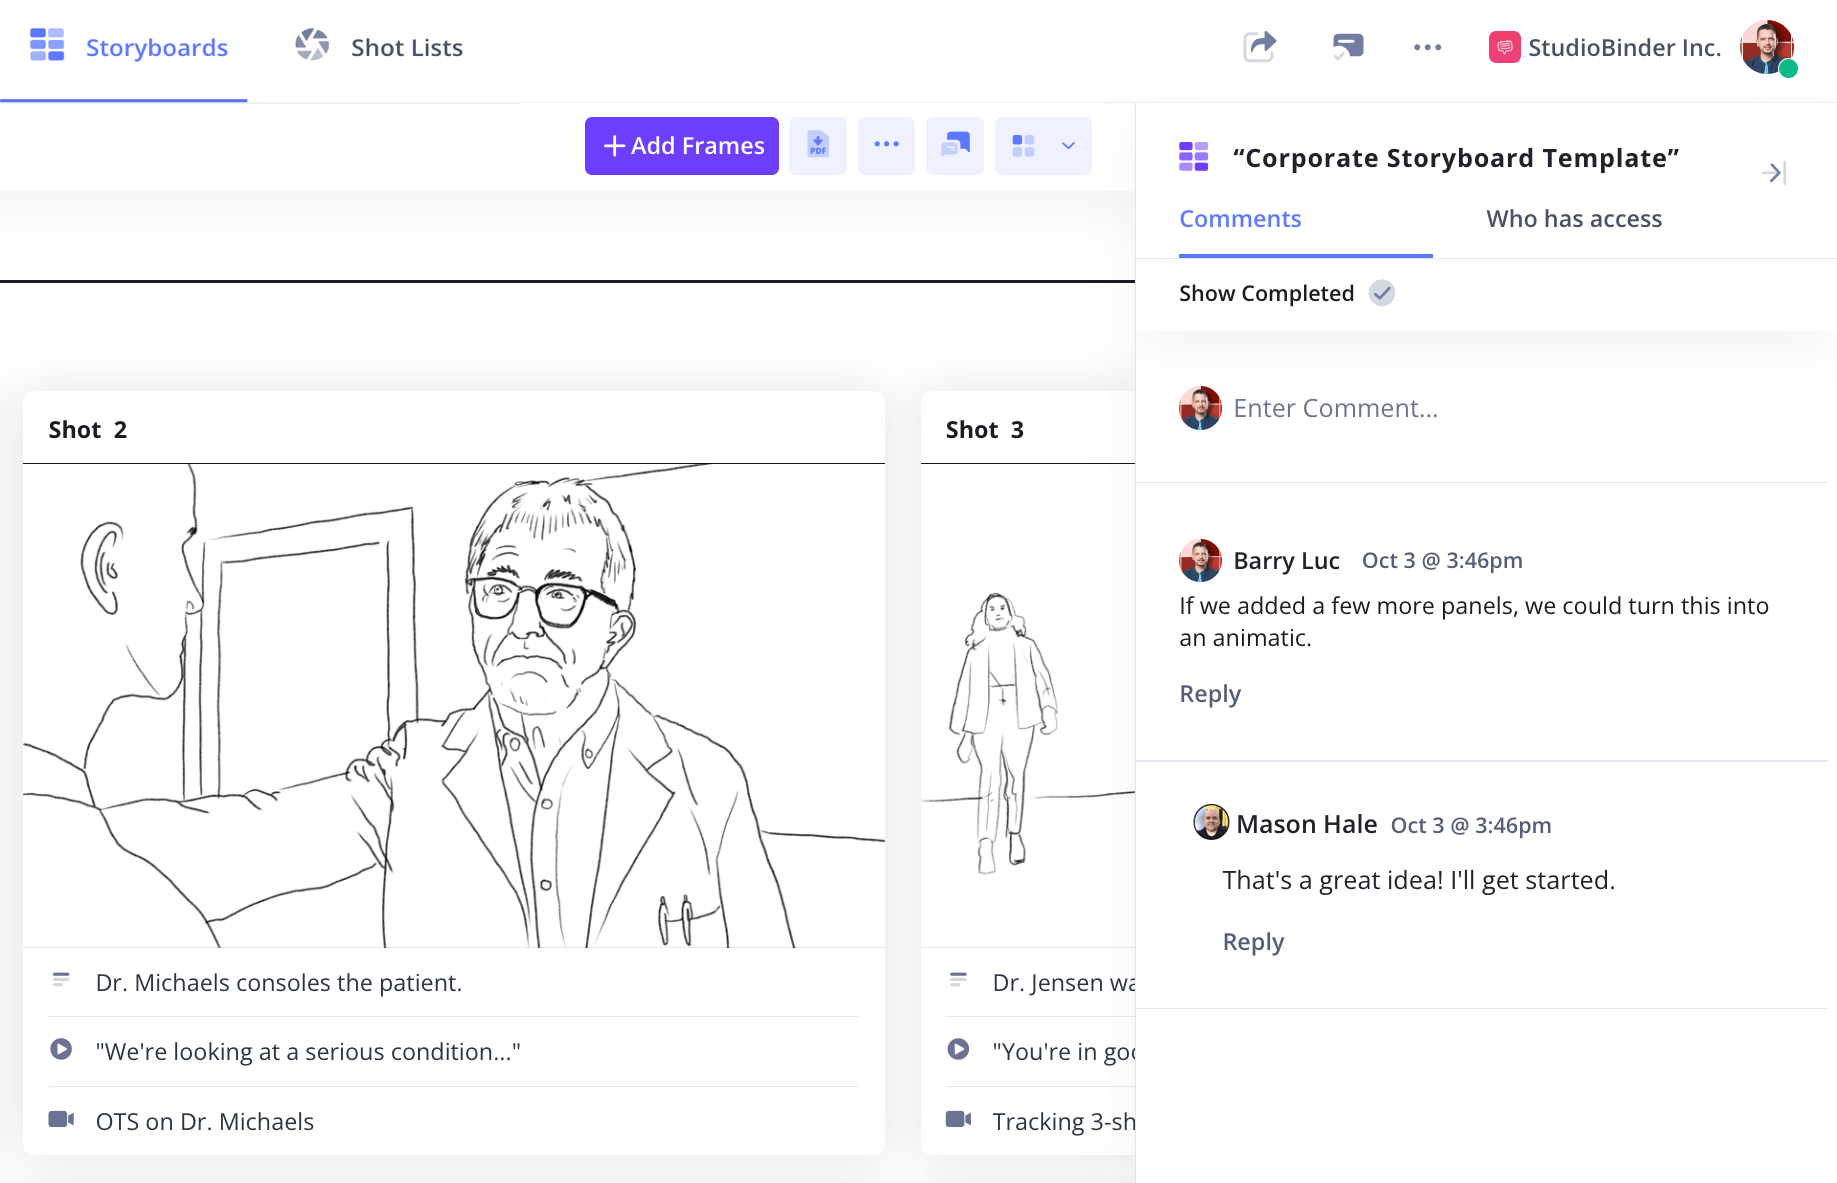

How to do this in StudioBinder
- Share with a view-only link, and invite collaborators to work on this specific feature/page (not the entire project).
- Collaborate within the comments feature.
Step 6
6. Print and use on set
Finally, print your storyboard. A physical copy of your commercial storyboard is invaluable on set. It helps directors, cinematographers, and editors stay on the same page during video production.
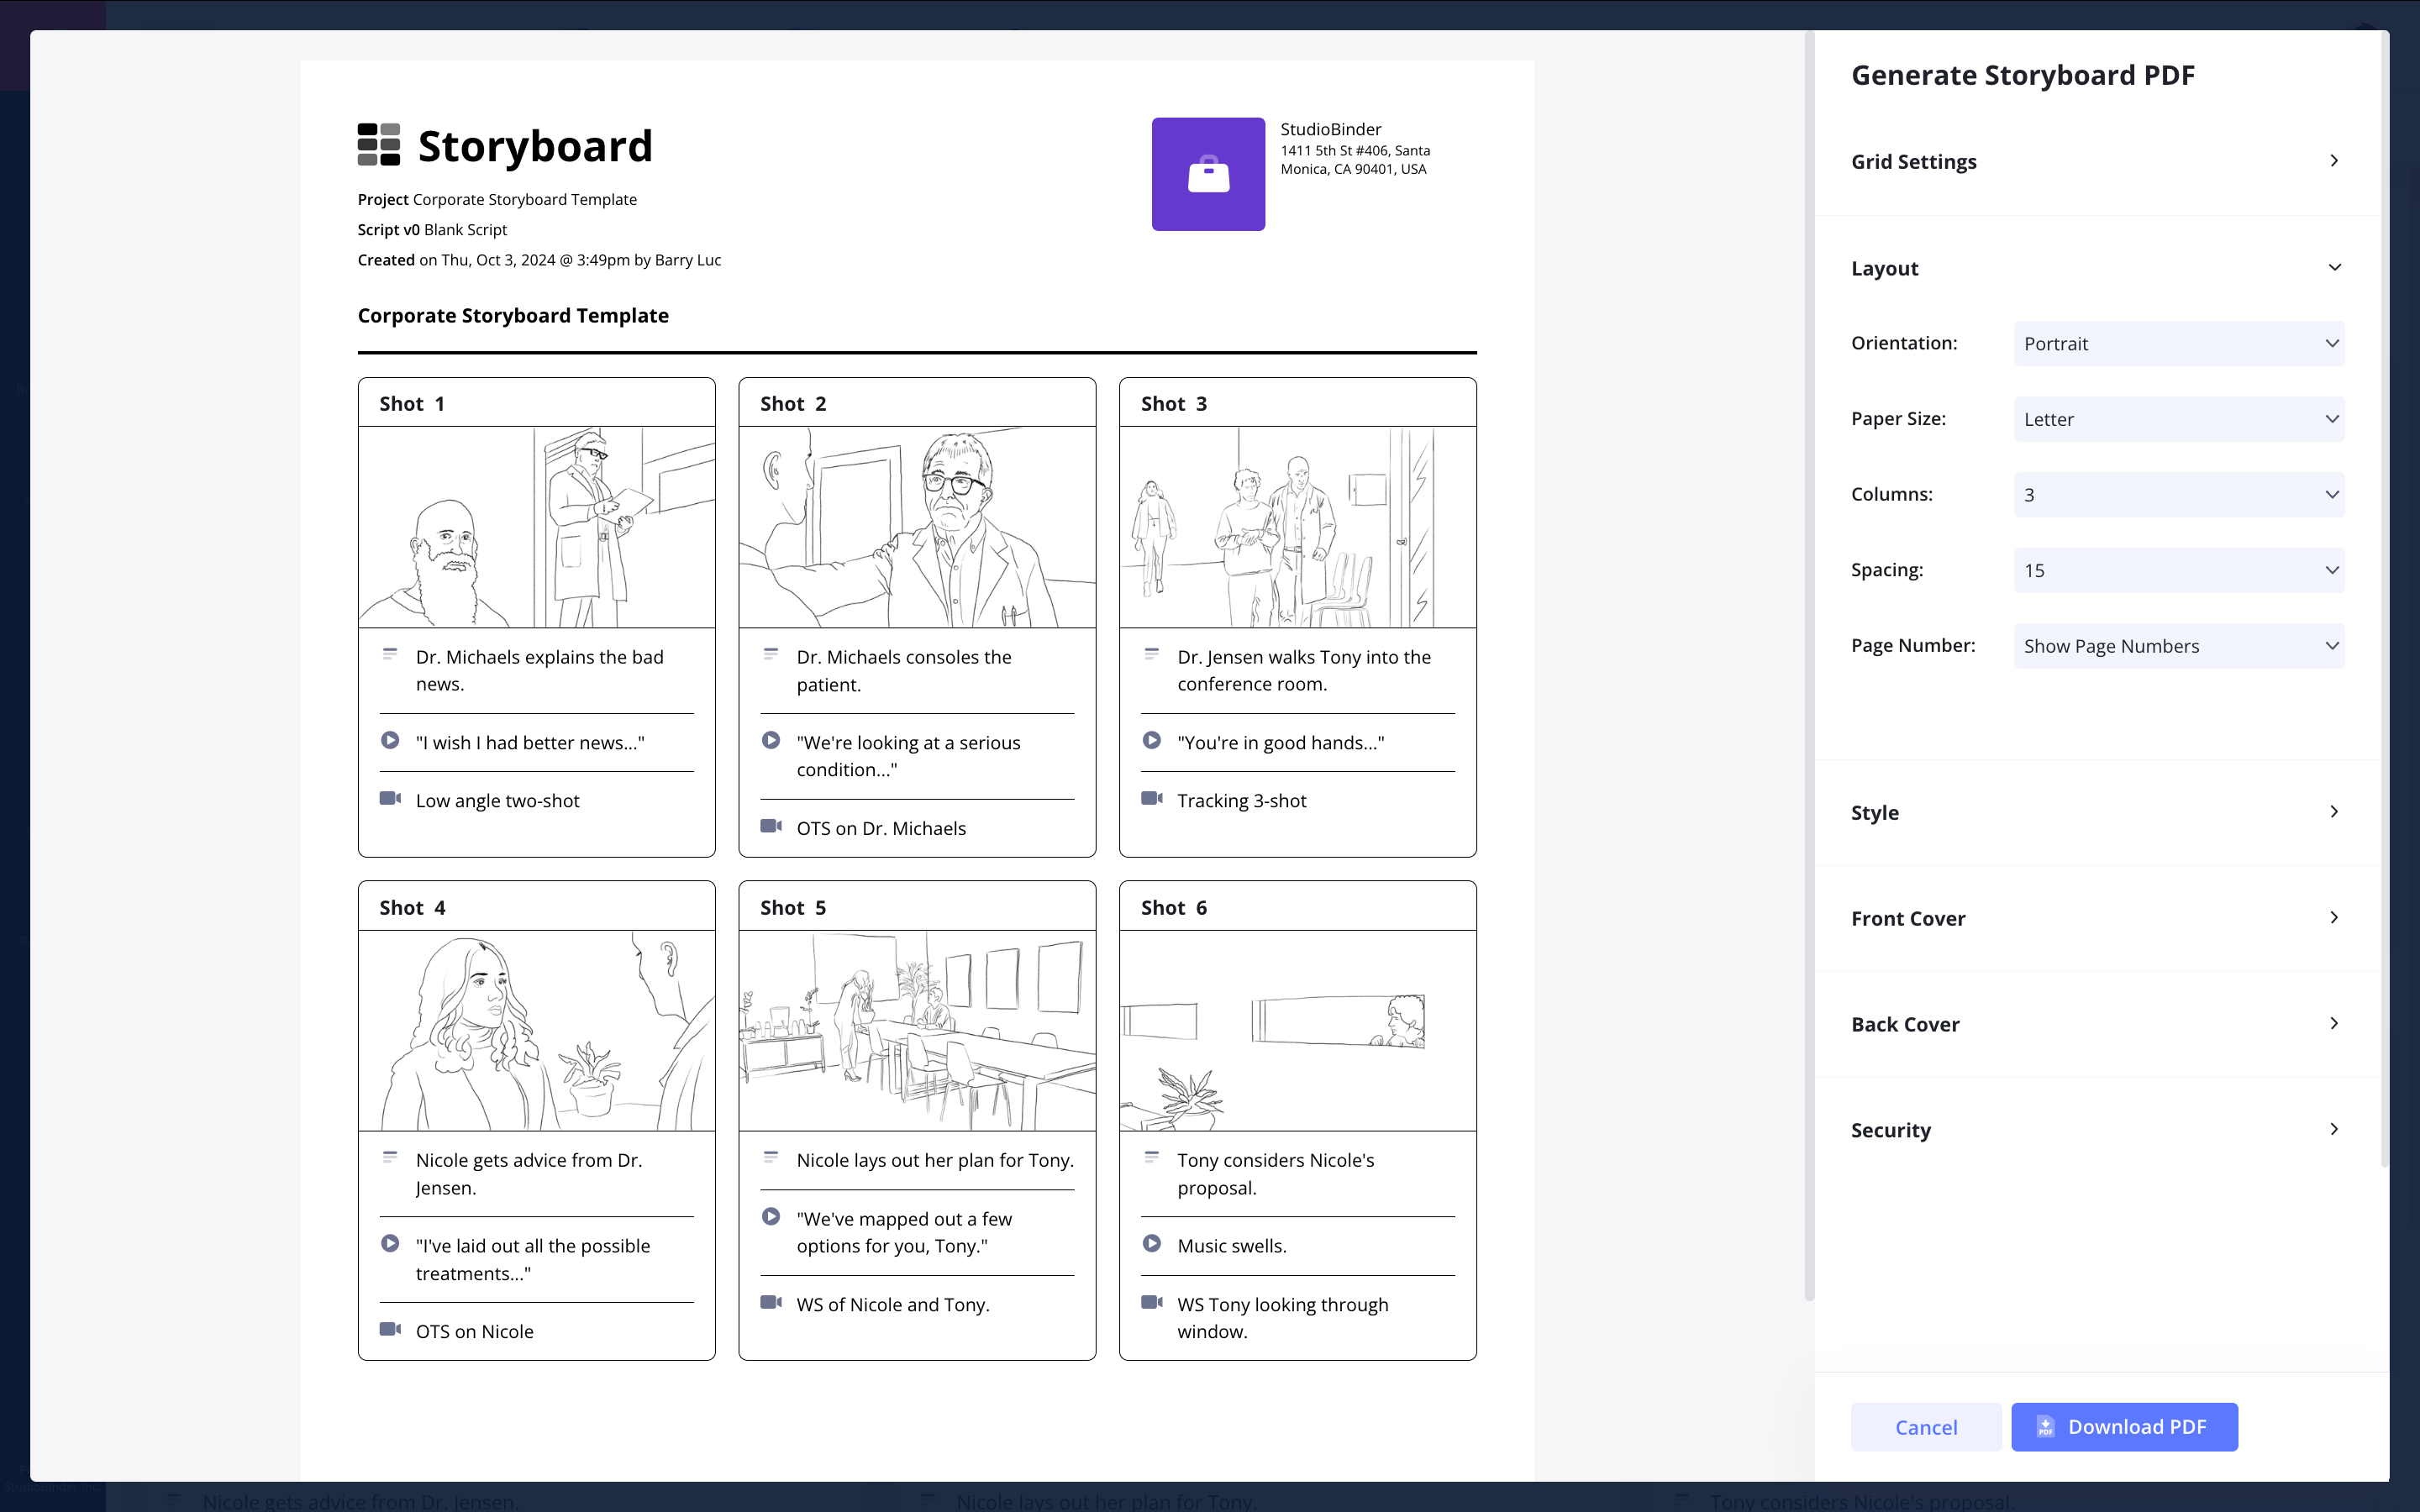

How to do this in StudioBinder
- Generate storyboard PDFs for a professional presentation.
Conclusion
Storyboard complete
Using a corporate video storyboard template simplifies the pre-production process and ensures a specific purpose for each shot. With the right storyboarding software, you can easily start creating and bring your vision to life.
This corporate video storyboard template is one of many storyboard templates you can use. Browse other storyboard templates on our Templates page.