home → TEMPLATES → Storyboard
Television Commercial Storyboard Template
Television commercial storyboard template
What is a television commercial storyboard template? Like any storyboard in filmmaking, it’s a pre-production tool used to visually lay out the entire narrative that will eventually be brought to life on screen. This is an especially important process in commercial advertising because brand clients want to see, step-by-step, how their product is being represented before the shoot begins. Think of this part of a commercial production as a way of assuring the client that their product will be perfectly represented.
Whether you’re new to the TV commercial storyboard scene, or an industry pro, it’s essential to have a reliable television commercial storyboard template equipped to handle all your needs. Using StudioBinder’s sample tv commercial storyboard, this guide will assist you through the process of creating your own commercial storyboard.
Step 1
1. Establish your template
After you’ve completed the hard work of establishing age demographics and brainstorming visual ideas that will speak to consumers of the product you’re advertising, you’re ready to start the first stage of narrative visualizing: storyboarding.
At this point, you likely have a finished commercial script ready to go. However, it’s also not unheard of to start the storyboarding process without a script, wanting first to test out a visual concept that has yet to be formulated into words. Though this kind of pre-visual testing is typically done with a thumbnail storyboard or a mood board, there’s no one way to begin your tv commercial storyboard.
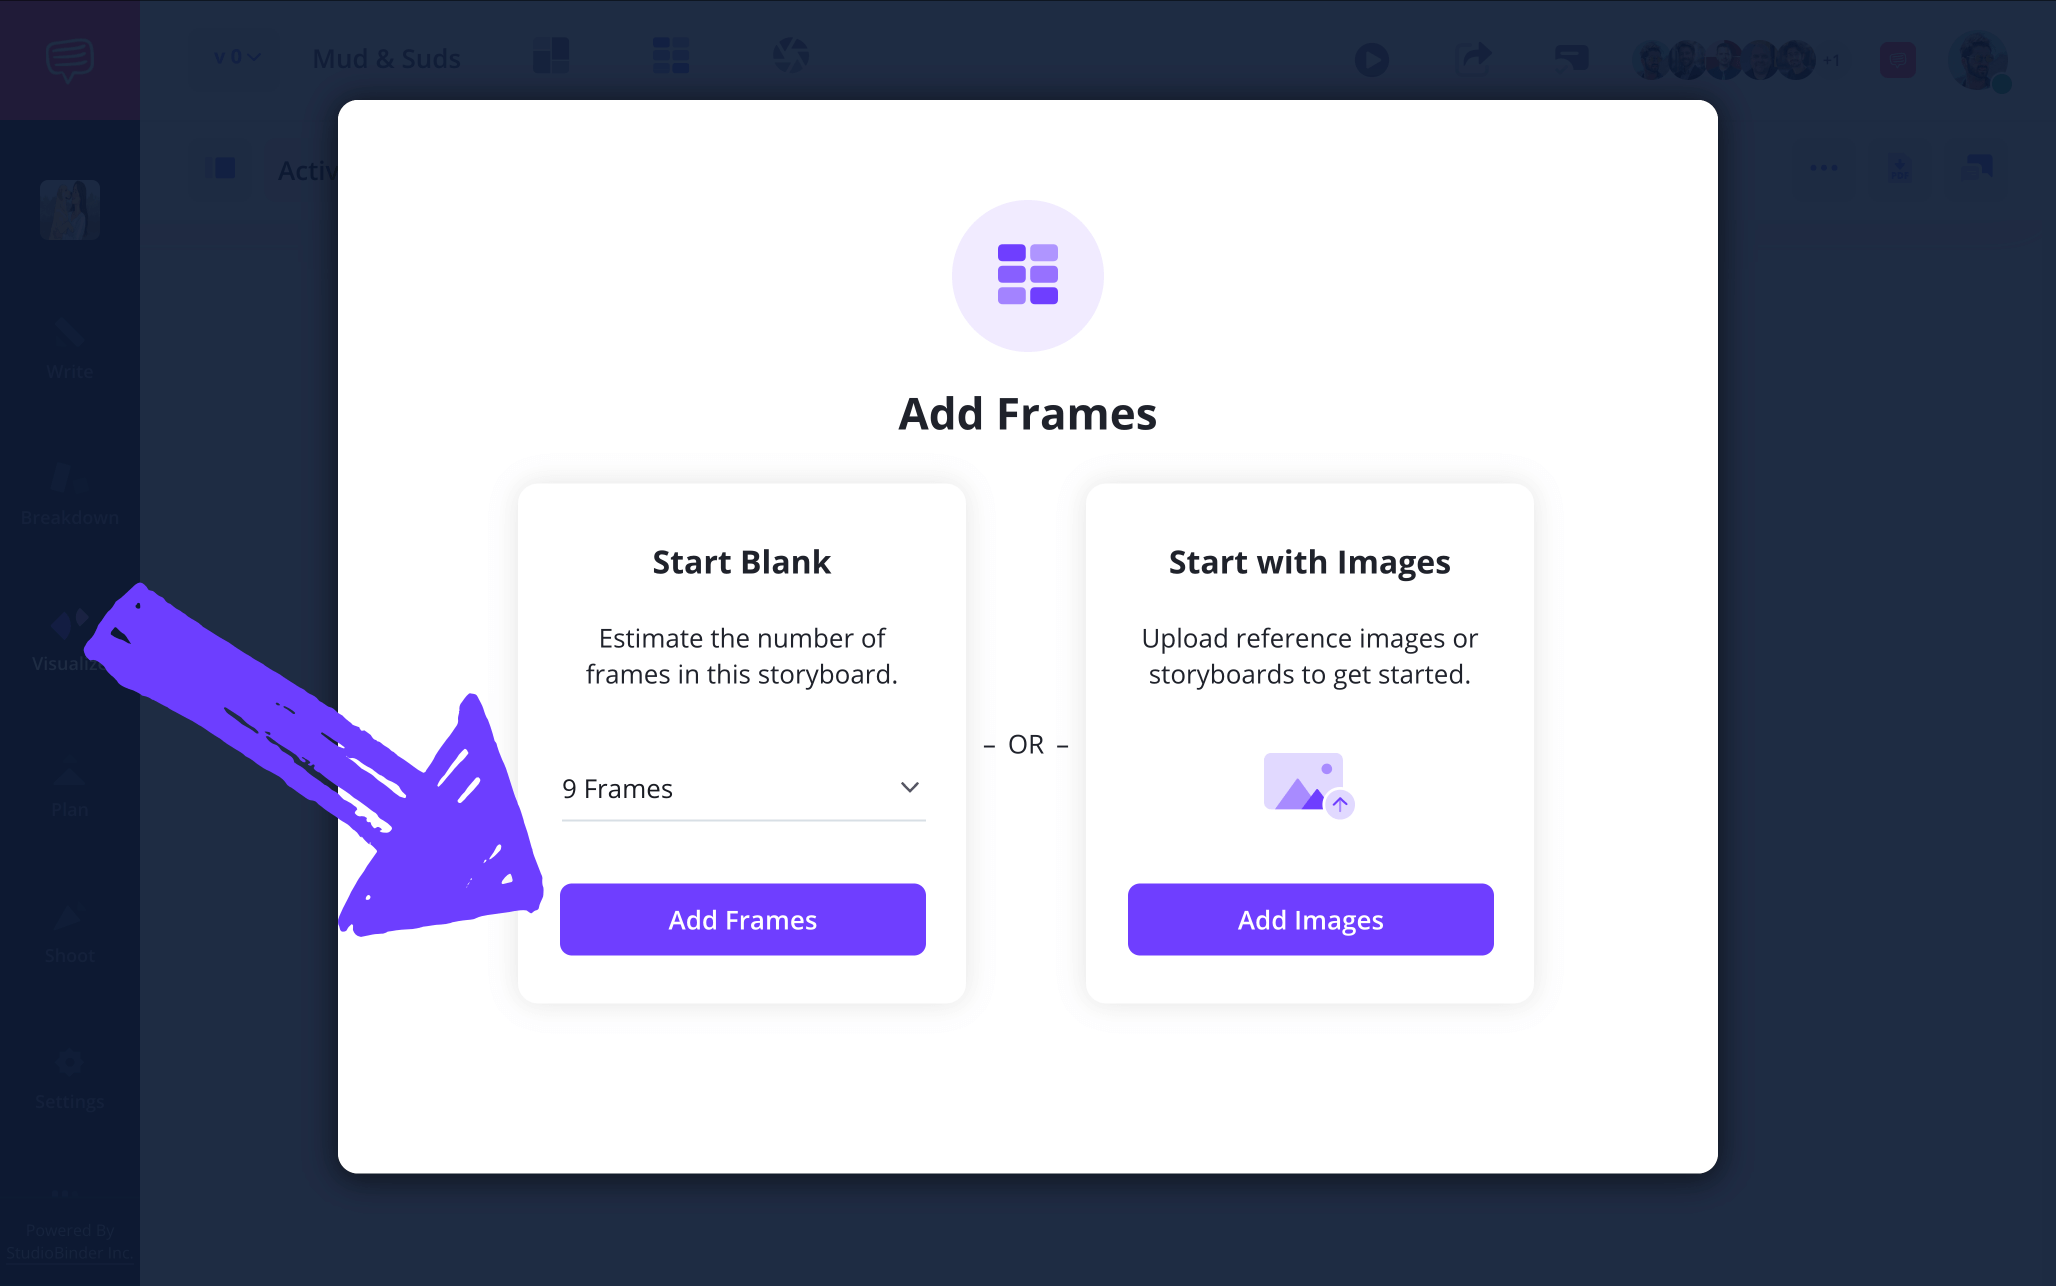
After beginning a new project with StudioBinder, you’ll be prompted to either Import a Script or Create Manually.
By importing your script into StudioBinder, your scenes will be organized automatically, beat for beat, as they appear in the script.
Don’t sweat it if you don’t import your script upon setup, as you can do this at any time in your project settings.
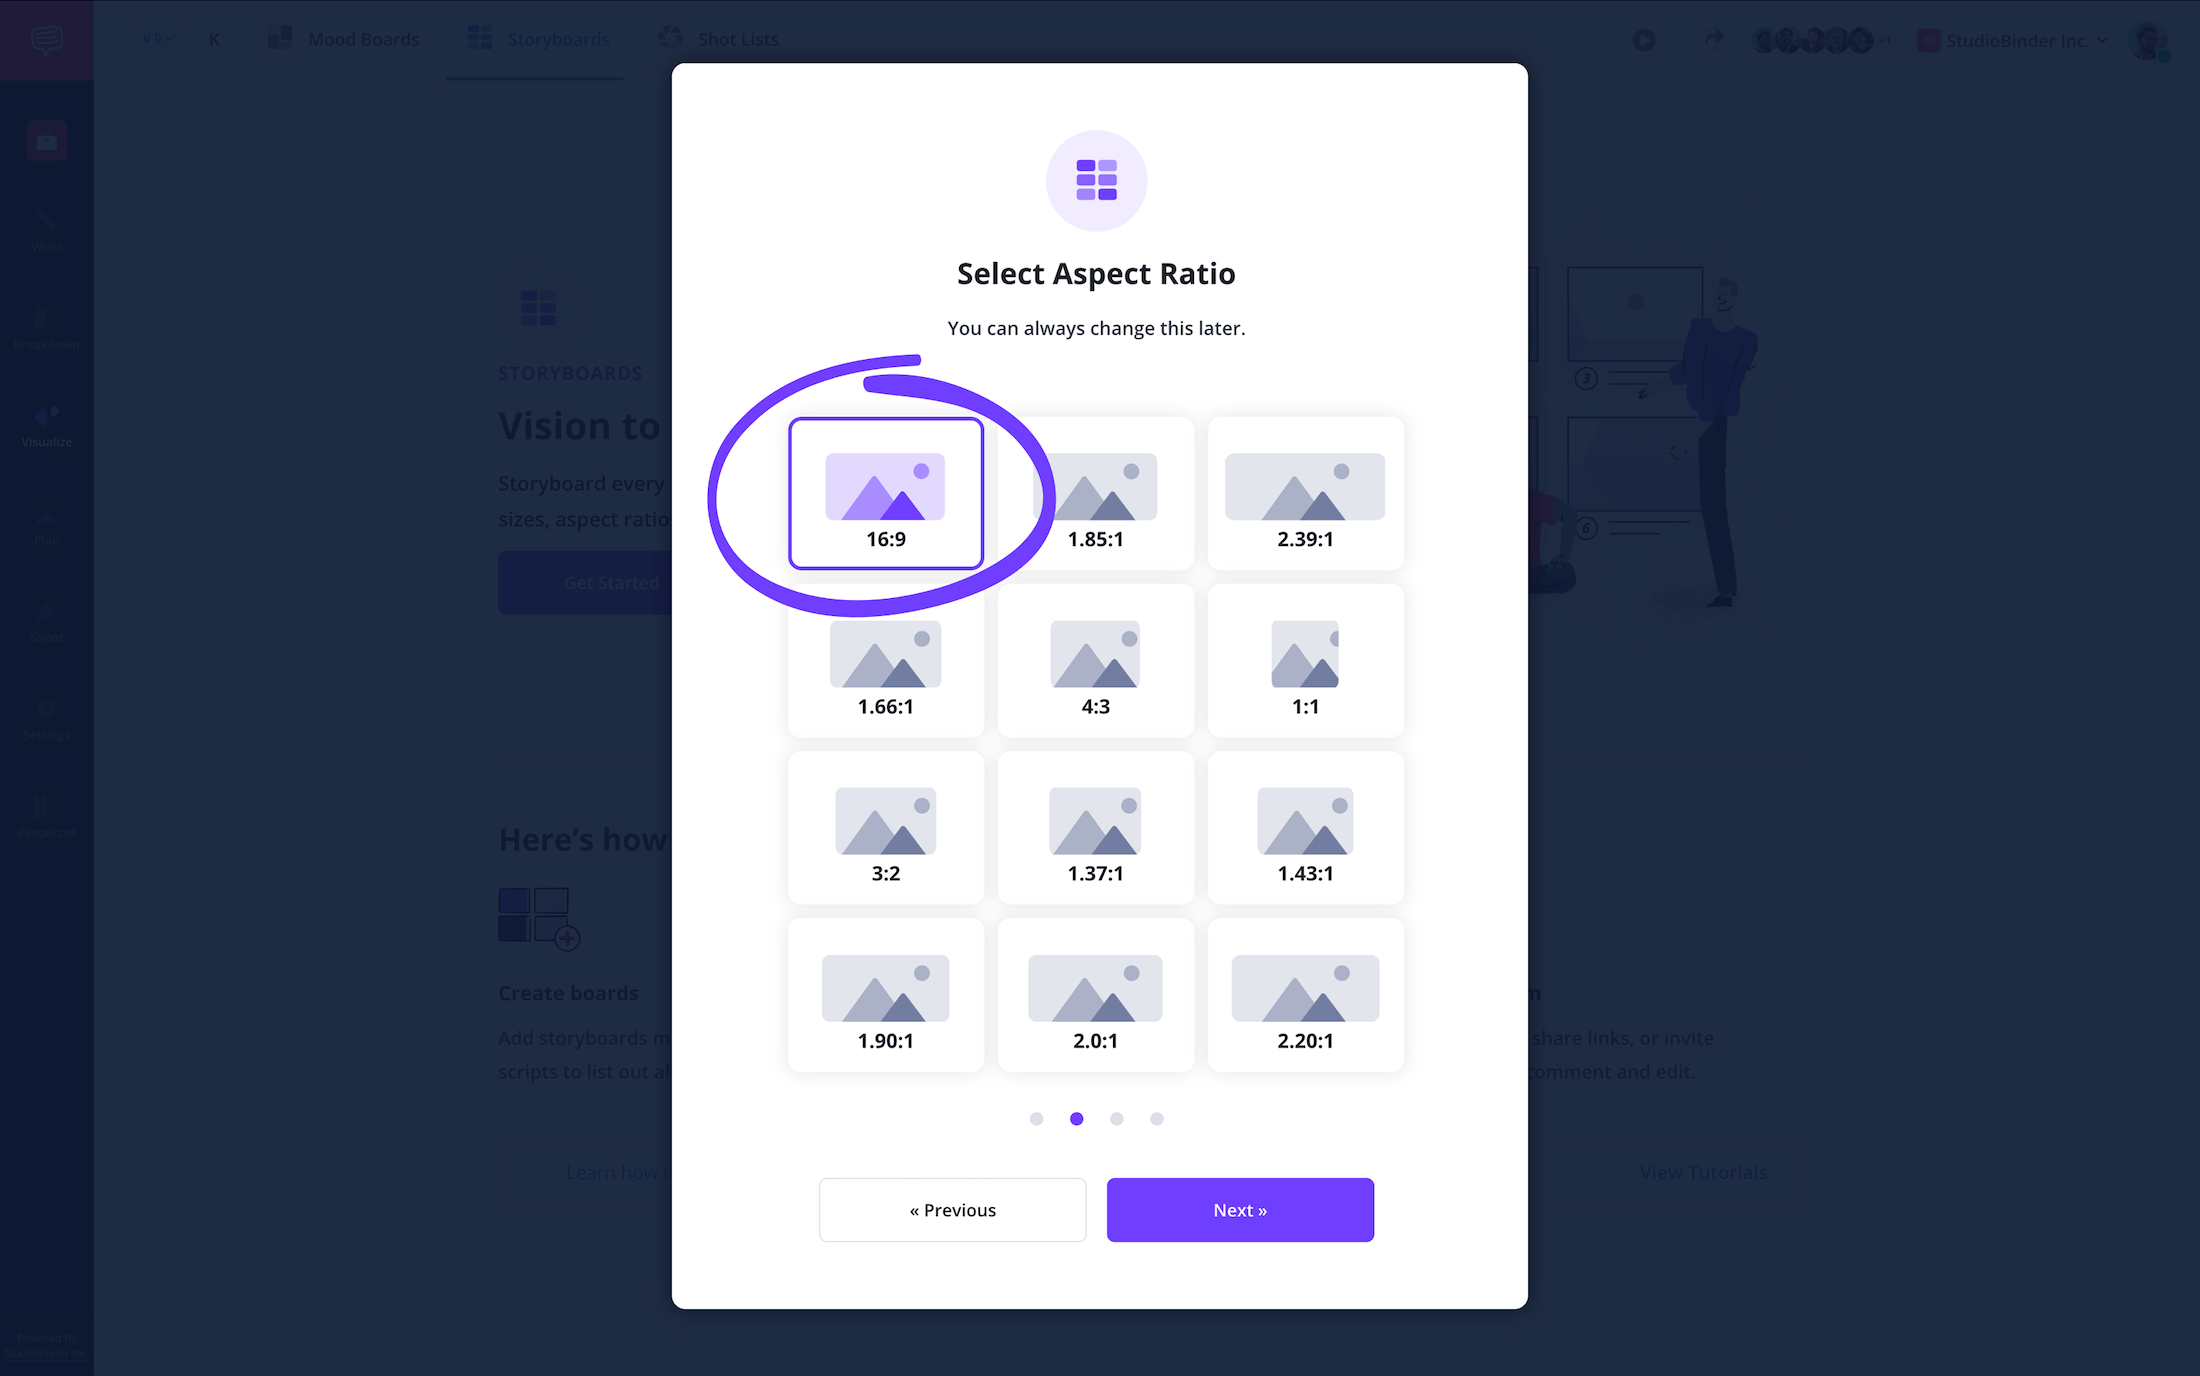
Next, you’ll select your preferred aspect ratio settings for your storyboard frames.
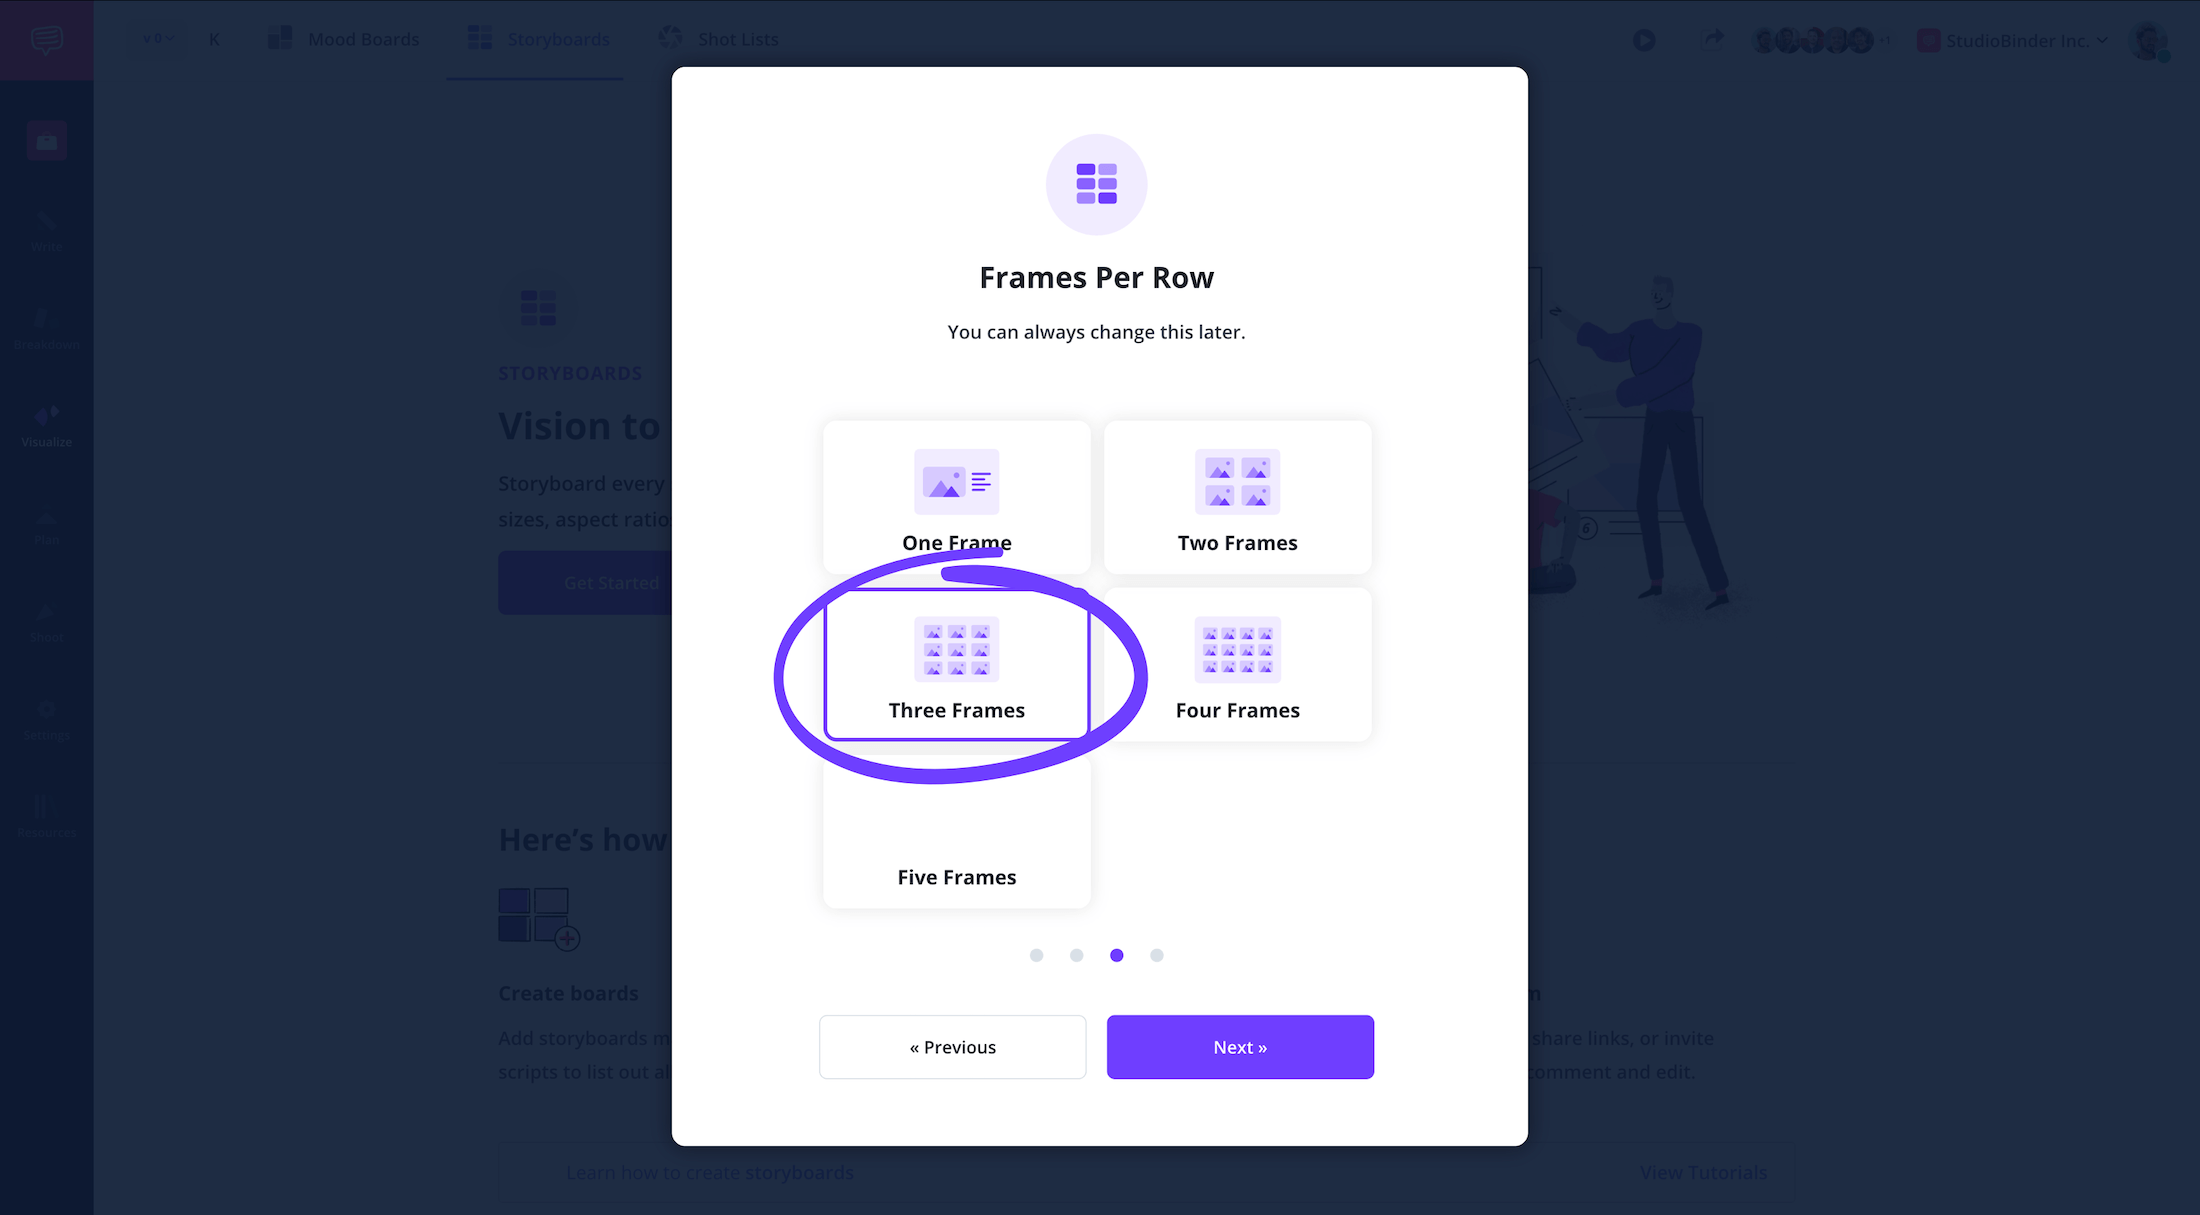
Then you’ll select the number of frames per row you want laid out on your commercial storyboard.
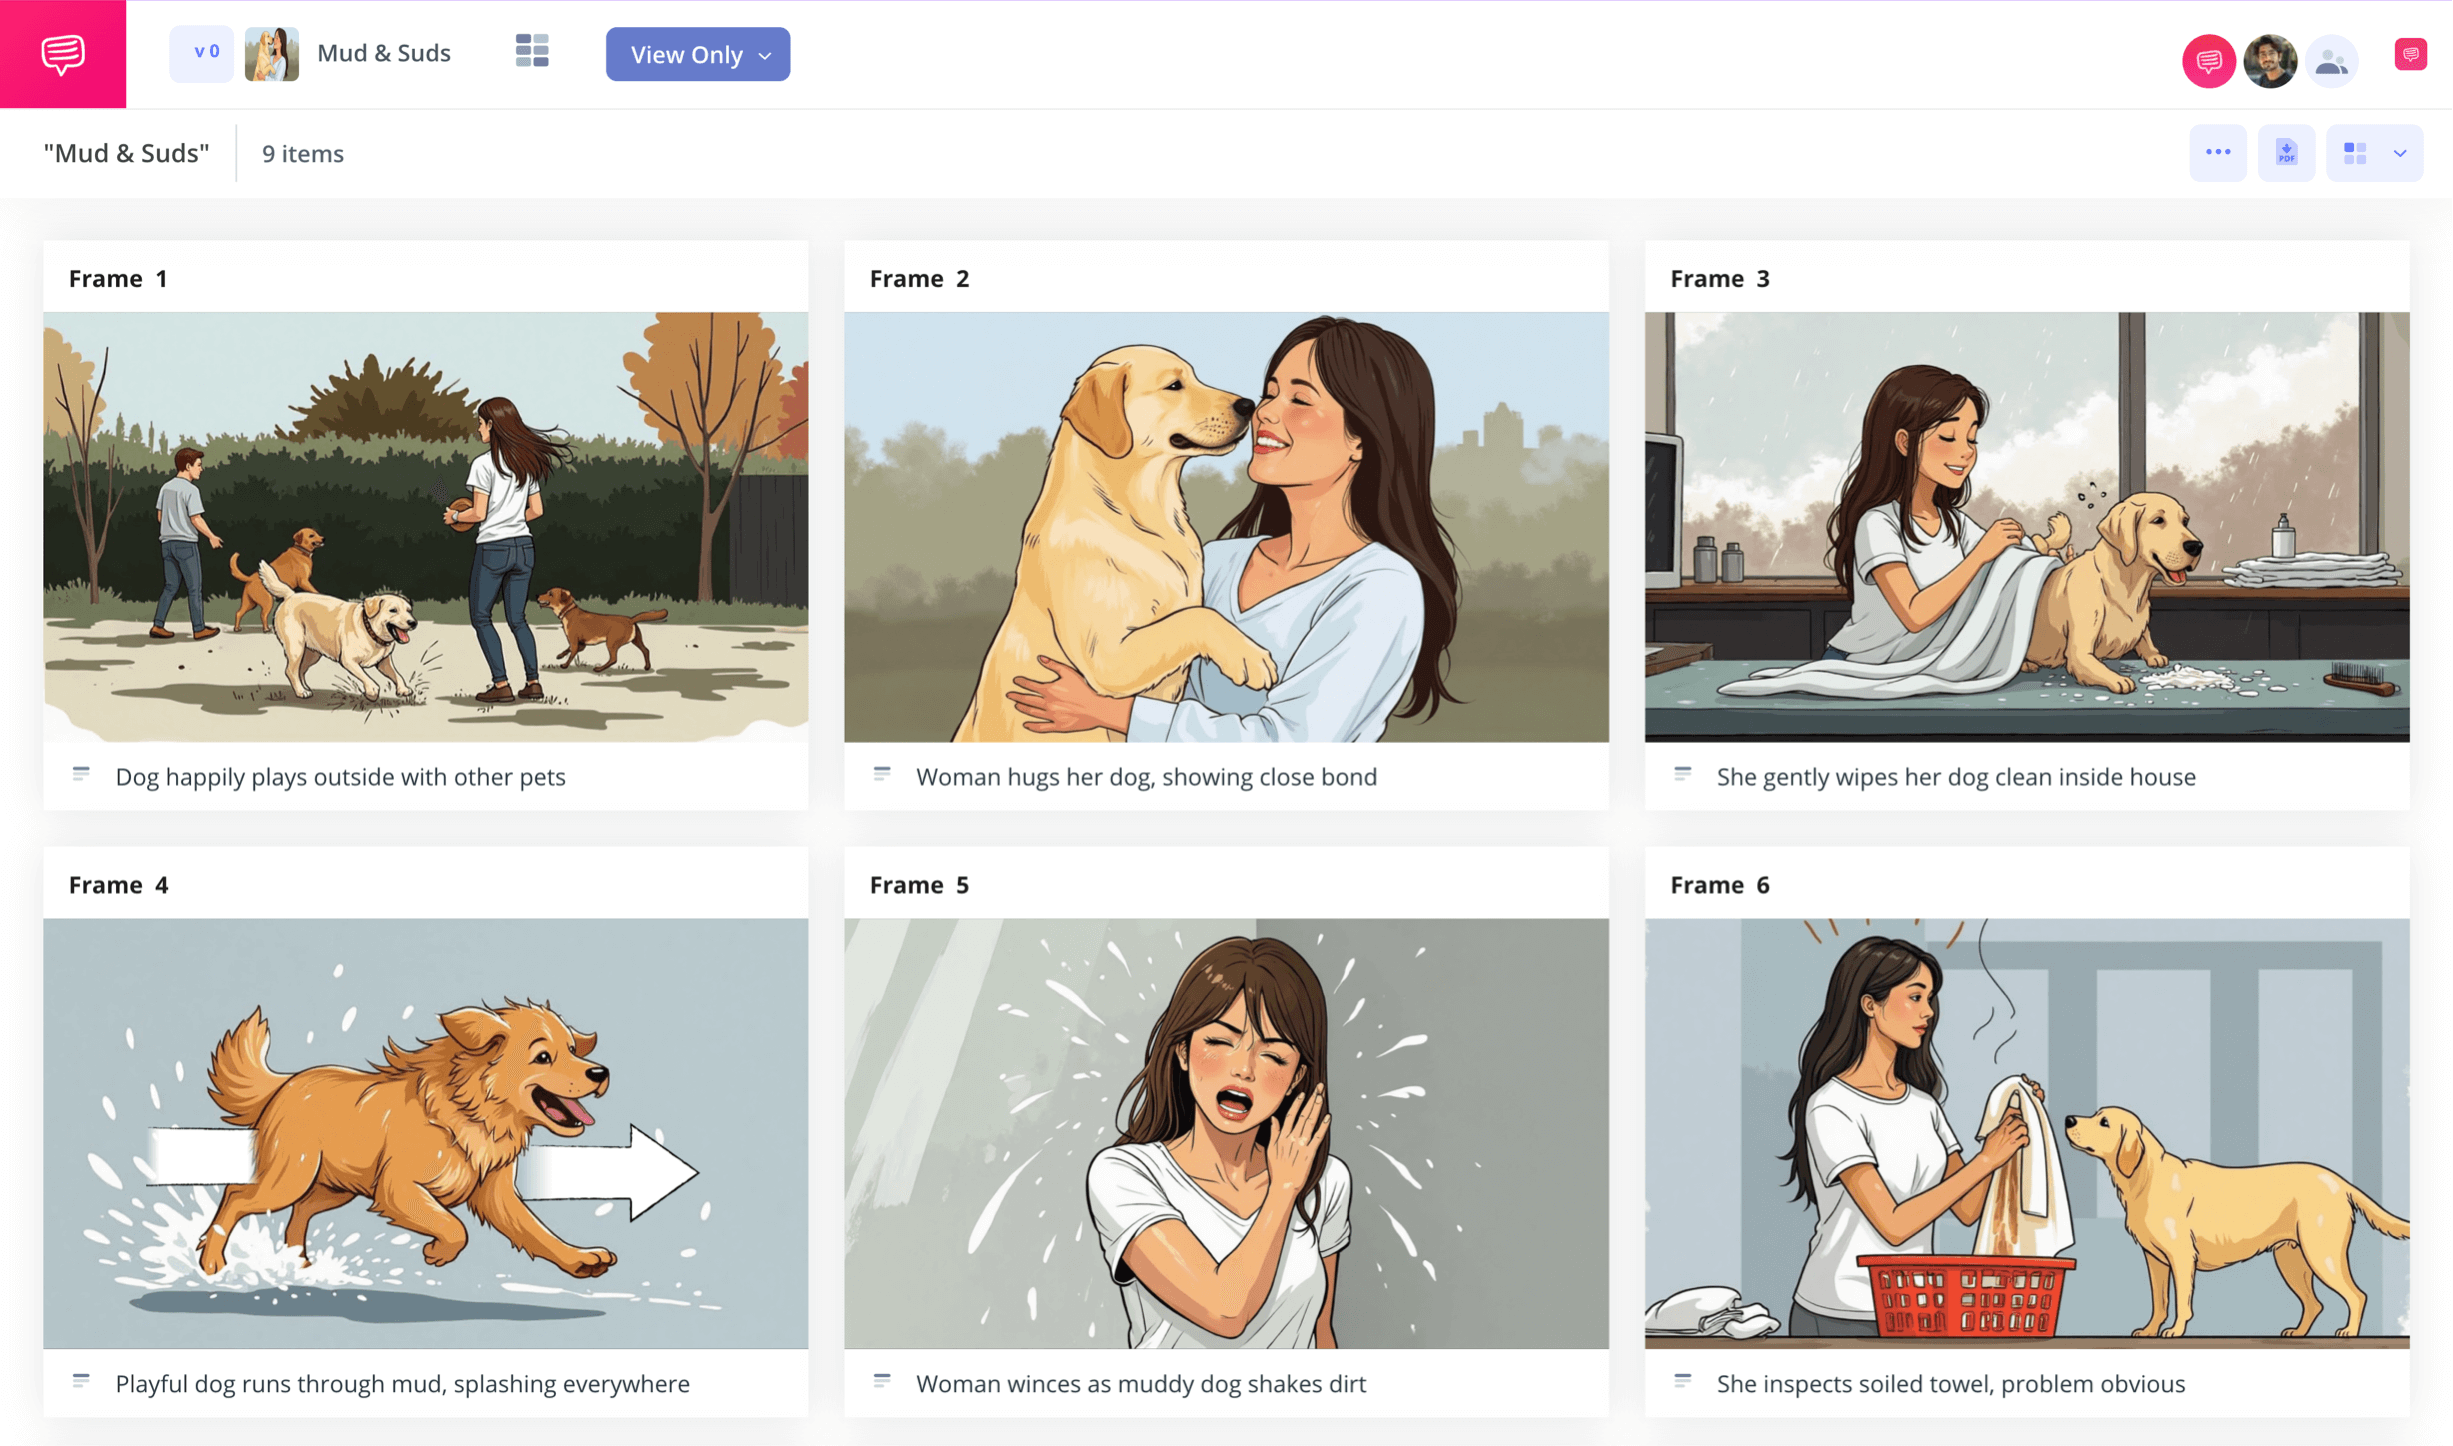
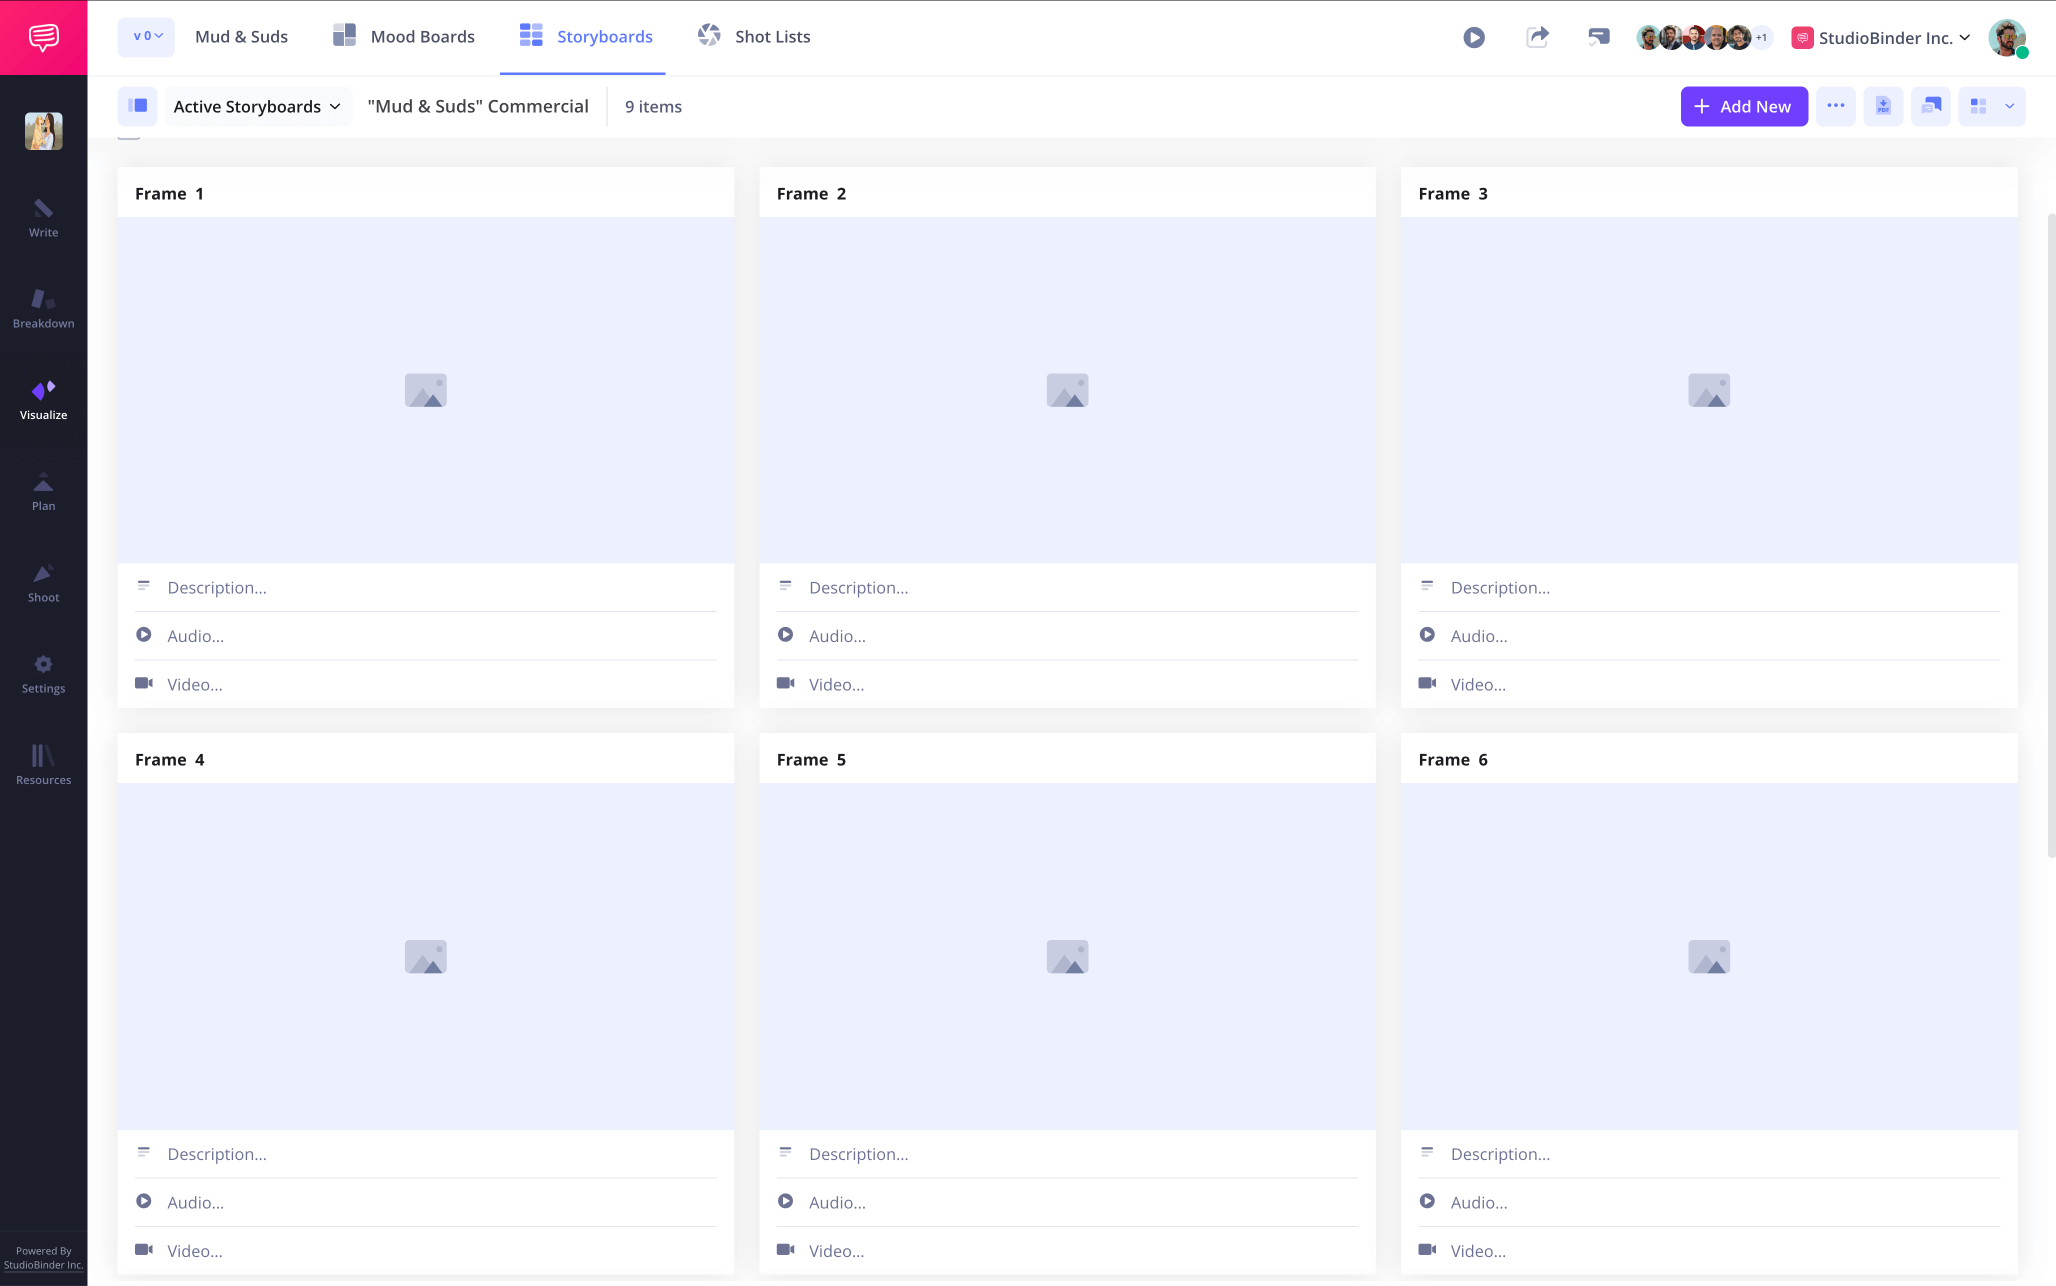
Now your blank television commercial storyboard template will look like this.
Step 2
2. Add images
In a professional environment, creative and budget needs are bound to fluctuate as your TV commercial storyboard is being built. Because of this, you’ll need to change images on a whim as new requests come down the pipeline.
You can of course upload any images you want to your storyboard if you don’t have a storyboard artist on your project. Your own quick sketches, or even reference images from a stock site will also do the trick.
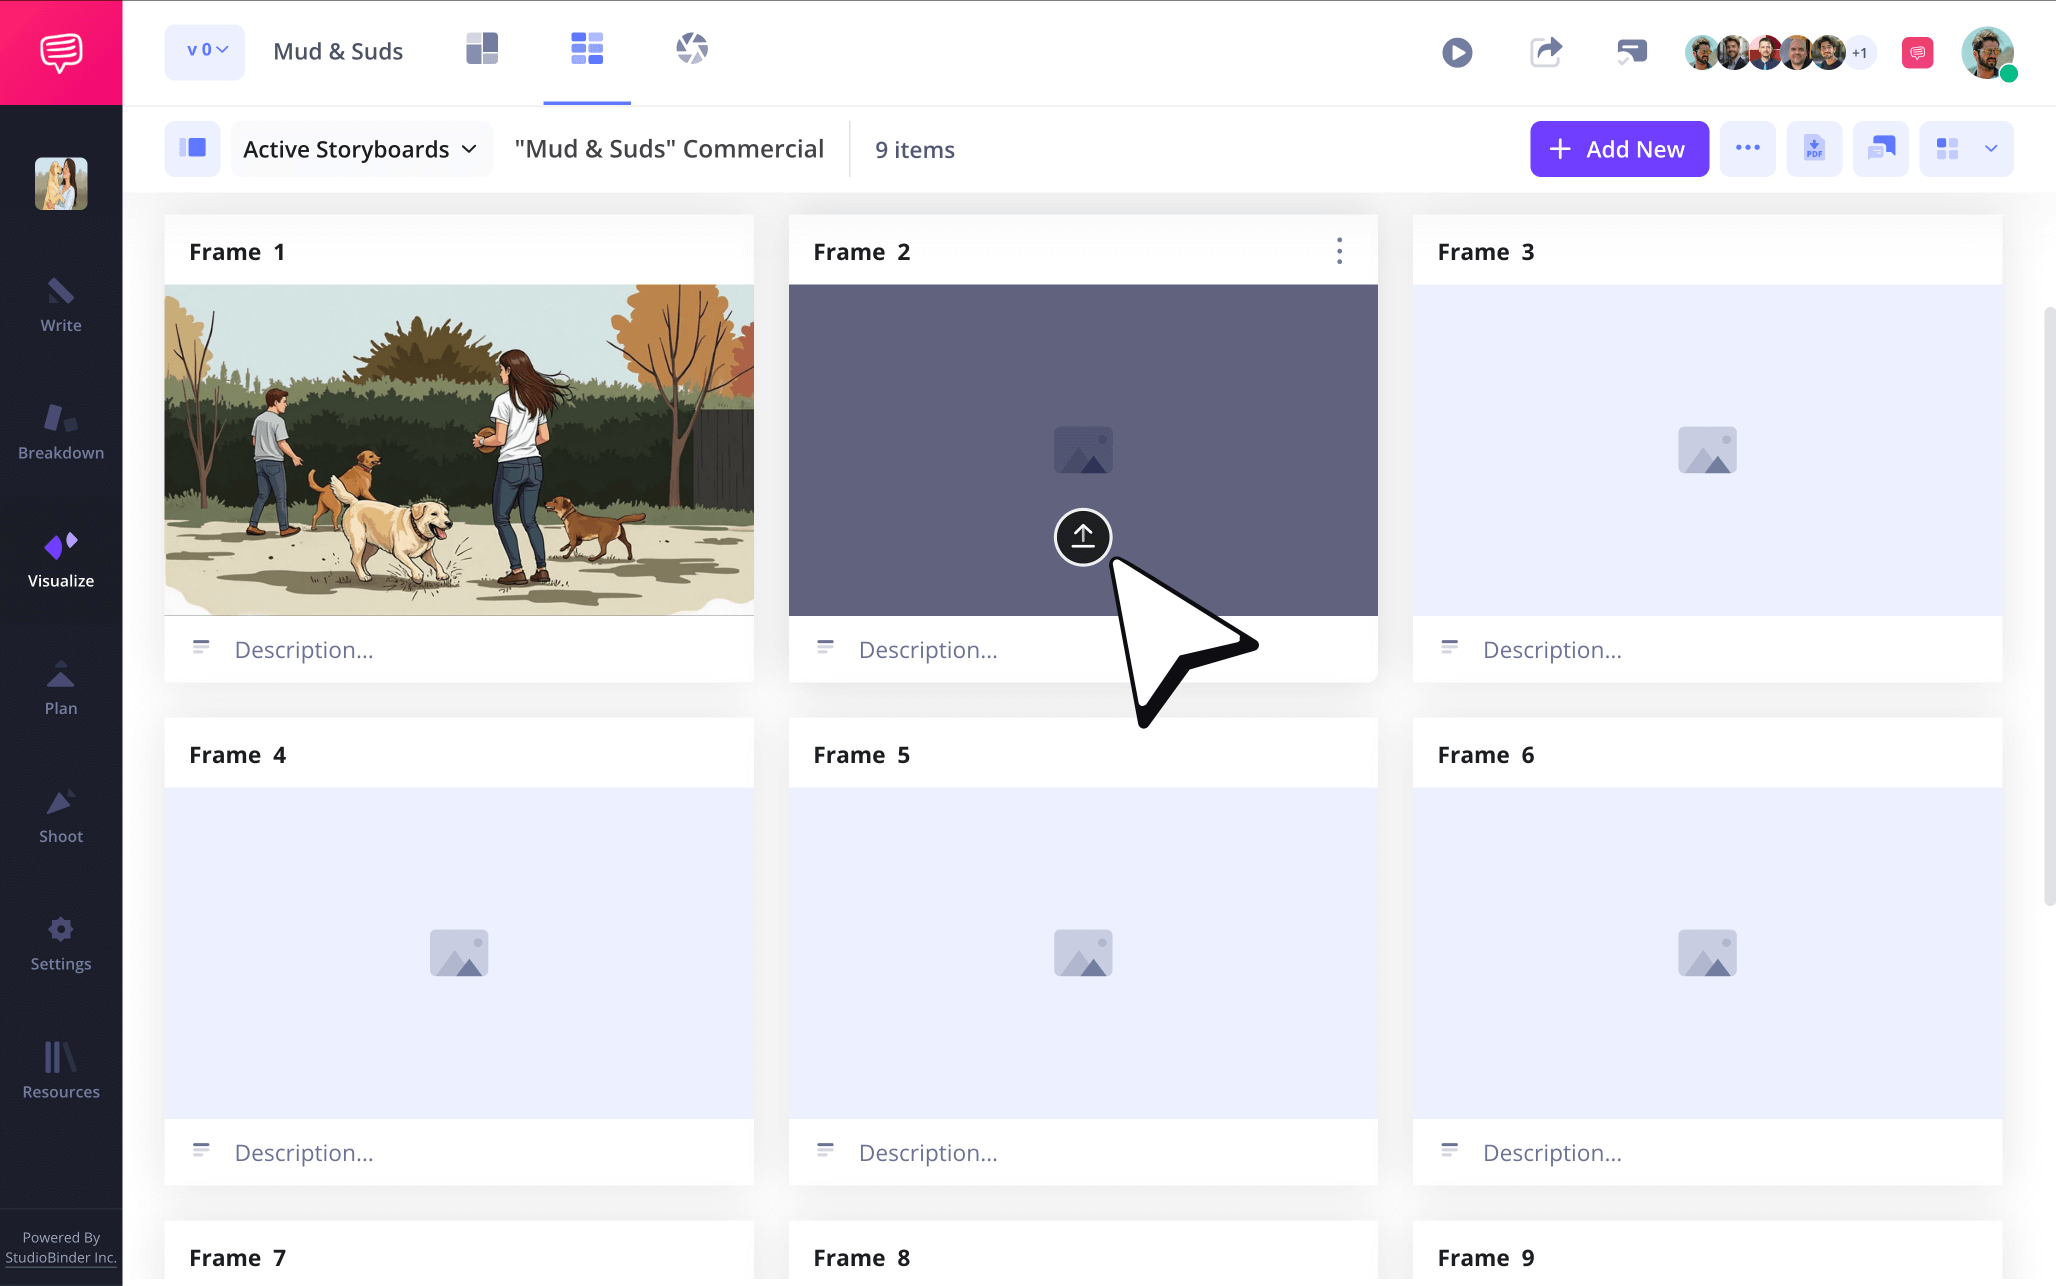
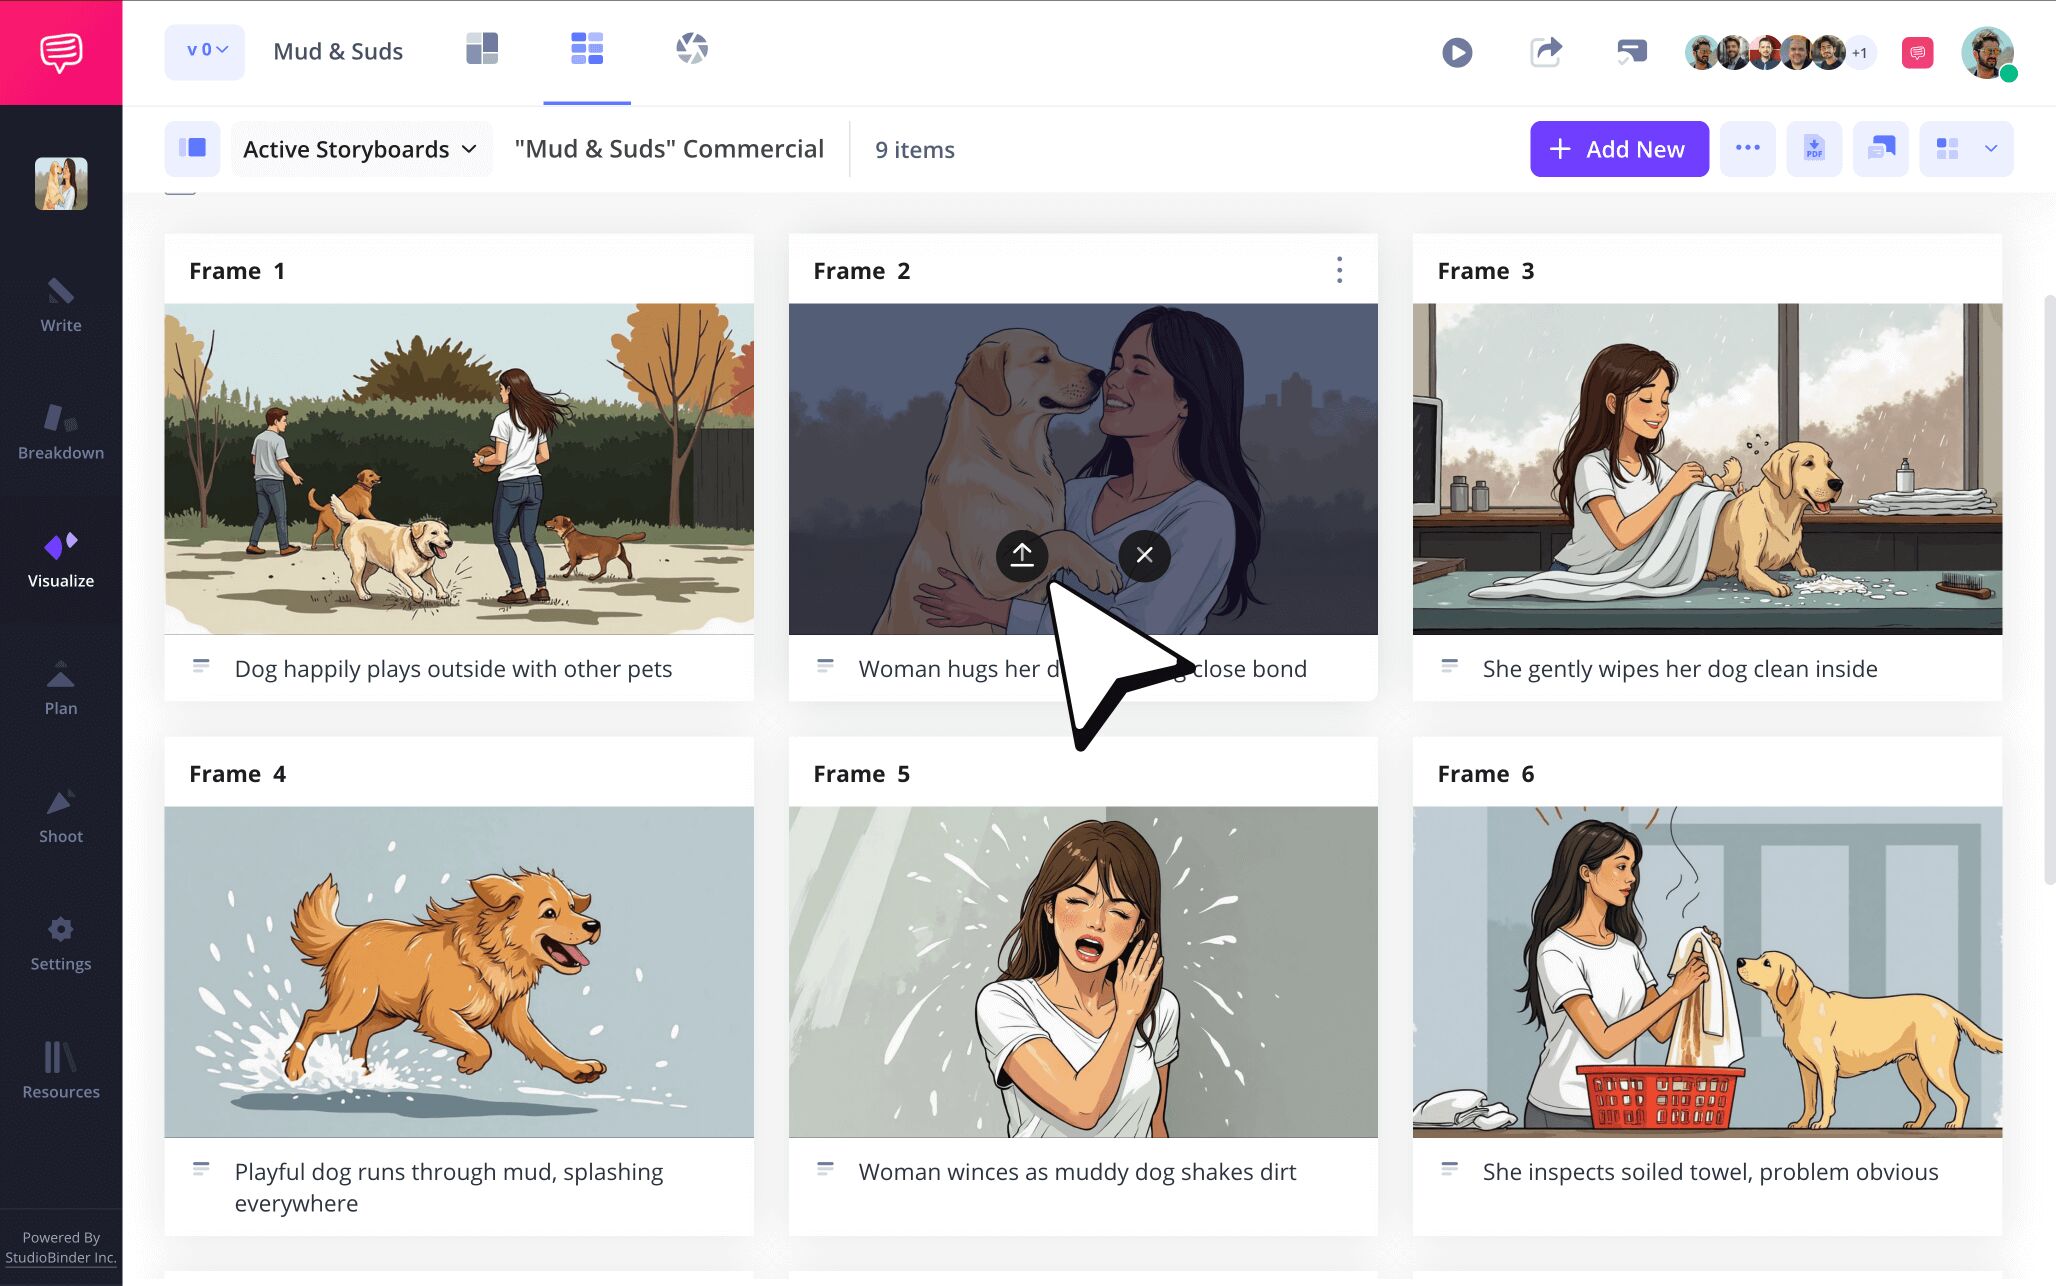
Add images into your television commercial storyboard template by hovering over a frame and clicking upload.
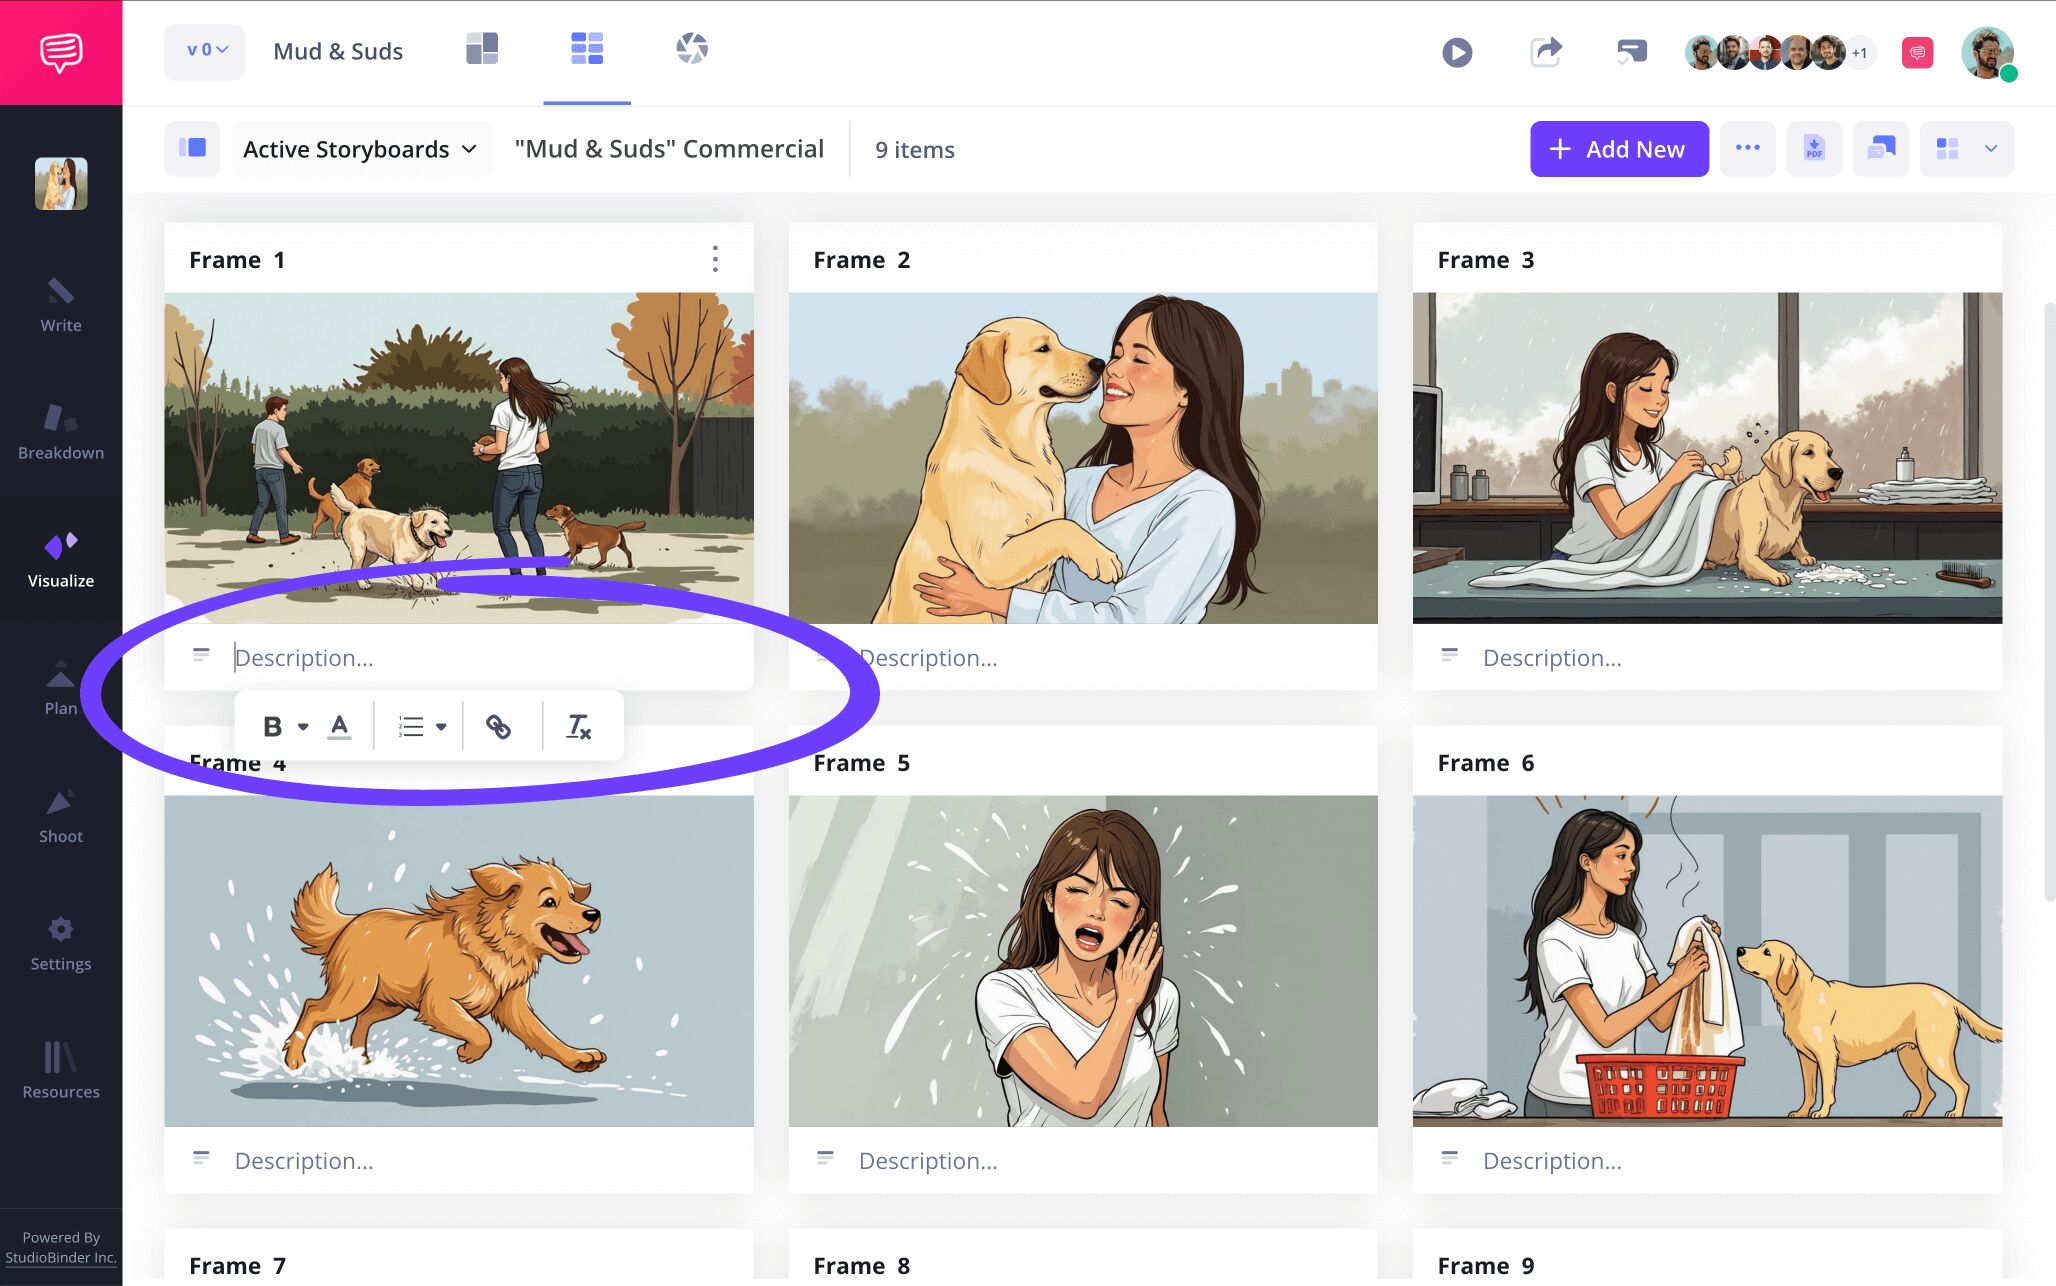
By default, you’ll see blank description, audio and video fields below each frame. You can customize the appearance of these fields in the settings at any time. In our example, we need to include a description that reinforces the action occurring in the visuals, so we’ll fill out the description field below the image.
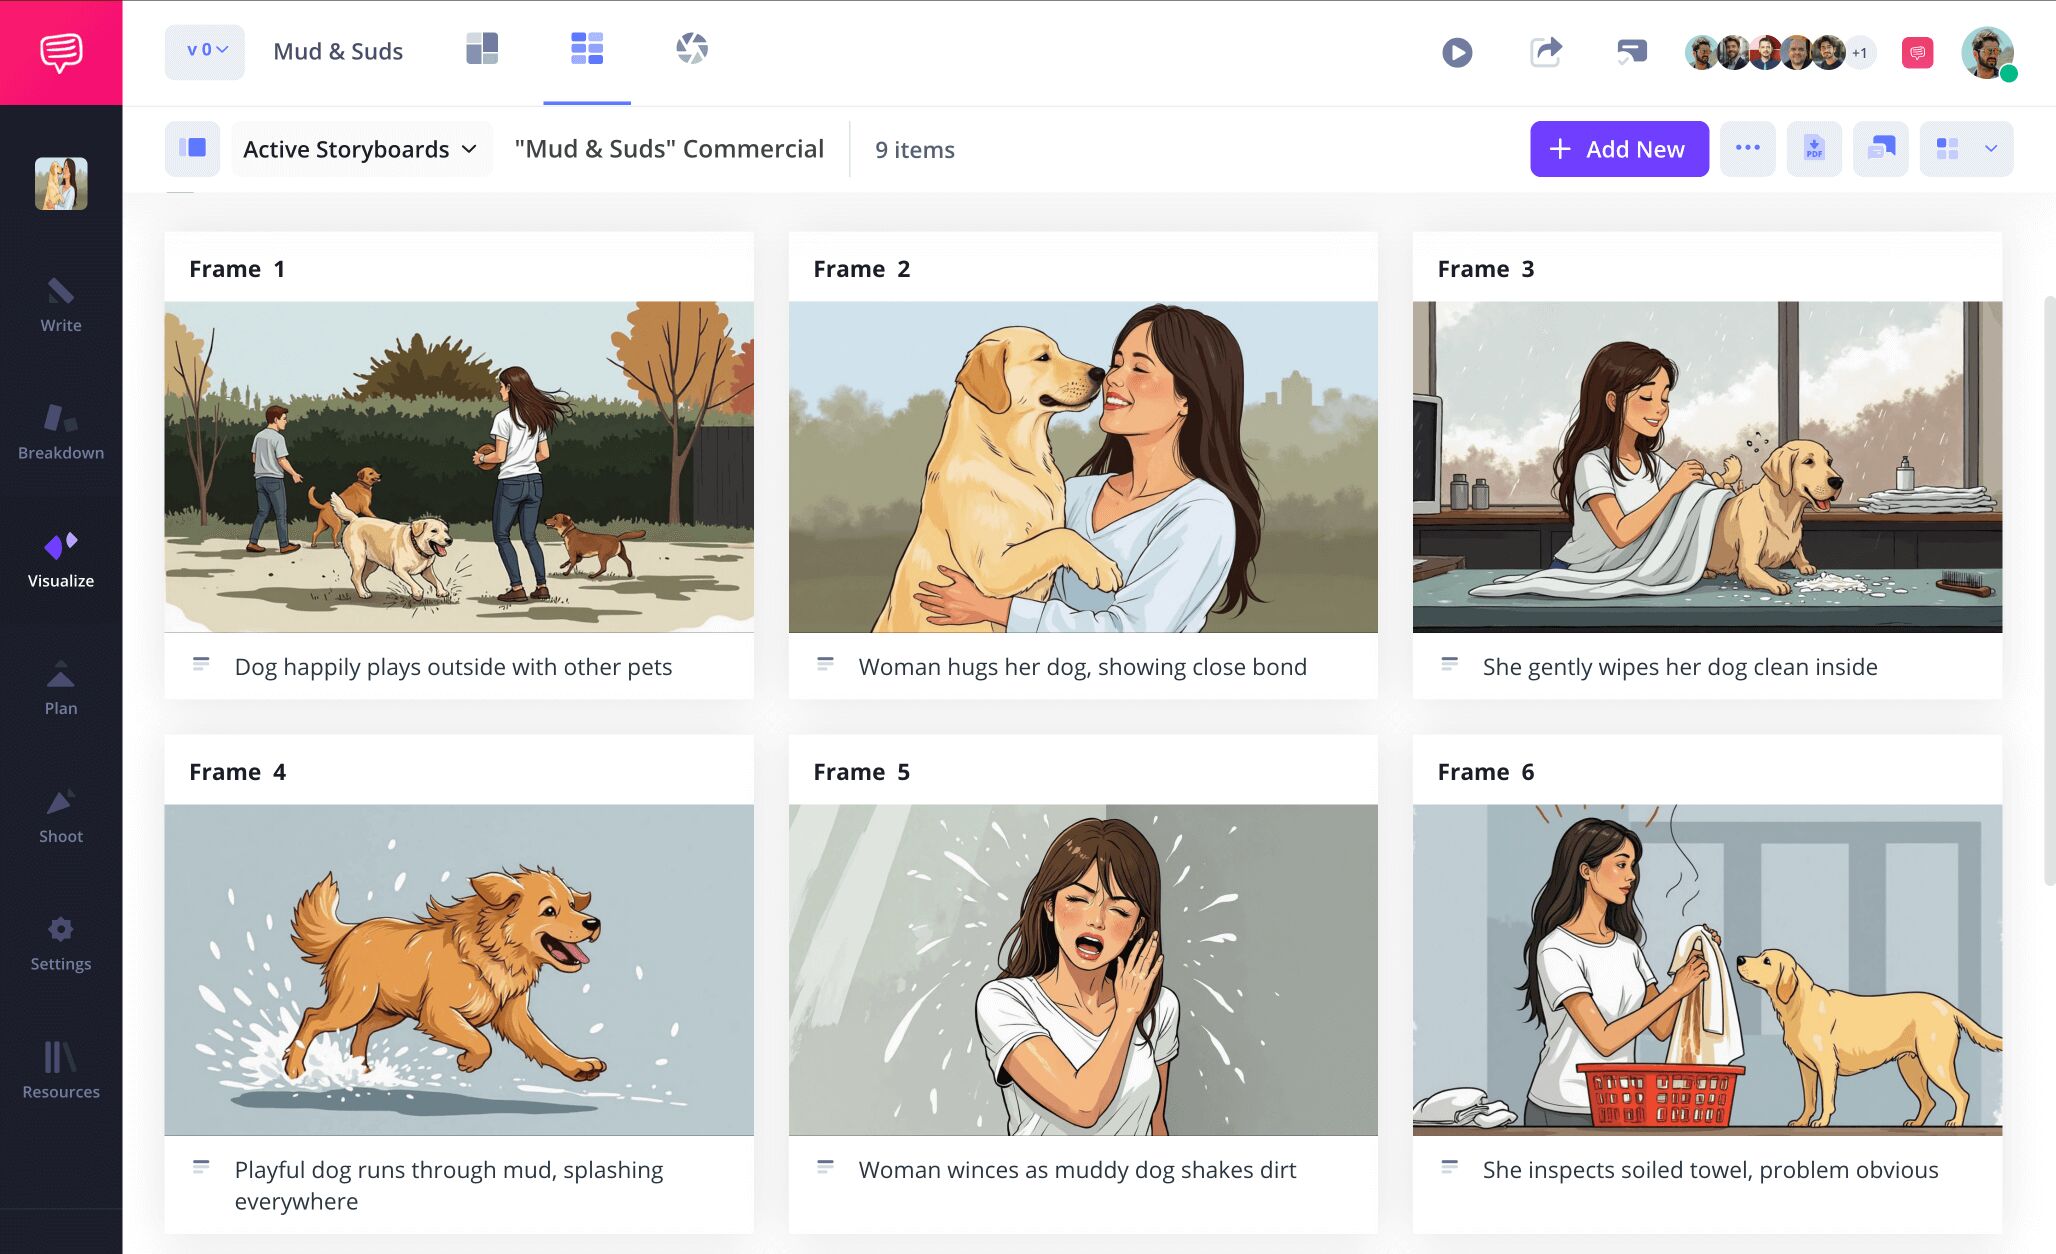
The visuals and descriptions now work together to tell a cogent, engaging story. Looks like our storyboard’s just about ready to be presented to our brand client!
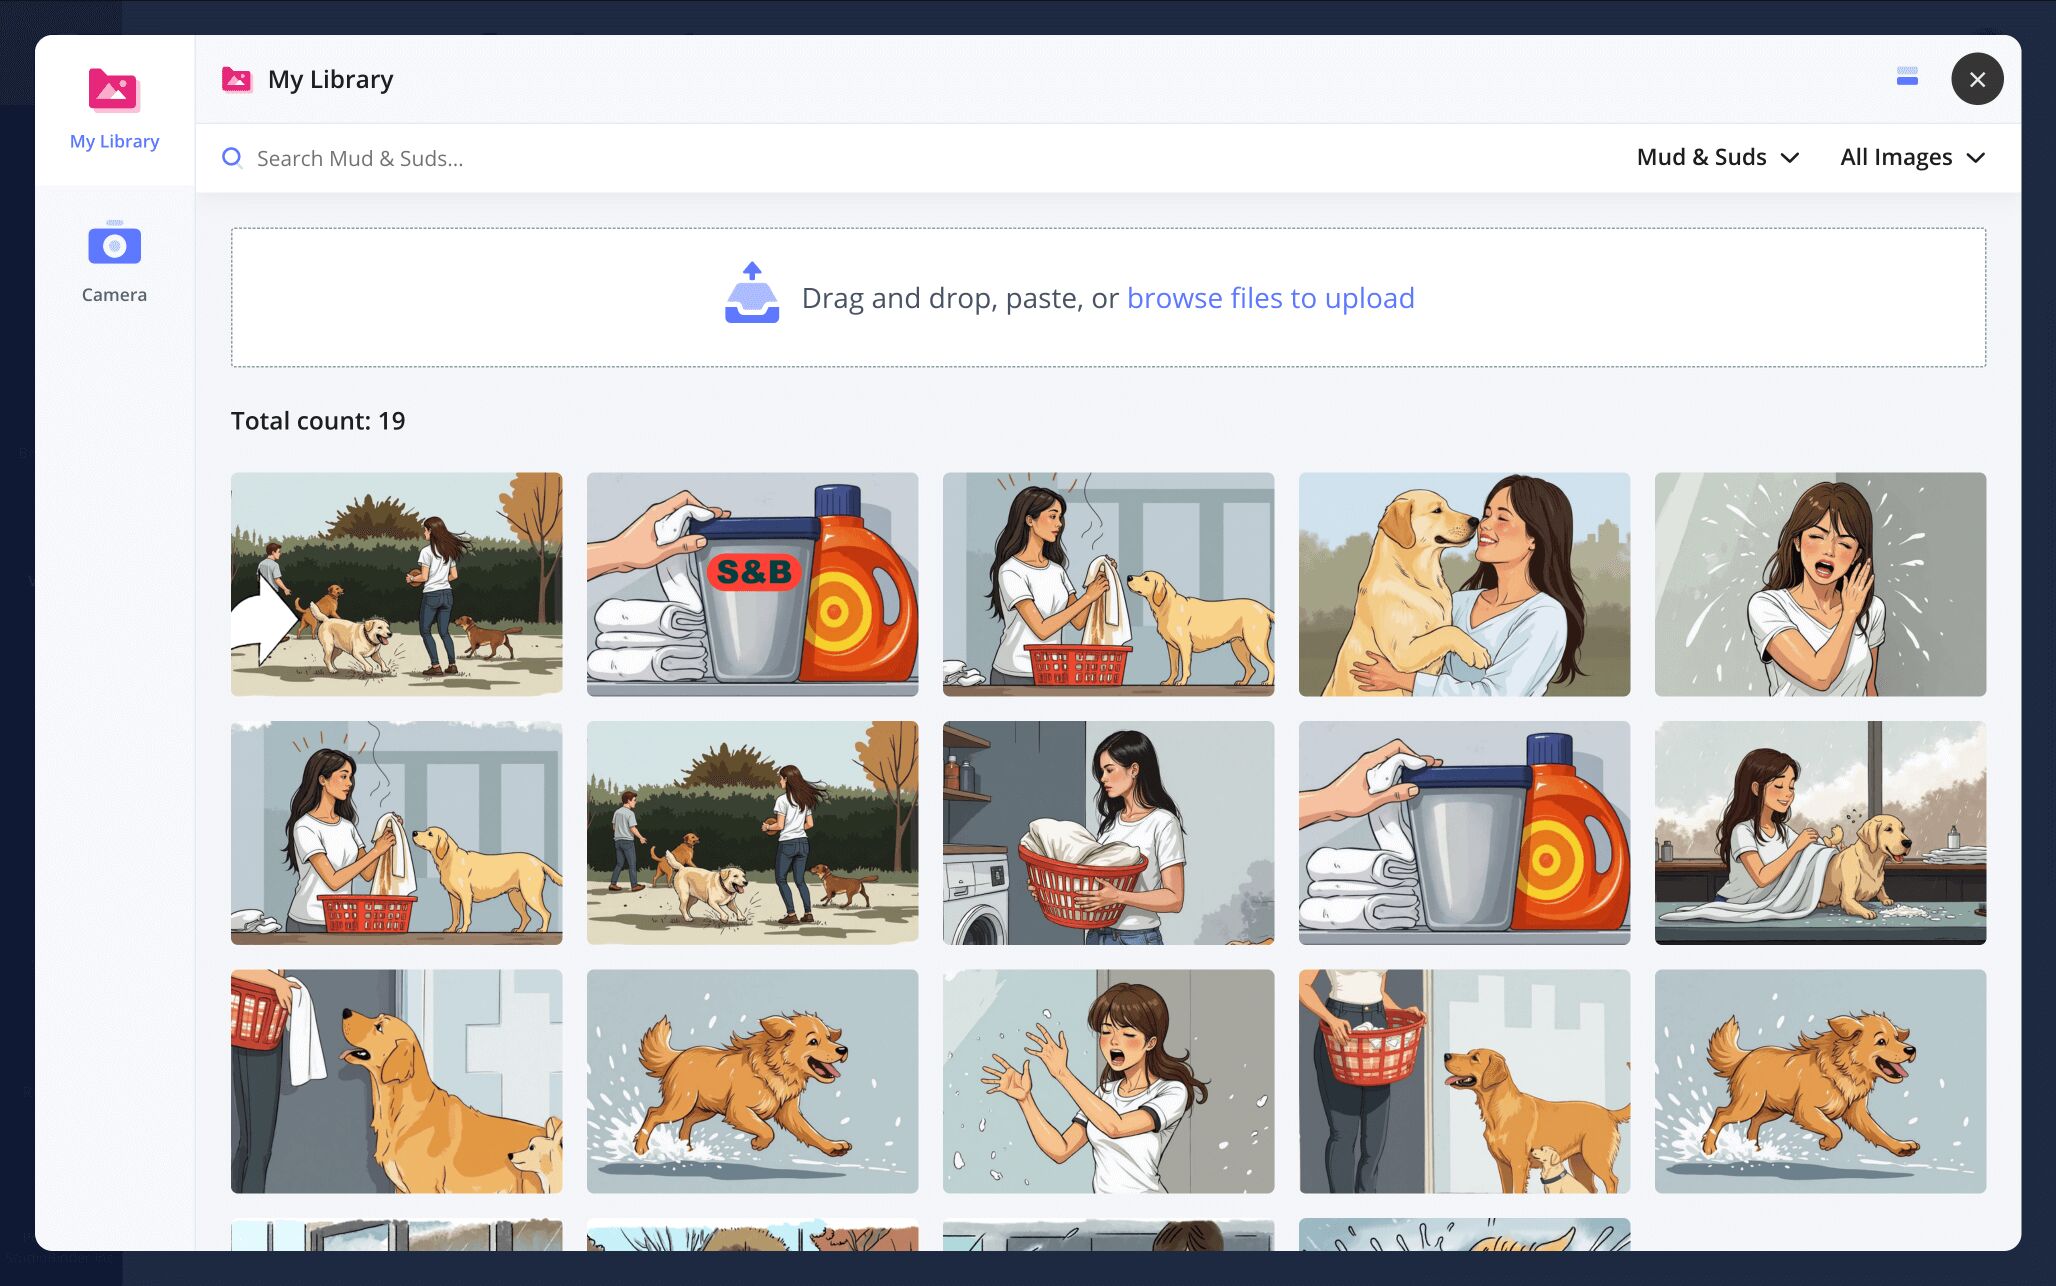
But wait, what if you discard a sketch from your storyboard artist, and sometime later your creative director asks you to restore it to its original frame? No need to lose your mind looking for that image in your team’s files, just click the image upload icon again.
This now opens up a library of all the images you’ve used throughout the project, discarded or not. You can even find images you’ve uploaded into any other StudioBinder projects right here as well. Find the image you’re looking for, click on it, and just like that your image has been restored!
Step 3
3. Add action to your images
It’s not uncommon for an image to need a little more action to get a moment’s point across. After all, flashes of action and suspense will only help capture a potential new customer’s attention, and your client will certainly want to be made aware of these moments. Using StudioBinder’s image editing feature, these kinds of additions can be easily added.
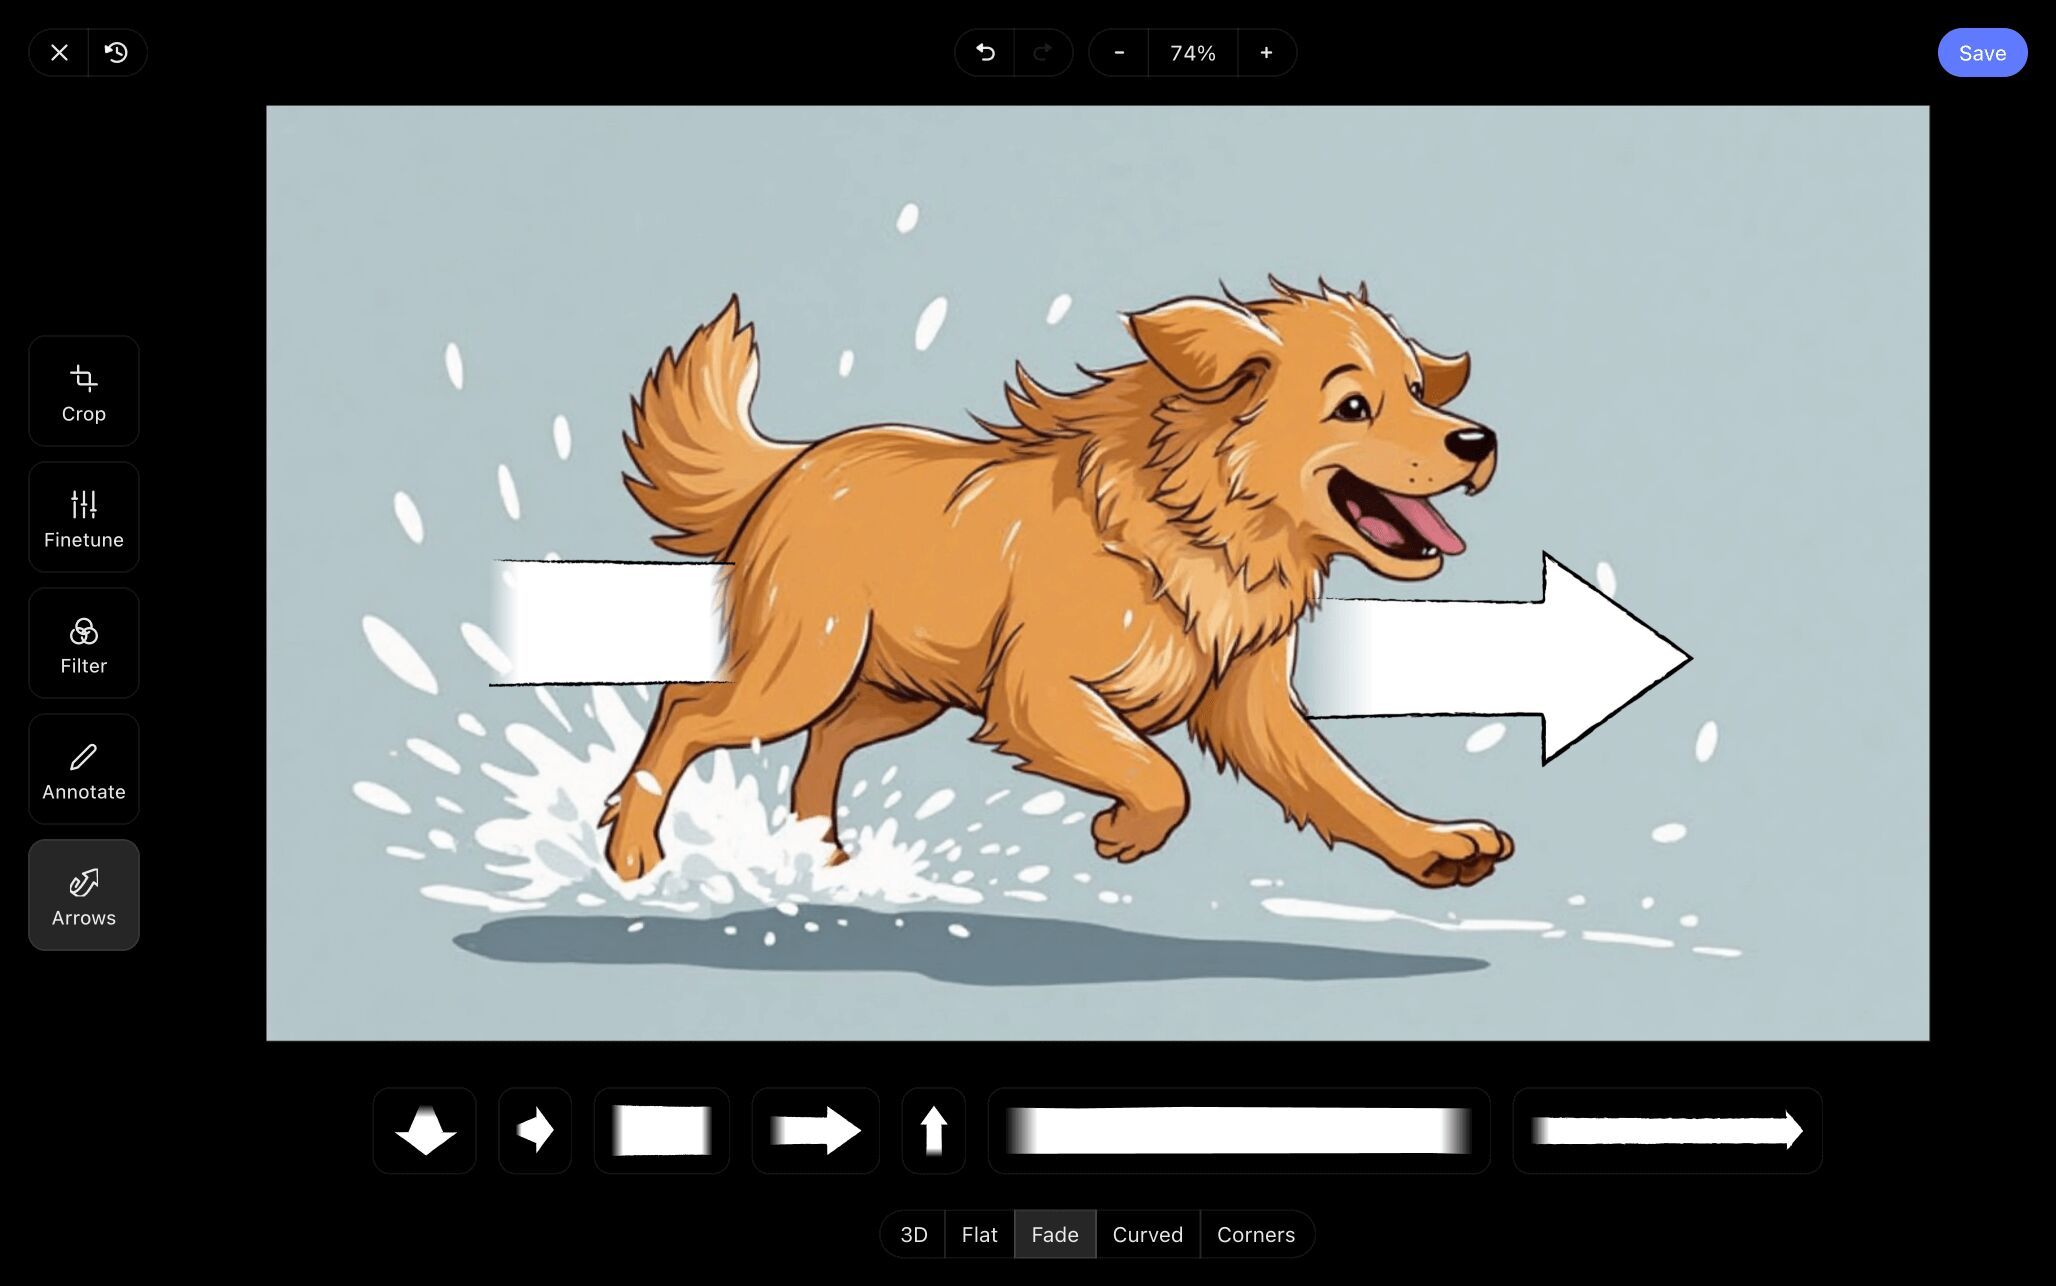
In our sample TV commercial storyboard, we need to emphasize the exceptionally large quality of our star dog’s jump.
To access StudioBinder’s image editor, click on an image, and then select Edit in the pop-up.
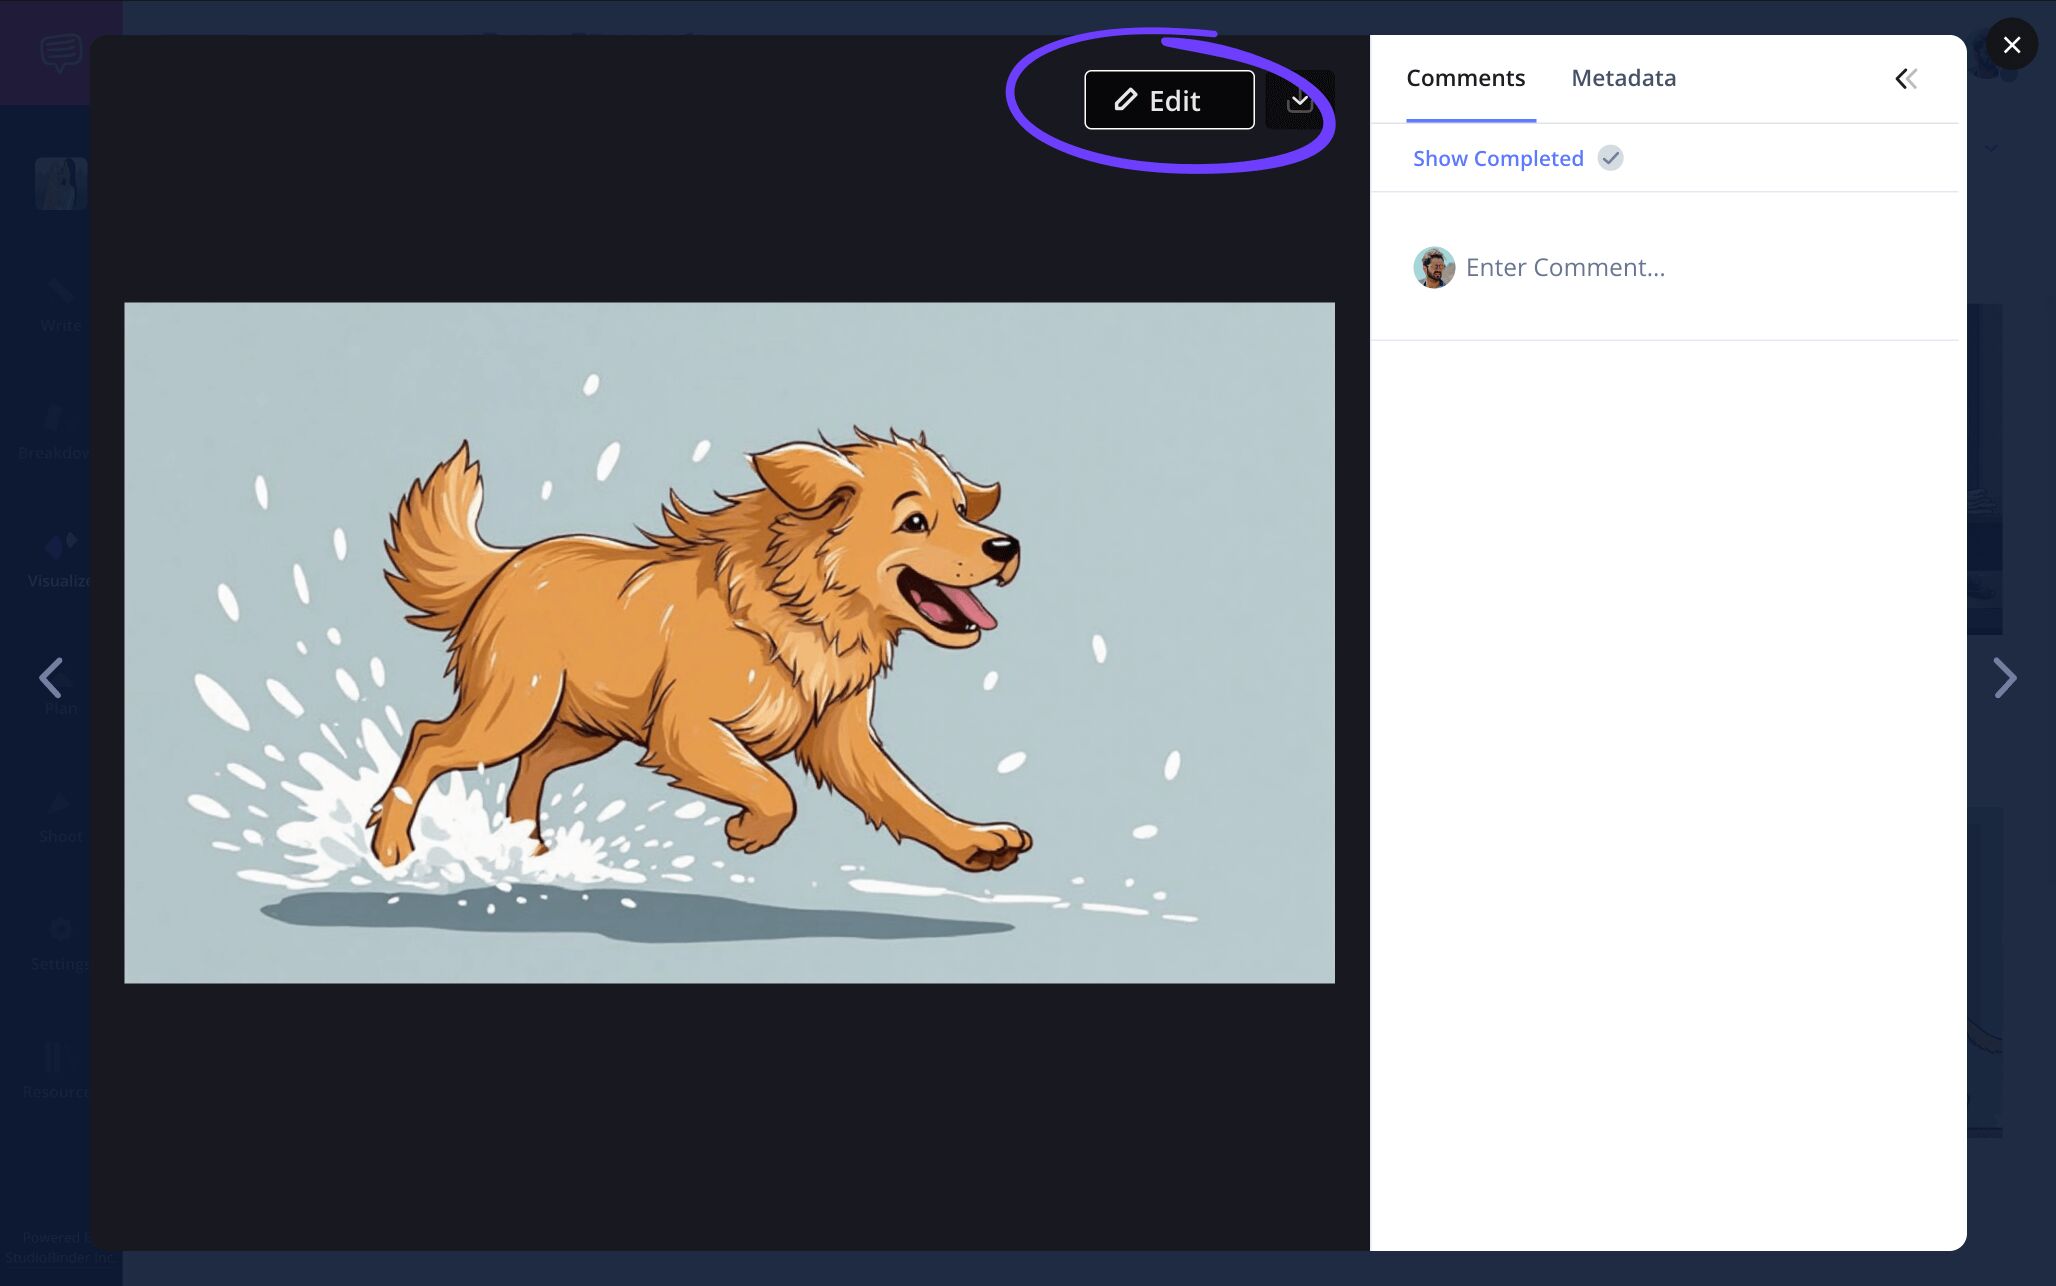
In the edit page, navigate to the arrows option on the left. Here you can select from an entire catalogue arrows at the bottom of the page.
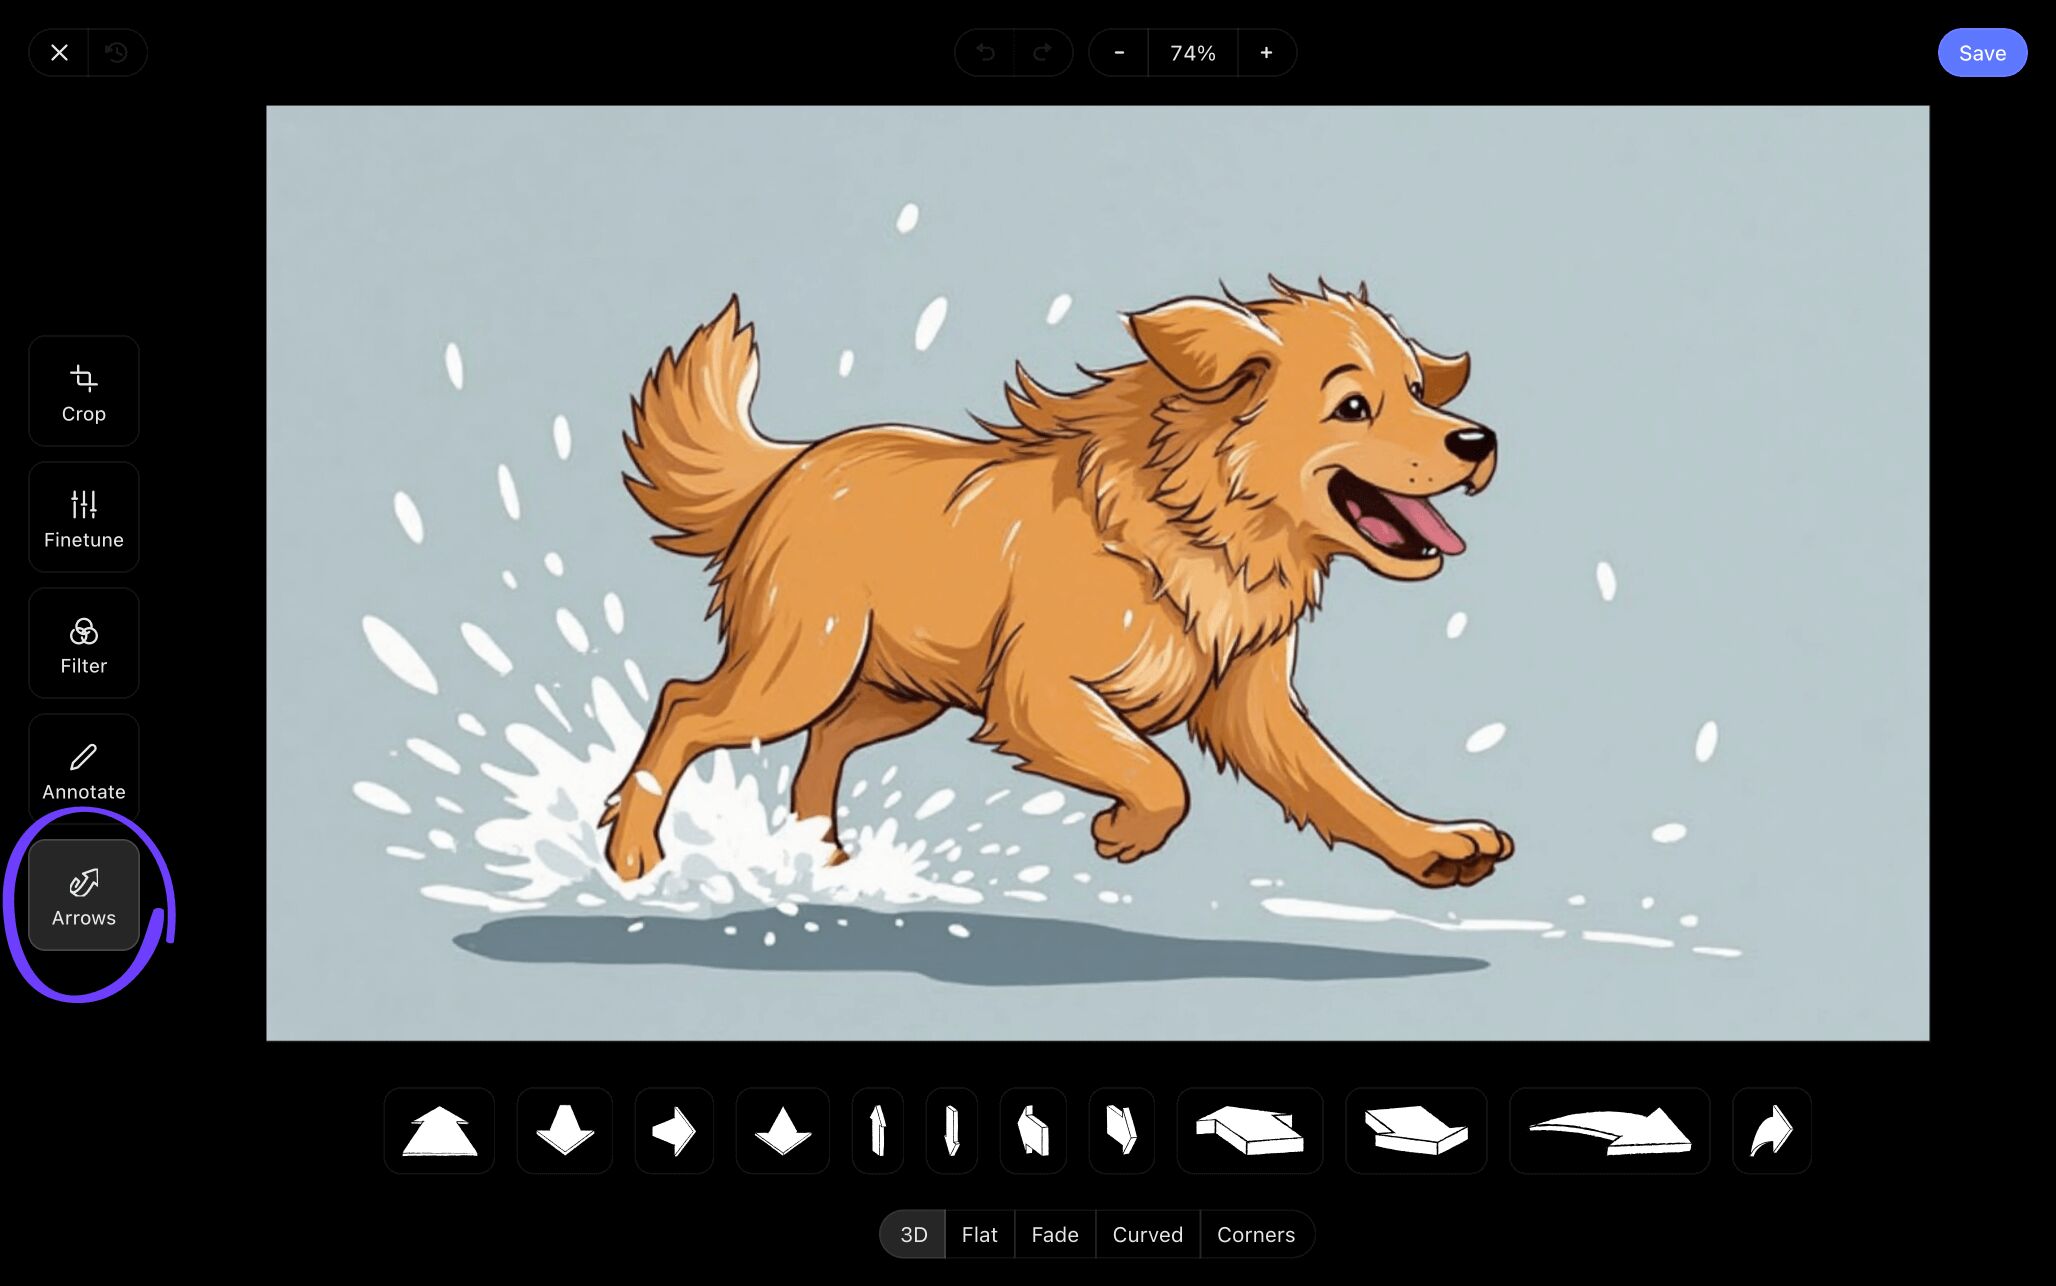
All these arrows are customized to help emphasize whatever action an image calls for. For our example, we’ll use the left-to-right arrow to help get our point across.
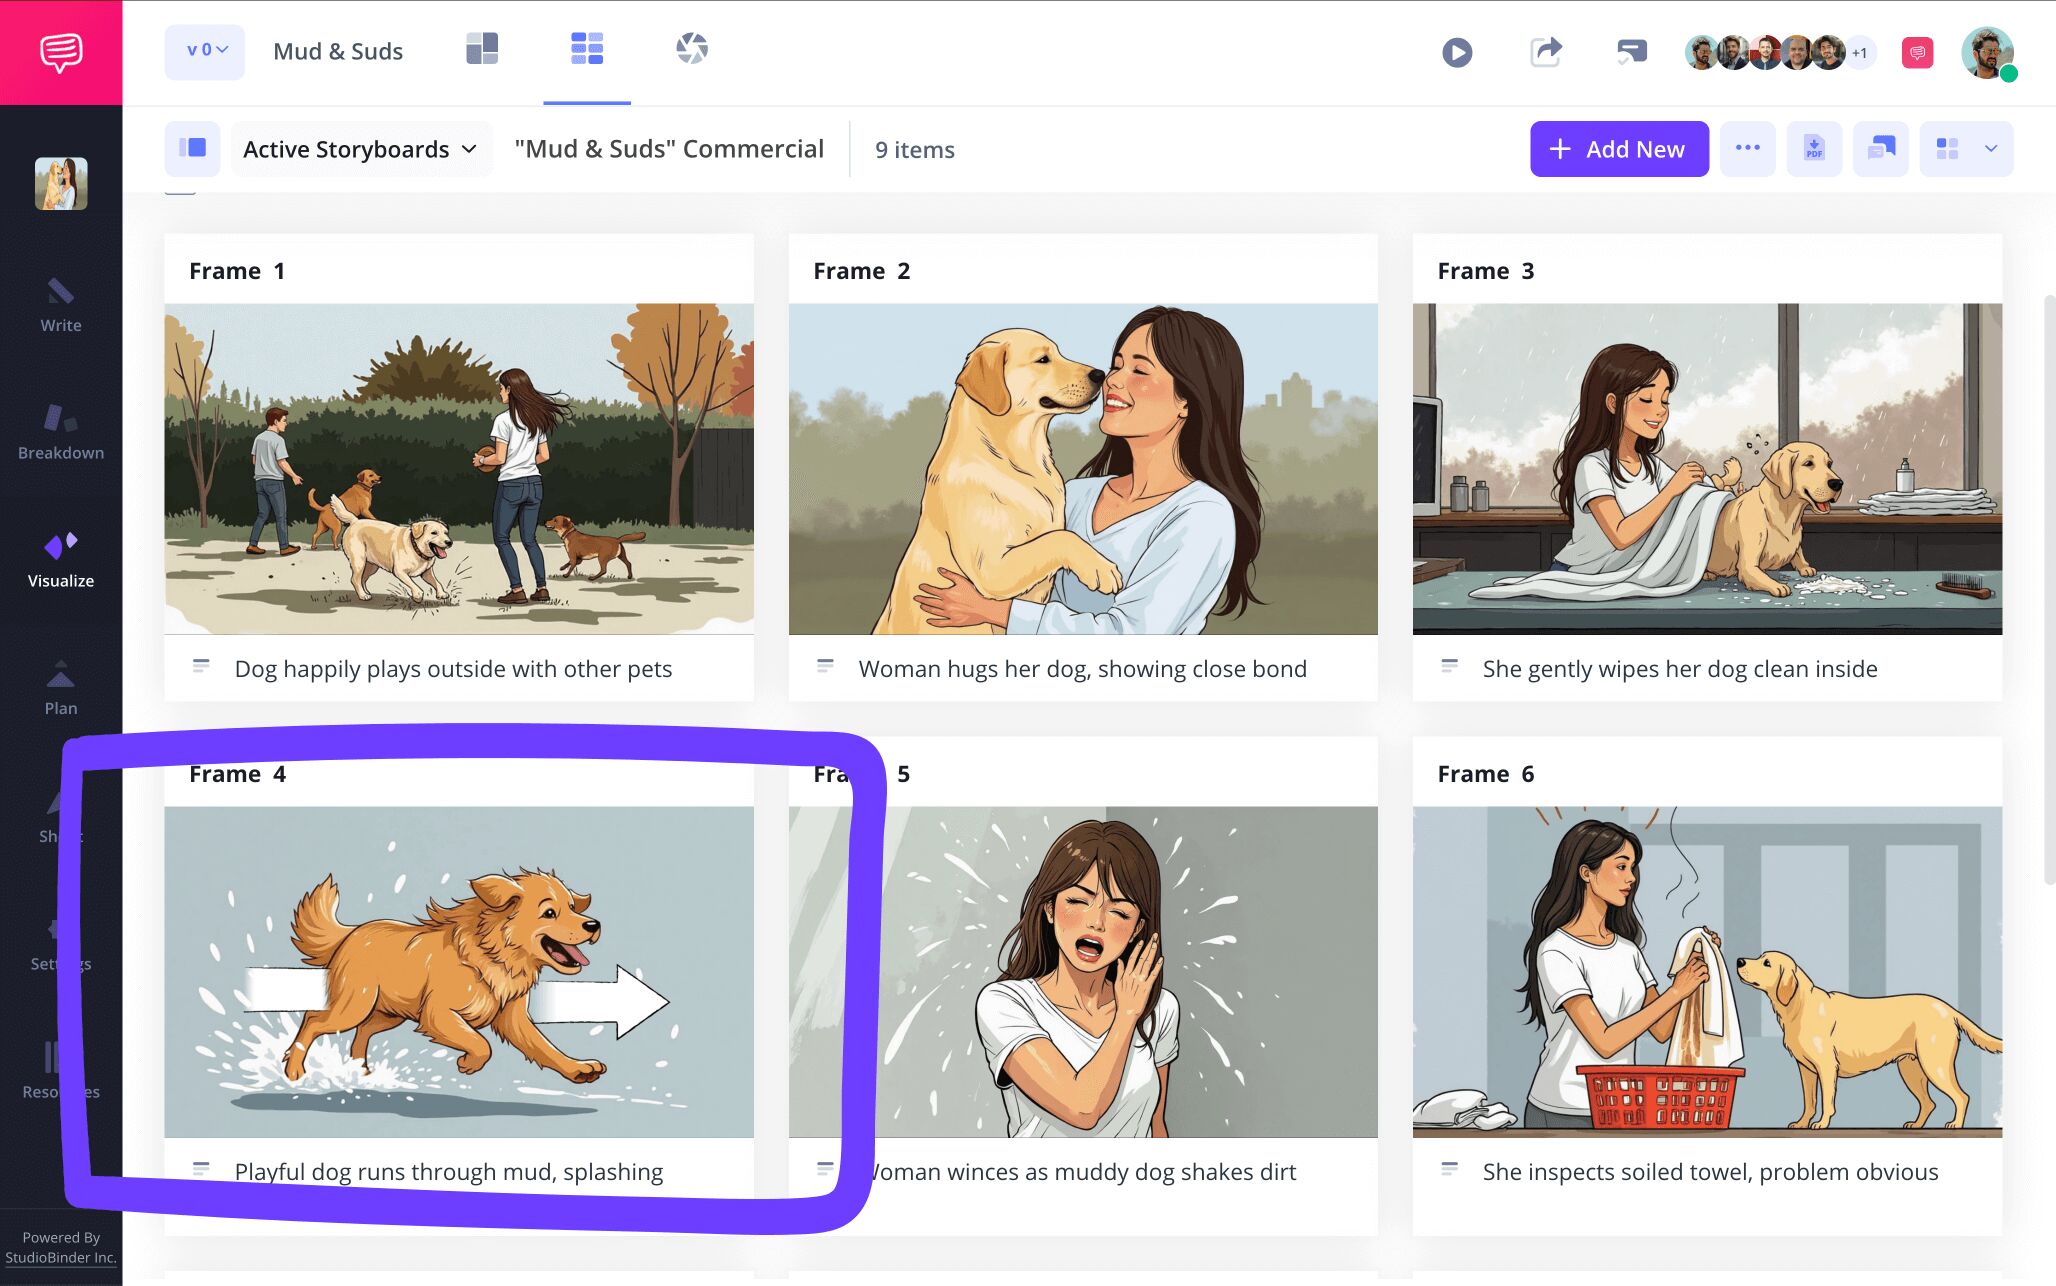
Once you’ve configured your image to fit all your needs, click save and the newly edited image will be applied to your television commercial storyboard template.
Step 4
4. Bring in your team
An ad campaign doesn’t exist in a vacuum. The amount of collaborators and clients involved is quite high because not only are you working alongside your pre-visualization team, you’re also collaborating with the brand clients. Of course, it’s all to ensure product quality is maintained.
To get all the right eyes on your TV commercial storyboard, click the share storyboards page button at the top.
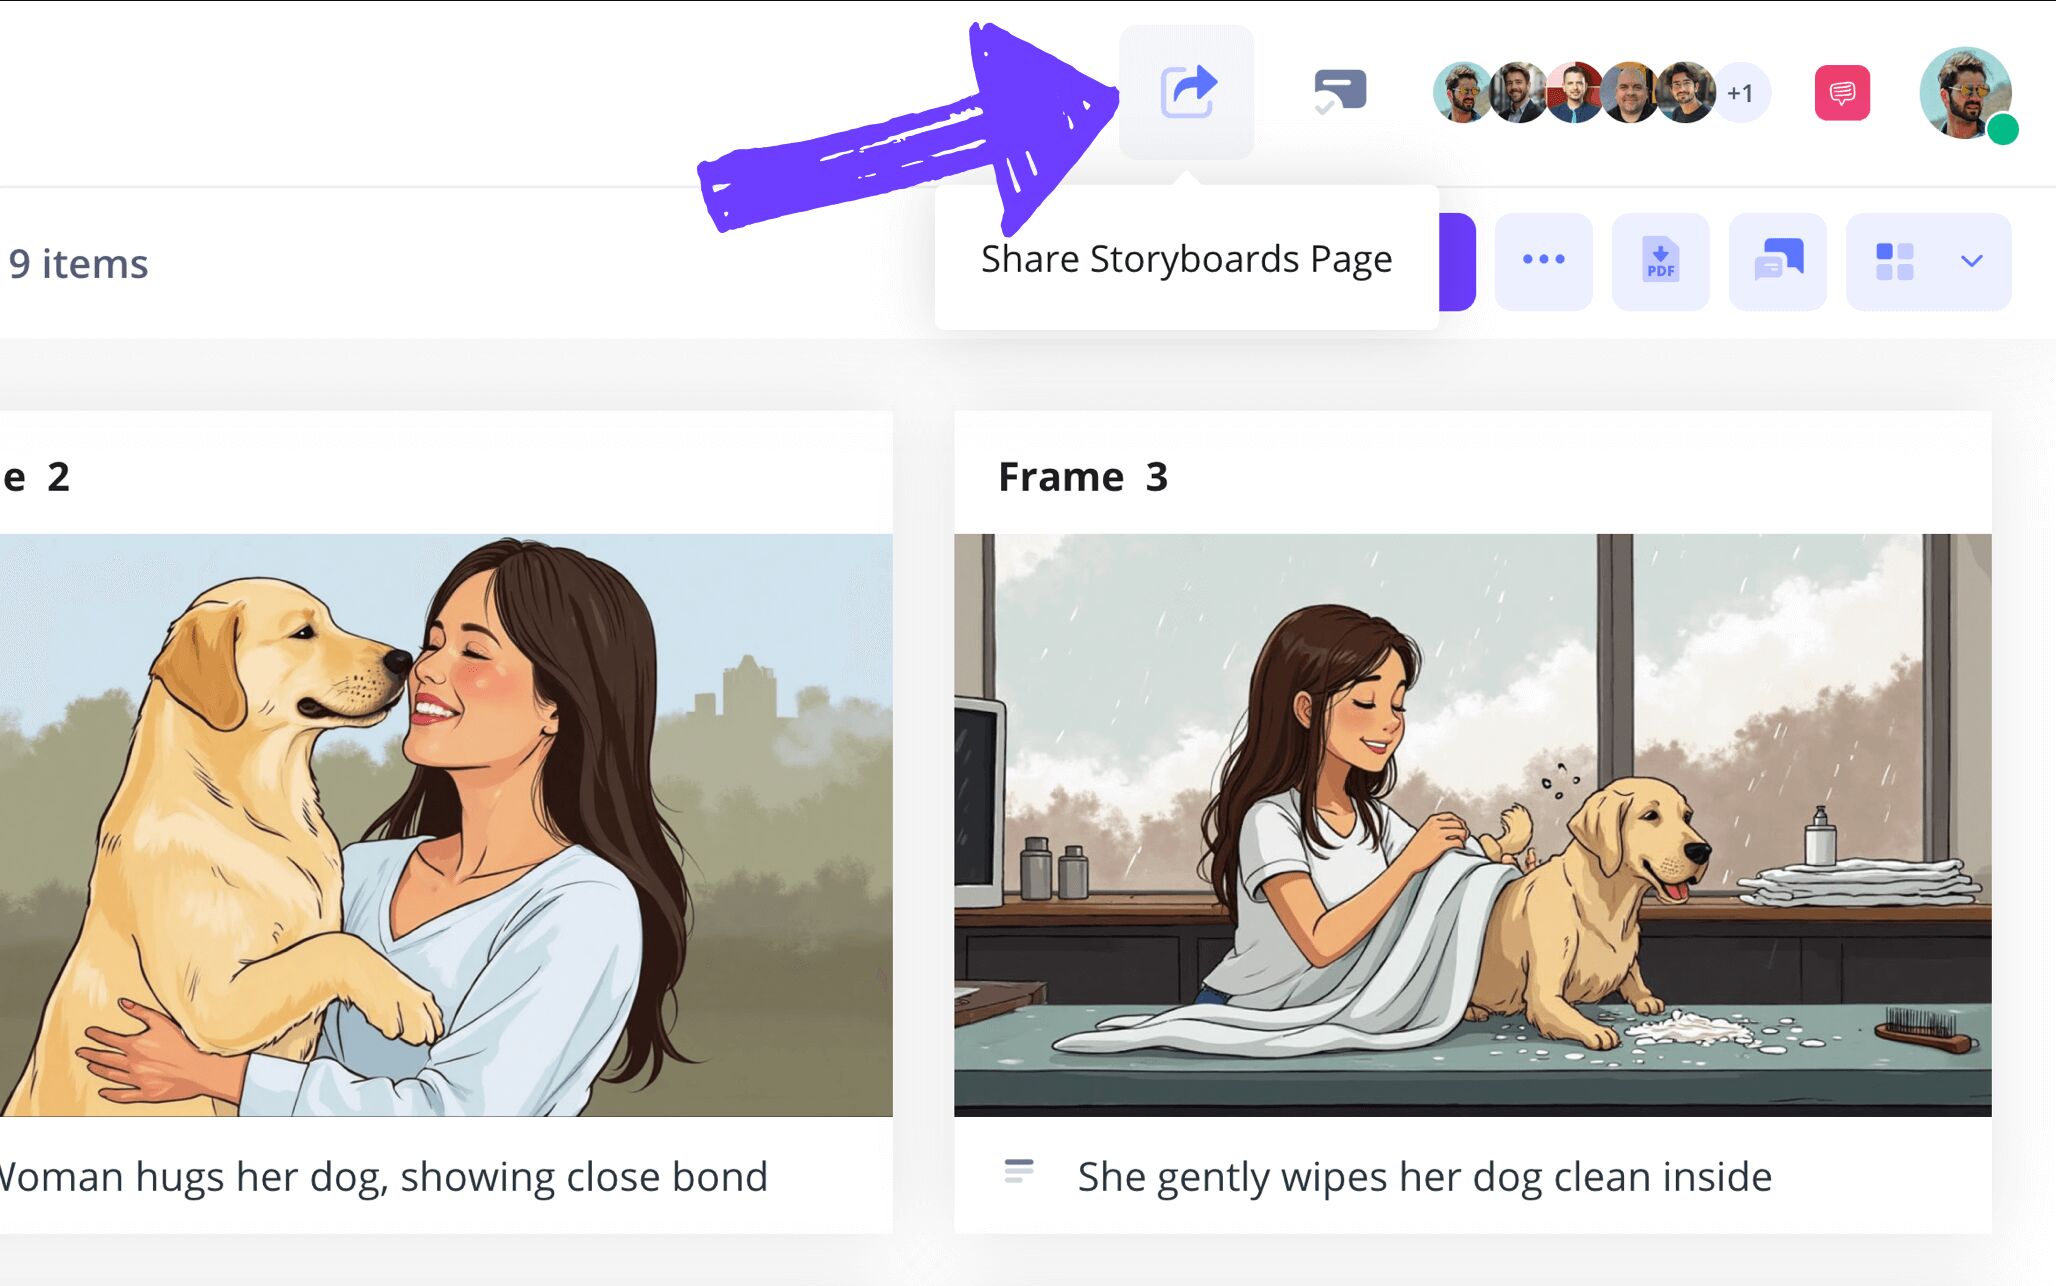
The view-only link is for anyone who simply needs to view the storyboard, while the invite collaborators to this page option allows you to manage any further access.
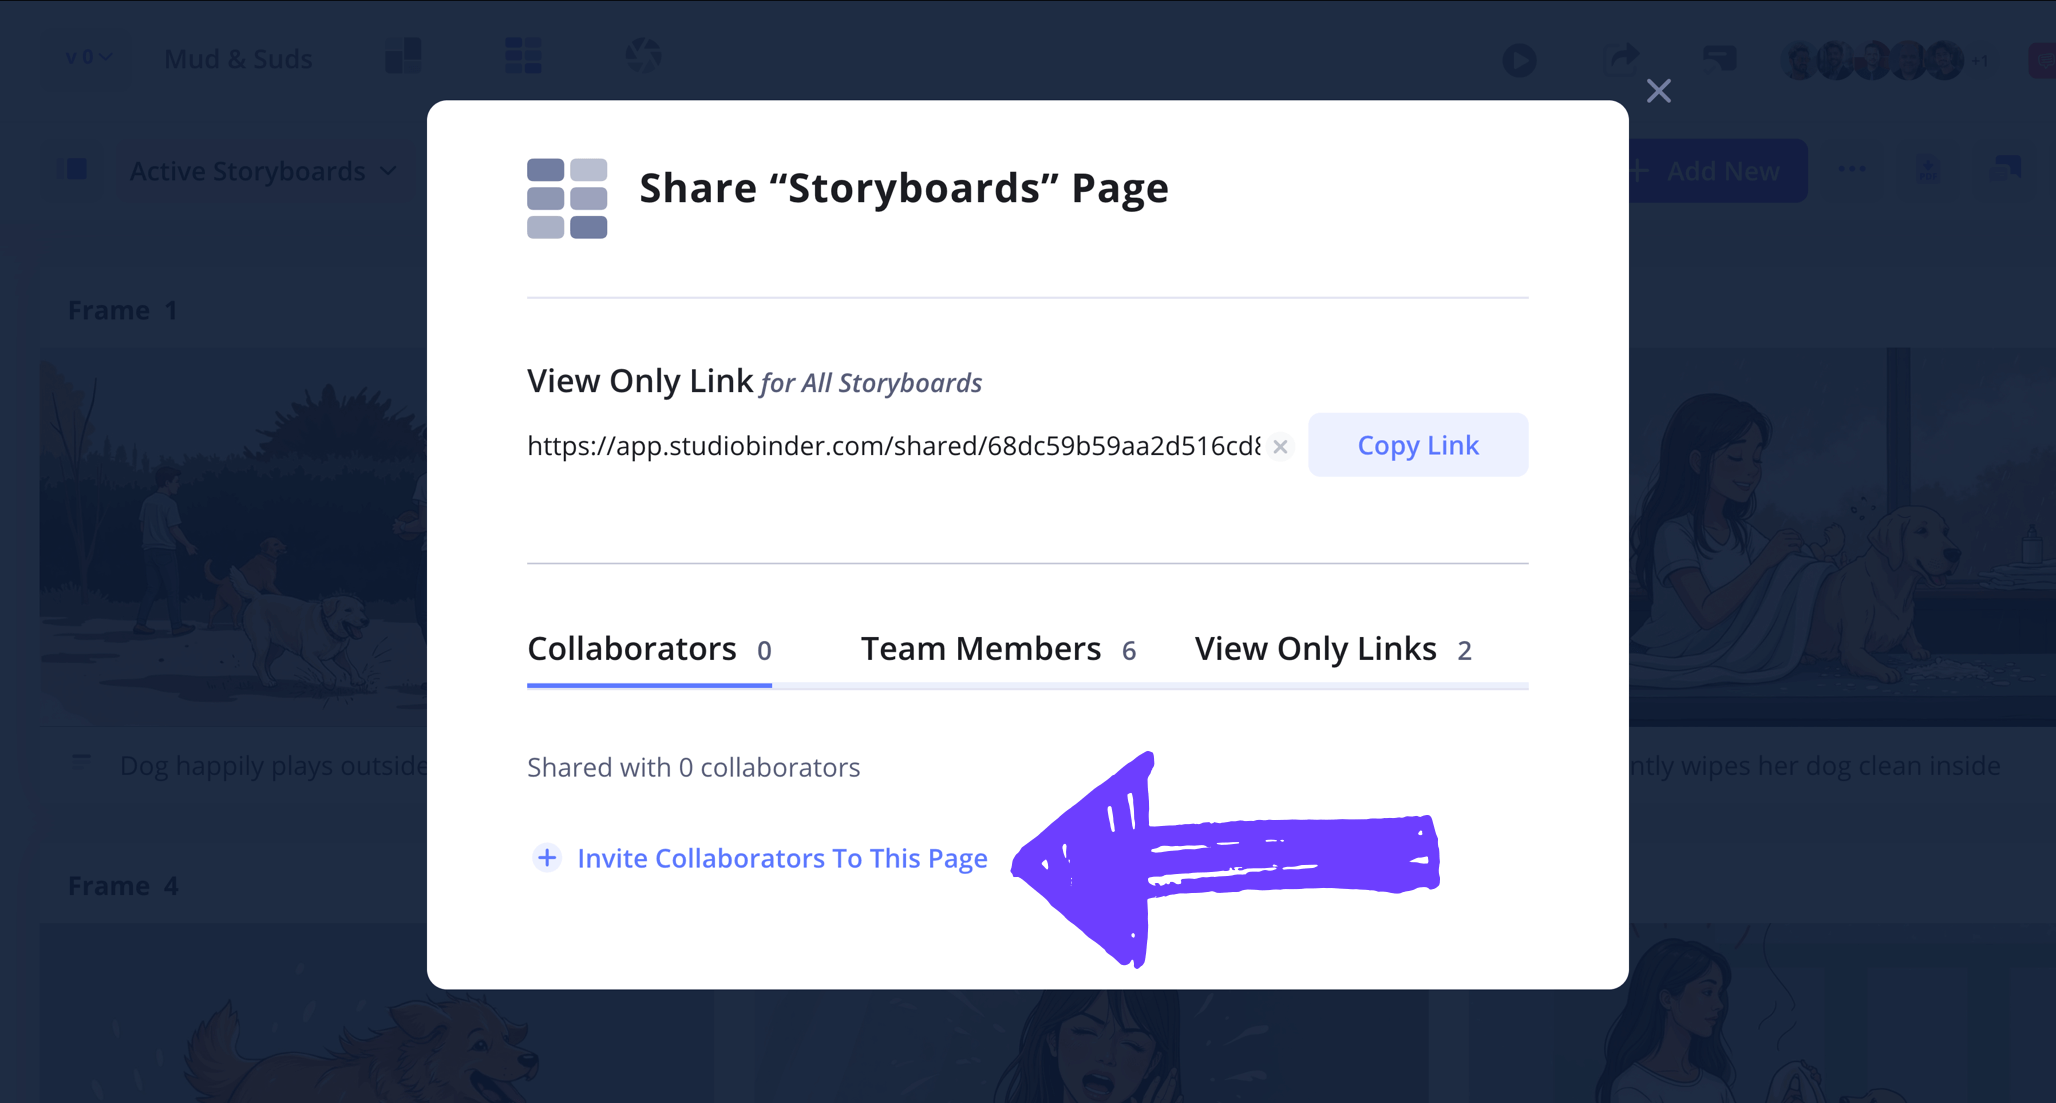
Enter the collaborator’s information as prompted, and then you can select between giving them viewer, commenter, or editor access to the storyboard. Now just click Invite Collaborator at the bottom.

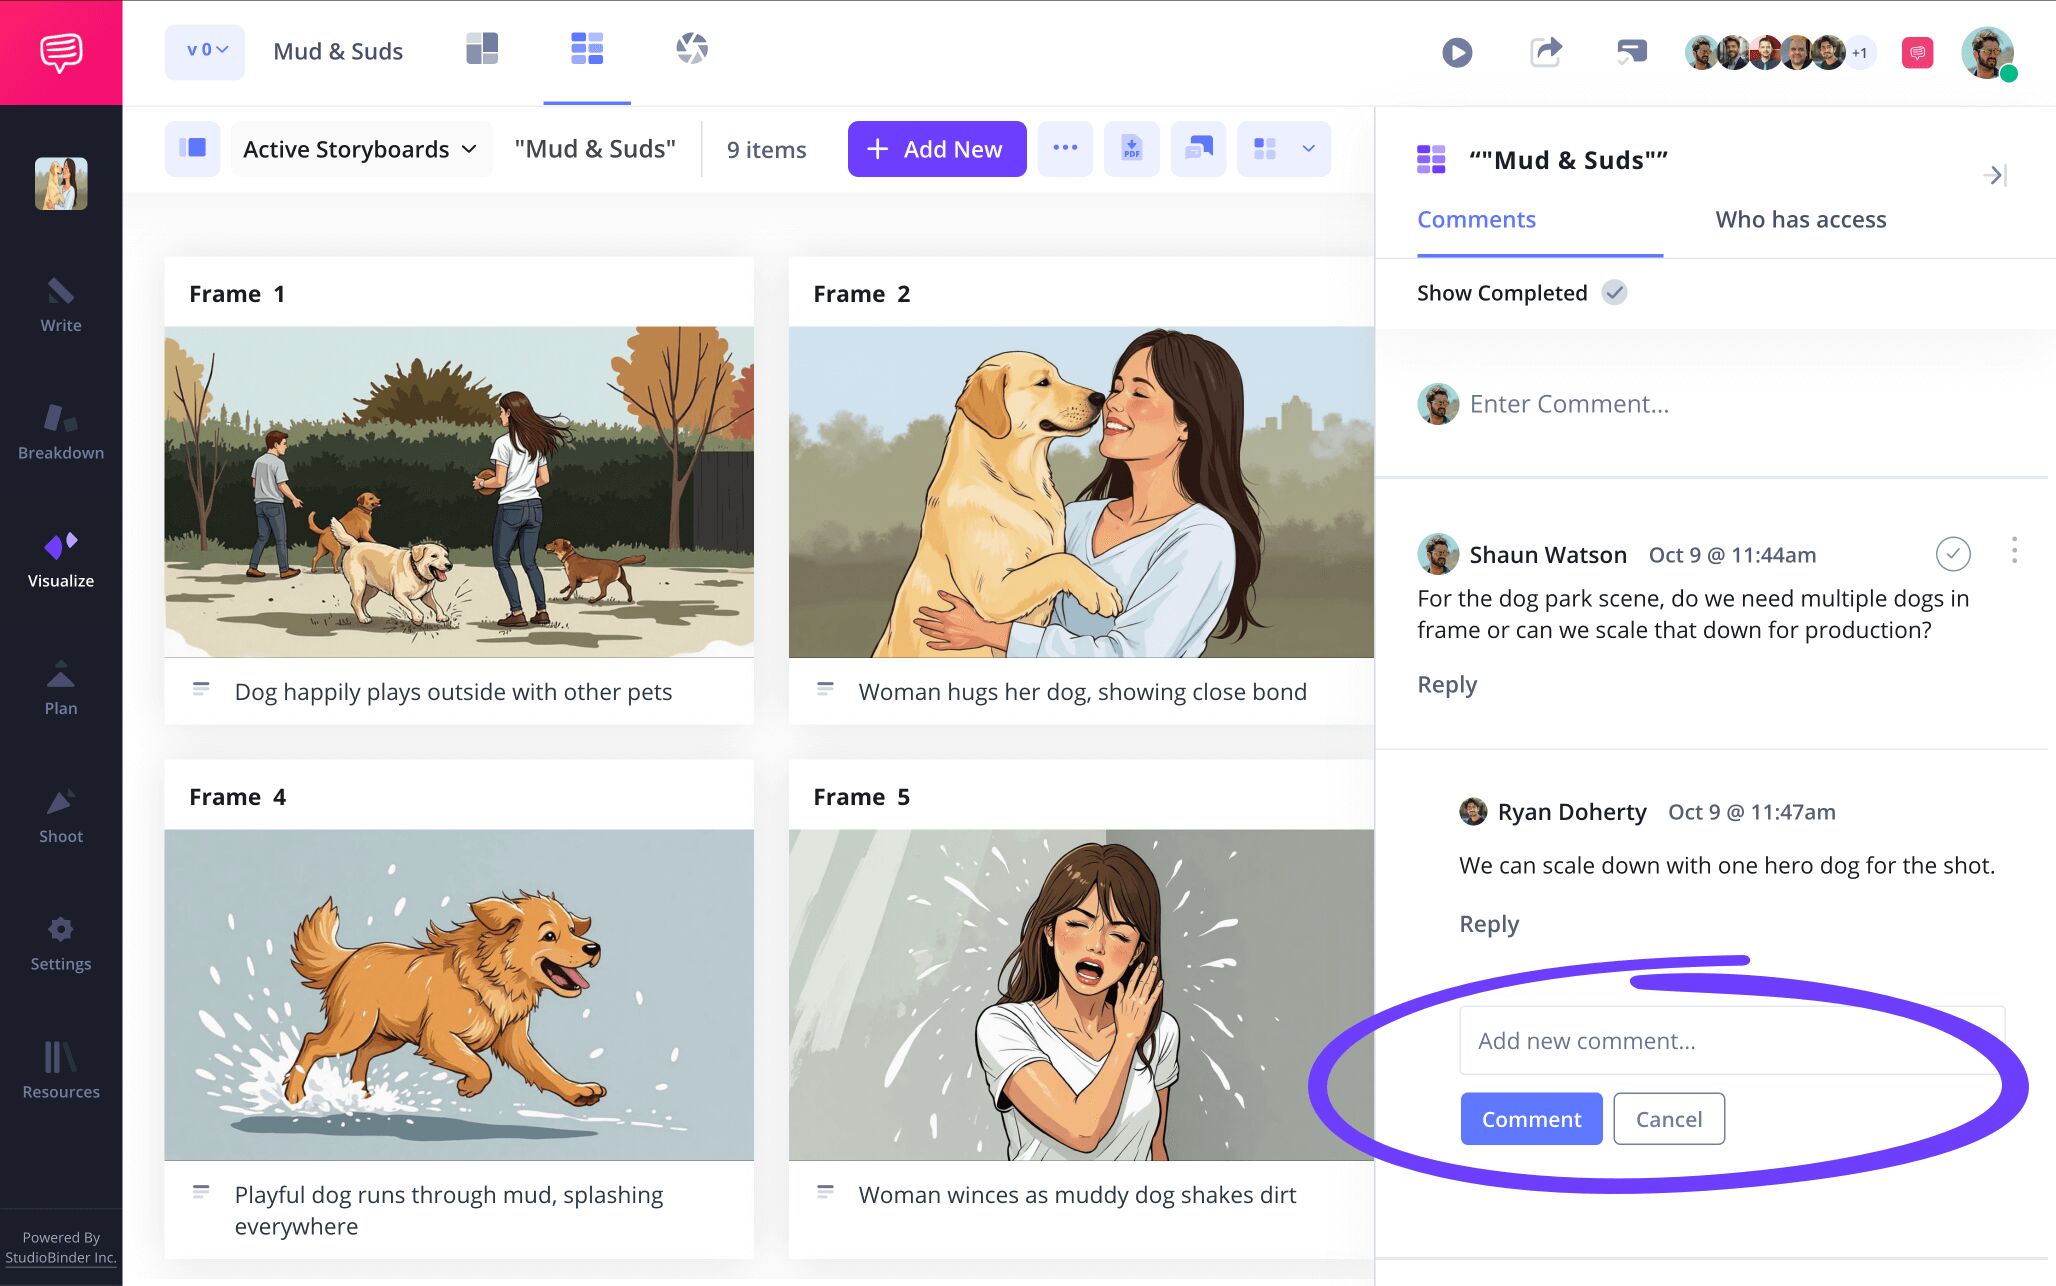
Collaborators with commenter access or above can include their input in the comments sidebar. Add your reply and then select the Comment button to send.
Step 5
5. Prep for presentation
Presenting your ad spot vision is often a vital step in the television commercial creation process. Perhaps your storyboard needs to be pitched to the client with an official tagline, or maybe you just want to prepare your audience with a brief snippet describing why this product sparked this ad break idea. Whatever the case, adding a text box to your storyboard makes for great presentation flair.
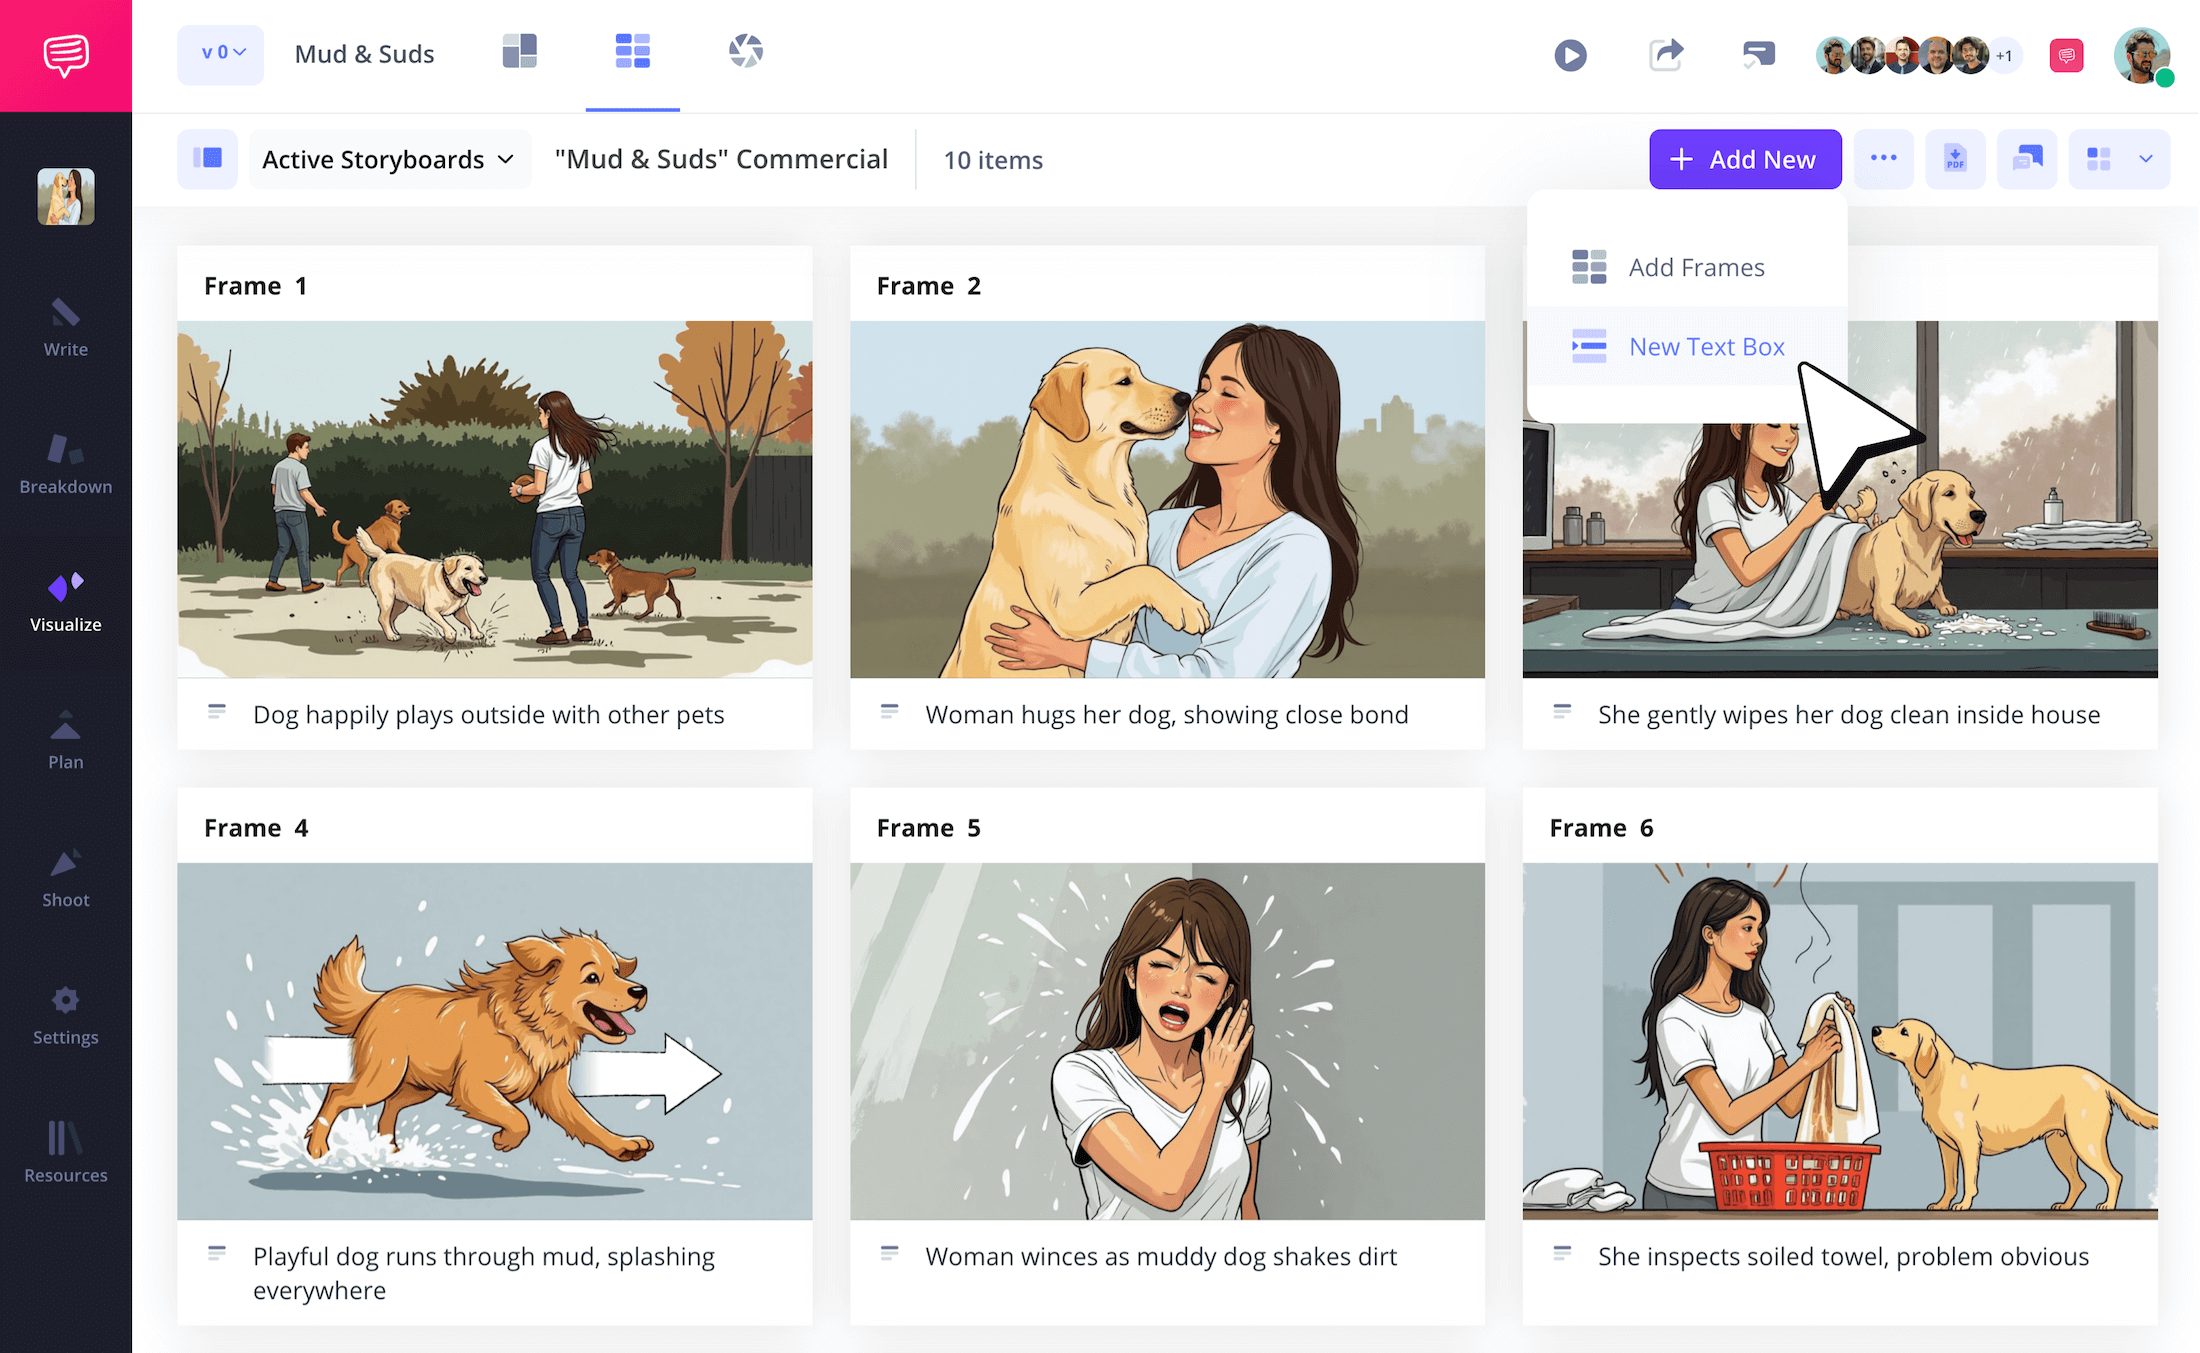
To include a text box in your commercial storyboard project, navigate to add new at the top and click New Text Box.
Now you can type and customize your text in the pop-up.
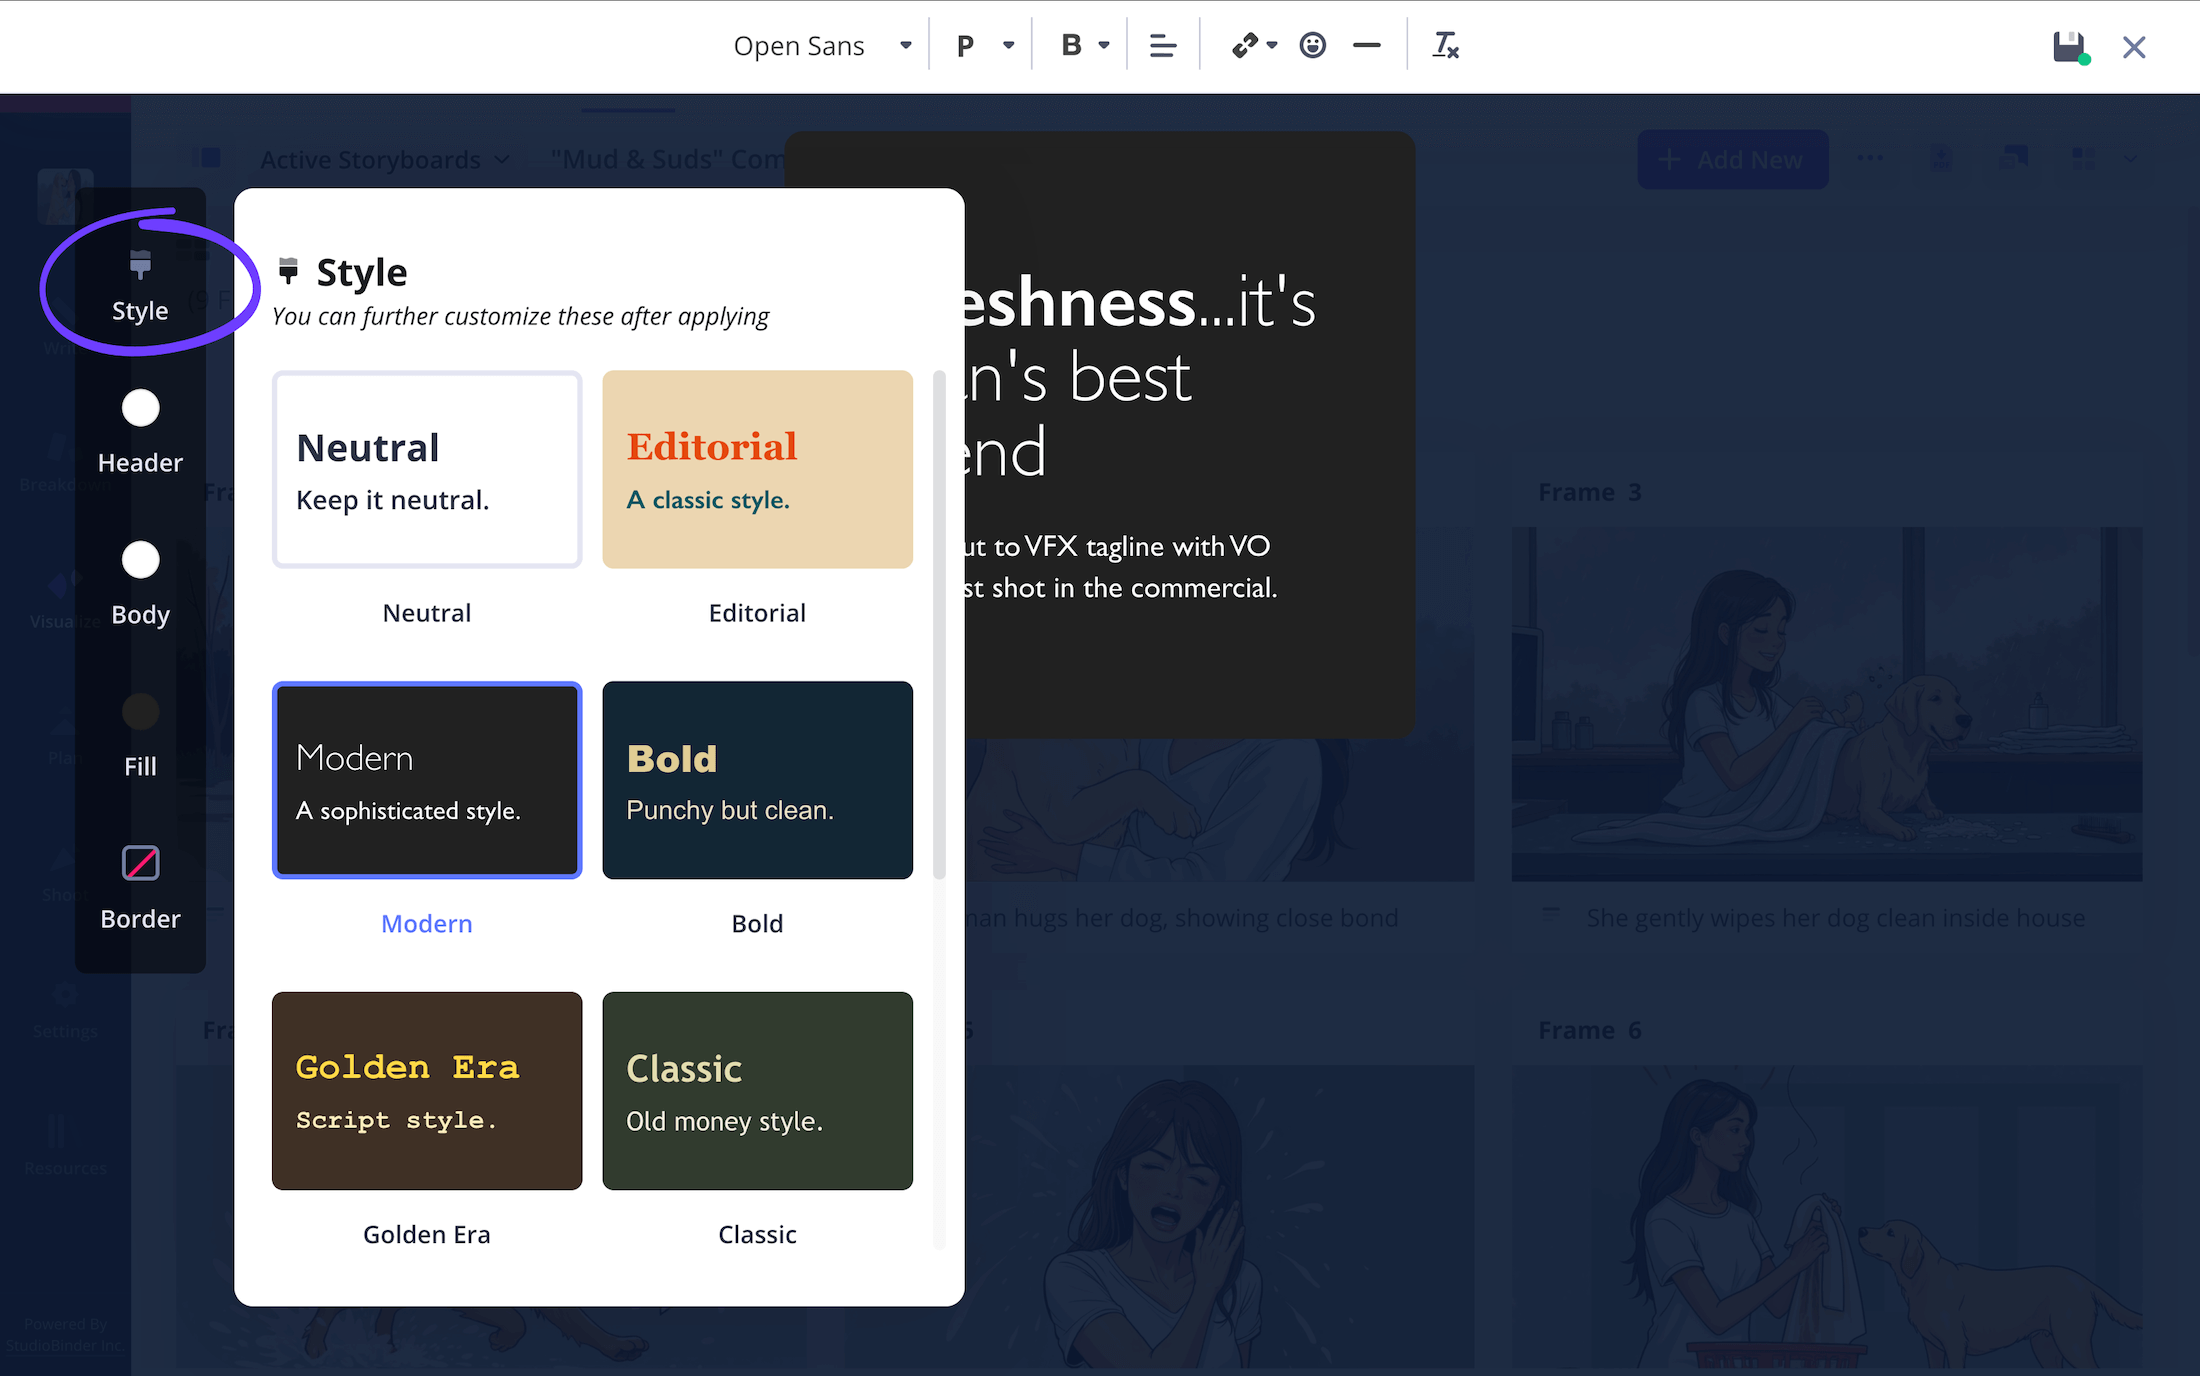
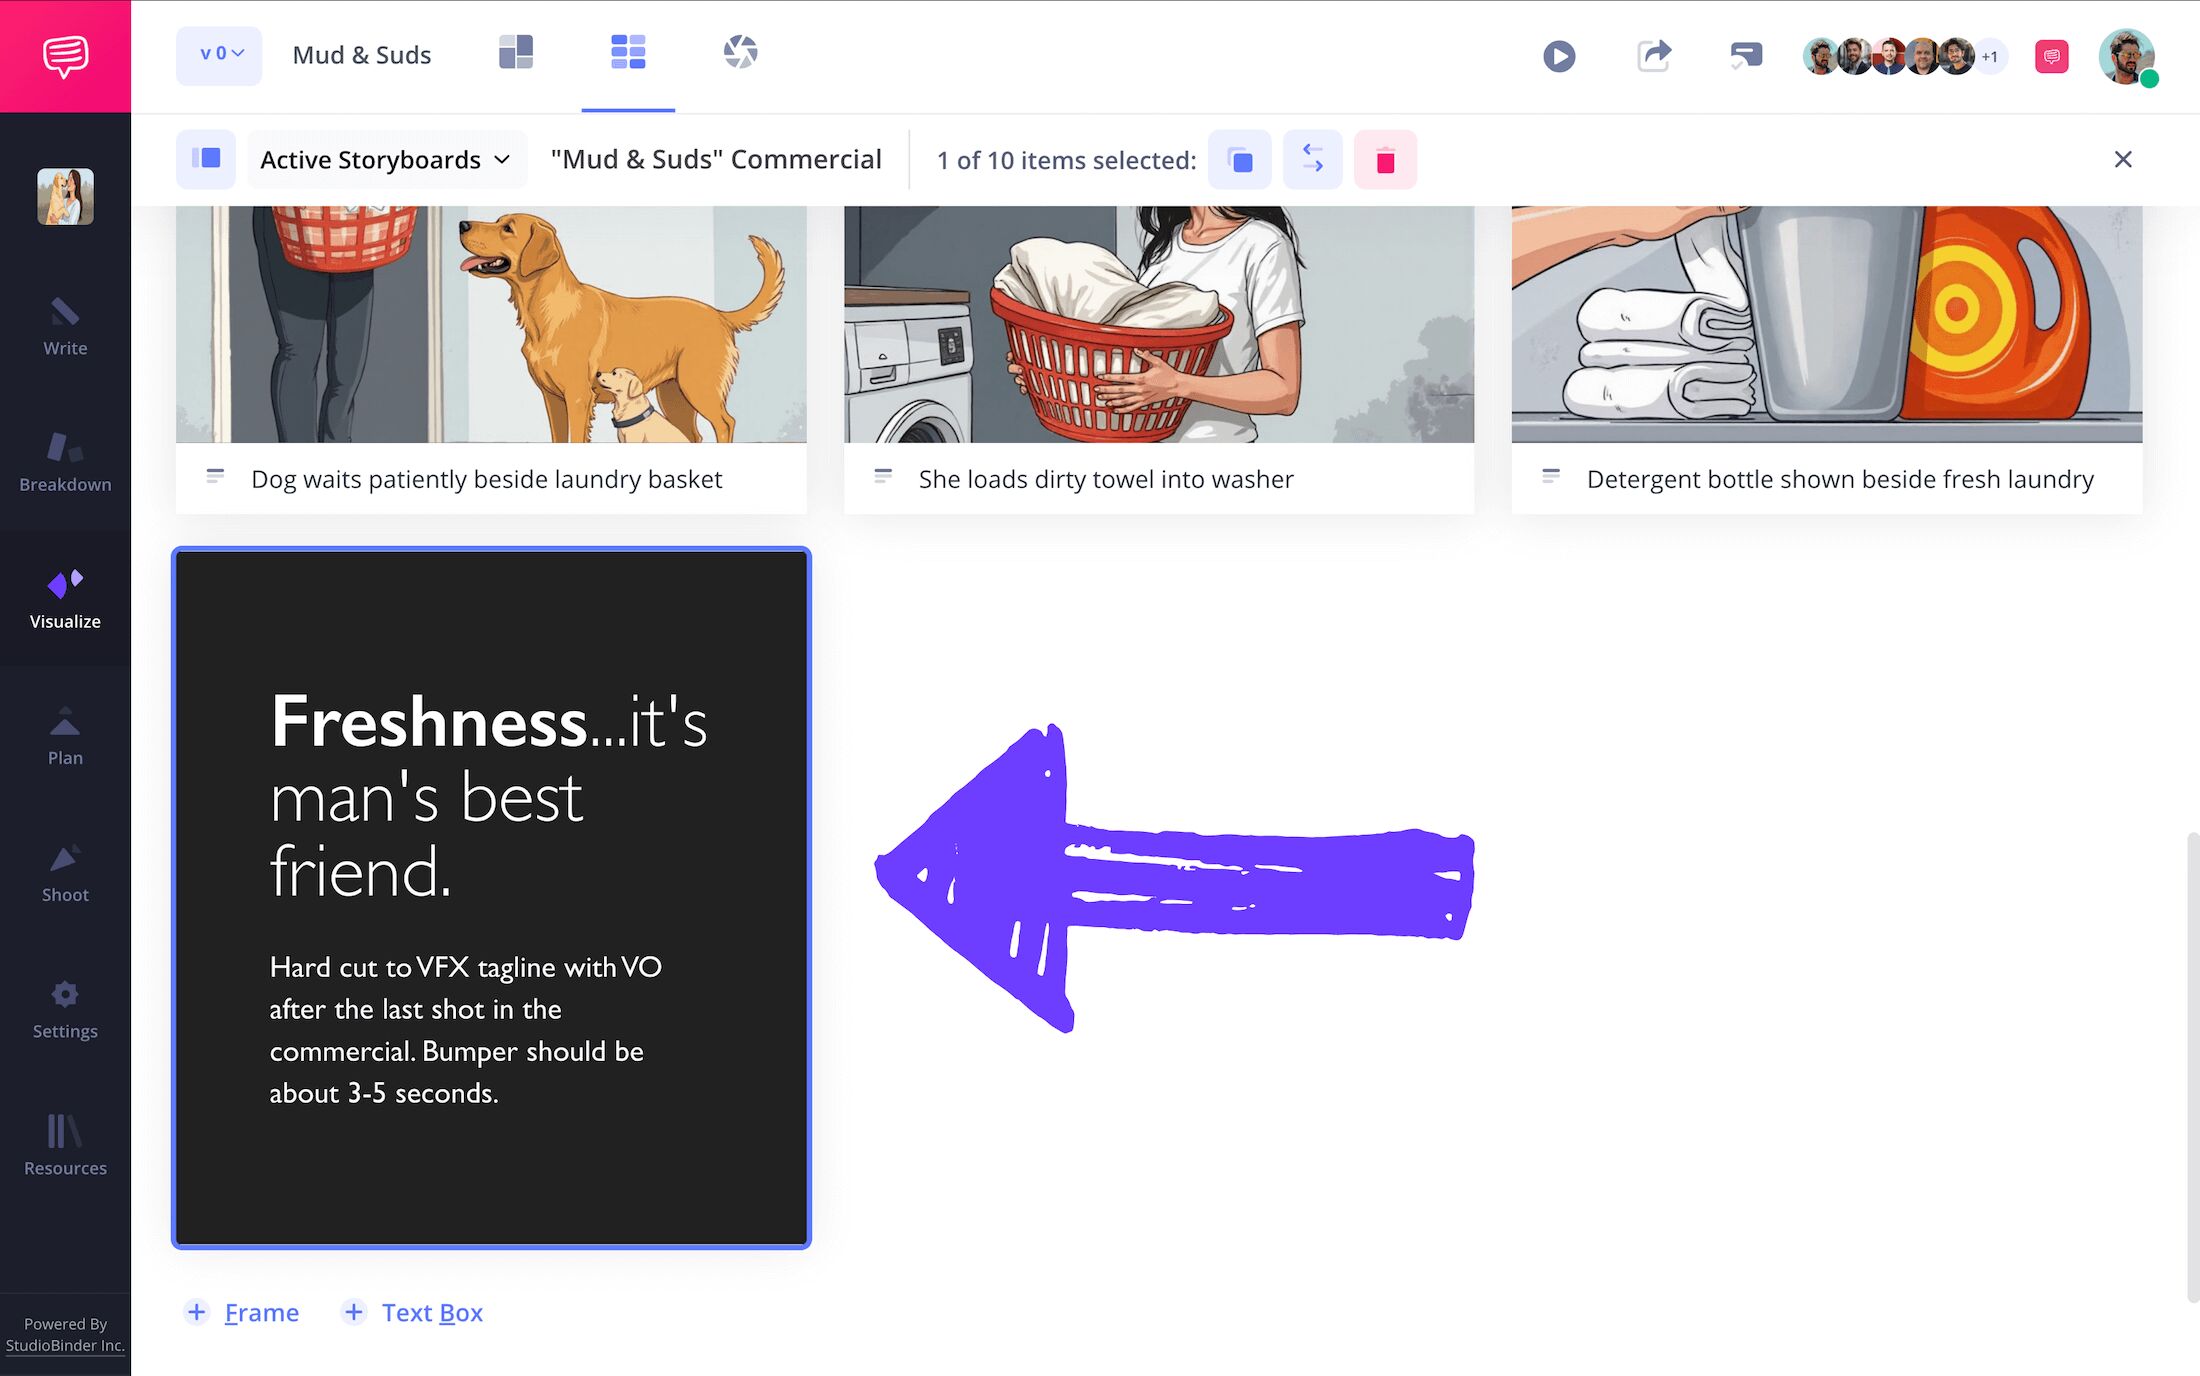
But our brand tagline requires a little more pop, so we’ll utilize the design tab to the left, which offers a variety of customizable colors and presets. Once the quality is up to your standard, click the save icon on the top right, then drag and drop your customized text box wherever it fits best on your storyboard.
Step 6
6. Print a PDF
You’ve traversed the challenges of creating, customizing, and presenting your television commercial storyboard. All that’s left to do now is download your ad break storyboard and print copies for the big shooting day.
To do this, click the Generate PDF icon on the top right.
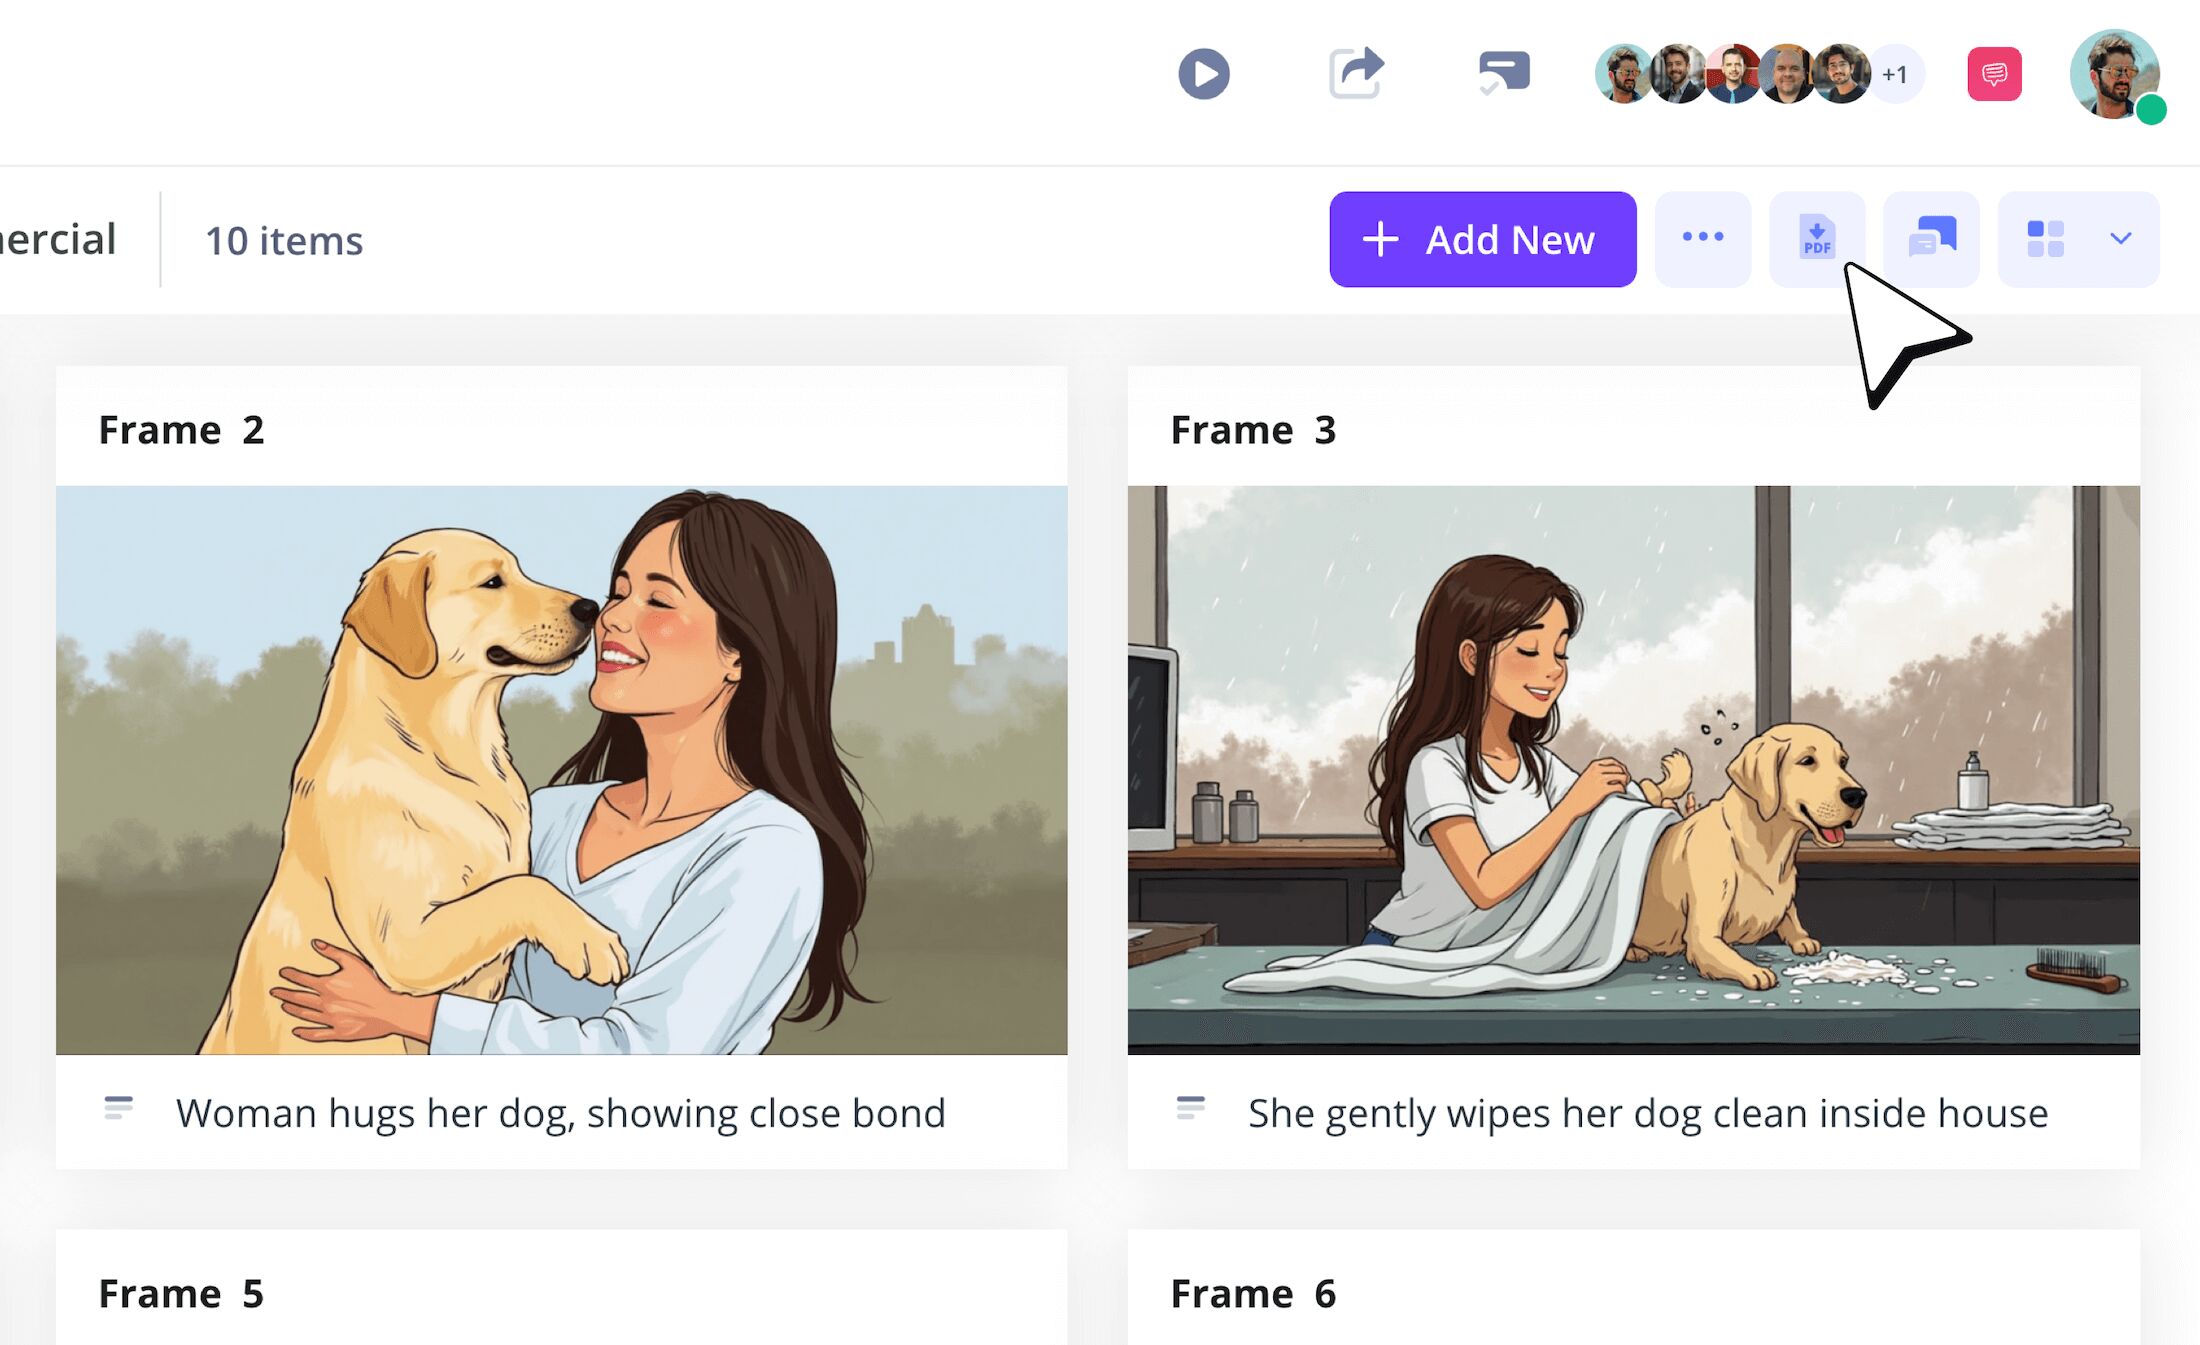
Now on the edit PDF page, you can customize your storyboard download with an array of options. We think our project layout looks best without any borders, so we’ll open the style tab and click Without Borders.
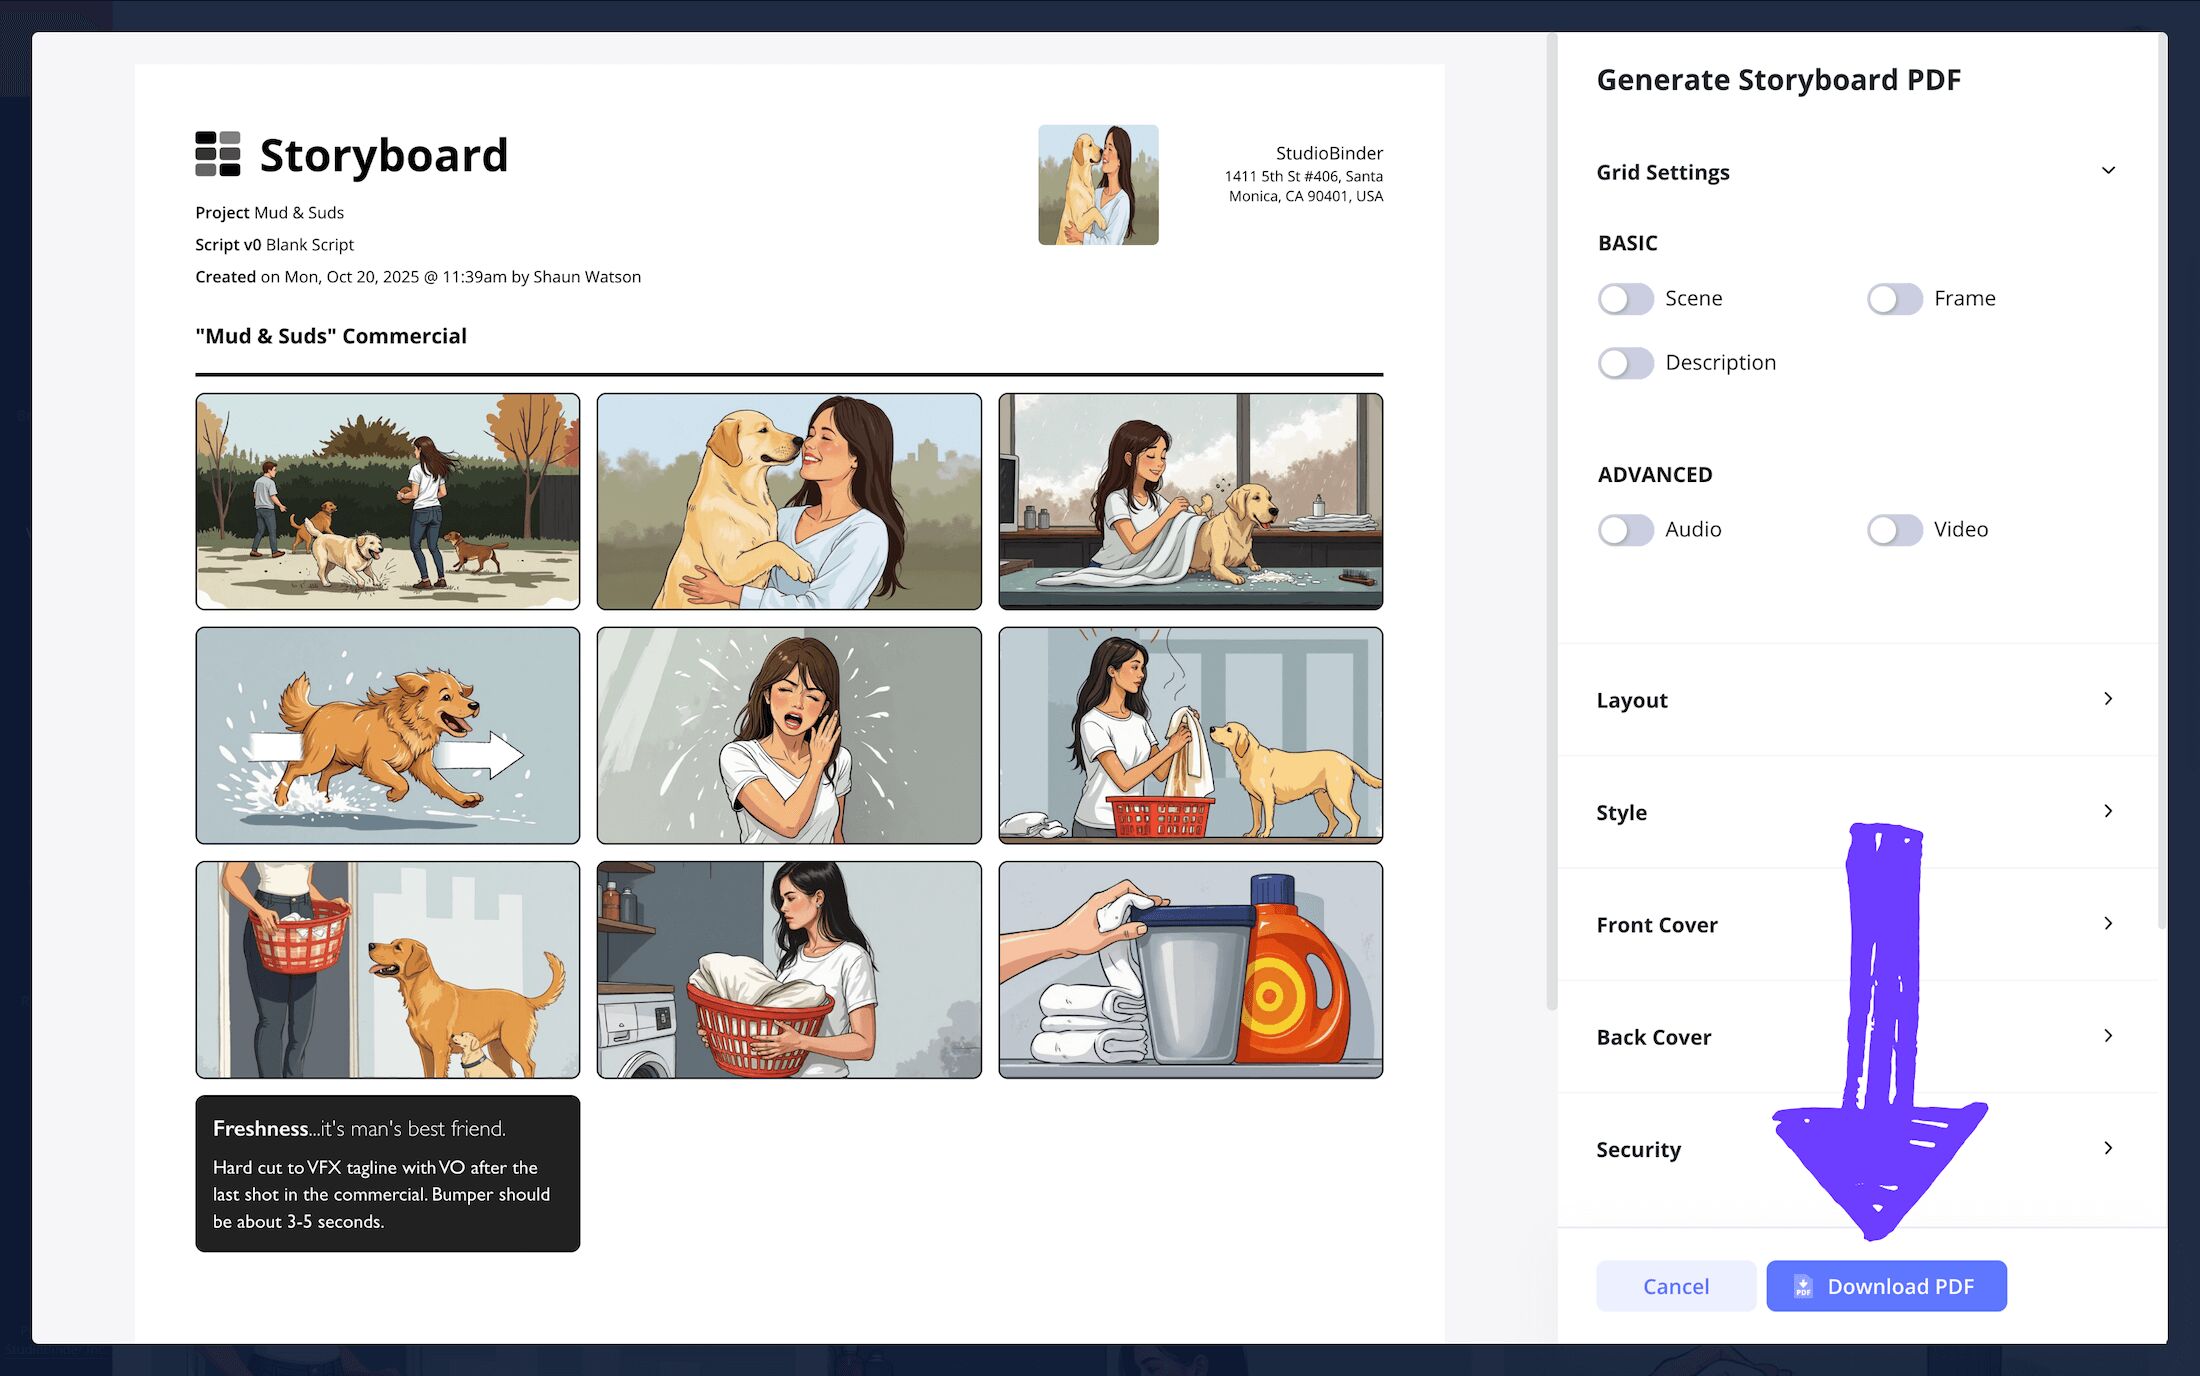
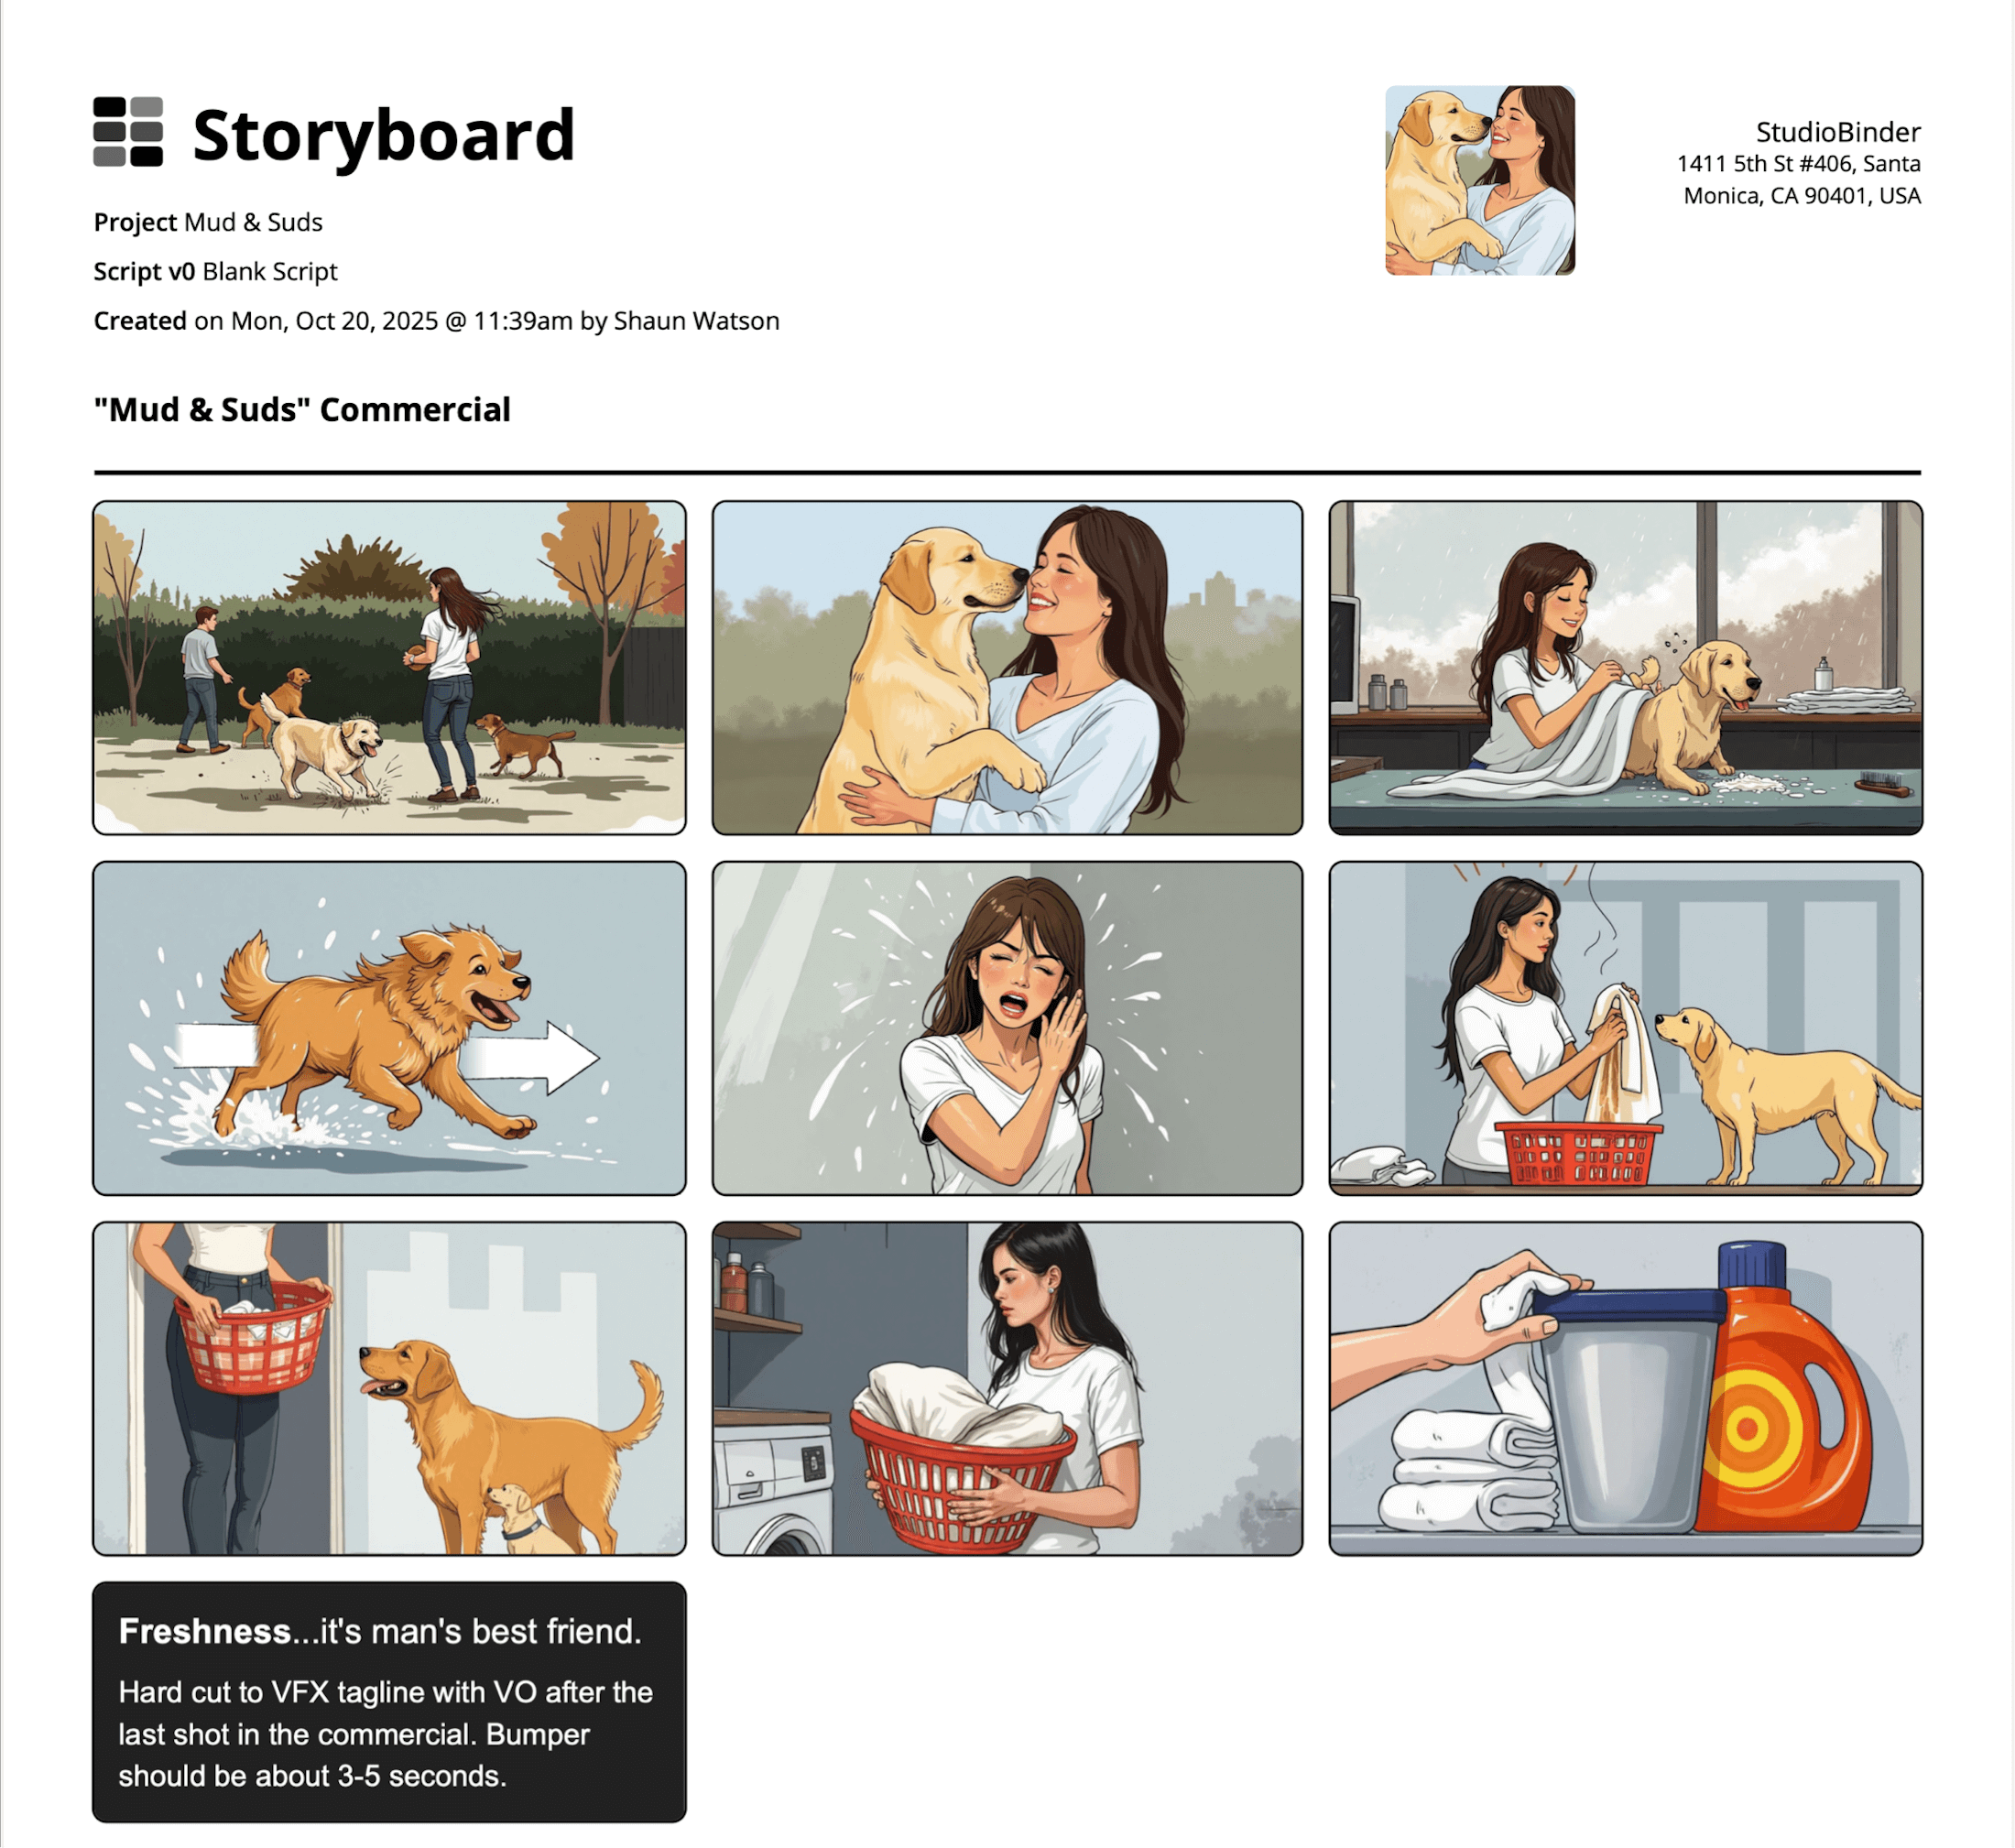
With our storyboard looking just the way we want for our big commercial shoot day, we’ll click Download PDF at the bottom.
Now we can print our document and call it a day!
Conclusion
You're done!
With a television commercial storyboard template that’s capable of meeting all your creative needs, bringing any client’s product to the screen couldn’t get any easier. Jump into StudioBinder’s storyboard creator today to start tackling a commercial storyboard vision worthy of becoming an official Super Bowl advertising spot.
Frequently Asked Questions
Your questions, answered
A television commercial storyboard template takes the short script for a television ad and converts it into a visually sketched outline of on-screen action. This step occurs in the pre-production phase and typically involves the brand client providing suggestions for how to best represent the product in the commercial.
A television commercial storyboard can have many different layout approaches as there’s no one single way to take on this process. However, given that a storyboard for a TV commercial must be legible for both your creative team and brand clients, it’s best to keep it as simple as possible and let the images and description do most of the communicating.
Given that you’re representing a client’s product, the most important aspect to a television commercial storyboard is ensuring that the client’s understanding of the product shines through most. Some visual storyboard artists can get carried away with their own creativity (which isn’t a bad thing on its own), but when working with a client, it’s important to always remember that your vision must align comfortably with the client’s.
While it’s not unheard of to take a creative approach to shooting a television ad that doesn’t involve storyboarding in pre-production, it’s also not common. The reason why storyboarding a commercial is so valuable is because it provides a malleable template. With a television commercial storyboard template, the product creators are able to see and request edits to your team’s vision before the shooting process even begins.
The best structure for a television commercial storyboard is always to keep it simple and to the point. Because when it comes down to it, the job of a television advertisement is to highlight what makes a branded product great in the simplest and quickest way possible. Because of this, the storyboard should match this same sense of simplicity.
It’s best to use a pre-configured template for your television commercial storyboard because it provides customizations and options that wouldn’t be quite as efficient without one. While some purists prefer the storyboarding process be done physically, a digital template allows you to share with collaborators and clients in a much more efficient way.
