Intro to Production Calendars
In this course, we walk you through the process of creating and sharing production calendars in StudioBinder.

StudioBinder uses a gantt chart (aka "timeline") style of calendar when mapping out video productions. This provides an easier way to get a birds-eye-view of the many moving milestones and dependencies of a video or film production. In this first lesson, we'll show you how to get started with a new calendar.

In this lesson, we continue with how to edit calendars and events. Events can be any major milestone of a production where you can edit various information, including the name, tasks, color code, notes, and start/end dates.

In this episode, we continue with how to create a custom Gantt chart template. When you create a new production calendar, choose the saved template option. You can then import the same events, tasks, teammates, files, comments, or task progress by enabling or disabling each element.
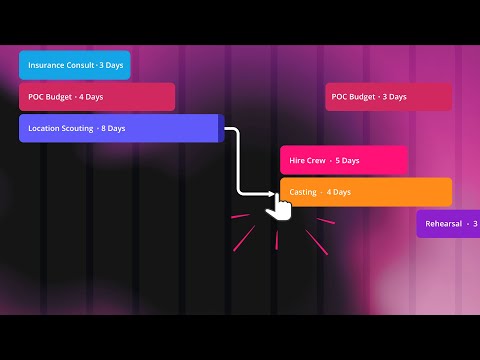
In this episode, we continue with how to customize your Gantt chart display options and how to add dependencies to a production calendar. With you production calendar populating with events, you may want to adjust how the calendar is displayed. All you have to do is toggle the display options between day, week, month, quarter, and year views.

This lesson covers how to apply filters to a production calendar to focus on specific tasks, pending events, or a particular department.

In this final episode of the course, we learn how to share your production calendar with anyone inside or outside of your core team.
More videos
Calendars
Production Tips
More Examples

Support Desk
Still haven't found what you're looking for?