home → TEMPLATES → Storyboard
Blank Storyboard Template
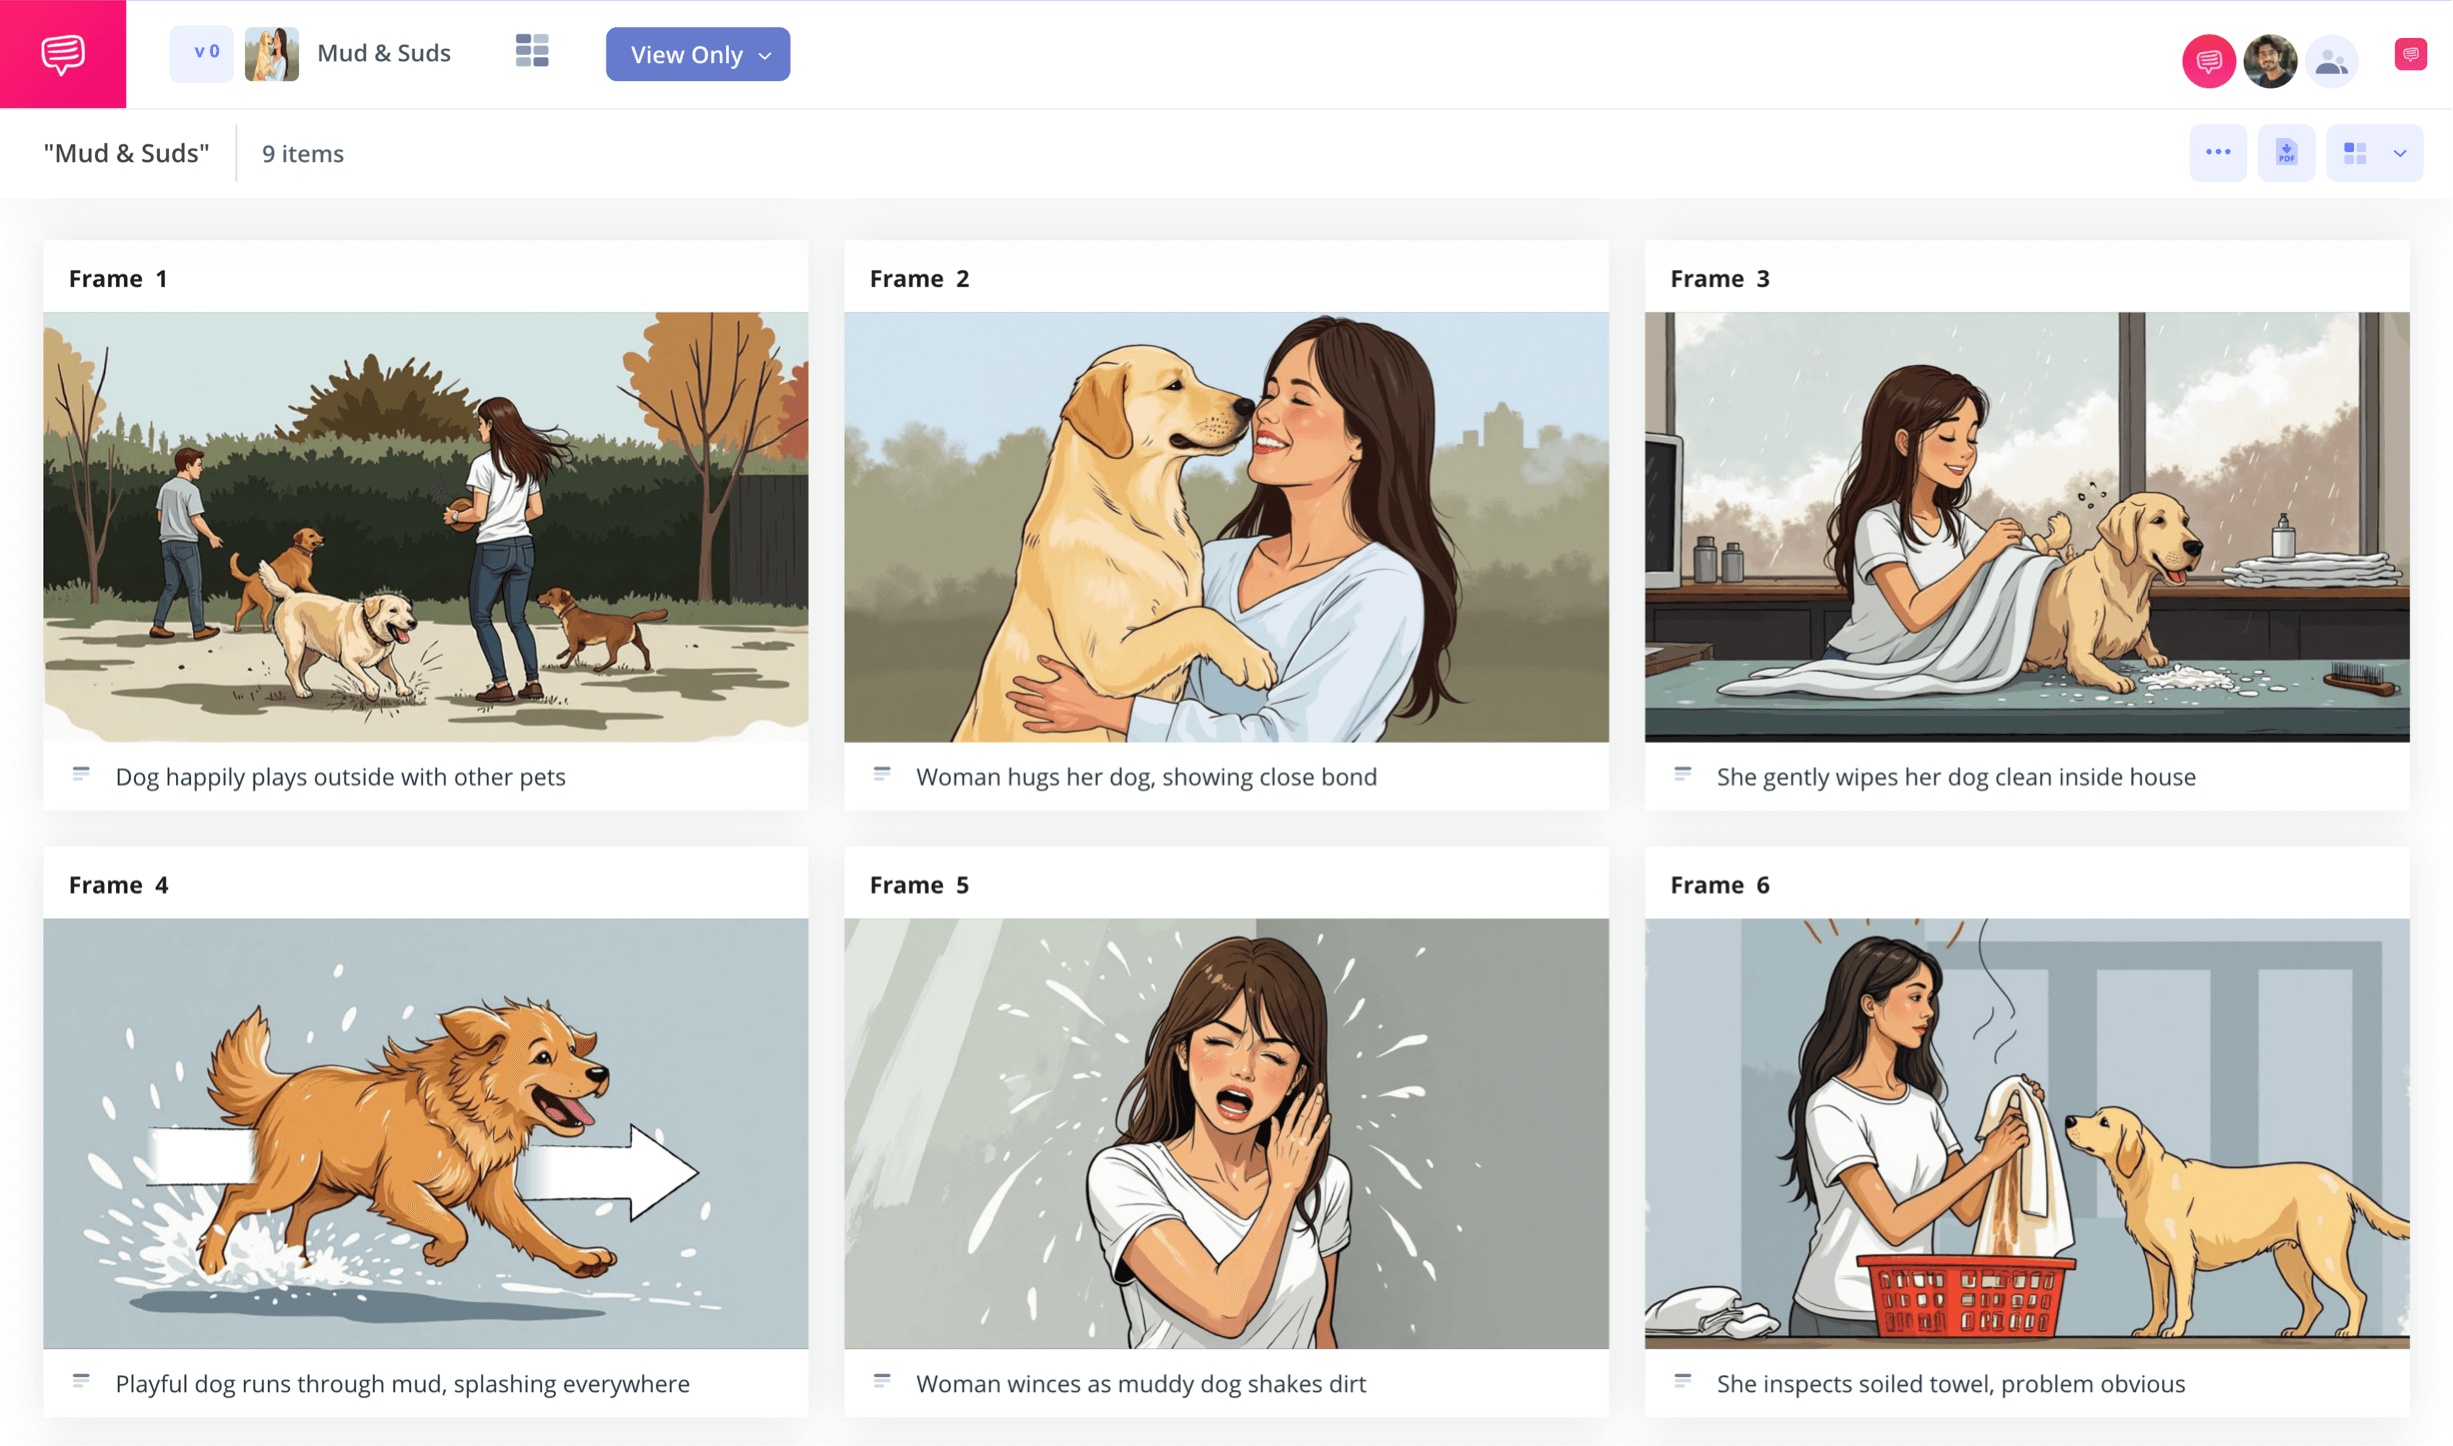
Blank storyboard template
Whether for film or for animation, if you have a visual narrative you want to bring to life, pre-planning with a blank storyboard template is a crucial part of the process. With this essential tool, you’ll be able to cleanly and clearly lay out each shot of a scene in sequential order before you shoot or animate it. This may not at first seem like a completely necessary step of pre-production, but seeing your scene from the unique perspective that blank storyboard templates provide can help reveal vital narrative and budget planning information.
By following along with the below guide, we’ll take you through the process of how to build your own free blank storyboard template using StudioBinder’s storyboard creator. But these steps are also still broad enough to use with any kind of blank storyboard templates you have at your disposal.
Step 1
1. Ready your template
Before all the fun of bringing your narrative vision to life can begin, you’ll have to tailor your blank storyboard template to all your narrative needs. Once you start up a new storyboard project in StudioBinder, you’ll be taken through some basic customization setup prompts, which can also be readjusted at any time throughout the process. Afterwards, your free blank storyboard template will look something like this:
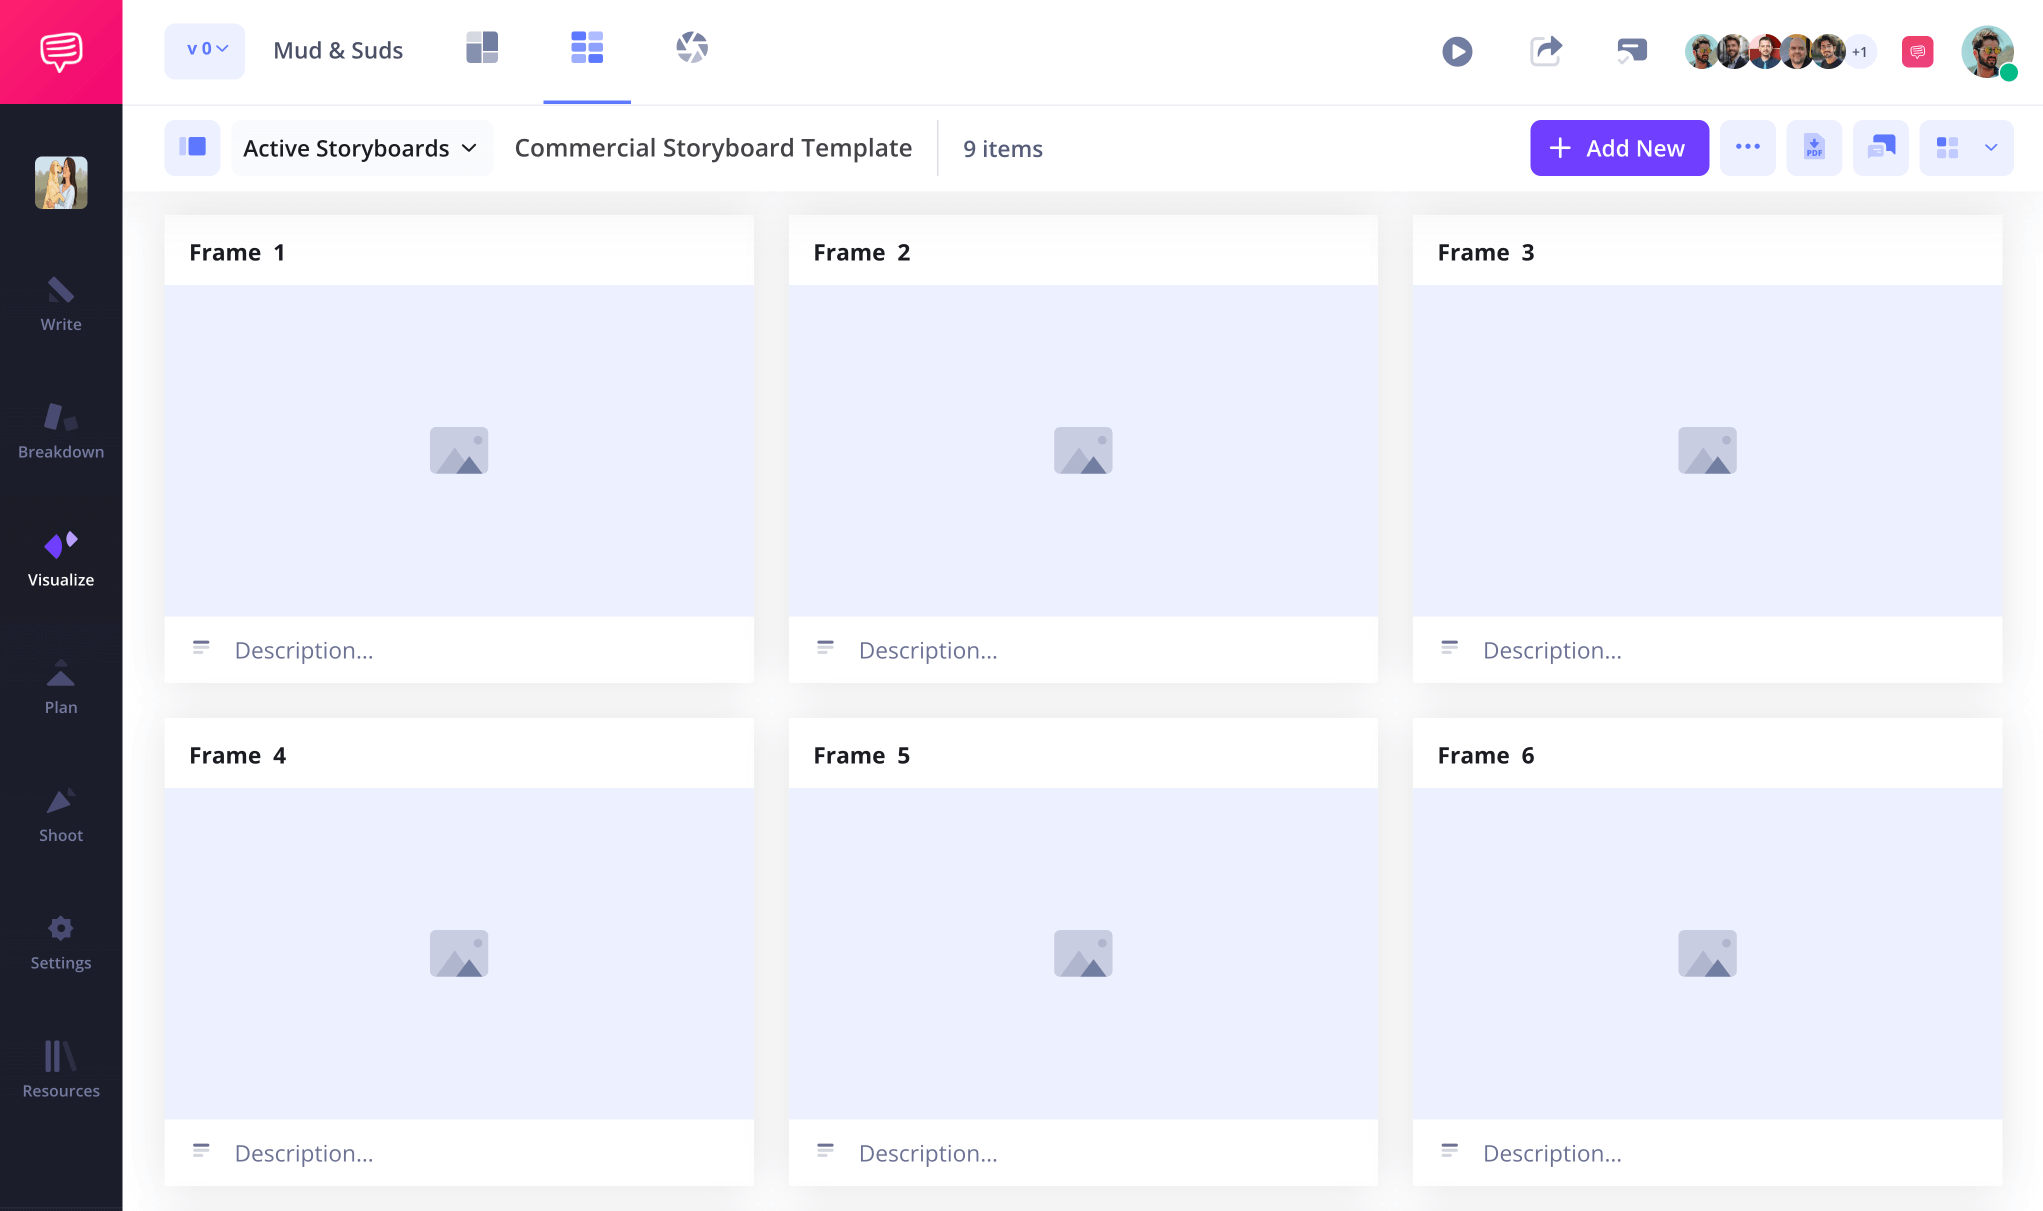
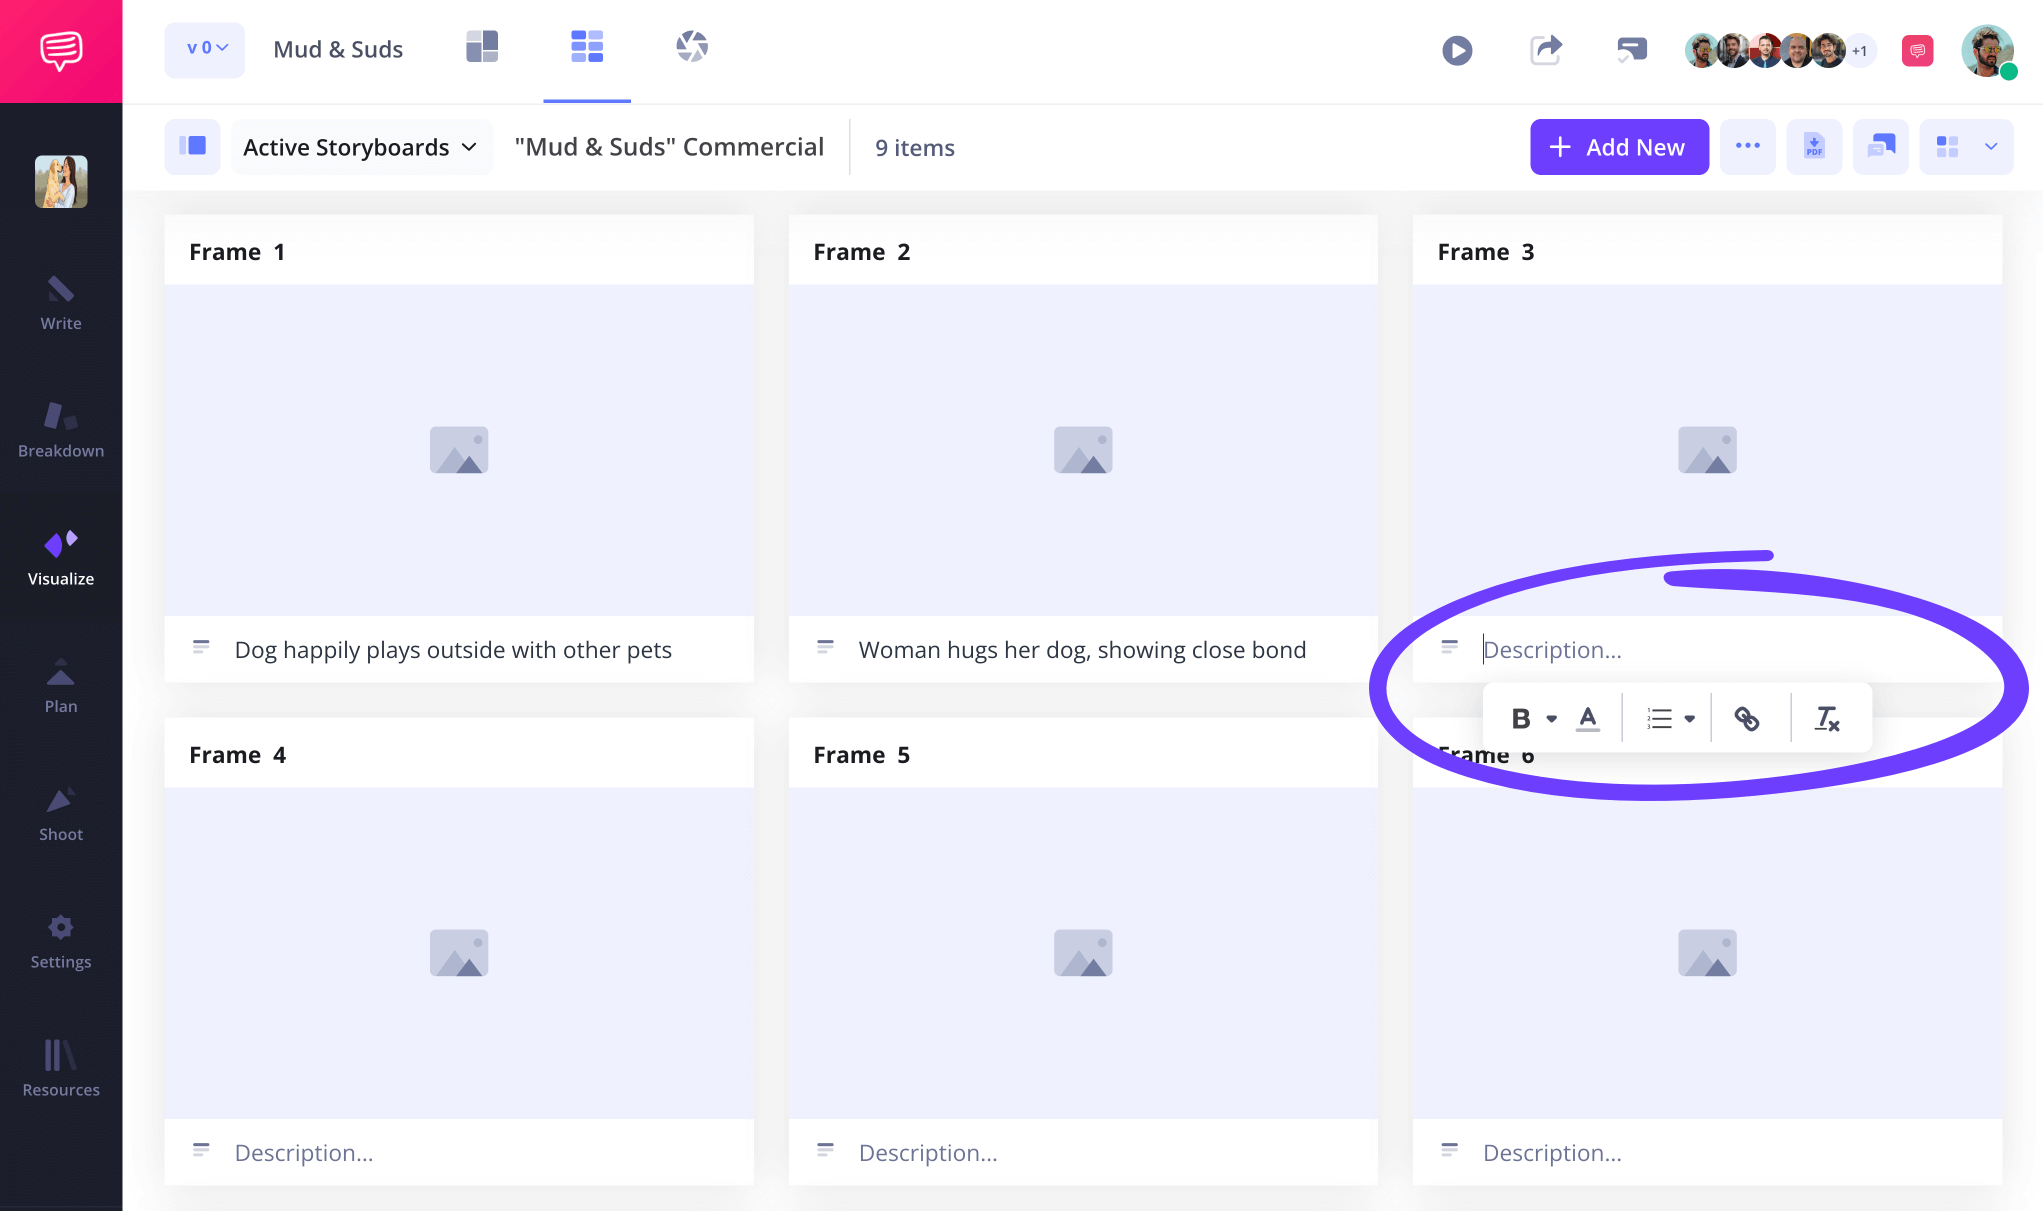
The settings bar is where you can customize the field bars below each of your blank panels. After you’ve determined the optimal amount of space required for your description fields, just click and write in all important information below each frame.
Step 2
2. Add images
Adding images to blank storyboards is where you get to really let your creative imagination run wild. At this point, you’ve determined the basic idea of what you want your images to showcase, so now comes the fun of giving life to those images.
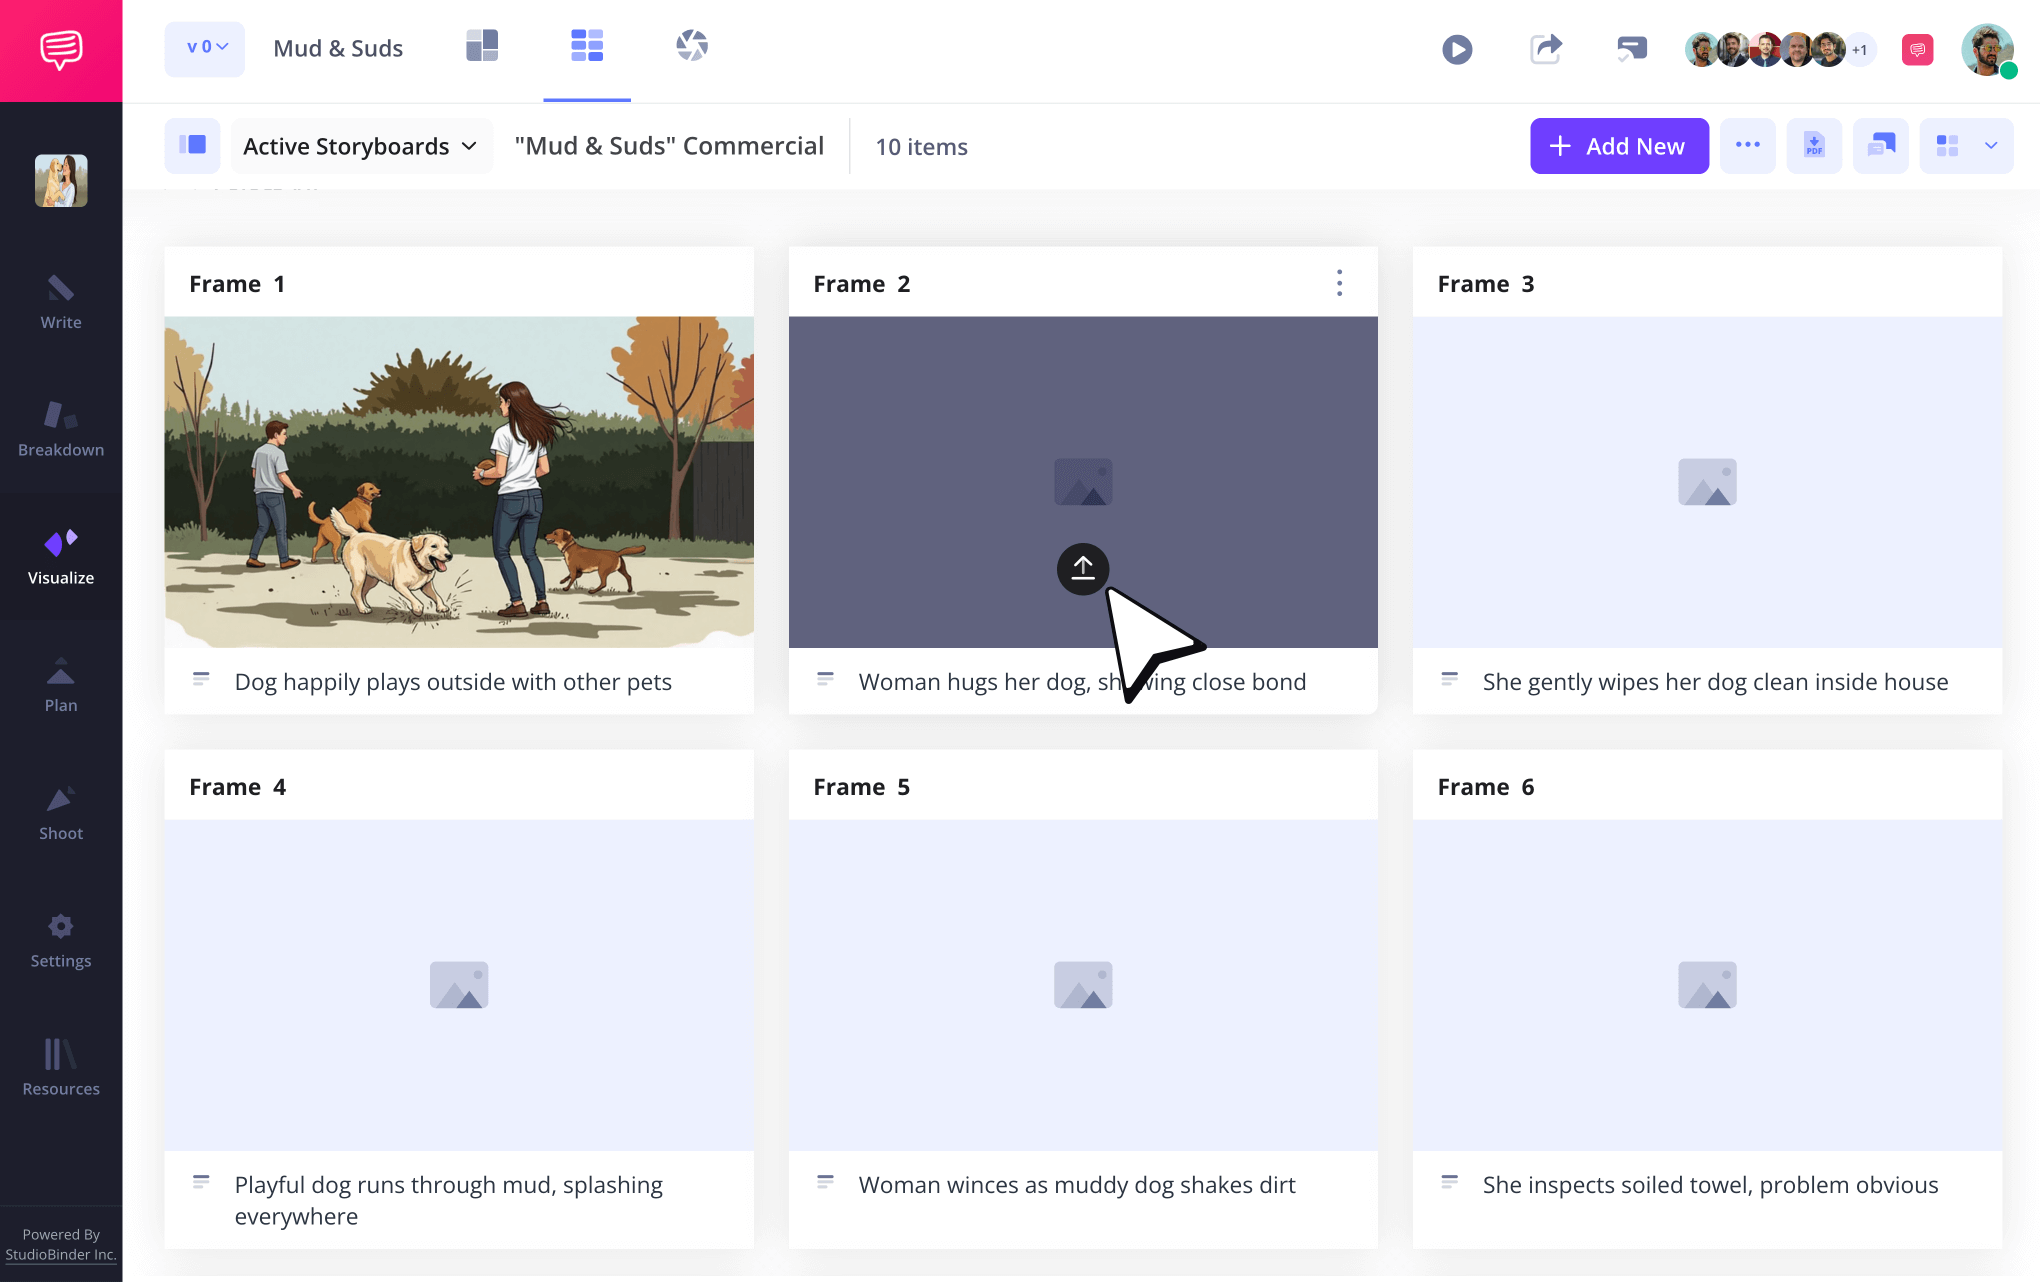
Whether you’re using your own hand drawn or digital storyboard sketches, or even pulling reference images from the internet, all you have to do to include images in your free blank storyboard template is click the upload button on any empty frame.
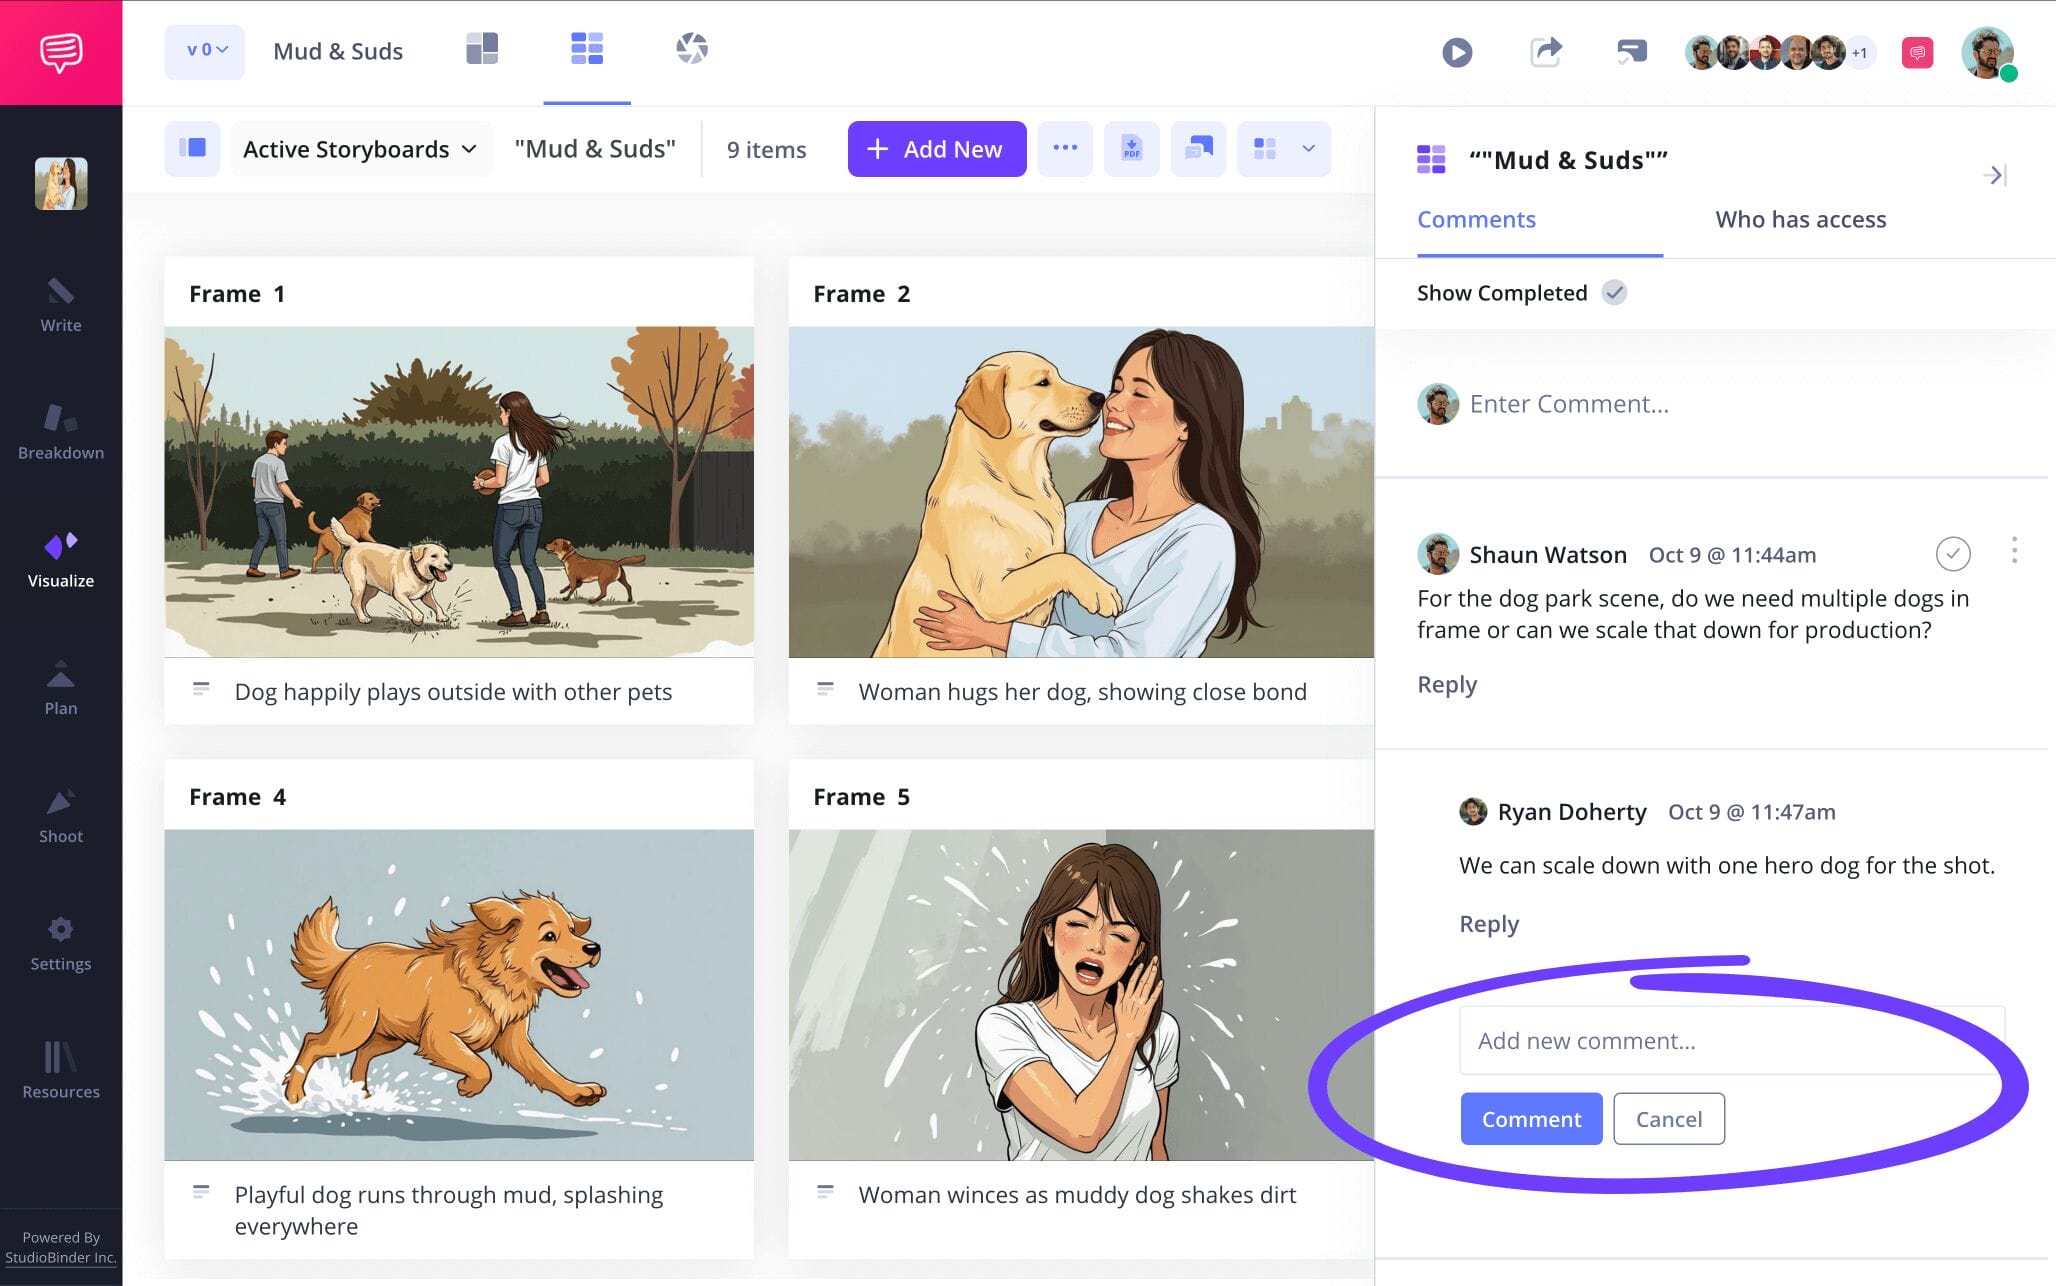
Of course, filling your storyboard with images means your narrative structure is going to really start revealing itself. Since you’re likely building your storyboard with a collaborative team, you’ll want to get their take on your progress. Initiate a conversation over the strengths and weaknesses of your visual sequence through the comments tab on the right.
Step 3
3. Include storyboard arrows
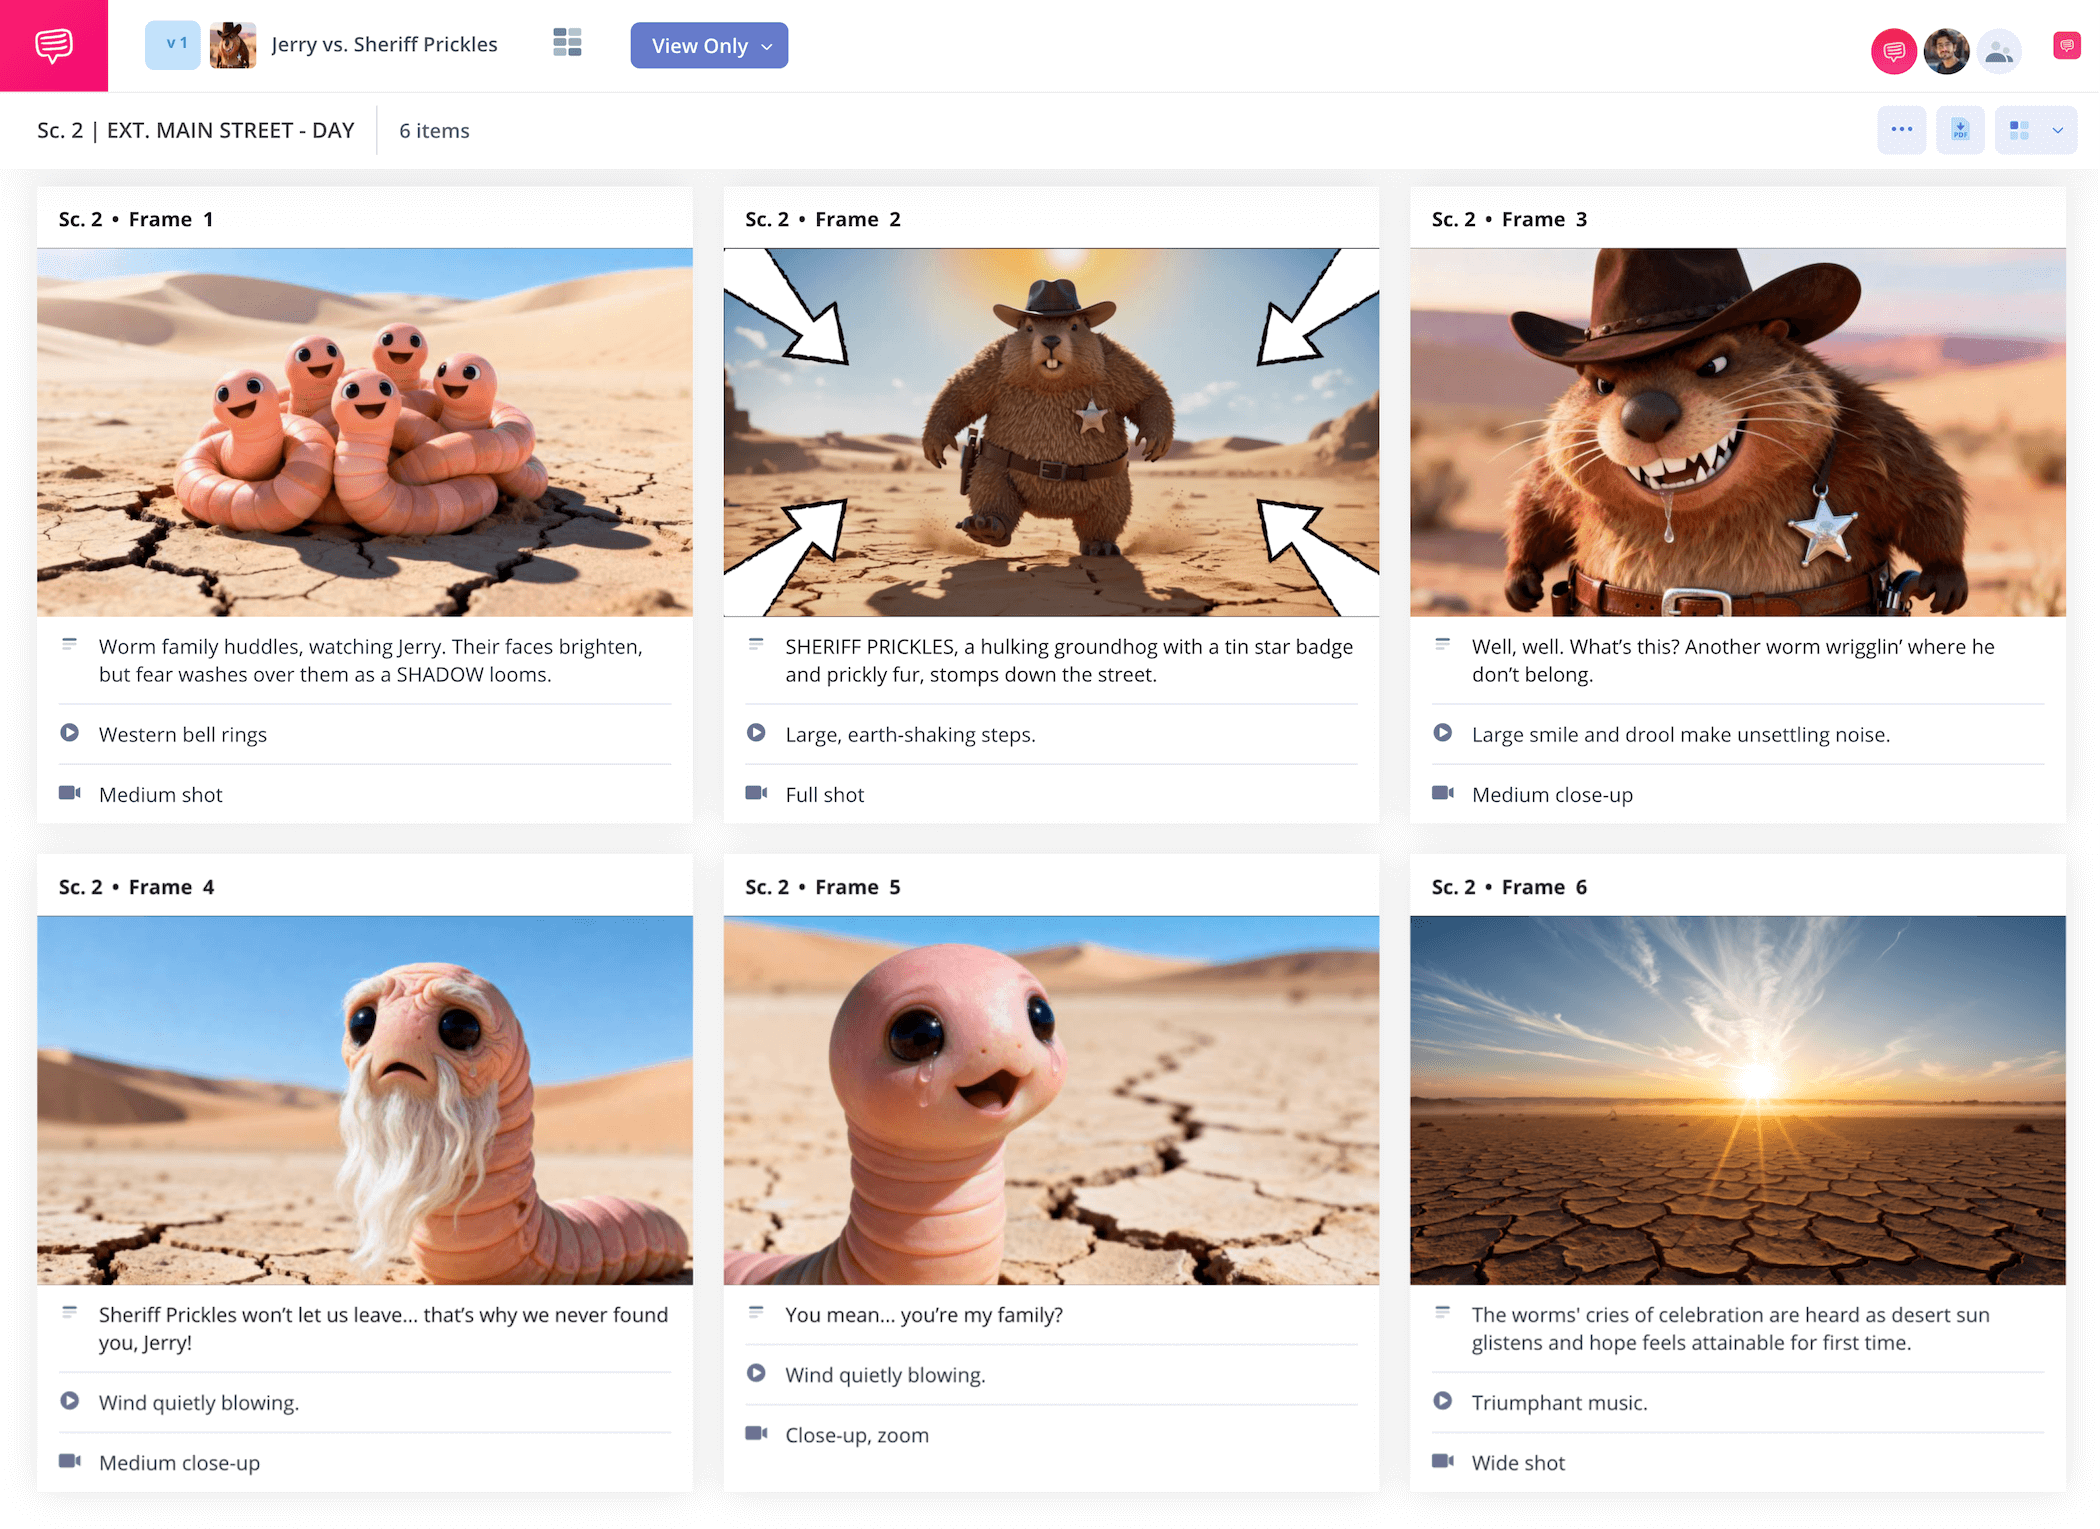
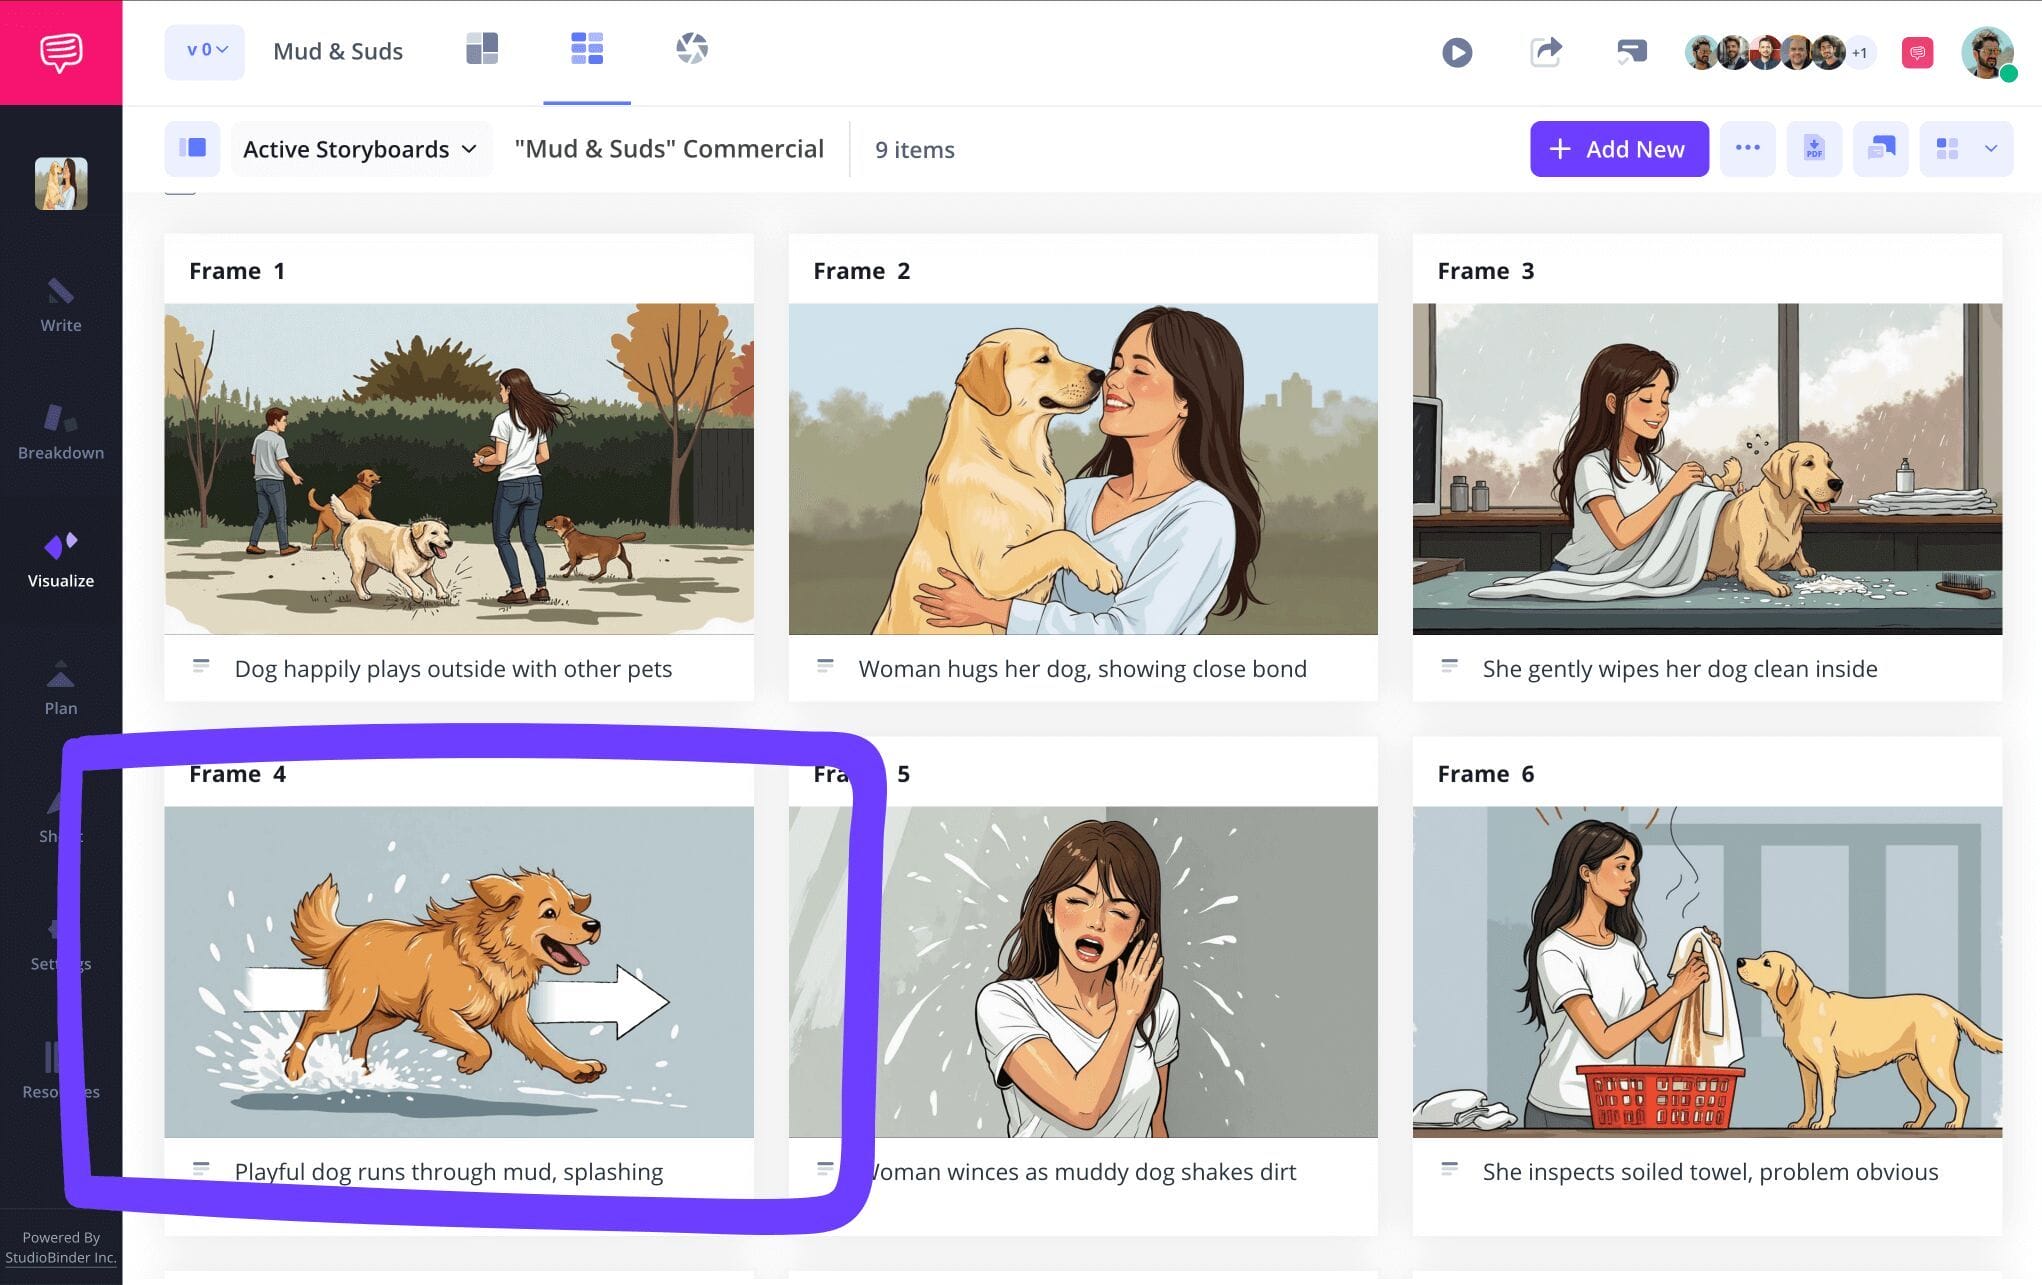
Perhaps your creative collaborator, client, or executive producer suggests helping them better understand the intended shot movement in a particular frame. This comment then makes you realize that the image itself doesn’t quite capture the energy you meant to convey. For a dilemma such as this, StudioBinder’s image editing feature has the perfect tool for the job: arrows.
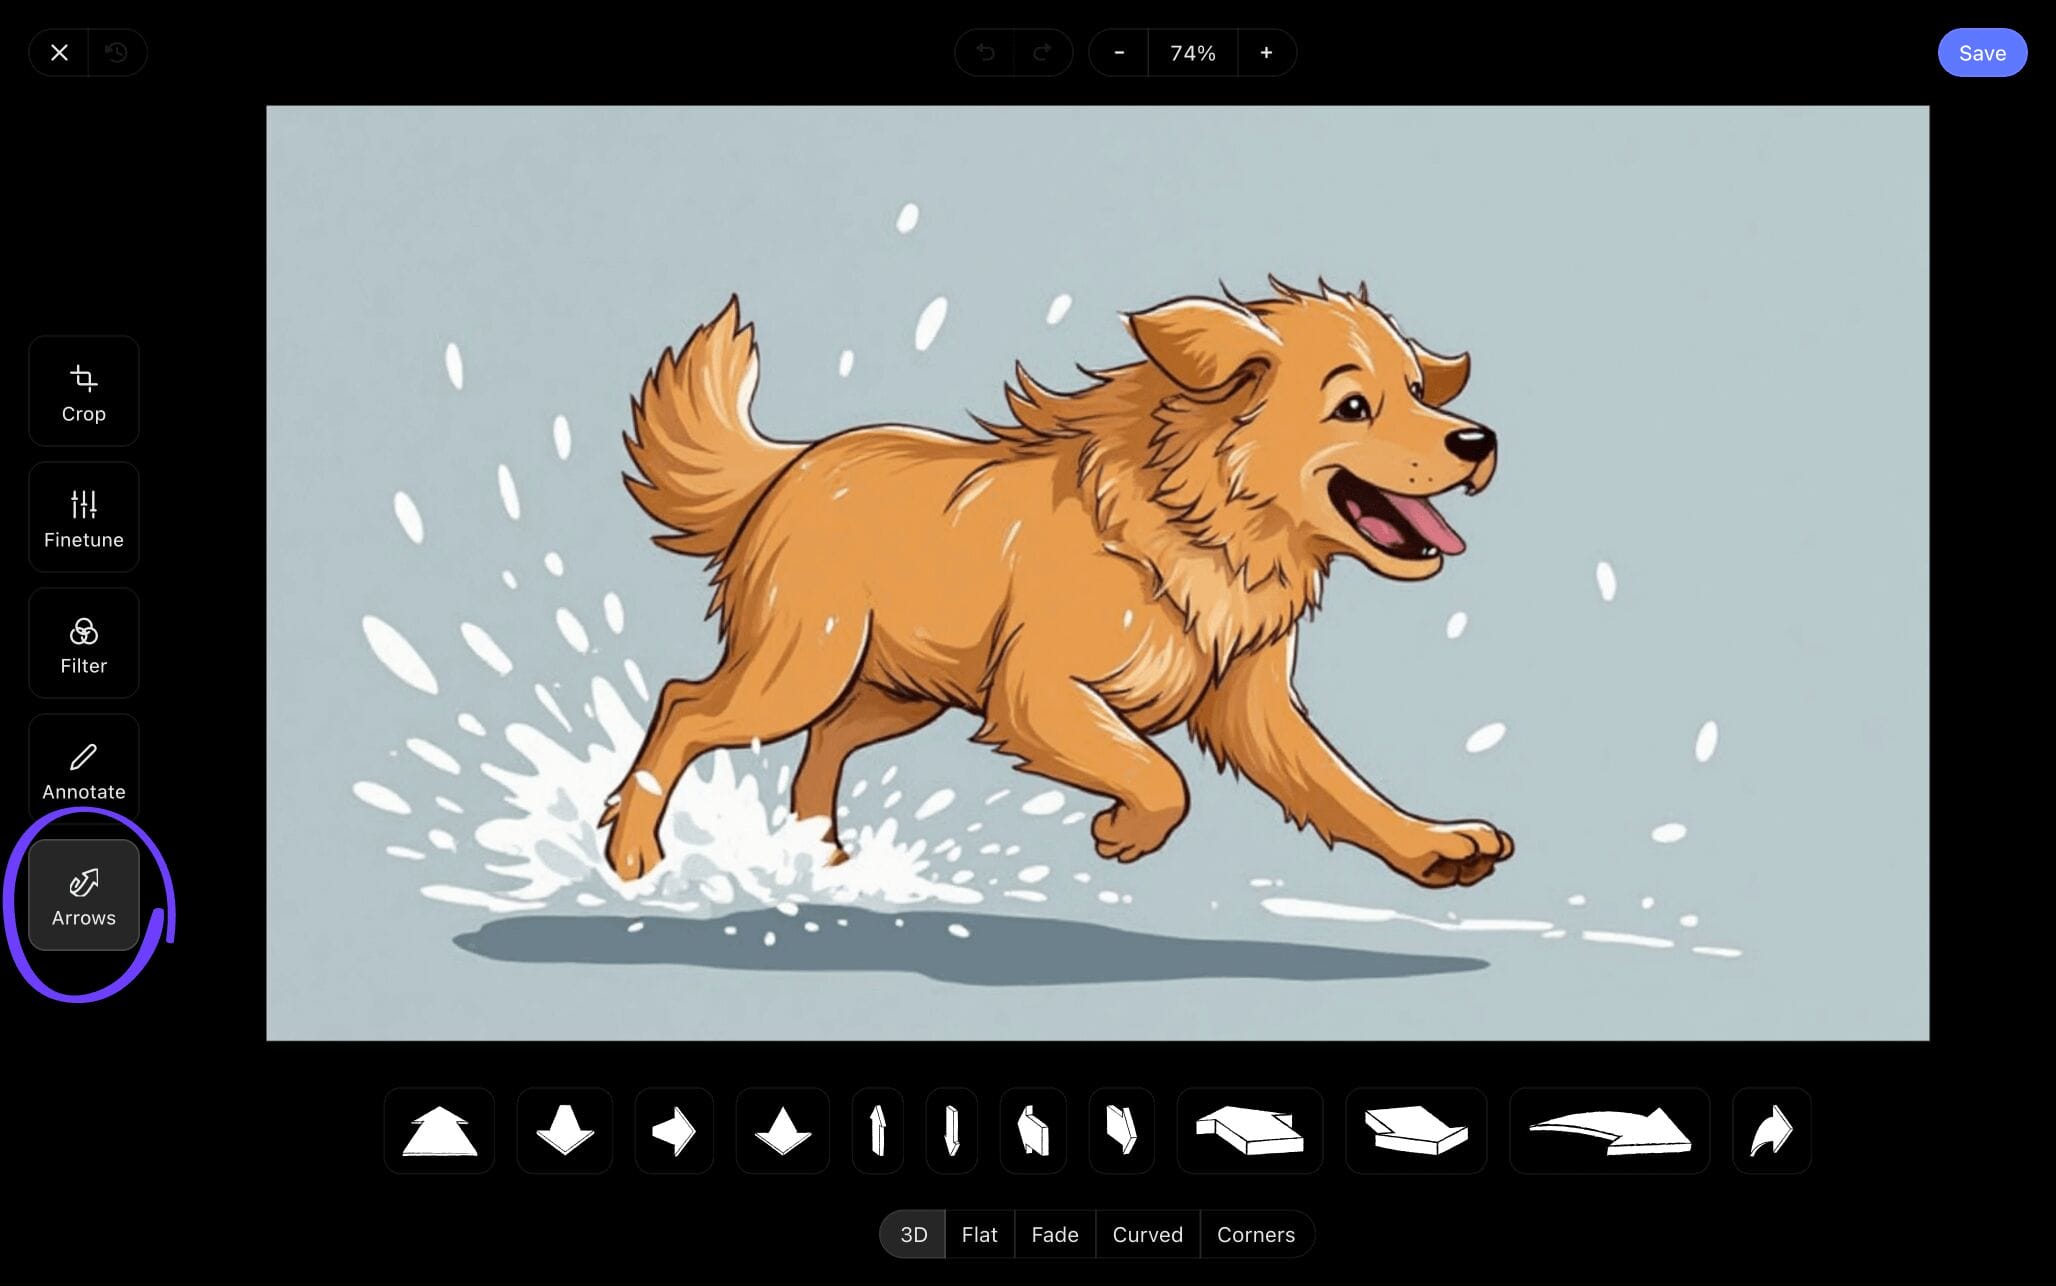
The storyboard arrows tab gives you a number of arrow shapes and sizes to take advantage of. You can also customize each arrow’s size, as well as add text to help communicate your arrow’s purpose. In our storyboard example, we used one of the fade arrows to capture our intended energy.
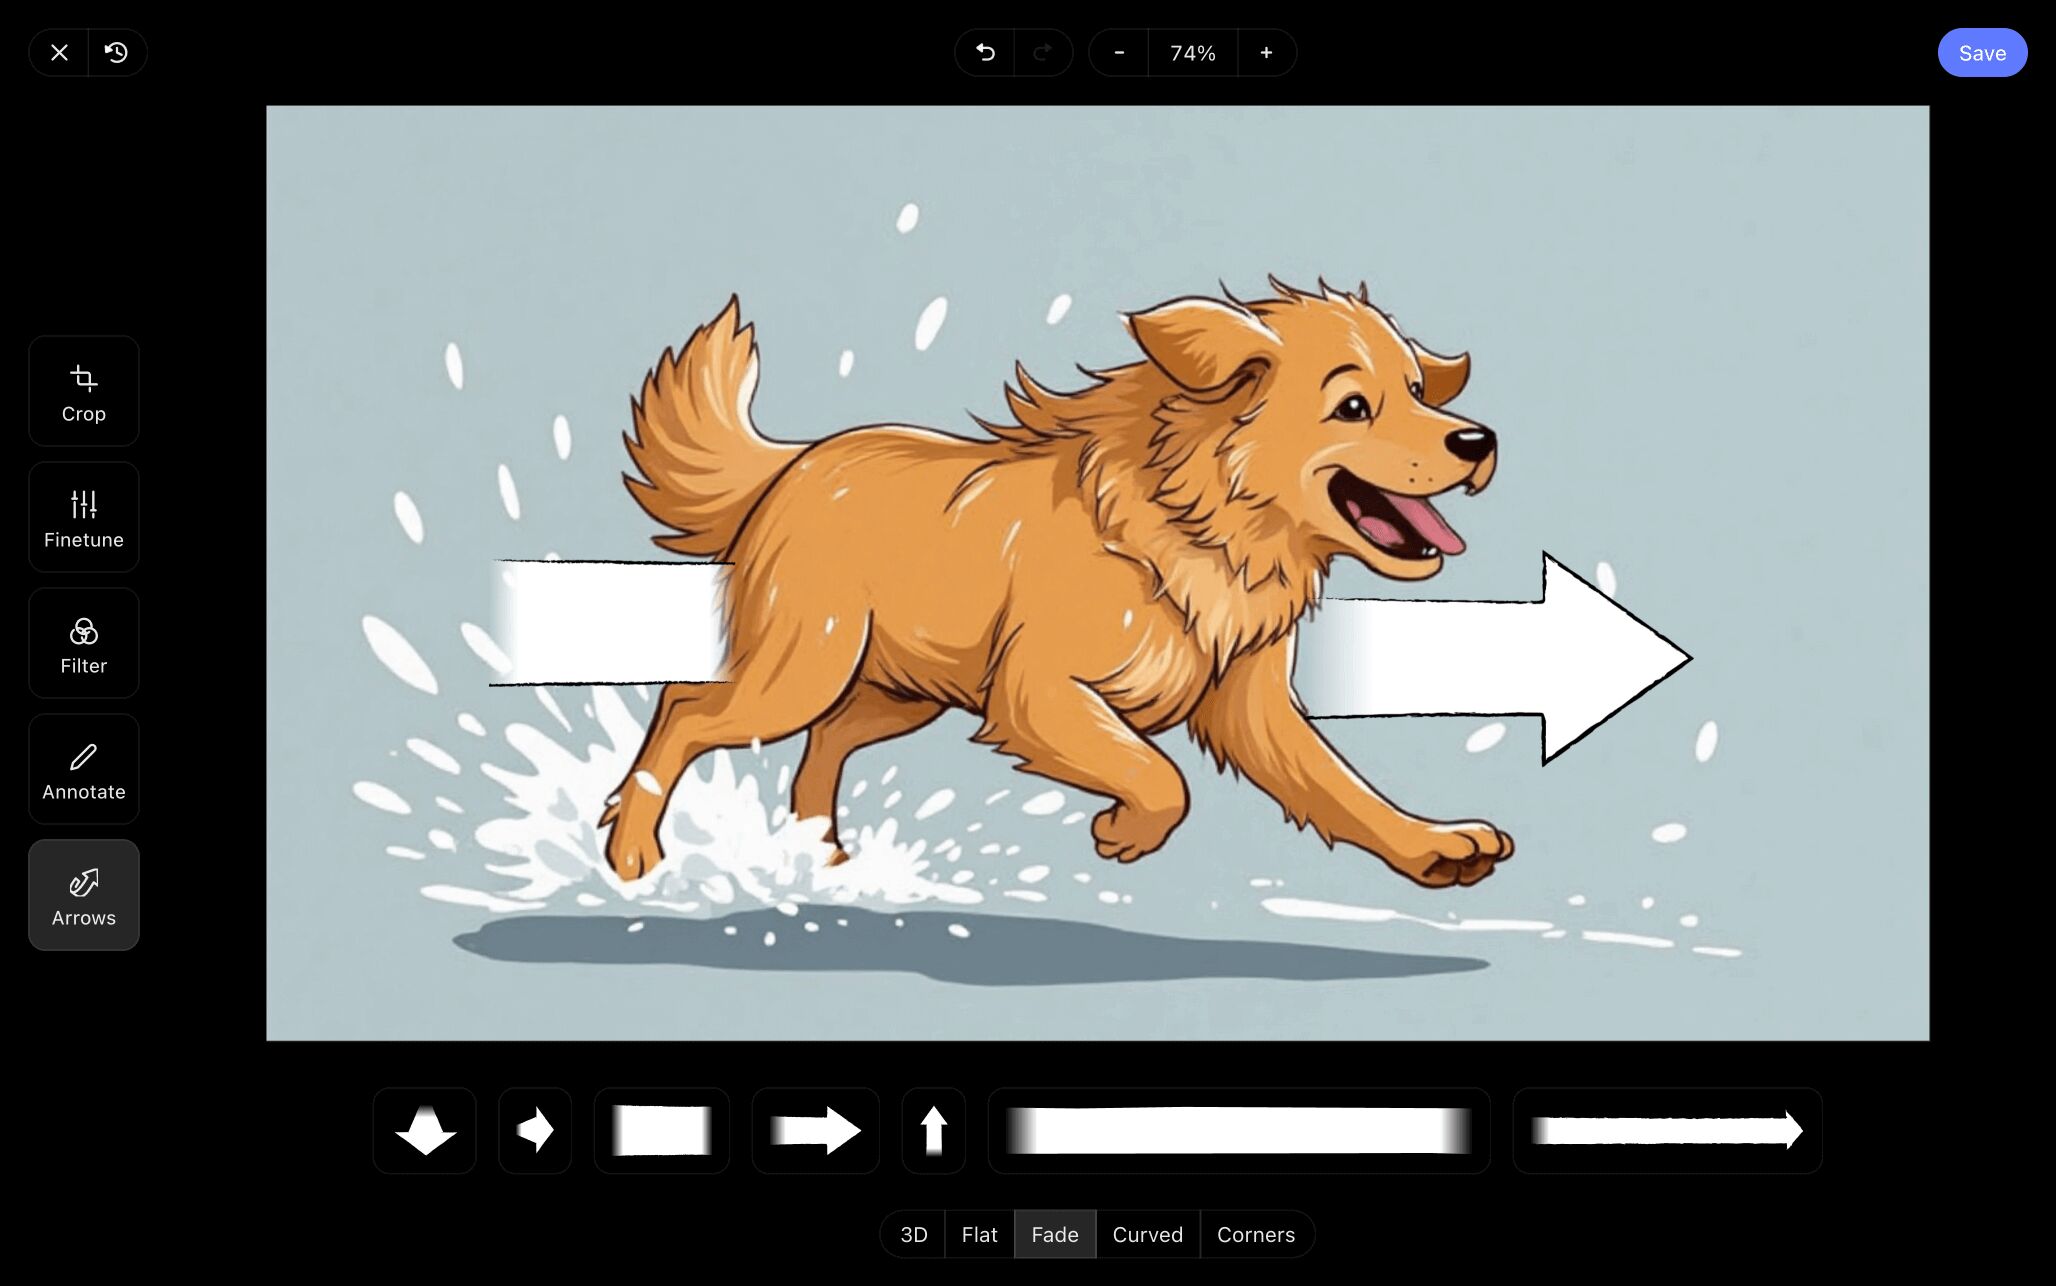
Once you’ve added arrows and further edited your image to better convey its essence, simply clicking save will automatically apply your customized image to your blank storyboard template.
Step 4
4. Collaborate with your team
Whether you’re a professional storyboard artist or it’s your first time visualizing any kind of narrative, chances are you’re not working in complete solitude. You won’t just require feedback from business collaborators, you’ll also want to let your creative colleagues have access to your storyboard to make their own adjustments.
With StudioBinder, you can send a view-only link to anyone who you just want to share the look of your storyboard with. But when it comes to a collaborator who needs to utilize interactive features, you can select between giving them any of three permissions: viewer, commenter, or editor.

Step 5
5. Export your storyboard PDF
Now that you’ve collaborated, incorporated notes, and fully completed the storyboarding process, you’ll want to cement all that hard work by turning your storyboard into a PDF document. You may need a PDF of your storyboard to print or send digitally, but either way, you can tailor the look of your document based on the specific person or production department you’re sending it to.
StudioBinder’s Generate PDF Page provides a bundle of customizable options. Take the style tab for example, which lets you customize the overall presentation of your PDF with options like color and font size.
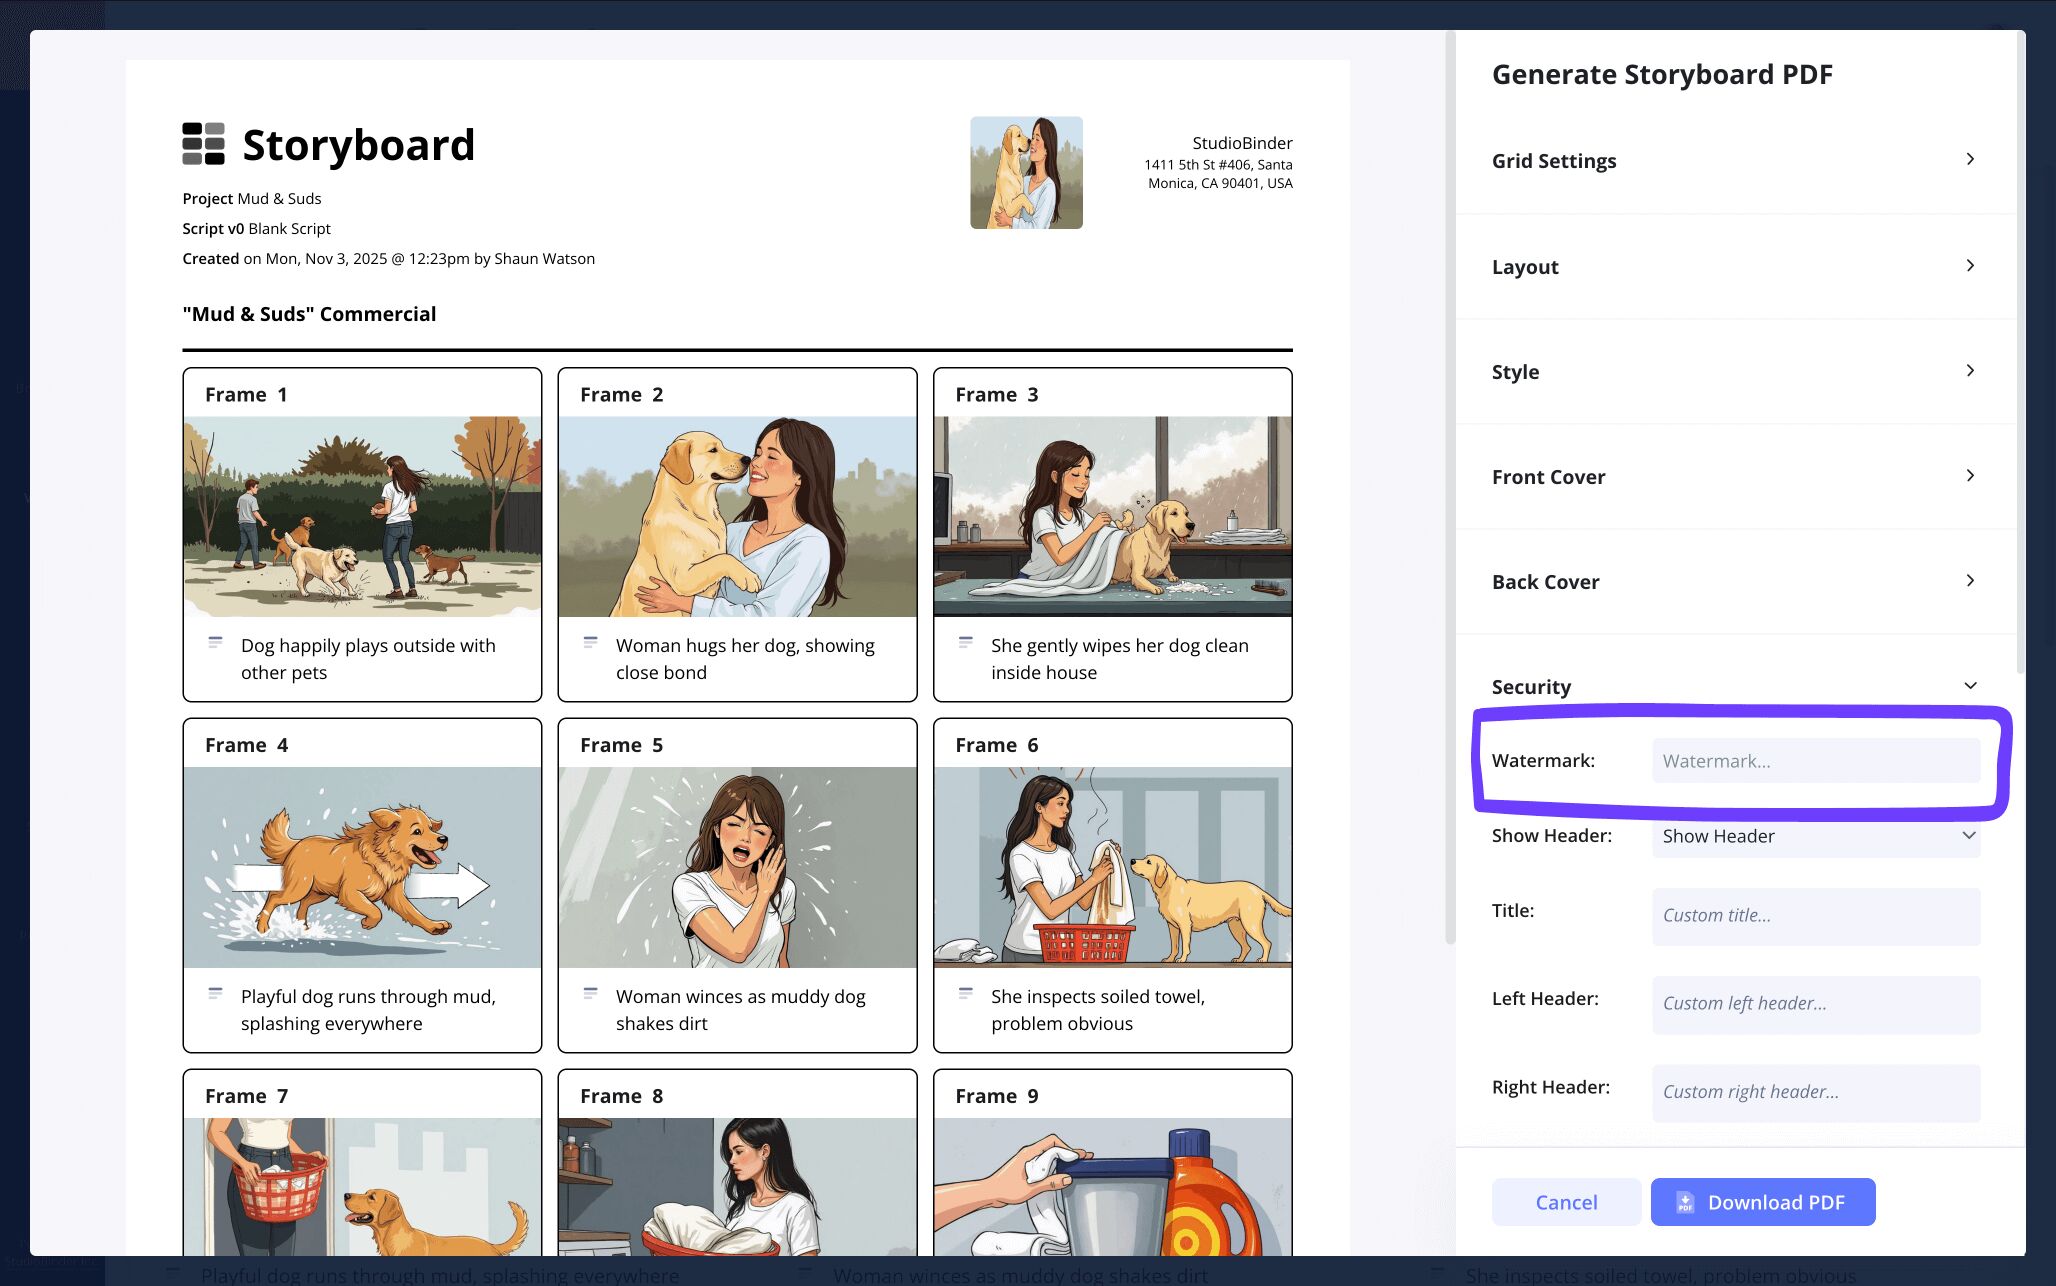
Want to keep your storyboard PDF from ending up in the wrong hands? You can include a custom title, and even a watermark to ensure your storyboard copies stay with the intended person or department.
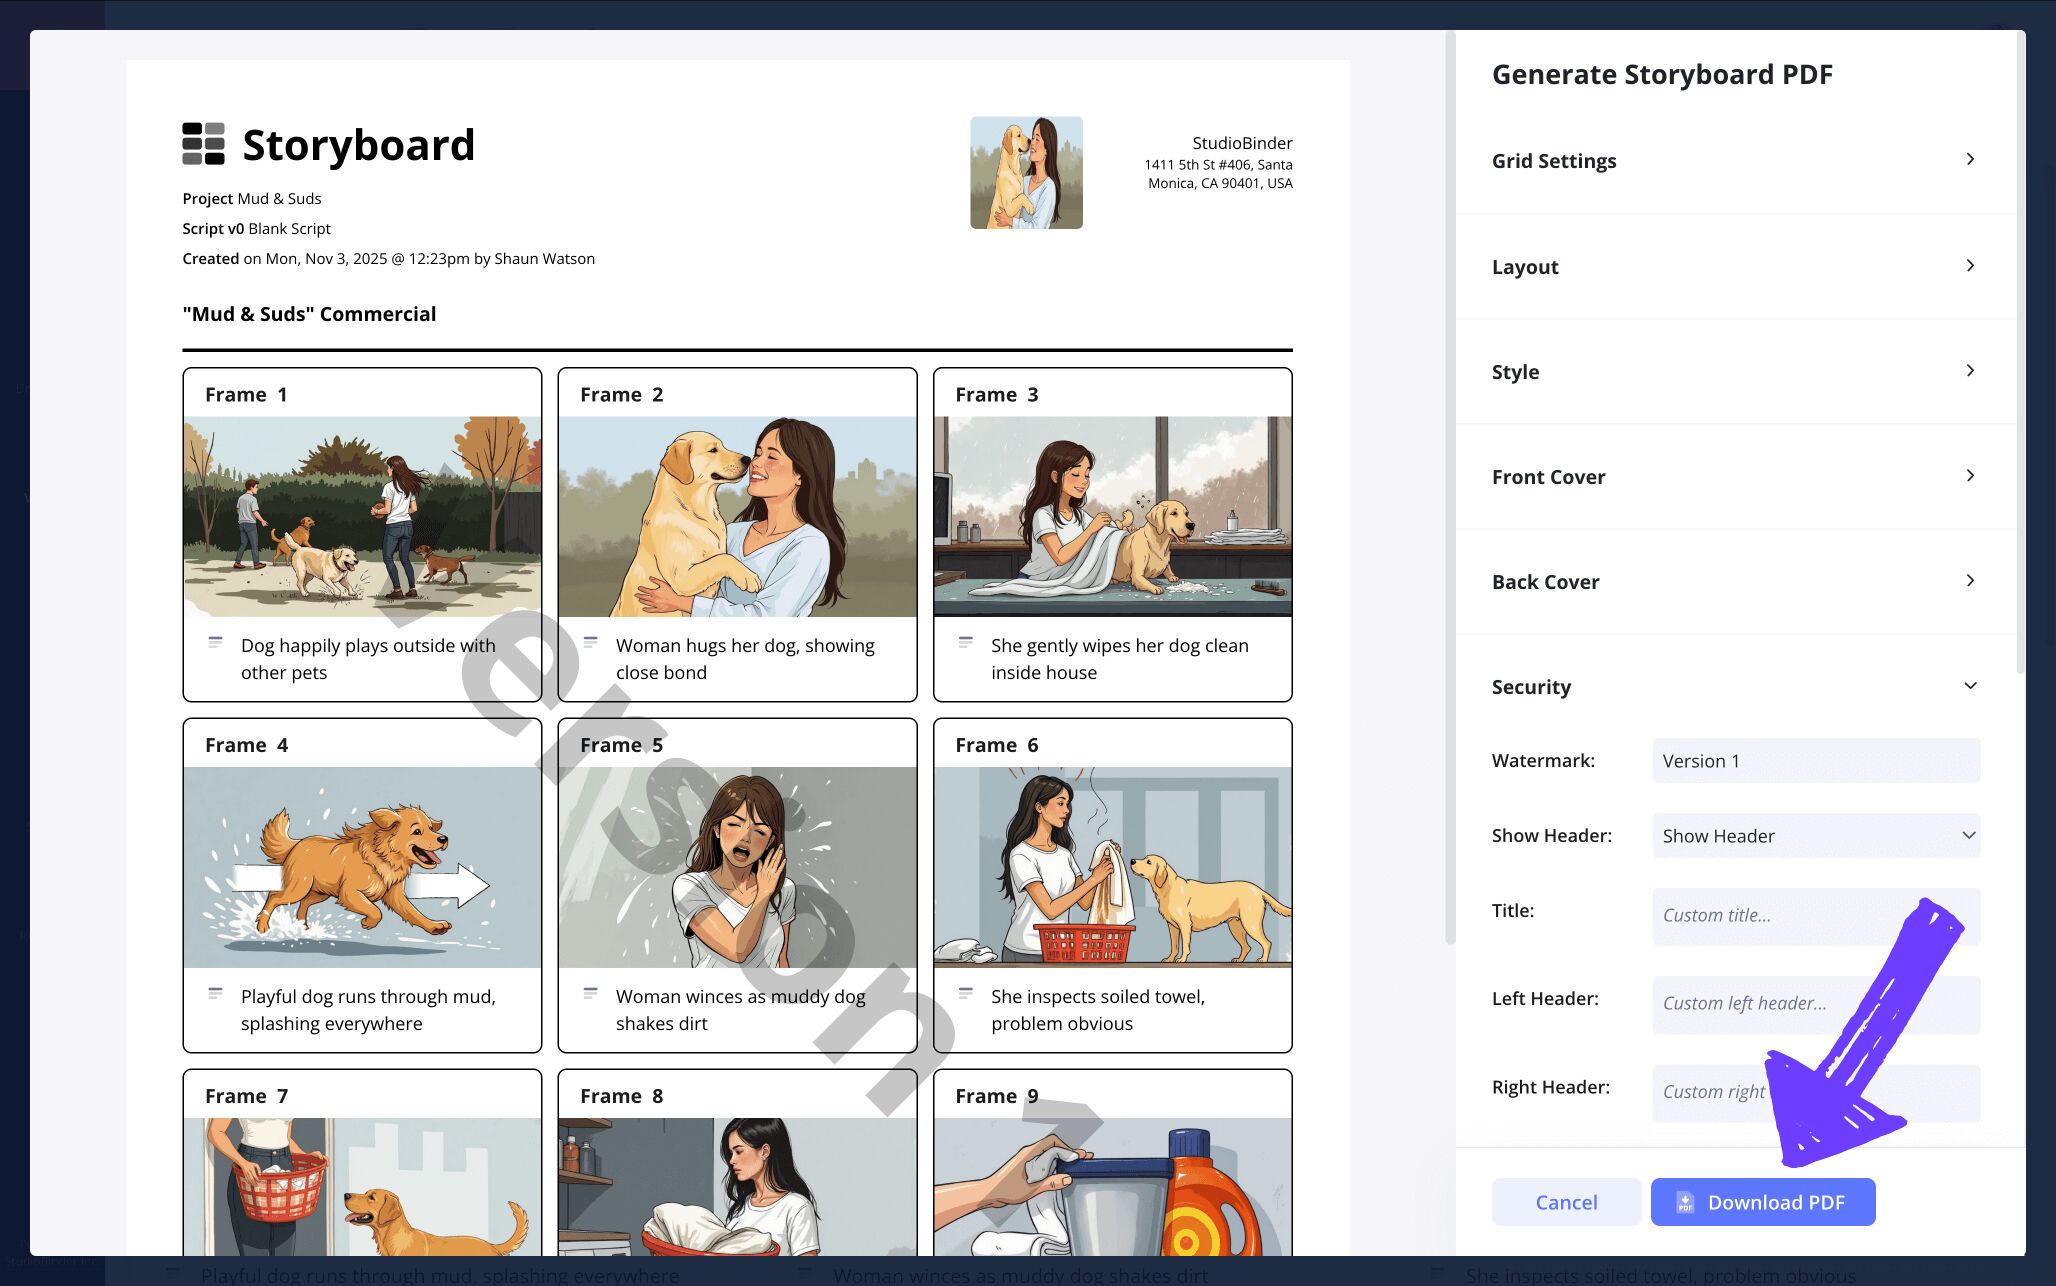
Now just click Download PDF, and with that, your storyboard is ready to print and your journey has come to an end!
Conclusion
Done!
After completing all these vital steps for building a blank storyboard template from the ground up, you should feel confident about bringing life to whatever creative narrative ideas you want to get out of your head and onto a screen.
But blank storyboards aren’t the only creative templates StudioBinder offers. Check out our storyboard templates and consider all the possibilities we have to offer!
Frequently Asked Questions
Your questions, answered
Blank storyboard templates provide the foundational structure needed to build any kind of storyboard. Though specific storyboard needs will vary based on the type of visual narrative being pre-planned (film, animation, online video, etc.), all storyboards are built on the same kind of structural template: panels that will showcase all the shots in a scene or sequence from left to right.
Though blank storyboards allow for lots of creative freedom while figuring out the mood and tone of your visual narrative, the basic overall steps to bringing a blank storyboard template to life are pretty universal:
- Adjust the panel dimensions and layout.
- Write out what you want to see under each panel
- Use your own sketches or reference image to fill frames
- Collaborate with your team and receive notes
- Apply notes received to a second storyboard draft
Finding the right blank storyboard template to fit your visual narrative needs isn’t a cut and dry process. Which is why the best storyboard template example is one that is best equipped to encapsulate your vision. When browsing through potential template options, consider the various sizes and grid layouts offered and how they’ll work to display your story. Then choose the best storyboard template based on those personal considerations.
Looking at a blank storyboard template is comparable to looking at the steel foundation of a building before it’s been fully constructed. A blank storyboard template is essentially an outline of square frames laid out, much like a comic book, with panels that haven’t been drawn in yet. This structural foundation may be drawn on a clear piece of paper or on a digital template.
