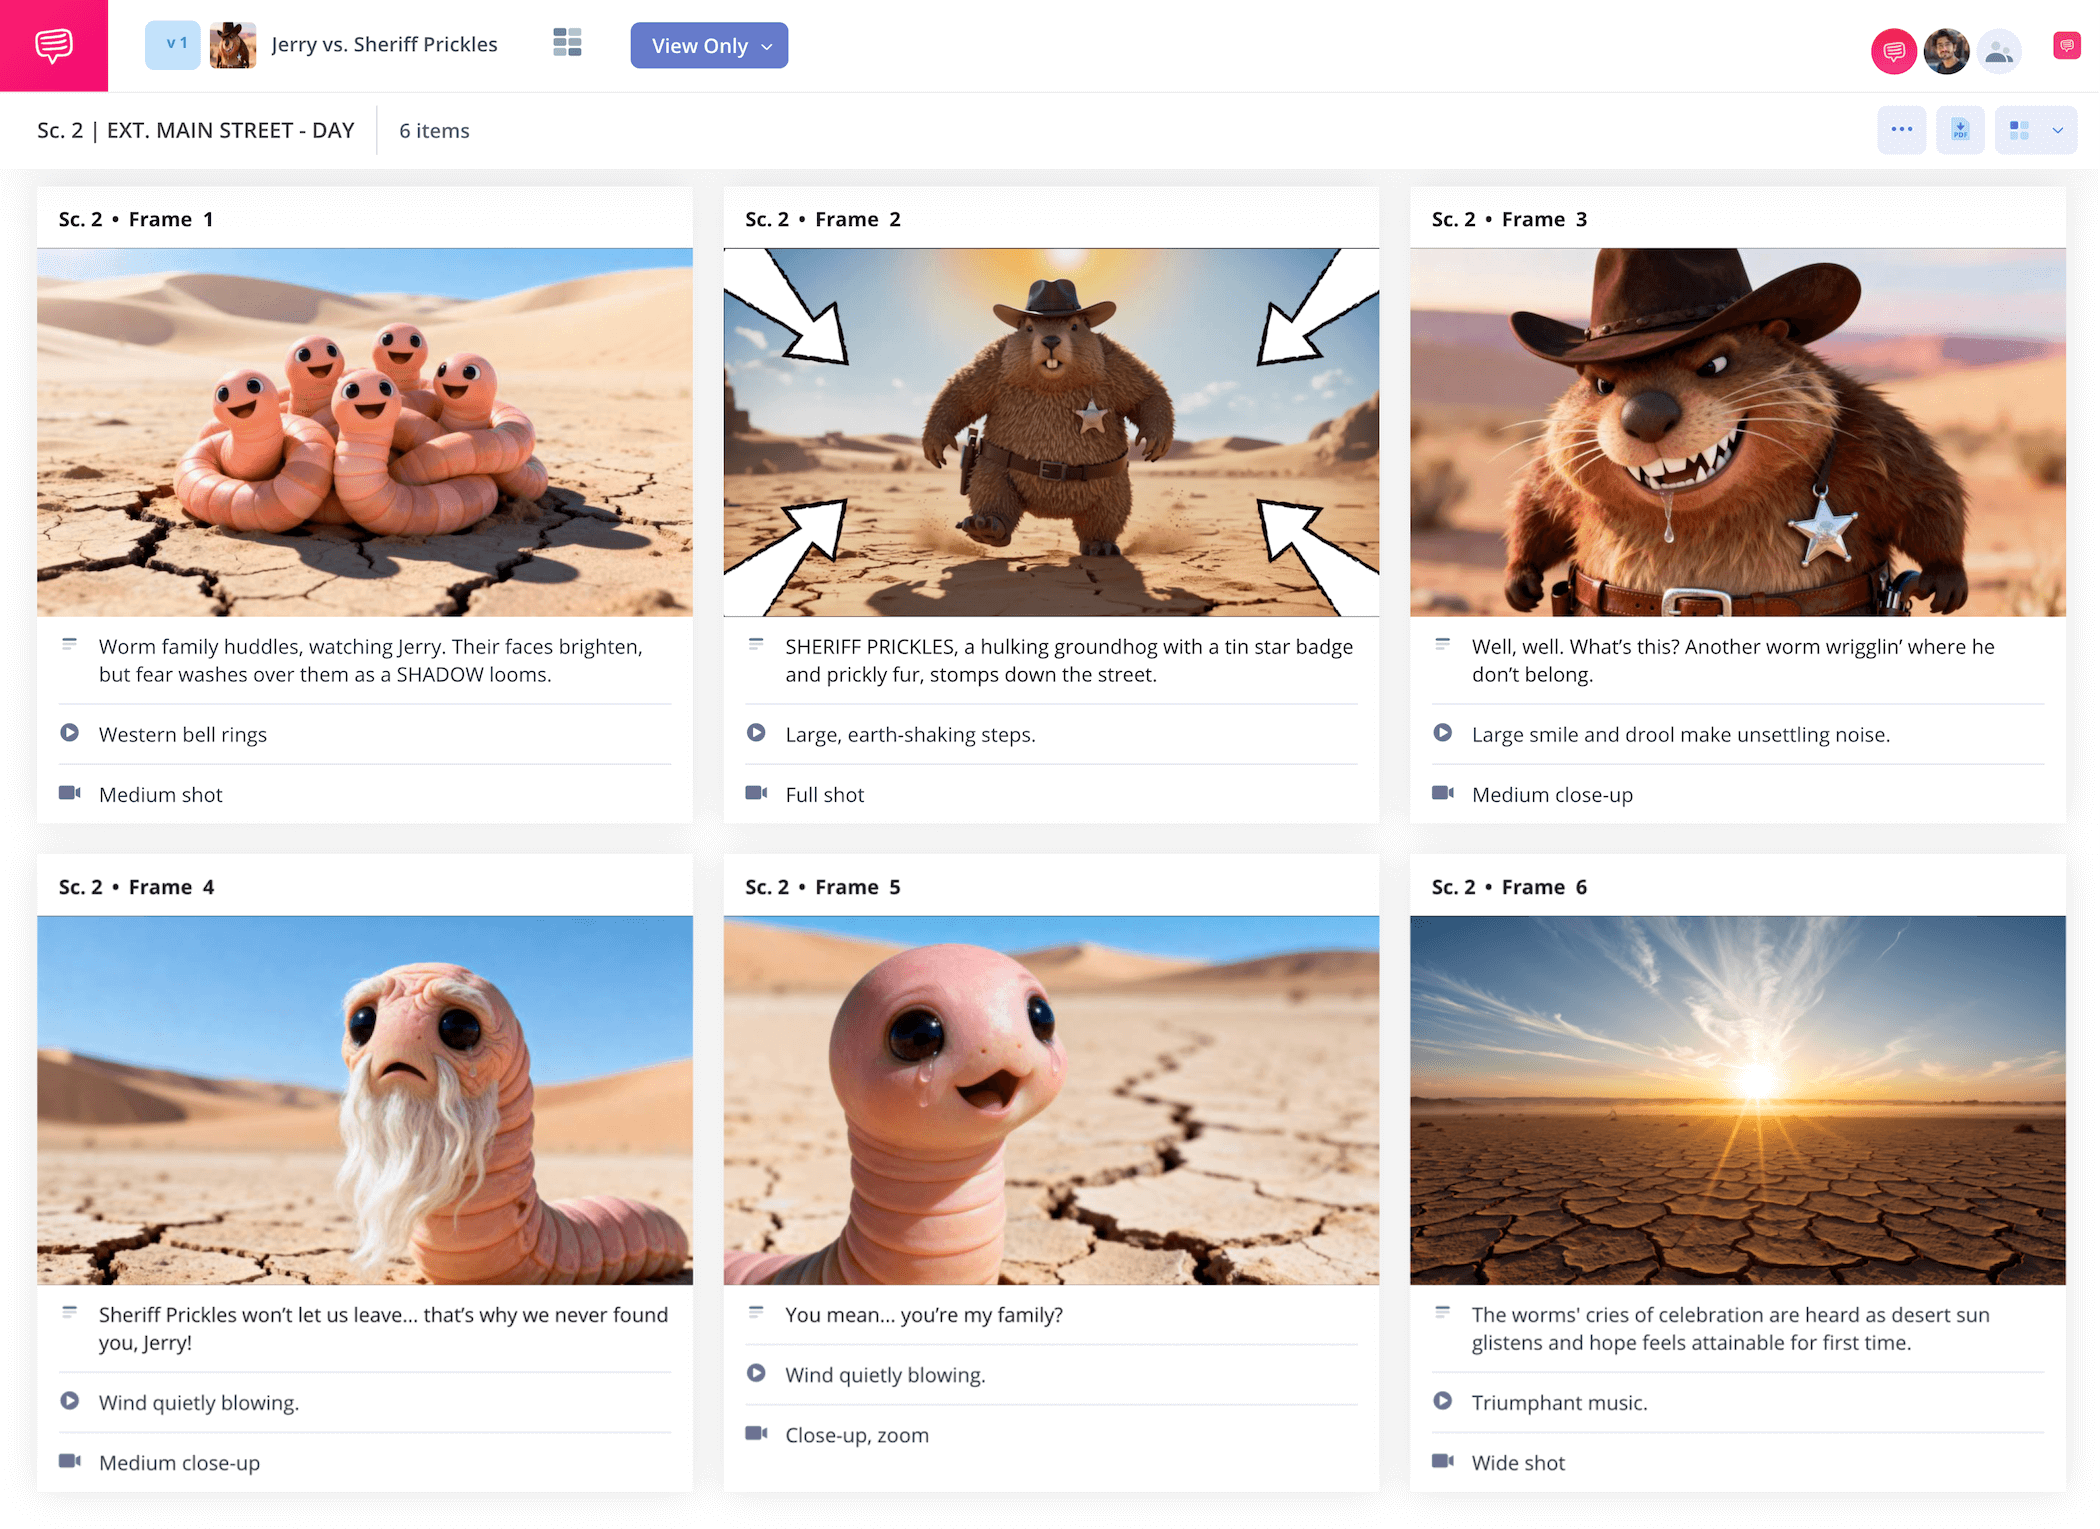
home → TEMPLATES → Storyboard
Storyboard Layout Template
Storyboard layout template
If you have the vision to bring an animated or film narrative to life, creating a storyboard layout template during the pre-production process is an essential step worth taking. Take an animation storyboard layout for example, seeing your ideas displayed in front of you, with all the essential shot information written out next to each frame, is like giving yourself a peak at what those ideas will look like when they’re fully animated. With a storyboard layout informing your vision, you can then make all the necessary tweaks and edits that will save you time and money in the following animatics and animation stages.
We’ll be using StudioBinder’s storyboard creator as our storyboard layout example that will take you through all the steps on how to build your own storyboard. But feel free to use whichever storyboard layout template that works best for you, as all these steps are broad enough to be used for any storyboard project
Layout Options
The art of layout and storyboarding
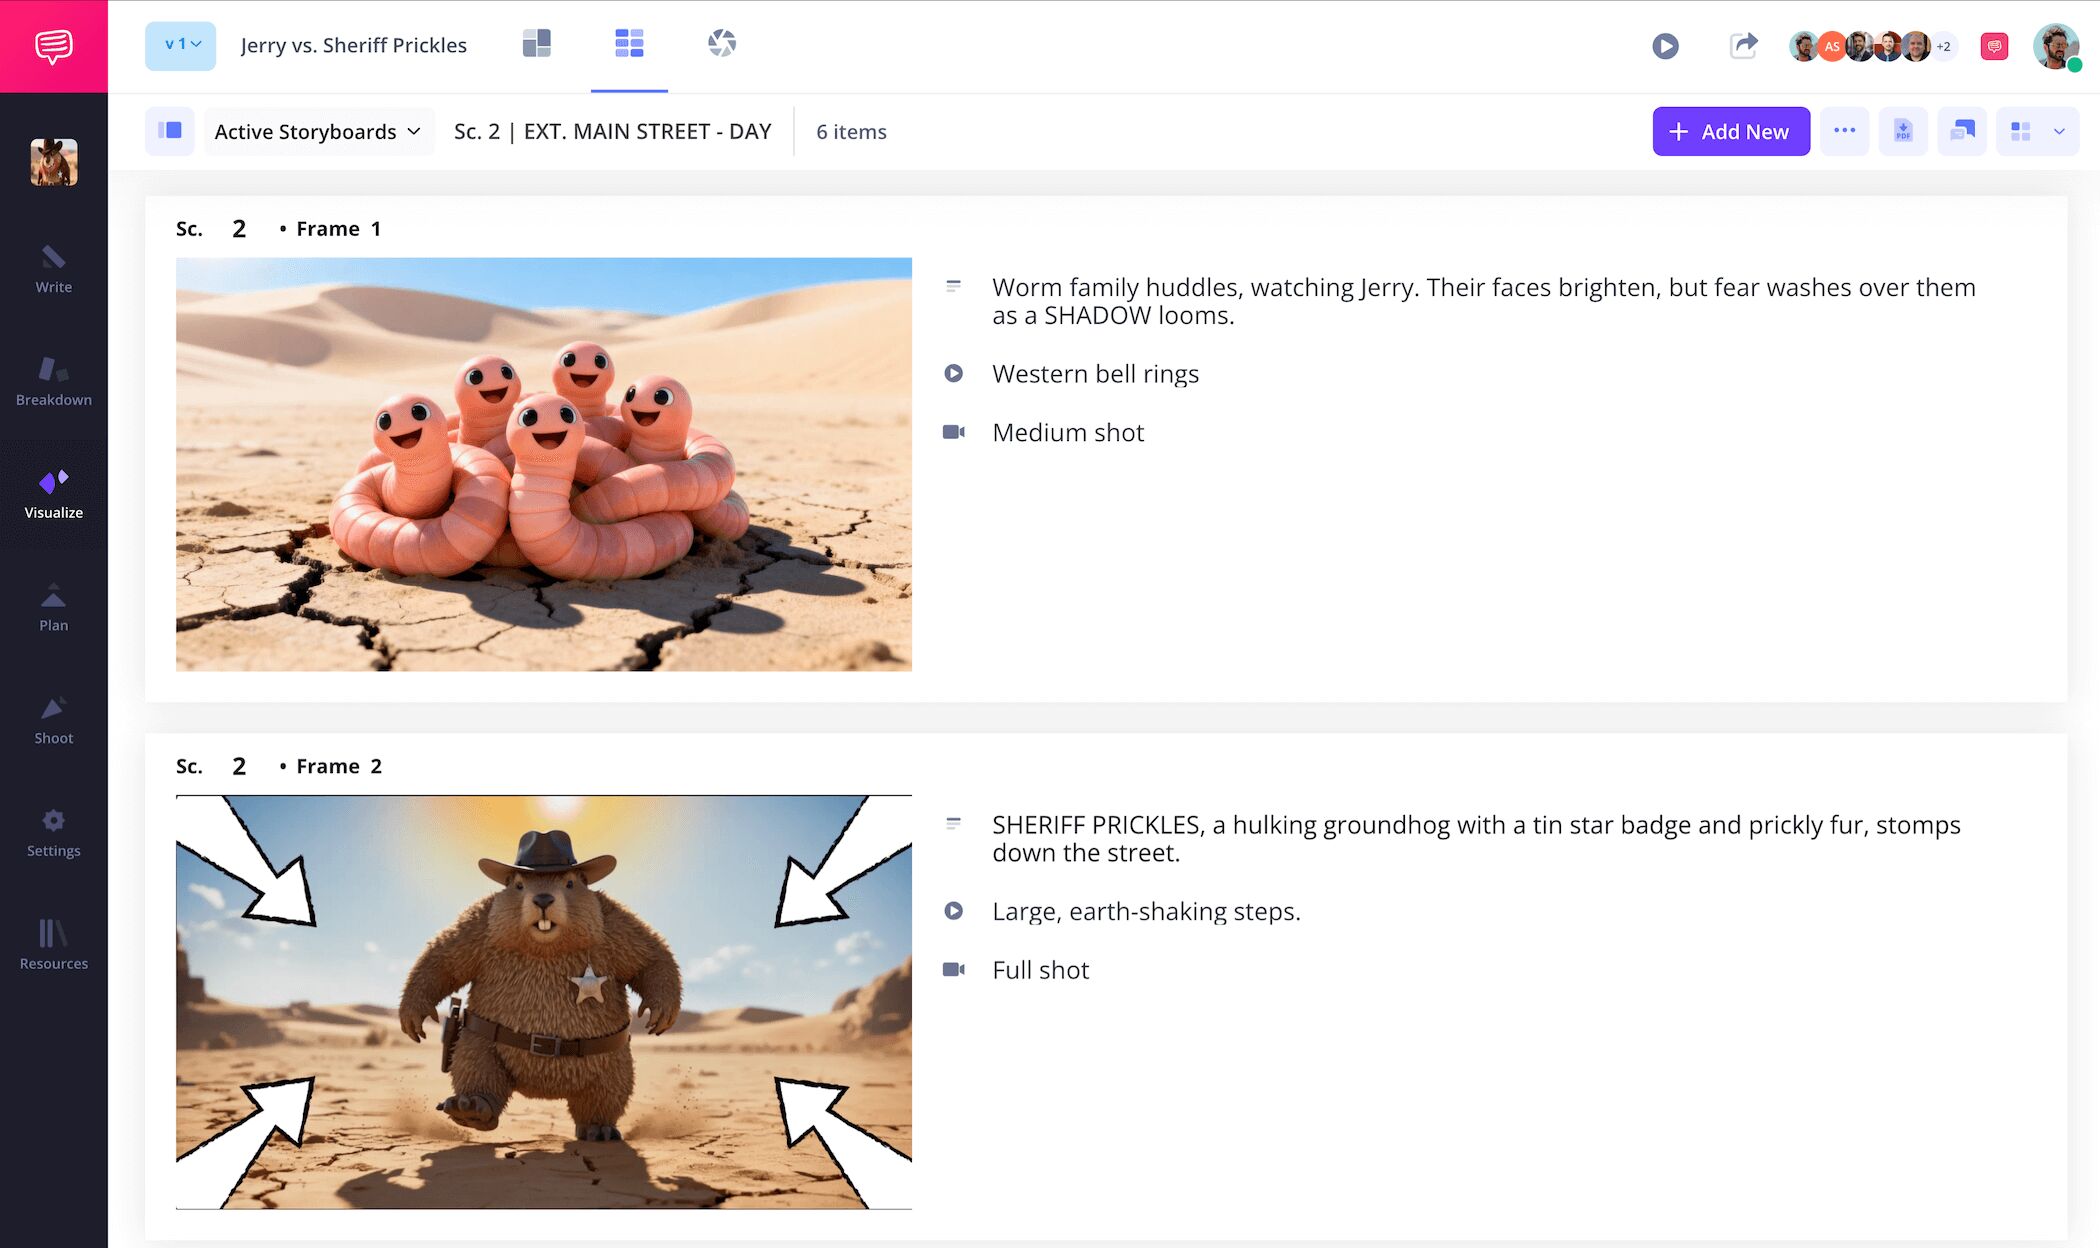
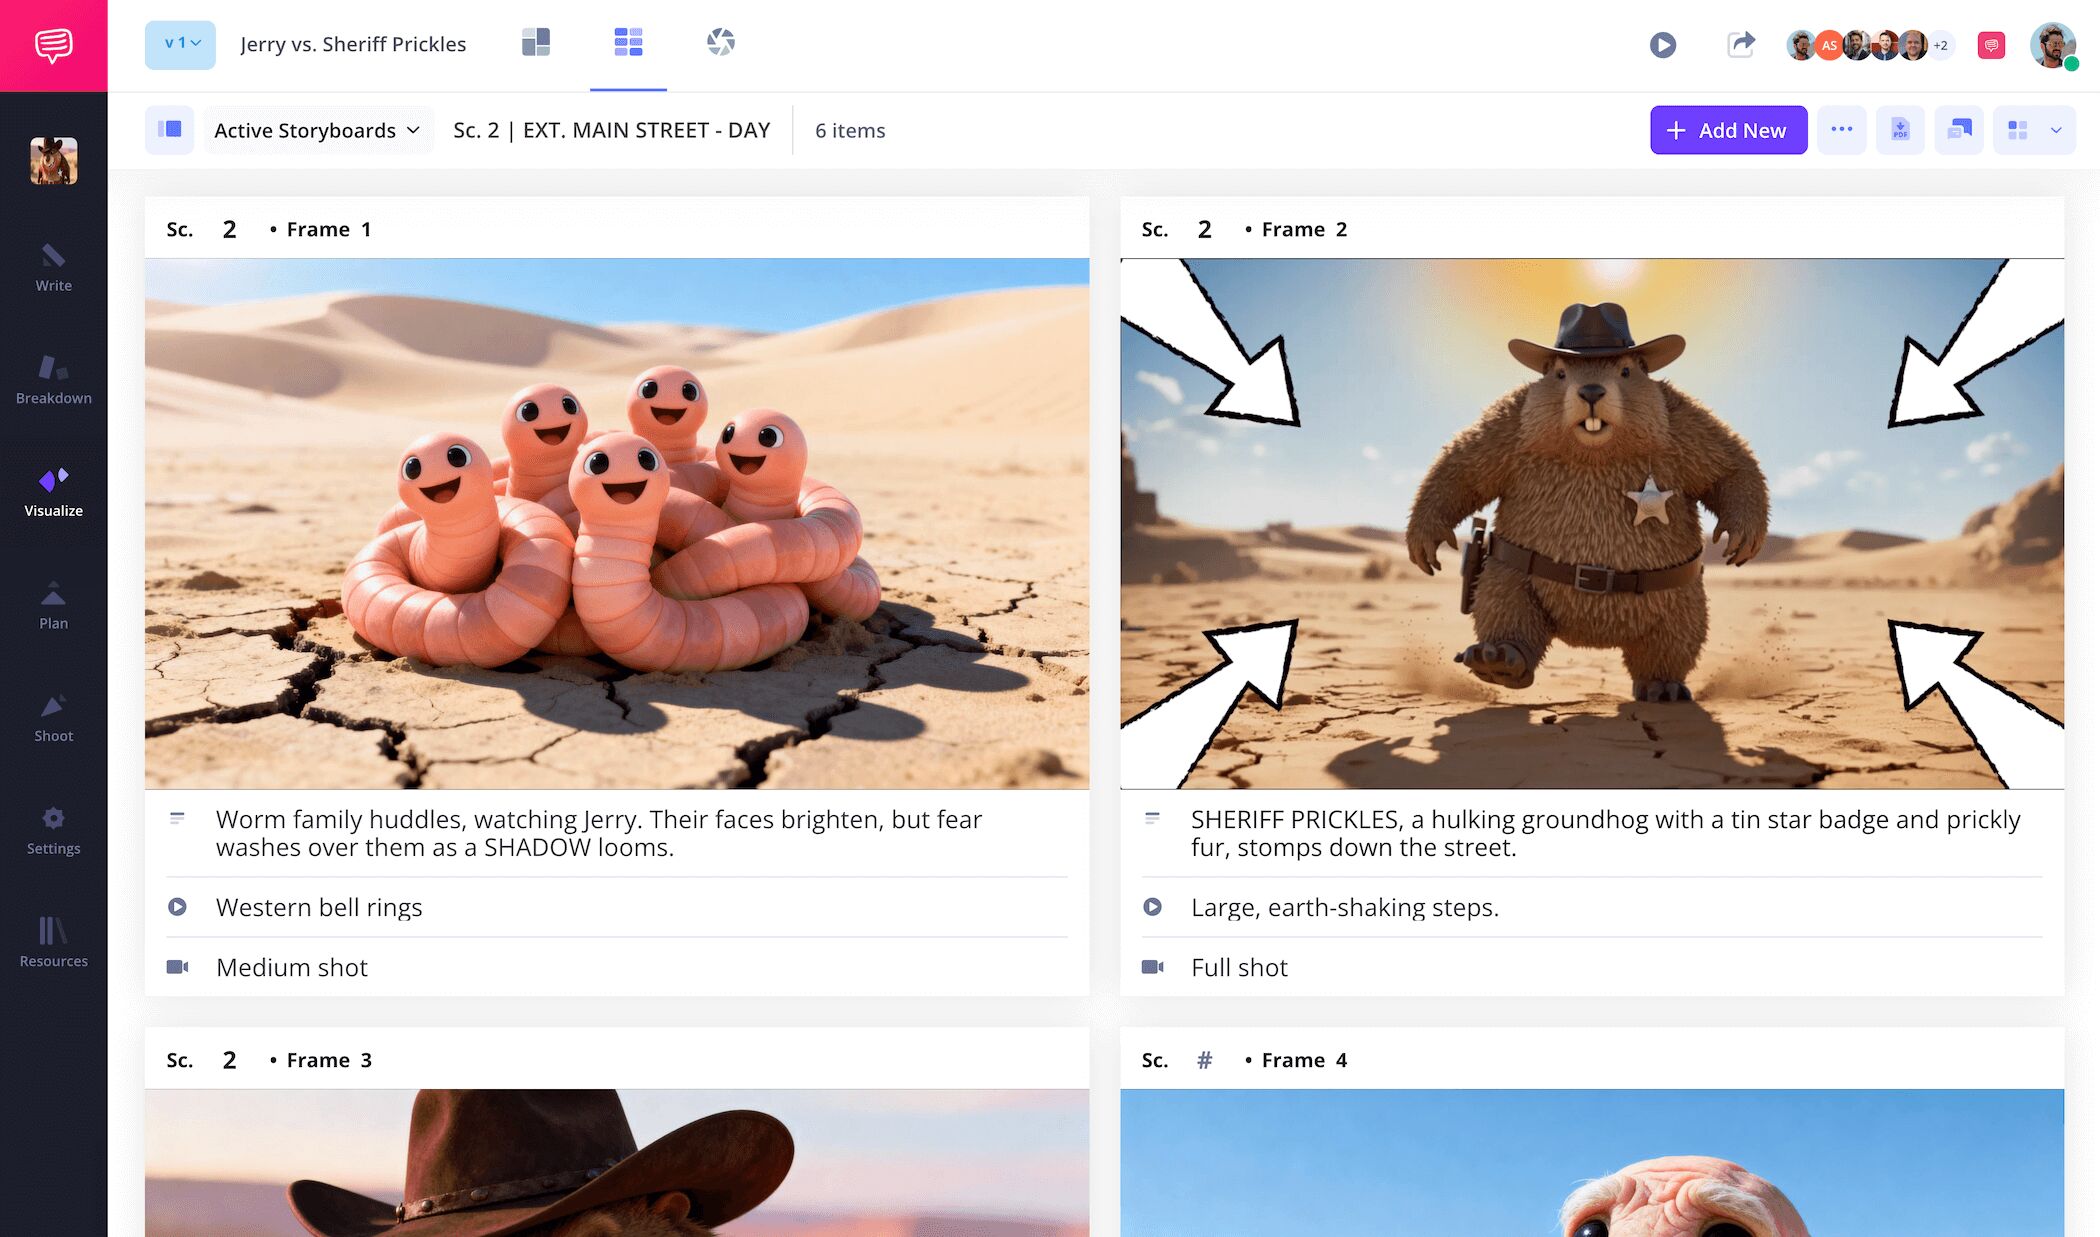
When it comes to the film industry, a 3 panel layout in each storyboard column is a go-to standard. For a storyboard layout in animation, however, a one or two column approach is most often used to put extra emphasis on the images and descriptions, because even the smallest details are immensely important when prepping the animation process.
In StudioBinder, you can change your storyboard layout template columns at any time to fit whatever layout style works for you.
This is an example of a one-column animation storyboard layout:
This is an example of a two-column animation storyboard layout:
Step 1
1. Prepare your template
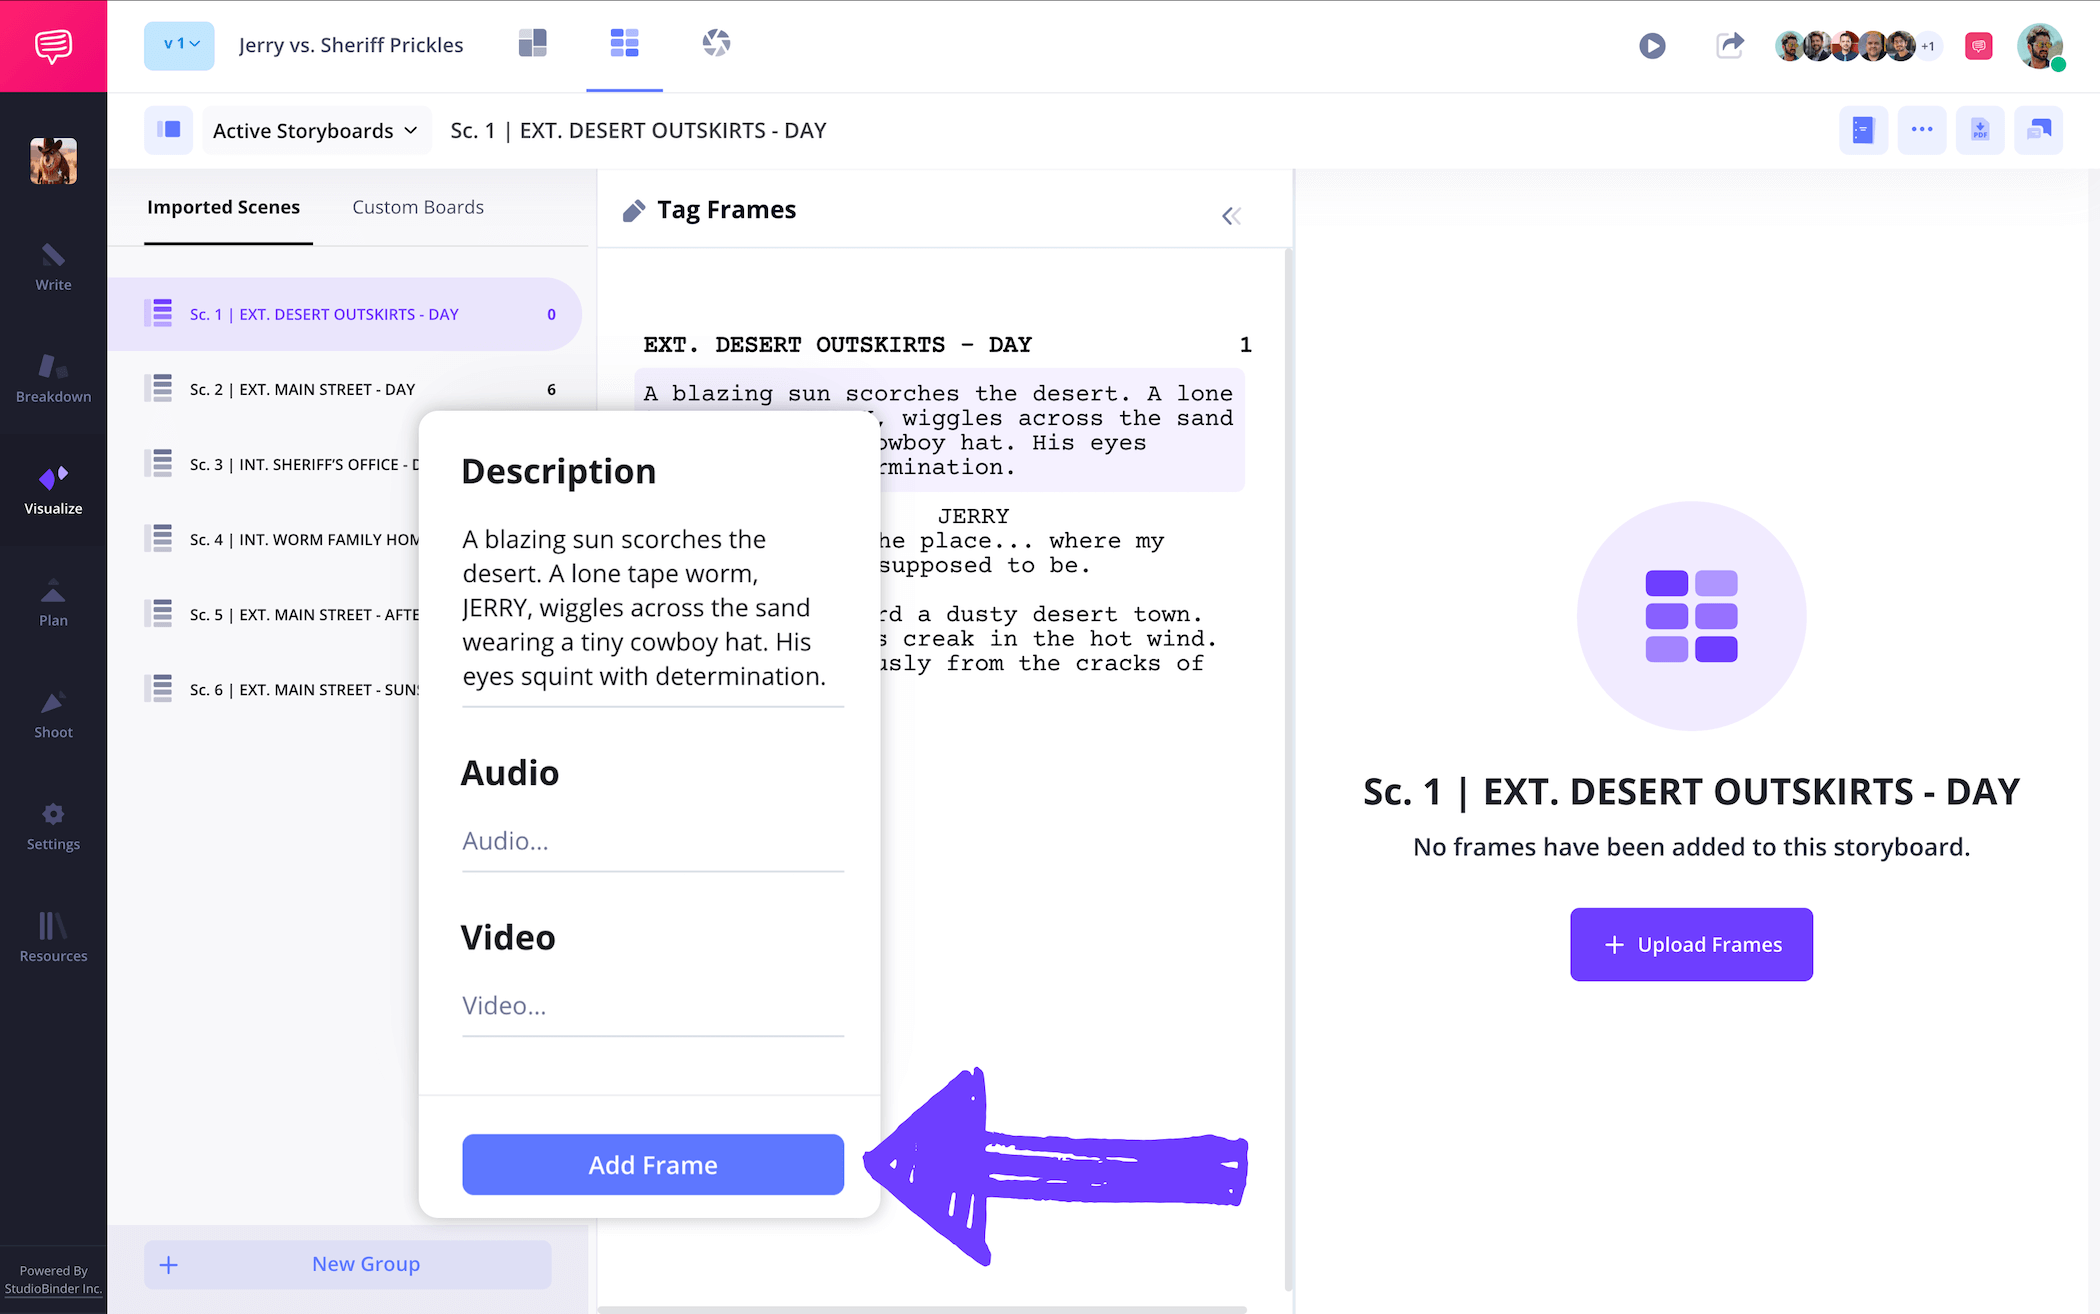
Now that you have a general sense of the grid style you want for your storyboard layout template, consider the panel size. For both animation and film, 16:9 is a general standard. If you’re starting a new project in StudioBinder, you’ll be prompted to answer some basic storyboard layout setup questions that can also be changed in the settings at any point, which will then have your storyboard looking along the lines of our storyboard layout example.
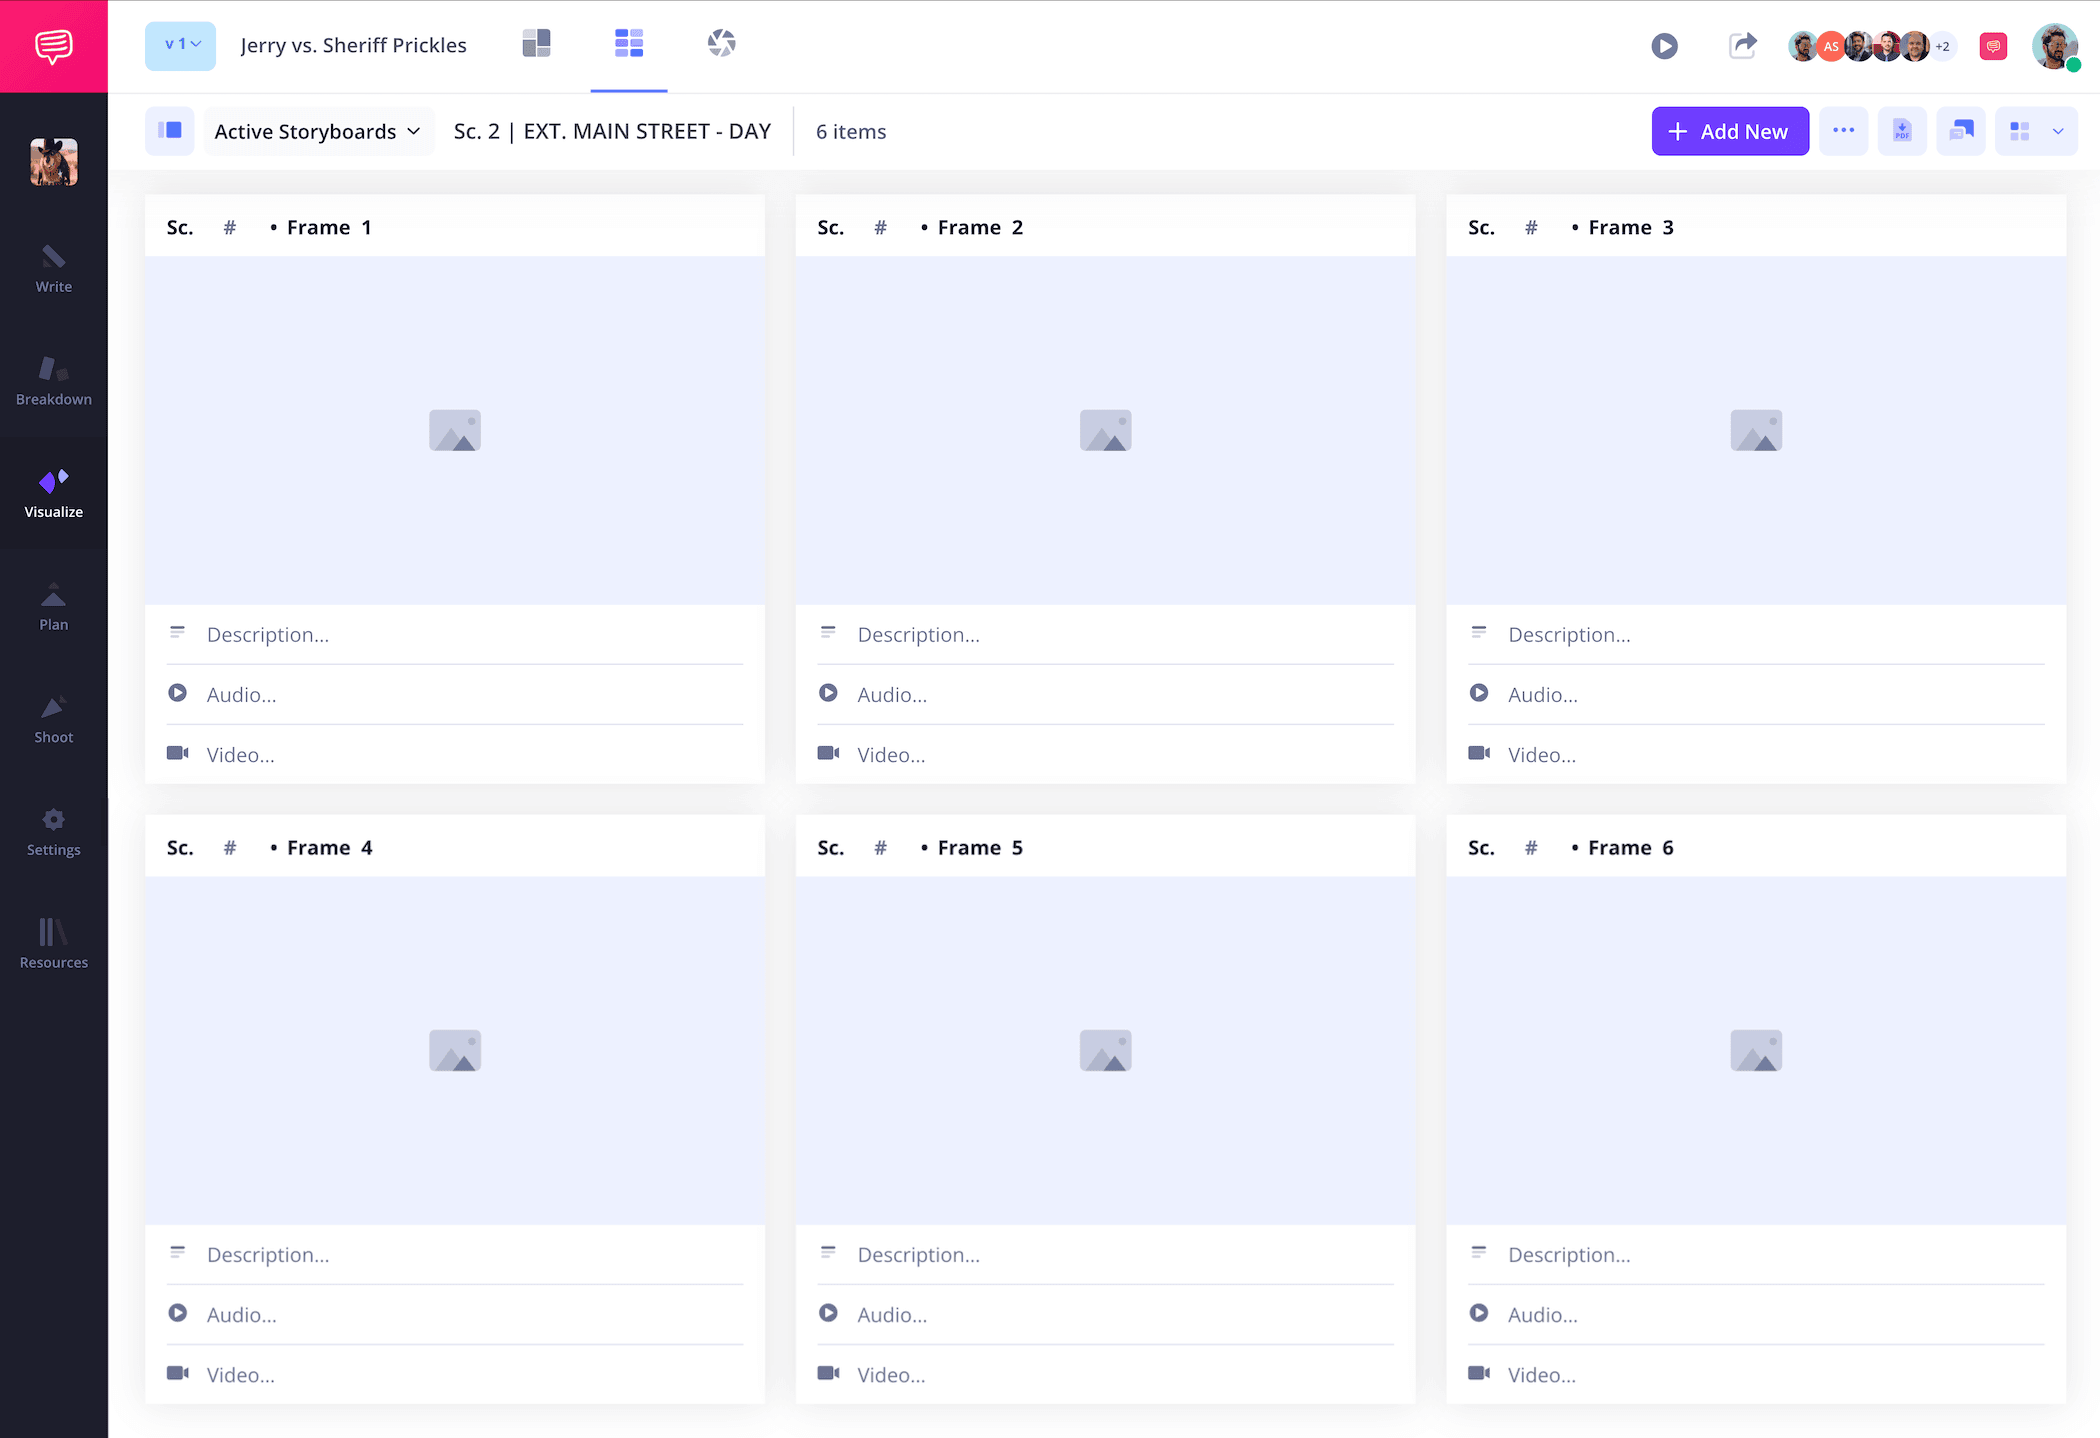
If you have a finished script, you can upload it and transfer script lines into descriptions instantly using the Shot Tagger. This makes the entire process of "tagging" your screenplay for each storyboard shot more efficient.
Step 2
2. Add images
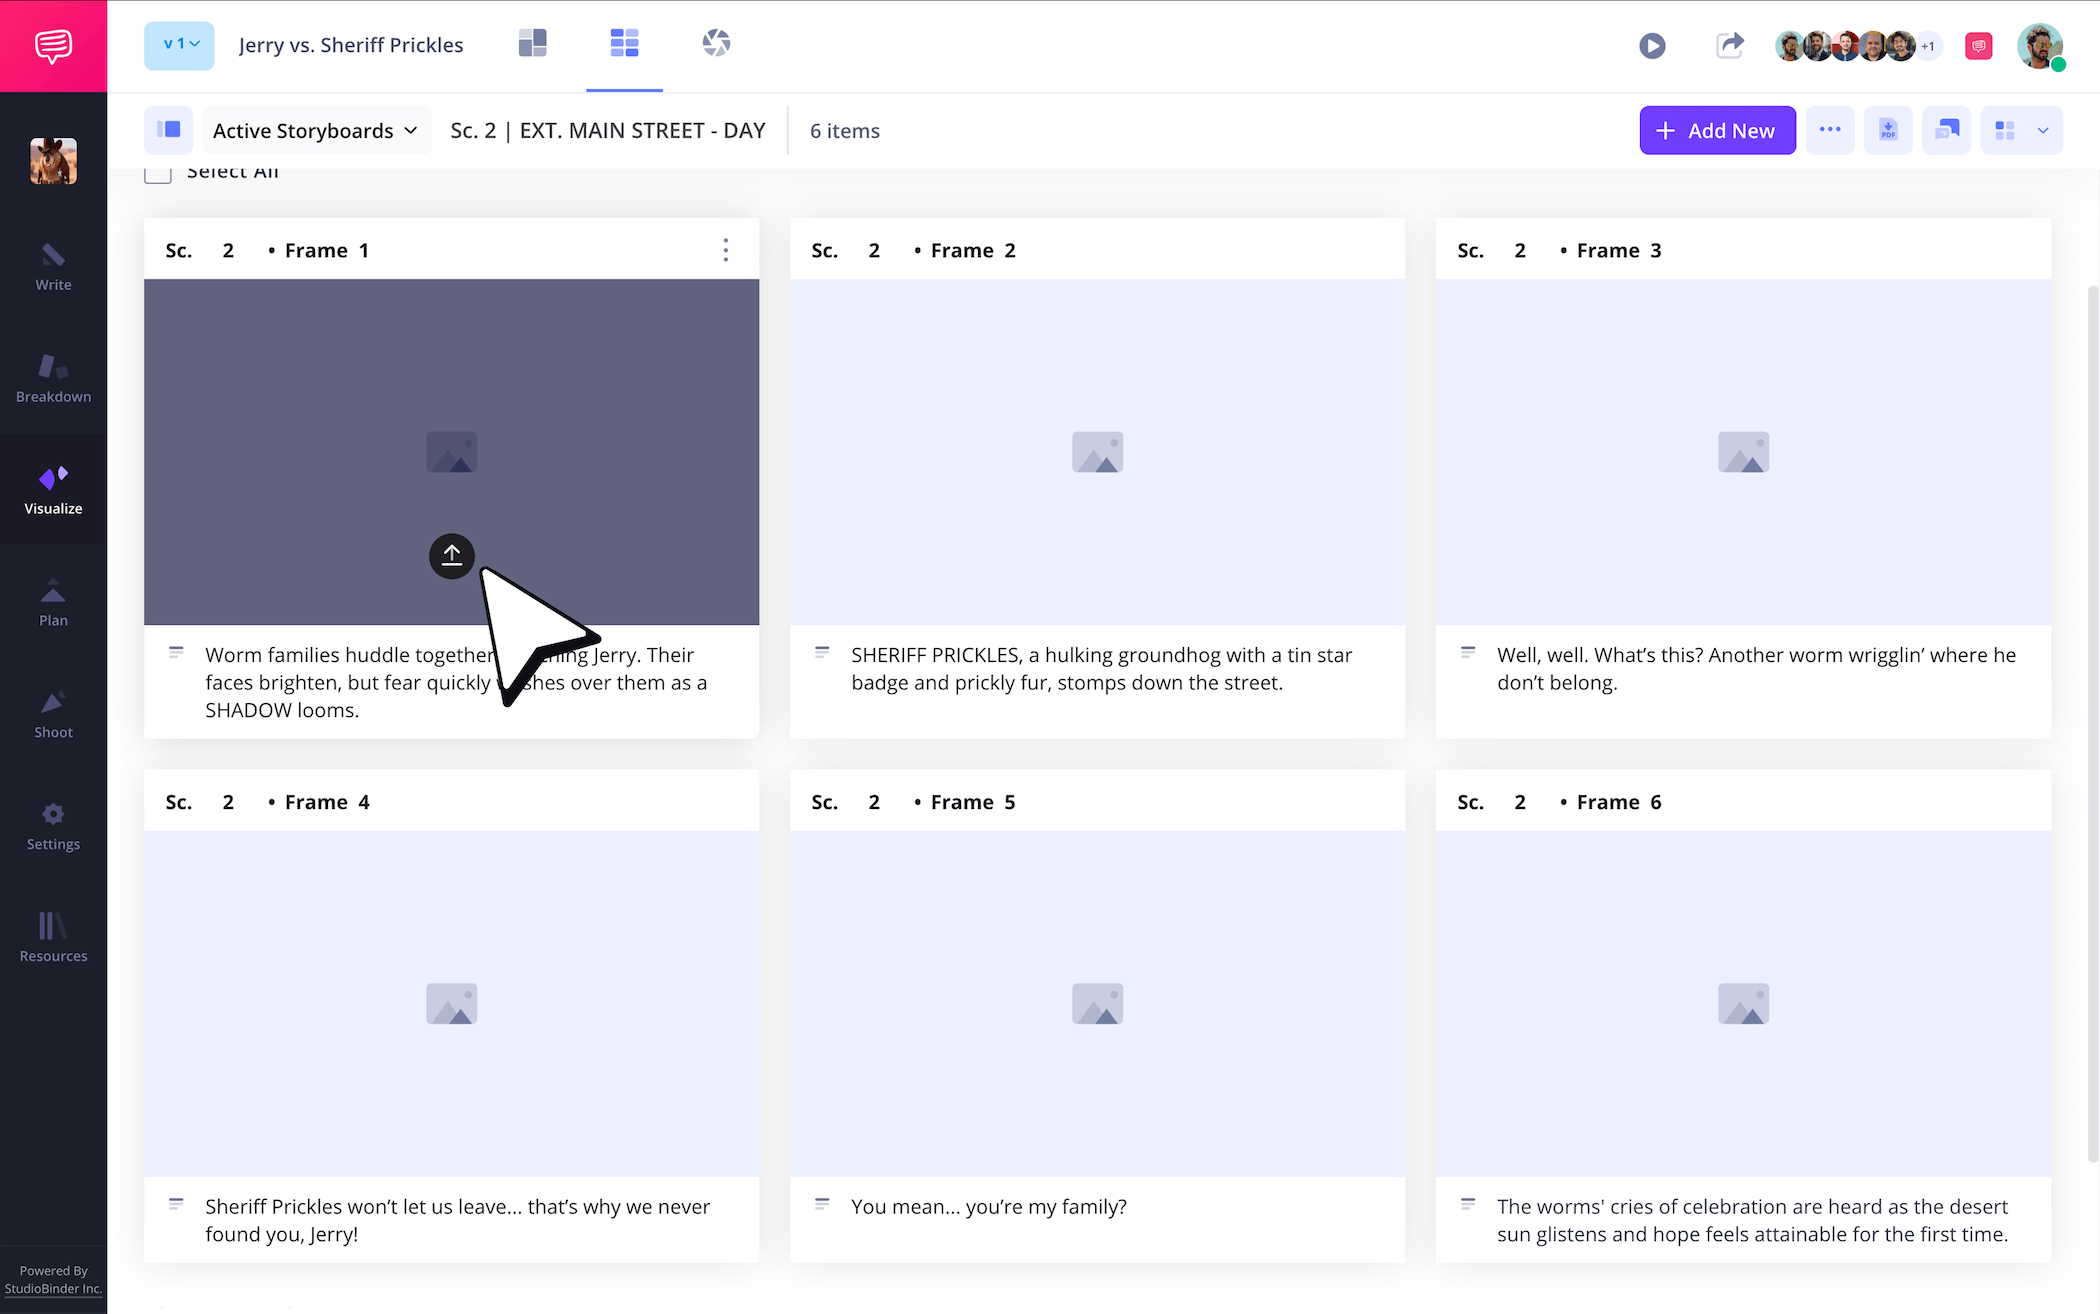
If you’re creating an animation storyboard layout, images are highly important. This is where you’ll put those environment and character design ideas into action. If you’re working with a one column storyboard layout template, make sure your descriptions showcase and expand on what’s happening in each image. When you’re ready to upload images in StudioBinder, just click the upload button on any panel.
Step 3
3. Use image arrows
Since the storyboarding process comes before the animatics process, camera and character movements need to be communicated as precisely as possible in a storyboard layout template. Even if you’re using your storyboard layout for filmmaking or social media purposes, adding that extra emphasis on movement in an image so nothing gets forgotten during production is vital.
Adding storyboard arrows for action to a panel image can be done in StudioBinder’s image editor. For our storyboard layout example, we customized a set of arrows to highlight a camera zoom shot in on our villainous Sheriff Prickles.
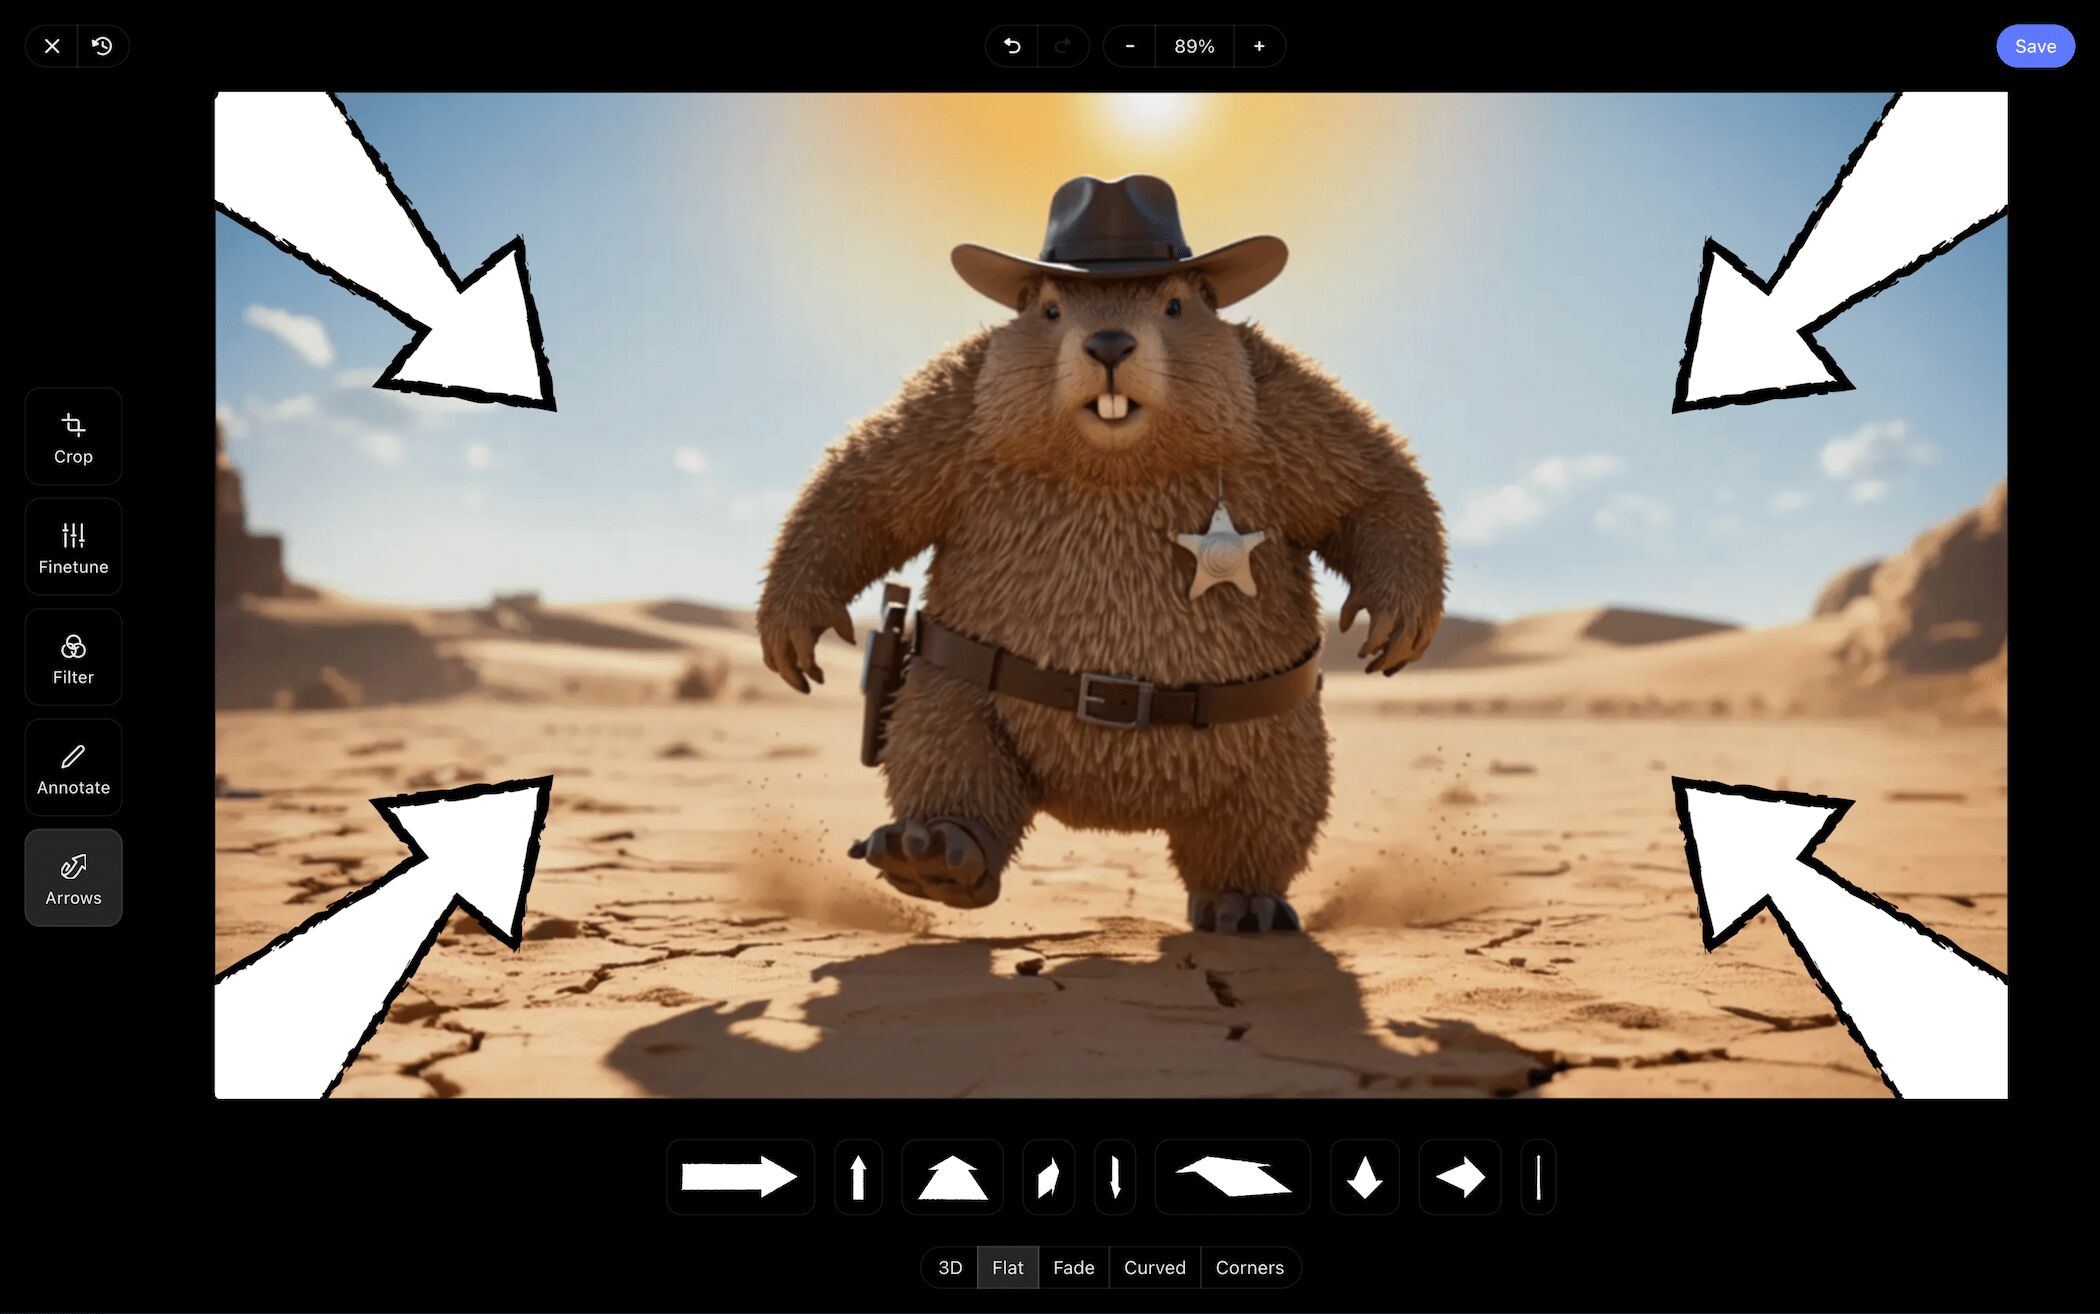
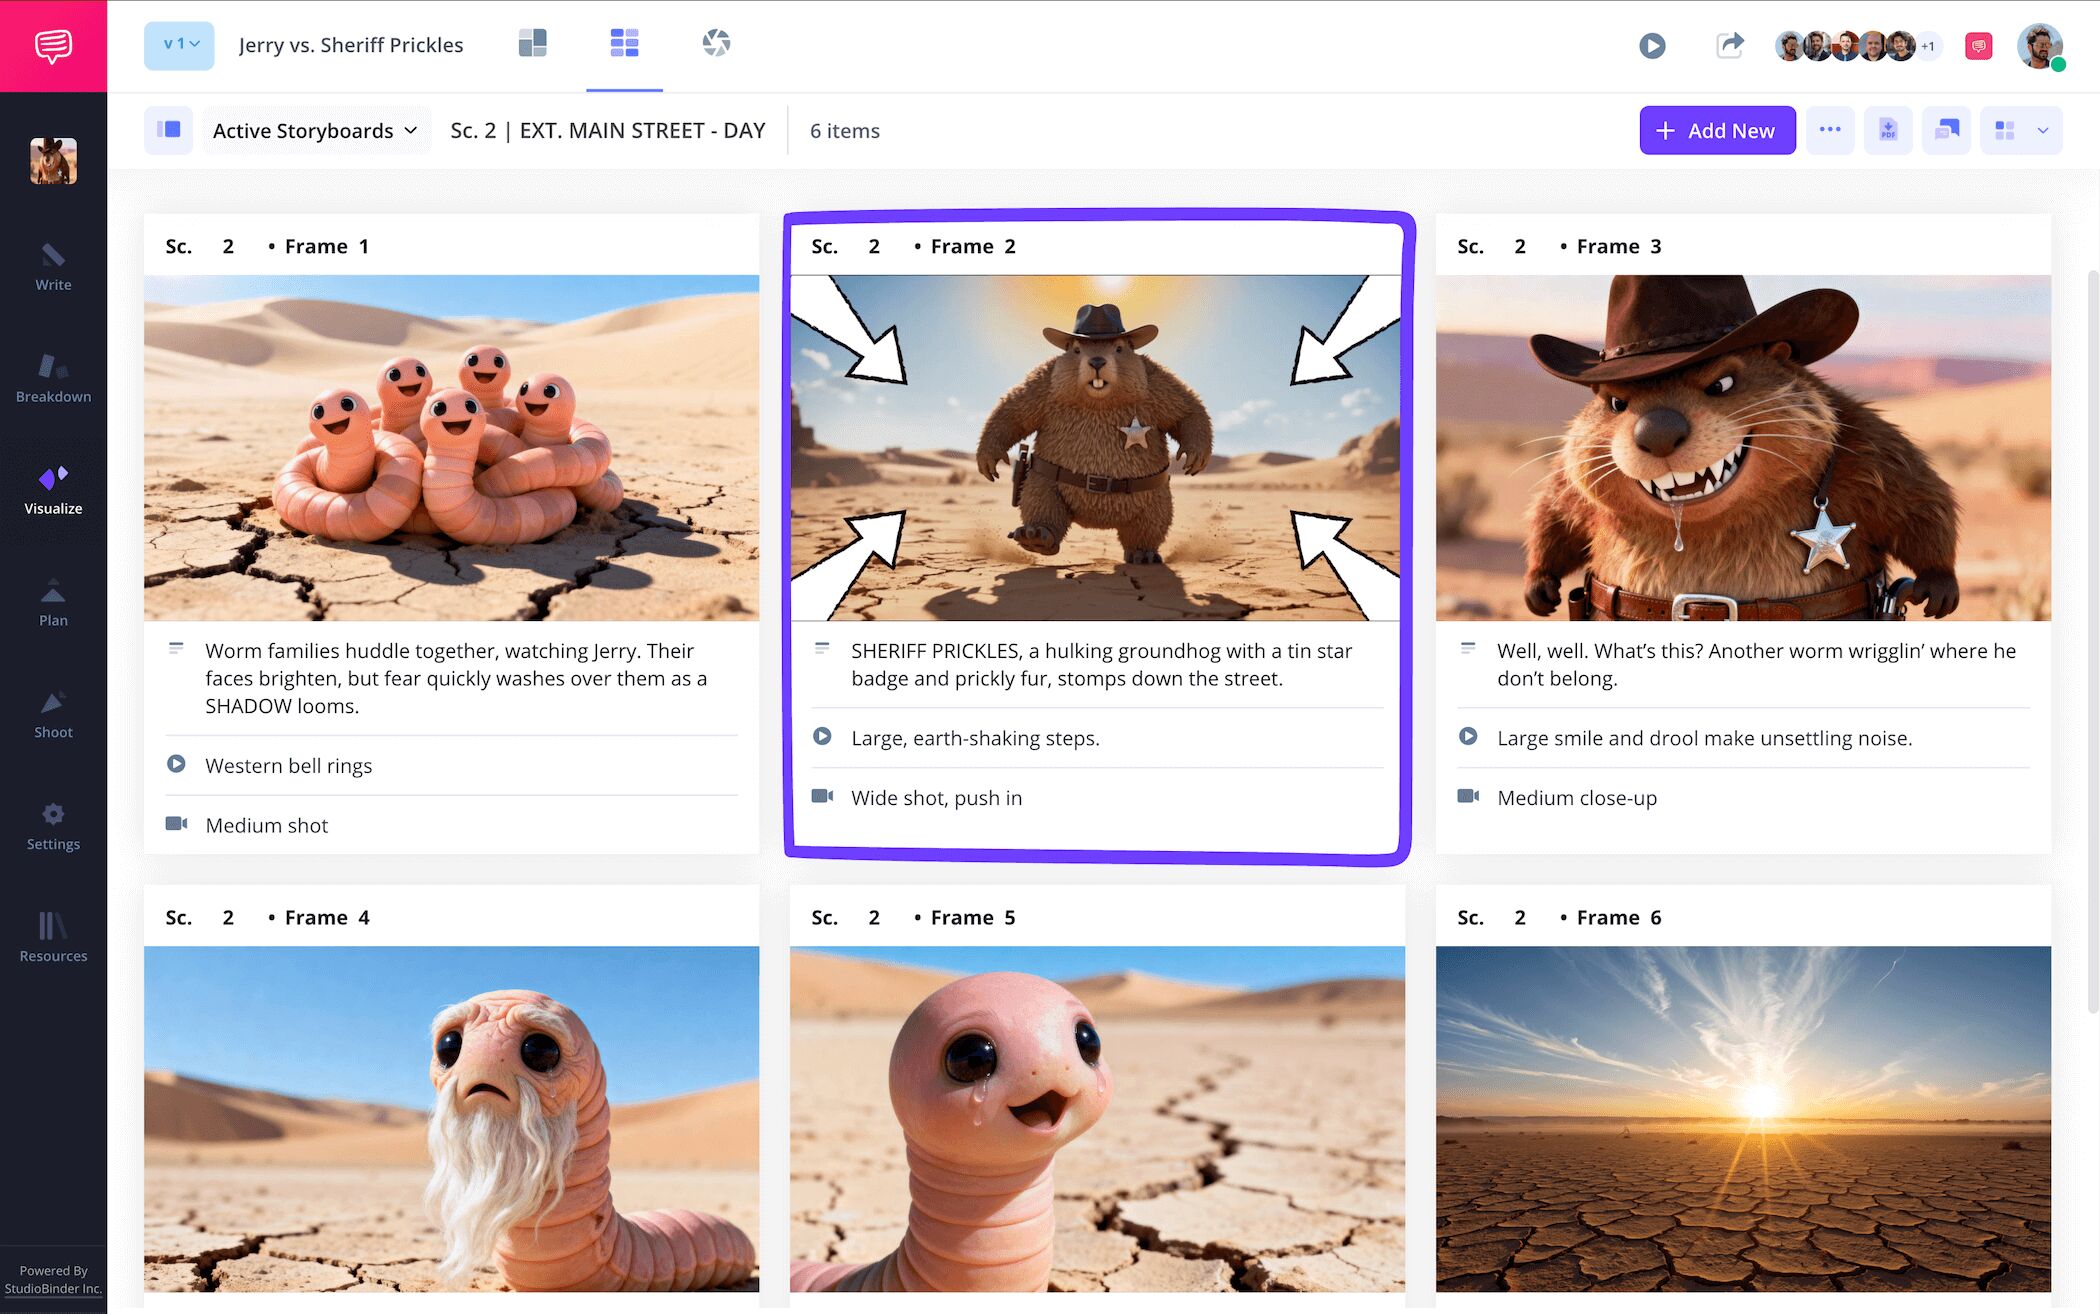
After we finished taking advantage of not just storyboard arrows, but all the customization options in the image editor, we clicked save and our freshly customized image was added into our storyboard layout in animation.
Step 4
4. Collaborate with your team
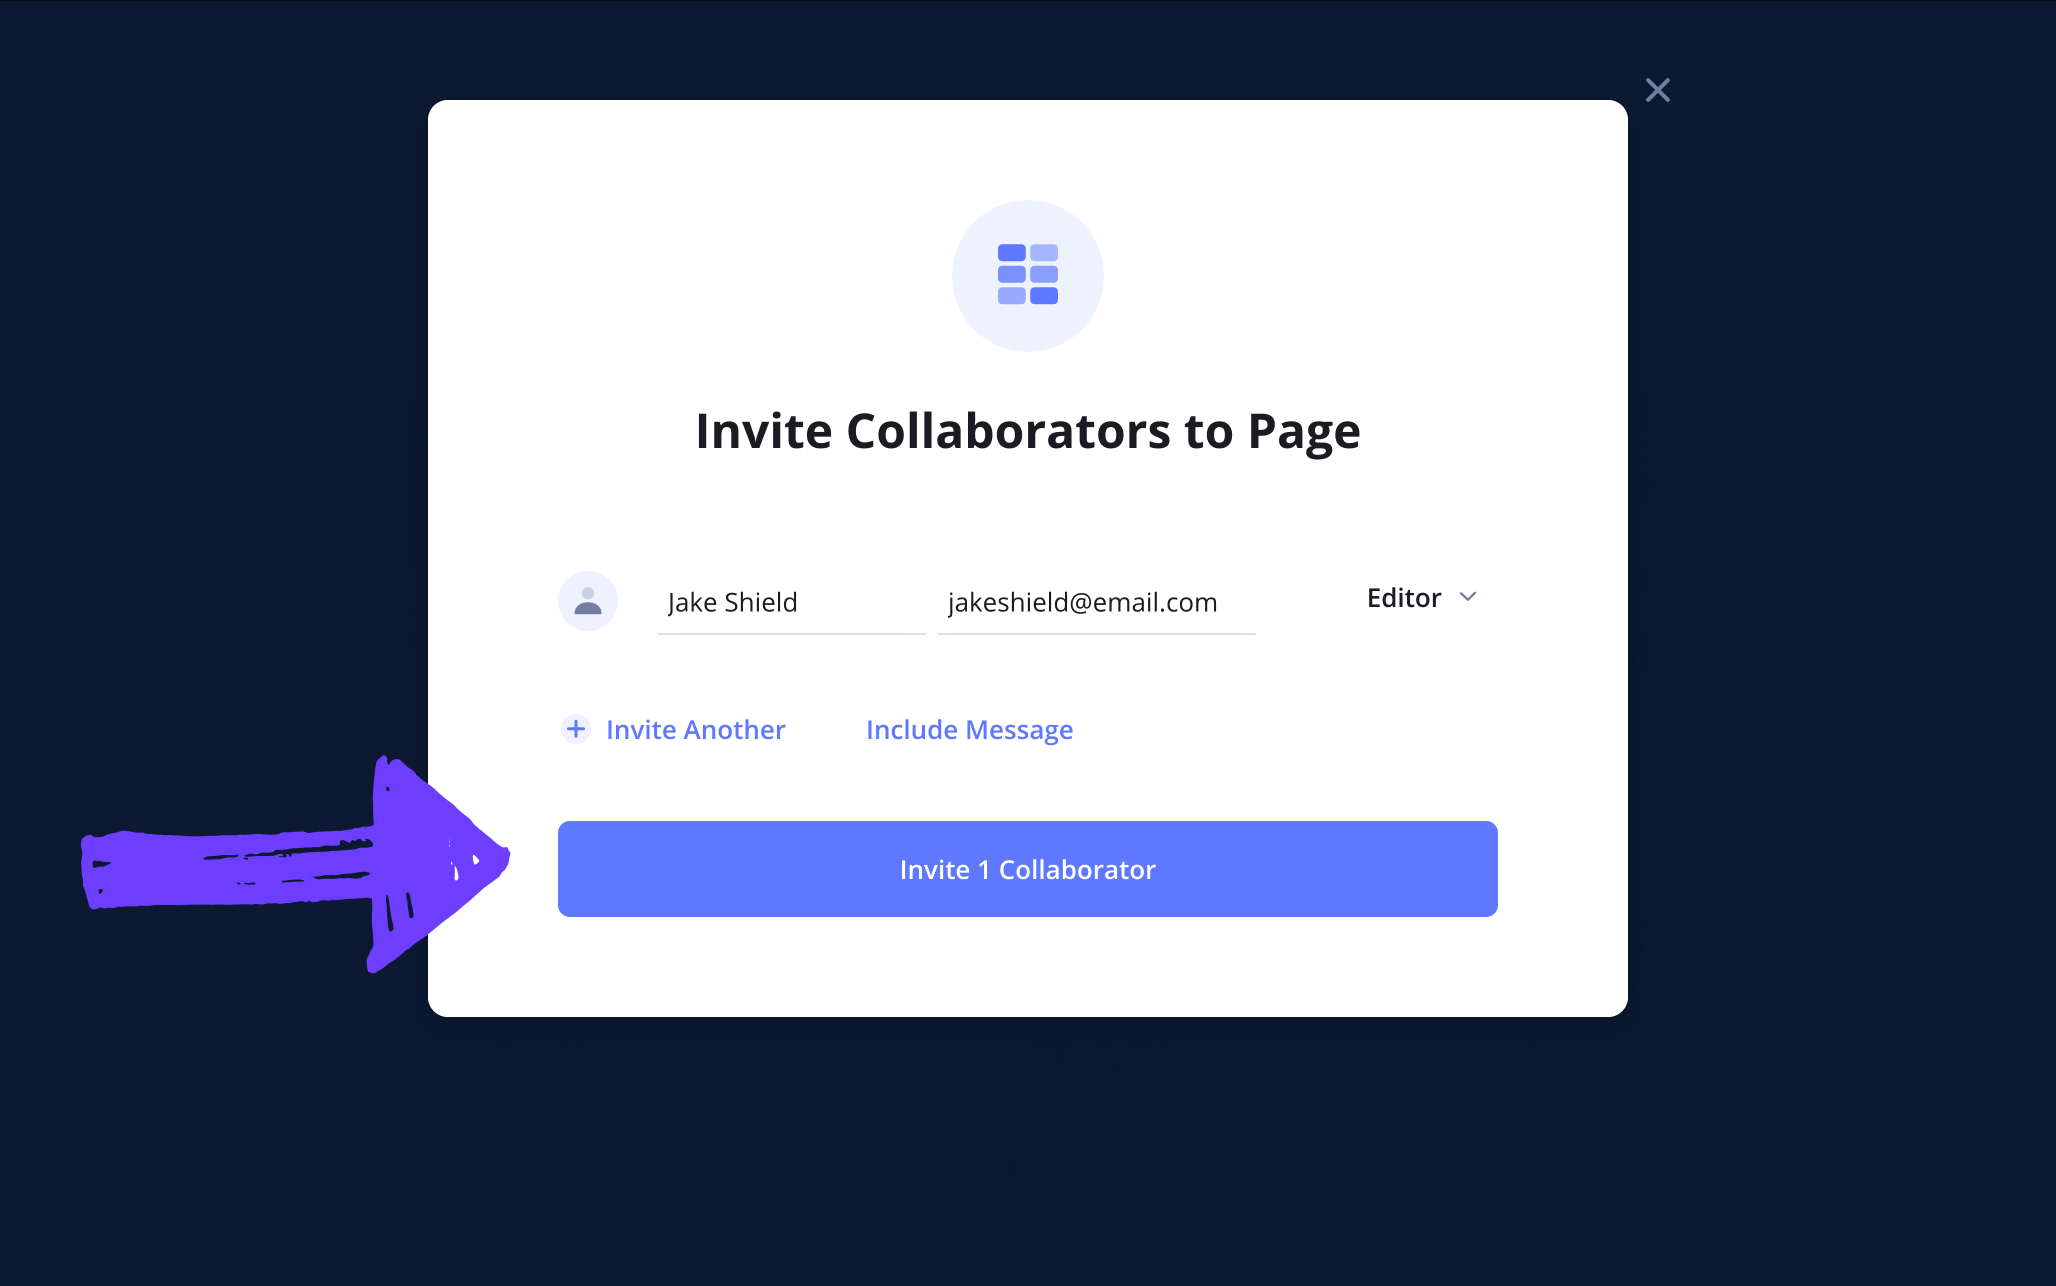
A storyboard layout in animation practically takes an army to create, edit, and approve. That’s why it’s important to have a singular hub for communication with your entire production team. If you’re working solo on a storyboard layout template project, it’s always good to make use of a view-only-link so any new eyes can take a look and give you a fresh outsider perspective. When you send an invite in StudioBinder, you also have the option to set your collaborators permissions to commenter or editor.
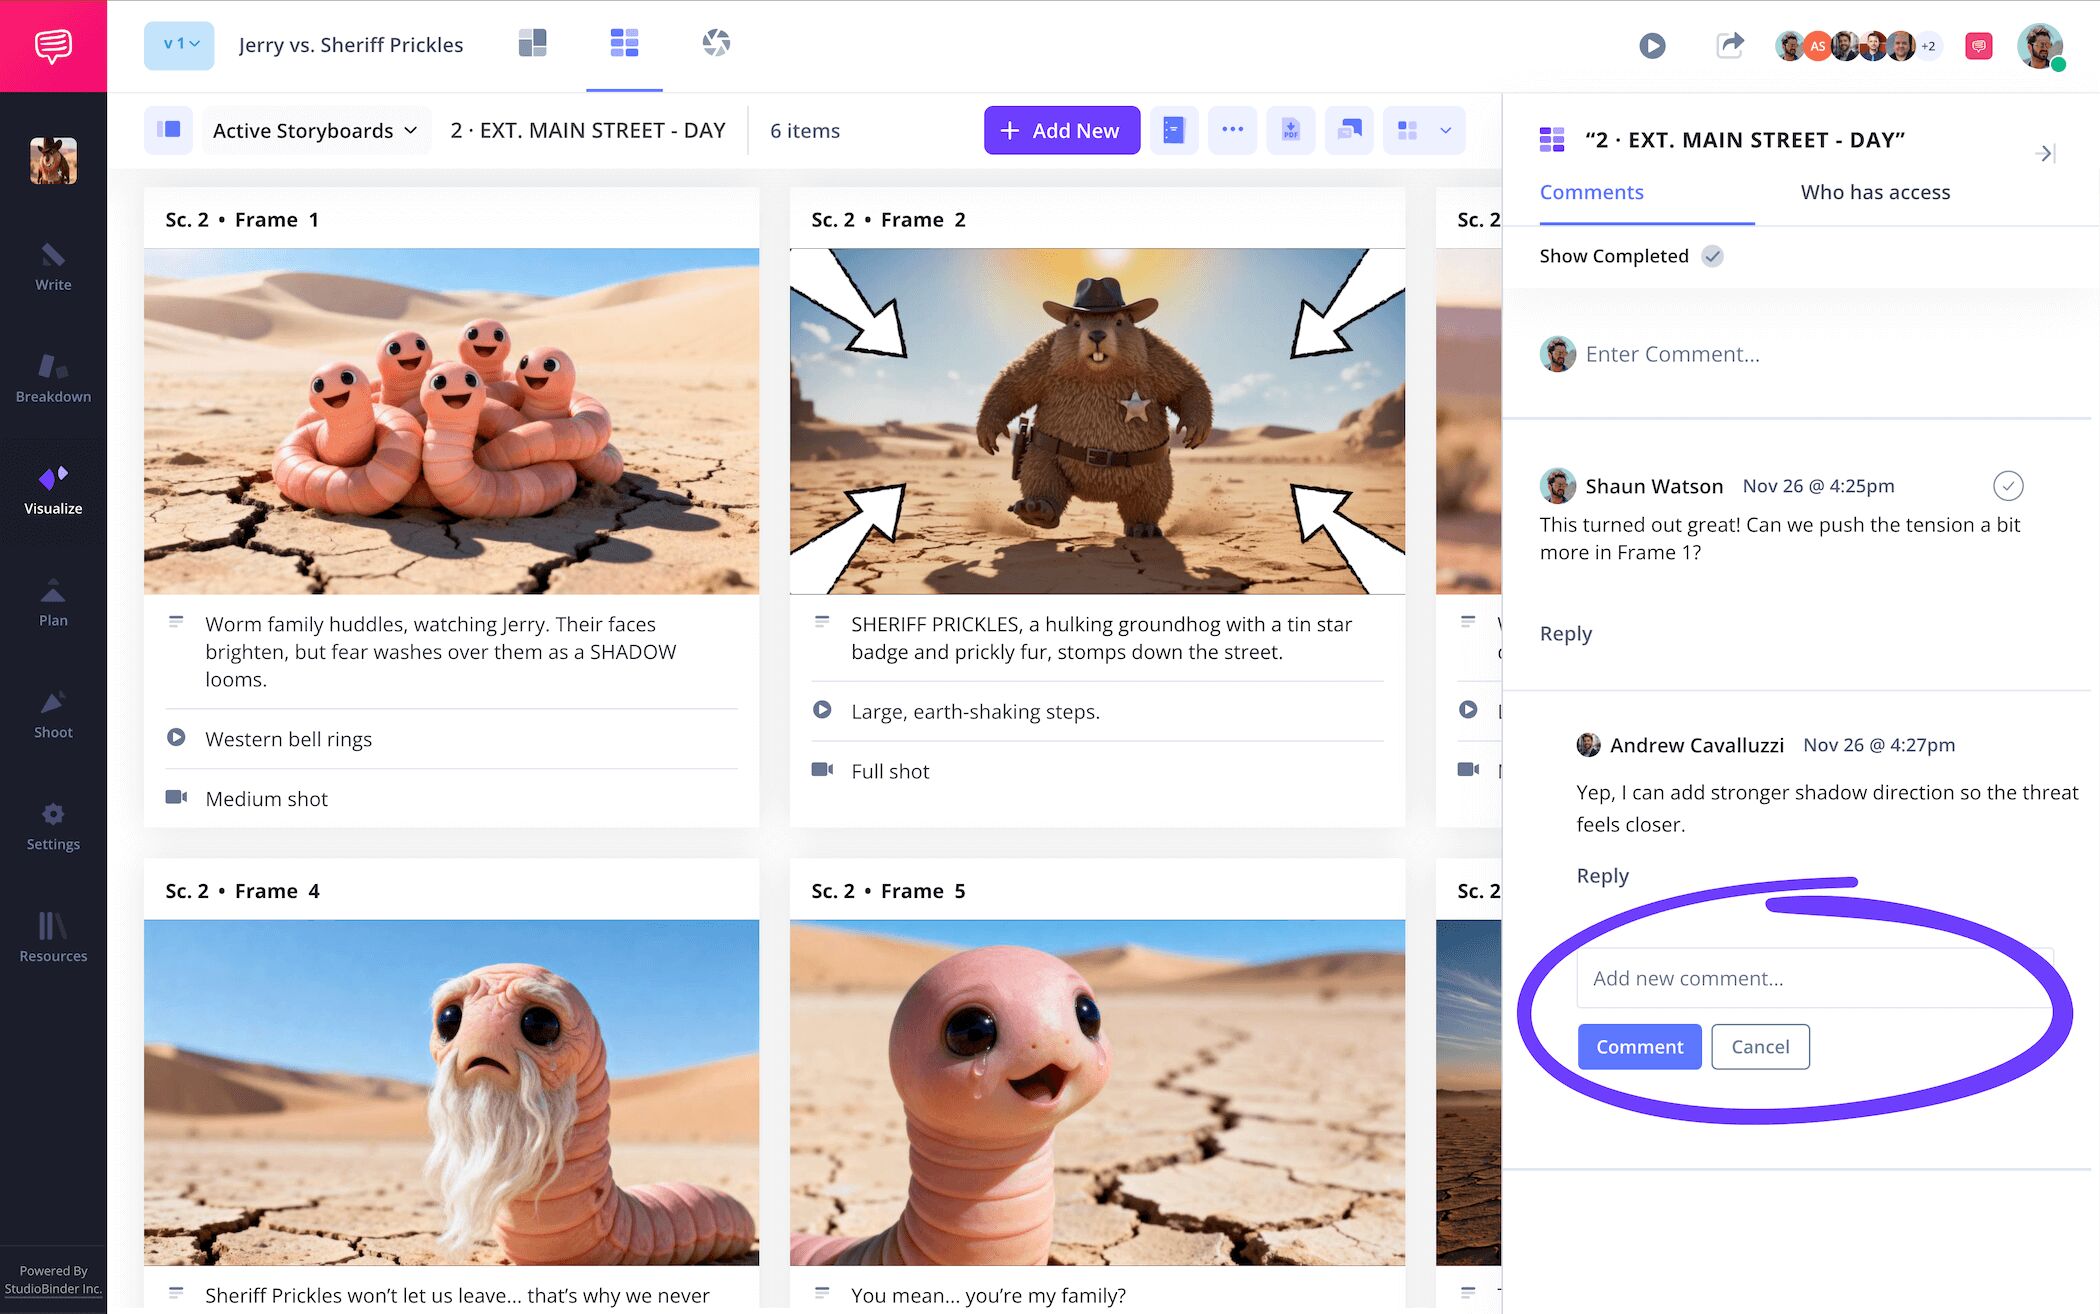
As your invitee looks over and adds their edits to your storyboard layout, you’ll want to hear out their thought process. Collaborators with commenter or editor permissions enabled can take to the comments tab and strike up a productive feedback conversation with you.
Step 5
5. Download a storyboard PDF
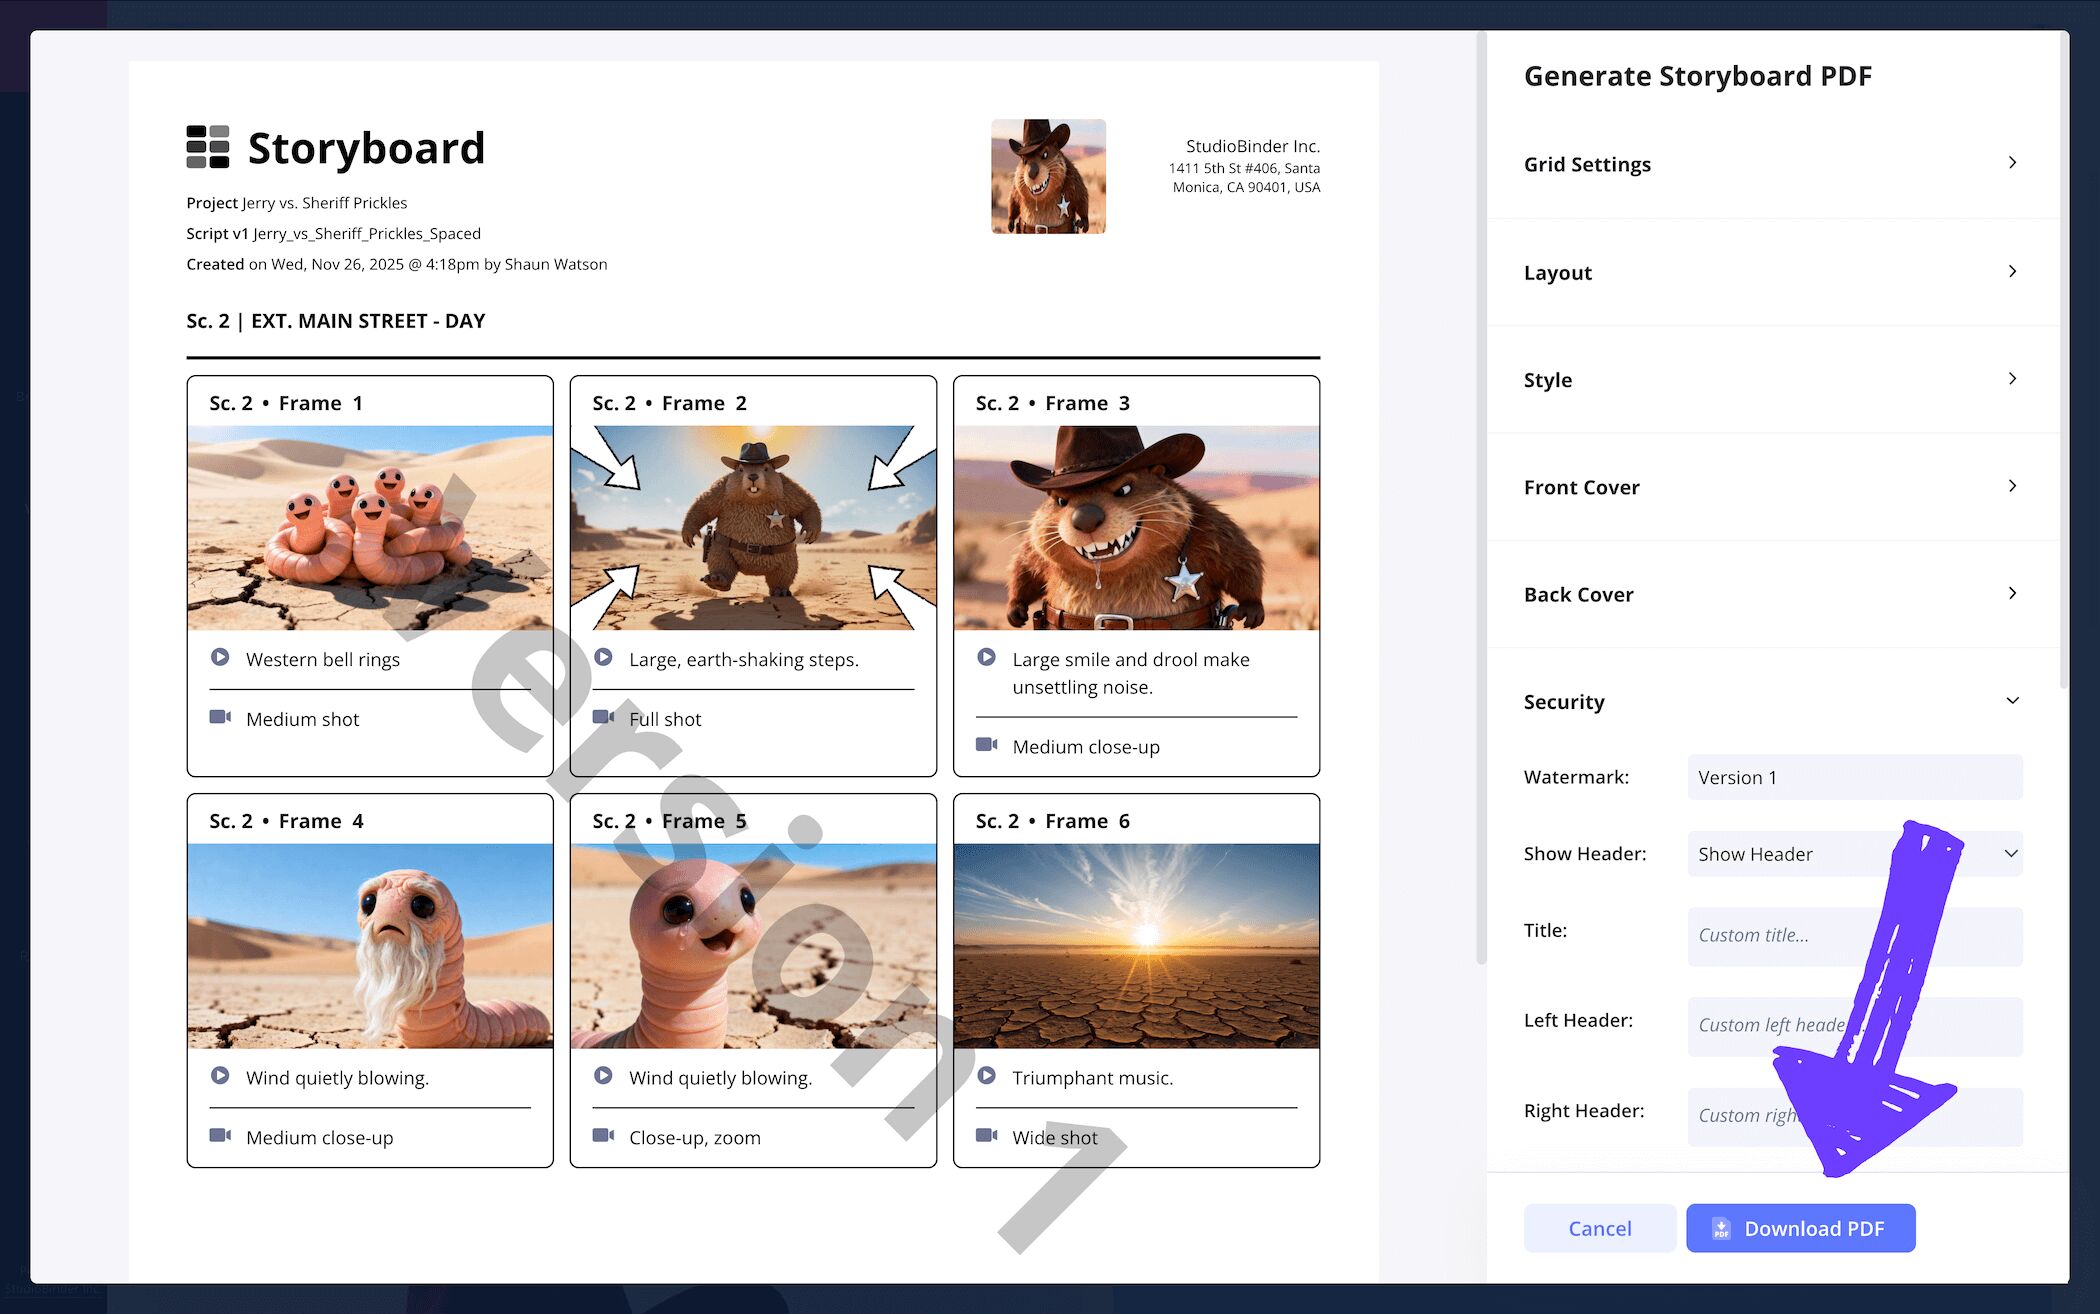
Now that you got your storyboard form all locked in, it’s time to download it into a PDF. It’s likely your layout storyboard project will need to be used by all sorts of individuals and production departments, especially if you’re working in animation. That’s why having the option to customize all angles of your PDF storyboard document to meet any specific requests will be extremely helpful.
For our storyboard layout example, we removed the grid settings for the animatics department’s PDF copy, and then left them in for the editing department’s copy. But when it comes to everyone’s PDF copy of our storyboard layout template, we added a watermark because you can never be too careful when it comes to leaks.
Conclusion
All finished!
Whether you’re working with a one column storyboard layout template, or a whopping five column layout, we hope this storyboard layout guide gives you the confidence and know-how to create and share your narrative vision with the world. But StudioBinder also has so much more to offer in the realm of storyboard layouts, so make sure you check out all our free storyboard templates!
Frequently Asked Questions
Your questions, answered
To plan out your creative vision with a storyboard layout, you’ll want to start simple and brainstorm not just the story itself, but also the abstract feel and flow of your story. Then you can start writing out the essential beats of that narrative flow into the empty fields below each panel. Now it’s about bringing those descriptions to life through images. If you’re not a professional storyboard artist, it’s not uncommon to outsource the drawing or pull reference images from the internet. When you’ve got your images and descriptions all laid out, the final step is making all the little adjustments and fixes to make the feel and flow of your narrative as precise as it can be.
The best storyboard layout template depends on the type of storyboard you’re putting together. If you're storyboarding for animation, it’s most typical to have only one or two storyboard panels per row, this way the animators won’t miss a single beat of detail. In the film industry, it’s typical to keep the storyboard at three to six panels per page, this way a narrative flow can be noticed, but the imagery and descriptions are still at a size that emphasizes their importance.
A free storyboard template is a pre-made storyboard blueprint that can be downloaded for free online. From Word document templates to StudioBinder templates, any kind of column layout or panel aspect ratio can be found through a quick search. With a free storyboard template, you can then lay out your narrative vision to prepare you before you film or animate the final version.
With a blank storyboard template, you won’t have to worry about creating the storyboard grid itself. Blank storyboard templates of all shapes and sizes can be found on the internet to fit whatever storyboarding needs you have. When you find the storyboard template that works for you, start planning out your narrative ideas scene by scene. Start by writing each story beat in the description field, then bring those descriptions to life by adding images into each blank panel.
