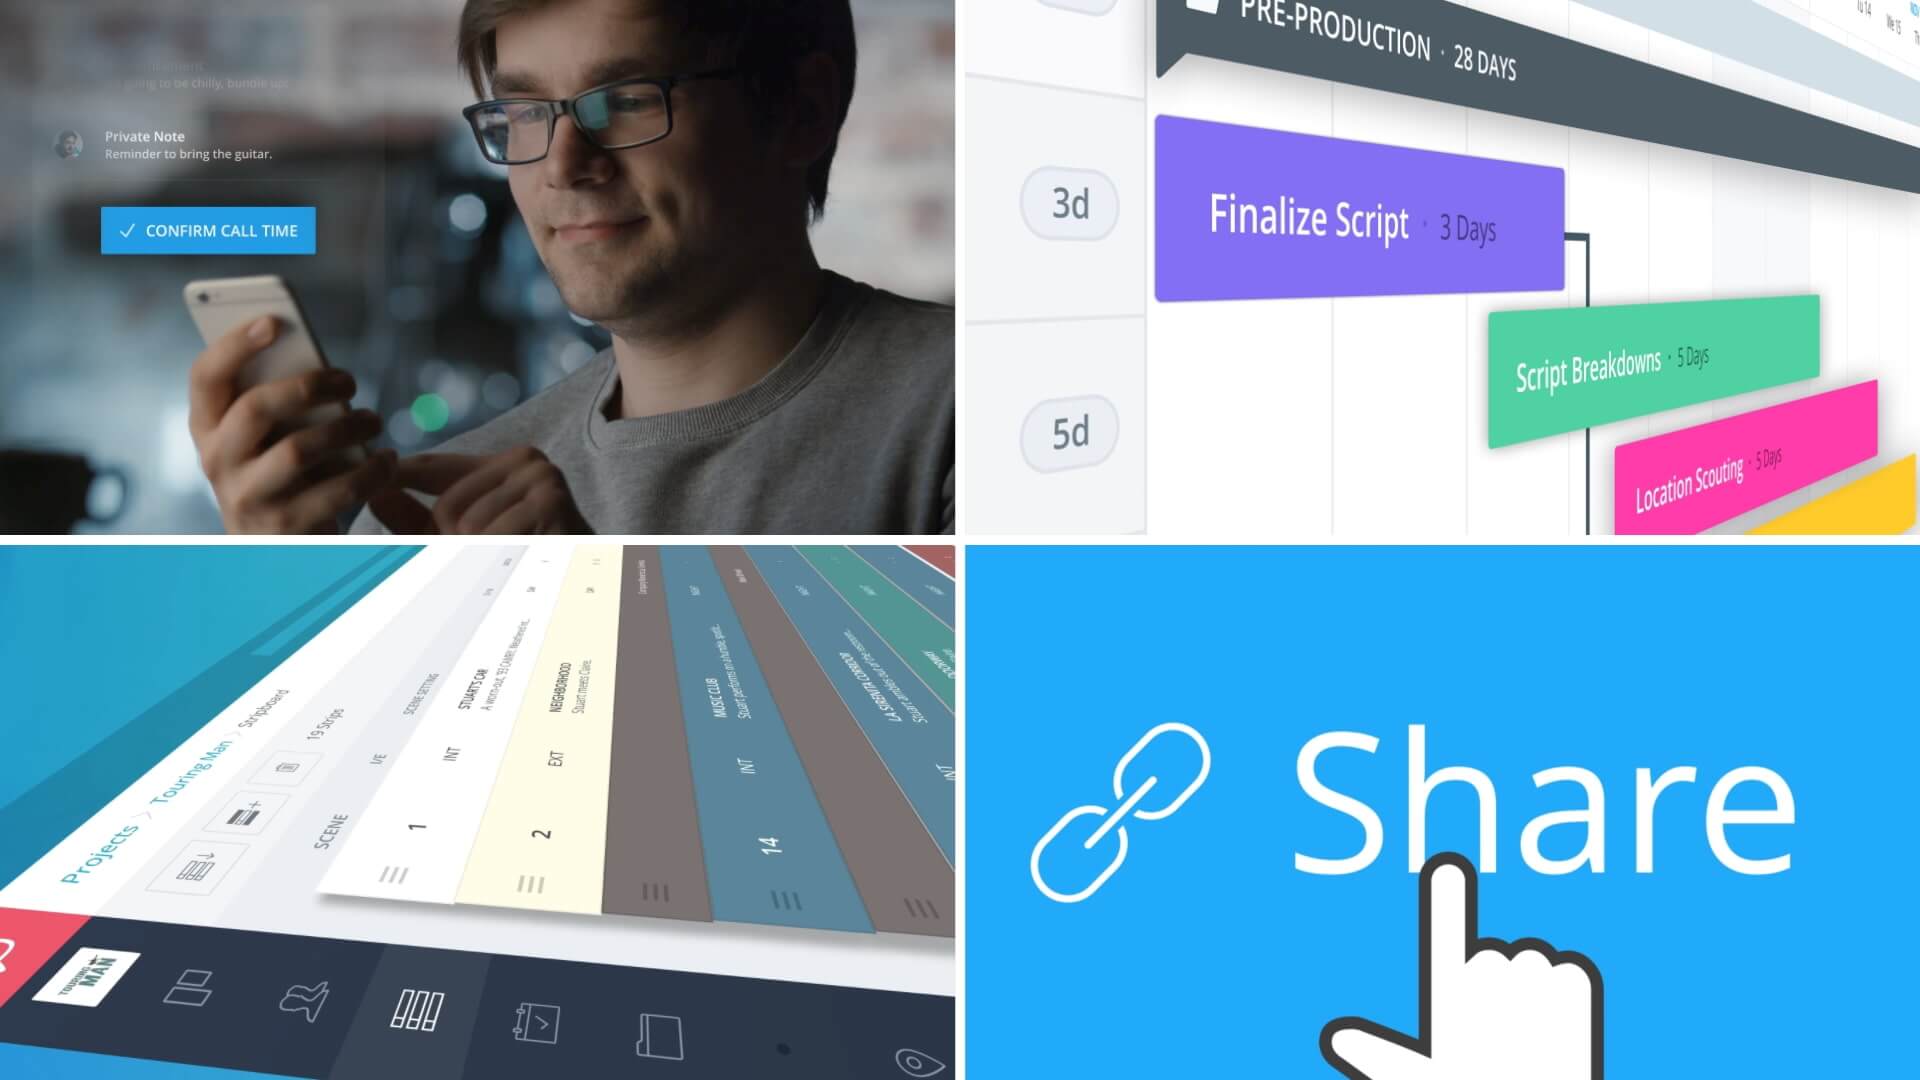
As your filmmaking career progresses you’re going to be working with more and more people all the time. Each new project might be a completely different crew than the last. So, how do you manage this with a production software? Well, with StudioBinder’s Collaborator feature it’s as easy as typing an email. Come along for a step-by-step guide to using StudioBinder’s collaborator feature.
Introducing Collaborators
First, what’s a collaborator?
No man is an island — and neither is a filmmaker. In the arts, literature and painting are solo endeavors. Even dance or music can be done in solitary. Filmmaking, on the other hand, almost always requires teamwork and collaboration. Sure, Robert Rodriguez was a rebel without a crew on El Mariachi but that's merely the exception that proves the rule.
Let's assume you've gathered your department heads and the bulk of your crew. How do you bring them into the process to get the most out of those collaborations? That's why we're here today. Gone are the days of emailing everything or sharing through Dropbox. StudioBinder was designed to have every element in the collaborative process built into the platform.
There are a couple different ways to collaborate on a project within StudioBinder, either being a Teammate or a Collaborator. Let’s quickly go over the latter to see what a collaborator is and what they can do.
Collaborator Definition
What is a collaborator?
A collaborator is an individual you invite to access a specific page within your projects. Similar to sharing a Dropbox link, they do not need login credentials to access the page. Depending on the permissions you set for a collaborator, they can view, add comments, or fully edit the content of a page. Collaborators can be invited on the Studio plan (or above), and their access can be revoked at any time.
Alright, with that out of the way, let’s get to the point. How do you use the feature?
Project Features
Step 1: Select page to invite to
Like mentioned above, collaborators can be invited to specific pages within a project to either view, comment, or edit. So, we’ll first need to decide which page we’re going to be inviting a collaborator to.
For my example, let’s say I’ve just hired a DP and all they really need to do at the moment is begin to set their shot list. So, from the project overview page, I’ll click on Shot Lists & Storyboards.
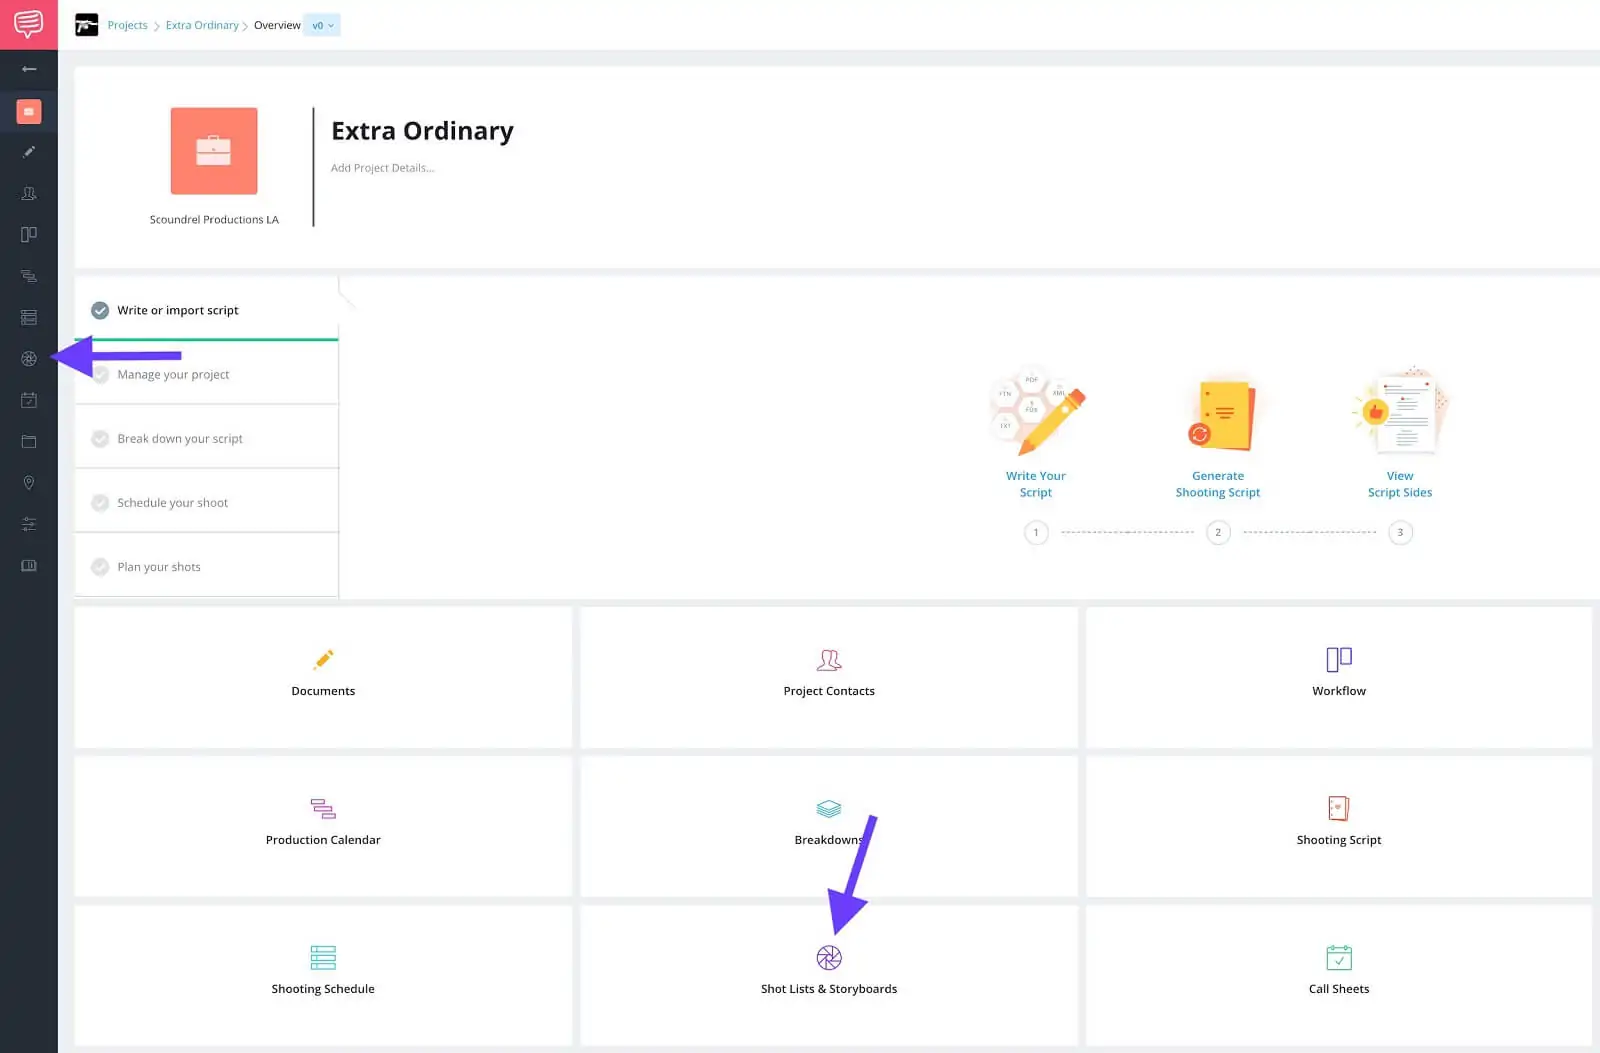
Project overview page • Shot lists & storyboards
This takes us to the shot lists & storyboards page and to step two...
Tasks
Step 2: Add tasks (optional)
Depending on who you’re inviting to a page, you might want to do a little prep work. For example, say the DP is having an assistant do a little work before they jump in. You might want to lay out a few tasks for them on the task sidebar before inviting them to the page. That way they know exactly what to do and you can keep track of when it has been completed.
To open the tasks sidebar, click on the Comments button, or the button with the two chat bubbles, then click Tasks.
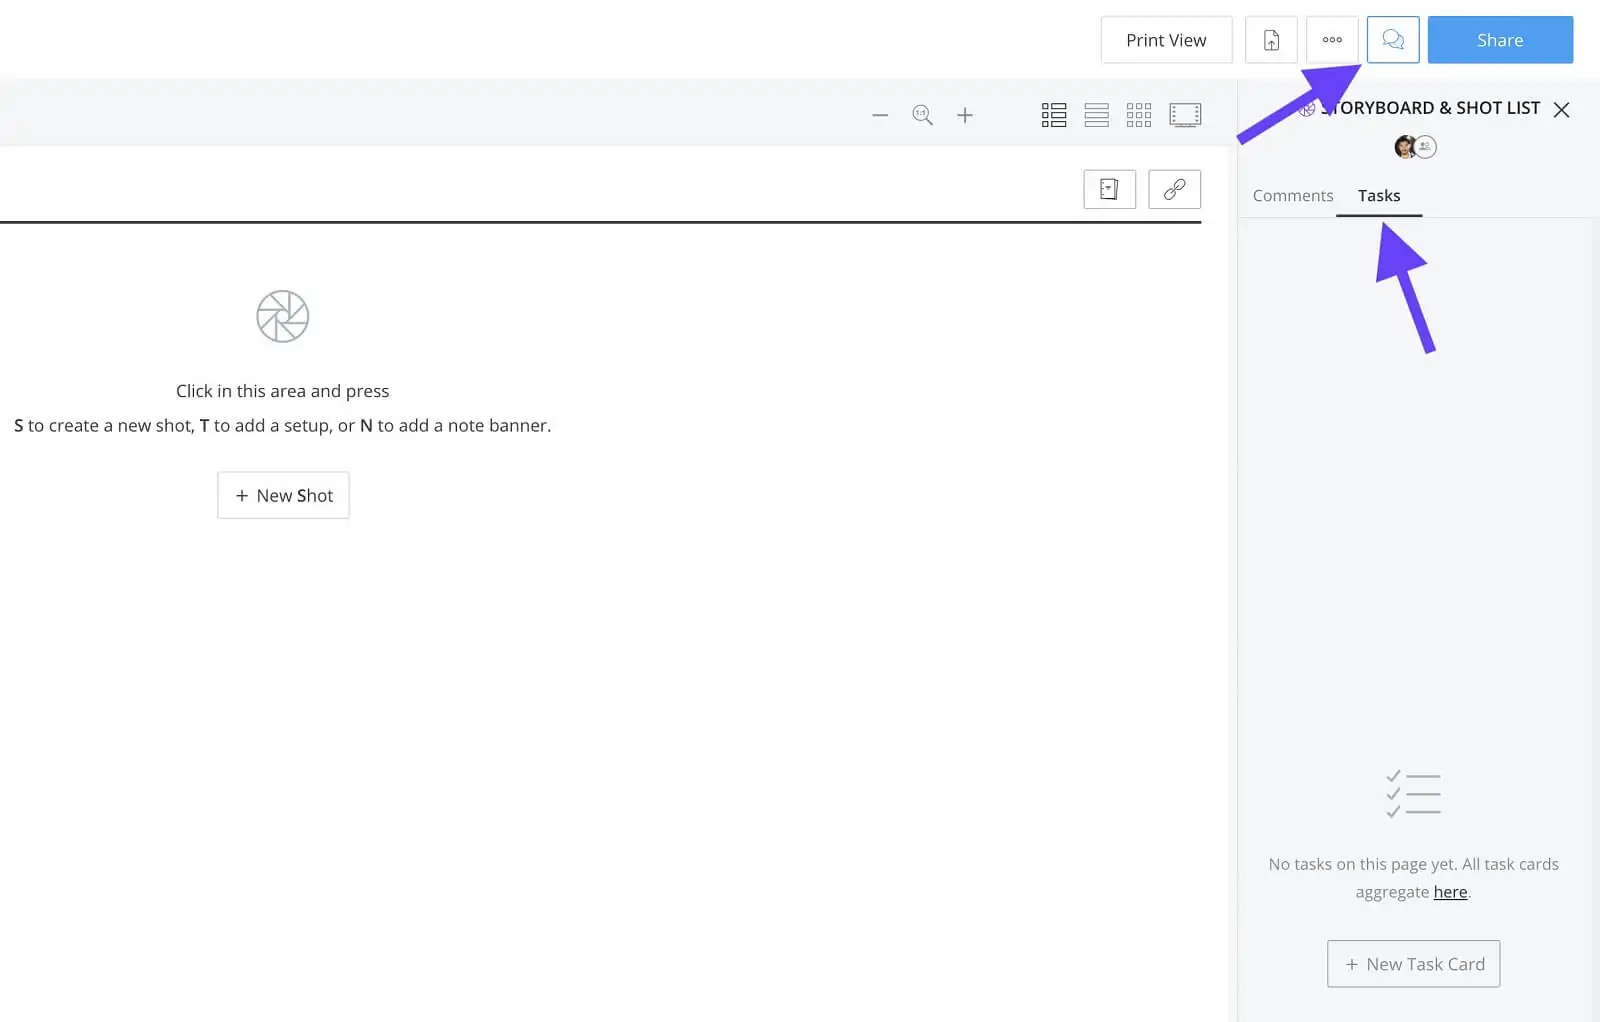
Click comments button • Click tasks
Now, click + New Task Card, give it a name and press enter. This will bring up the task card window.
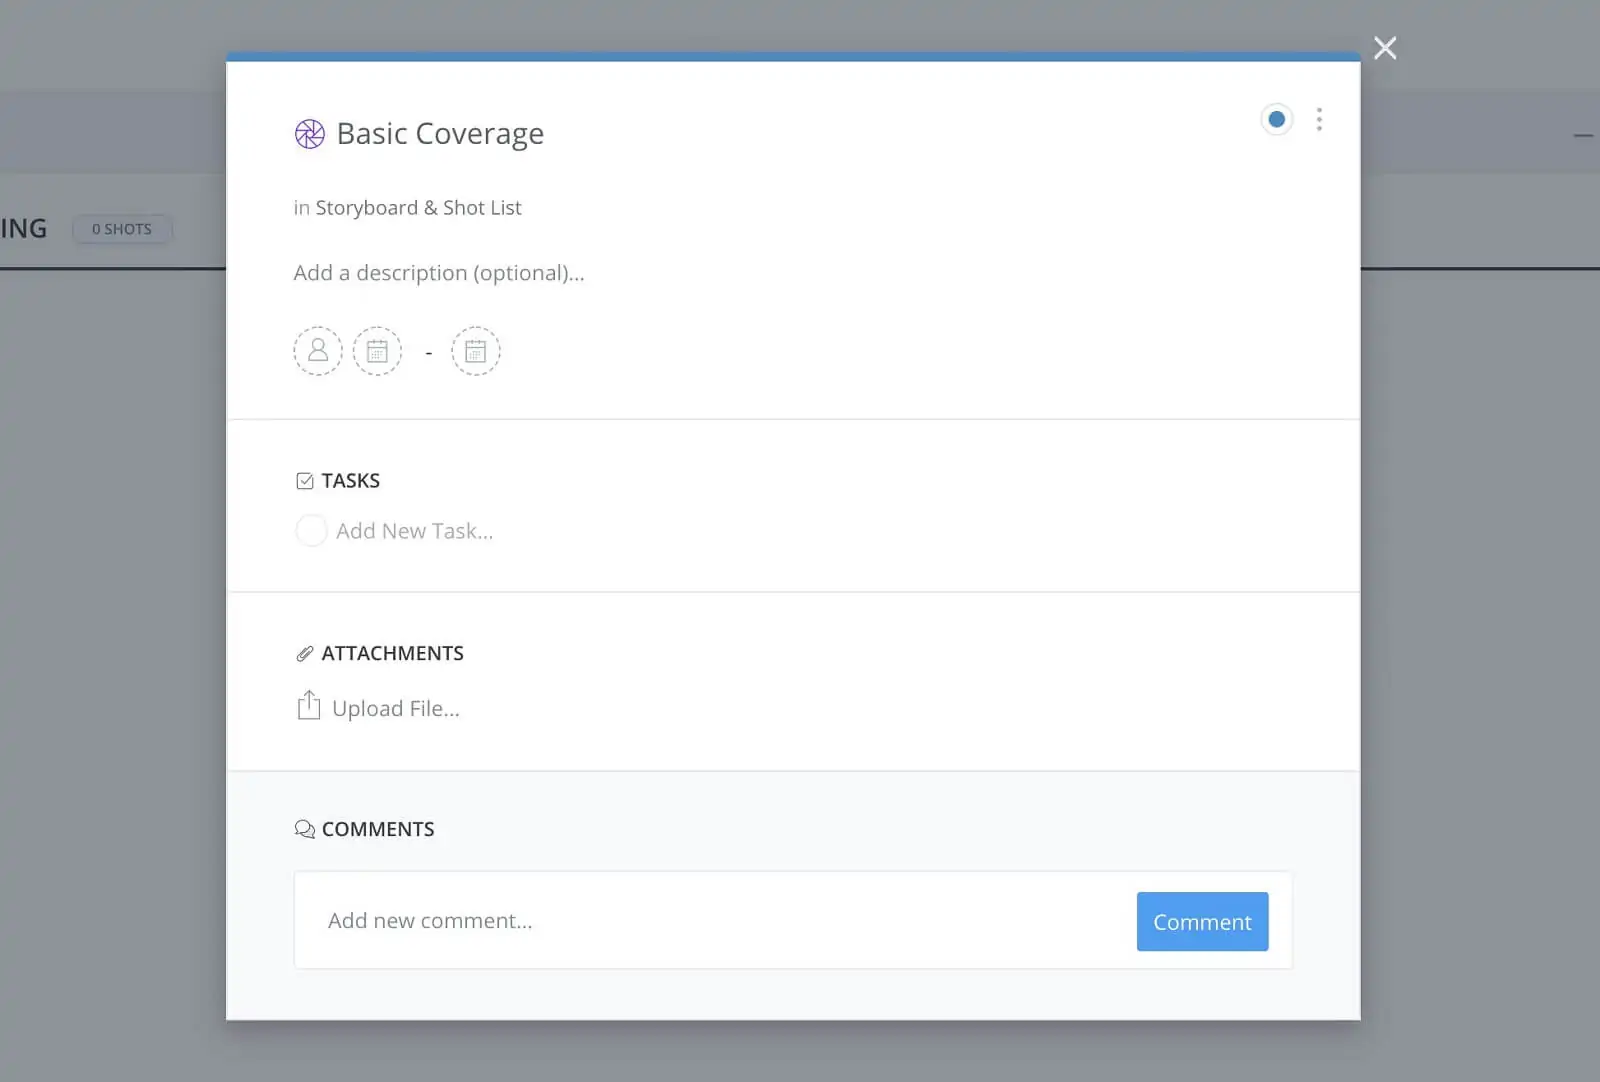
Shot lists & storyboards • Empty task card
Now, you can add any tasks that you need to, add attachments, set a due date and add any comments if needed.
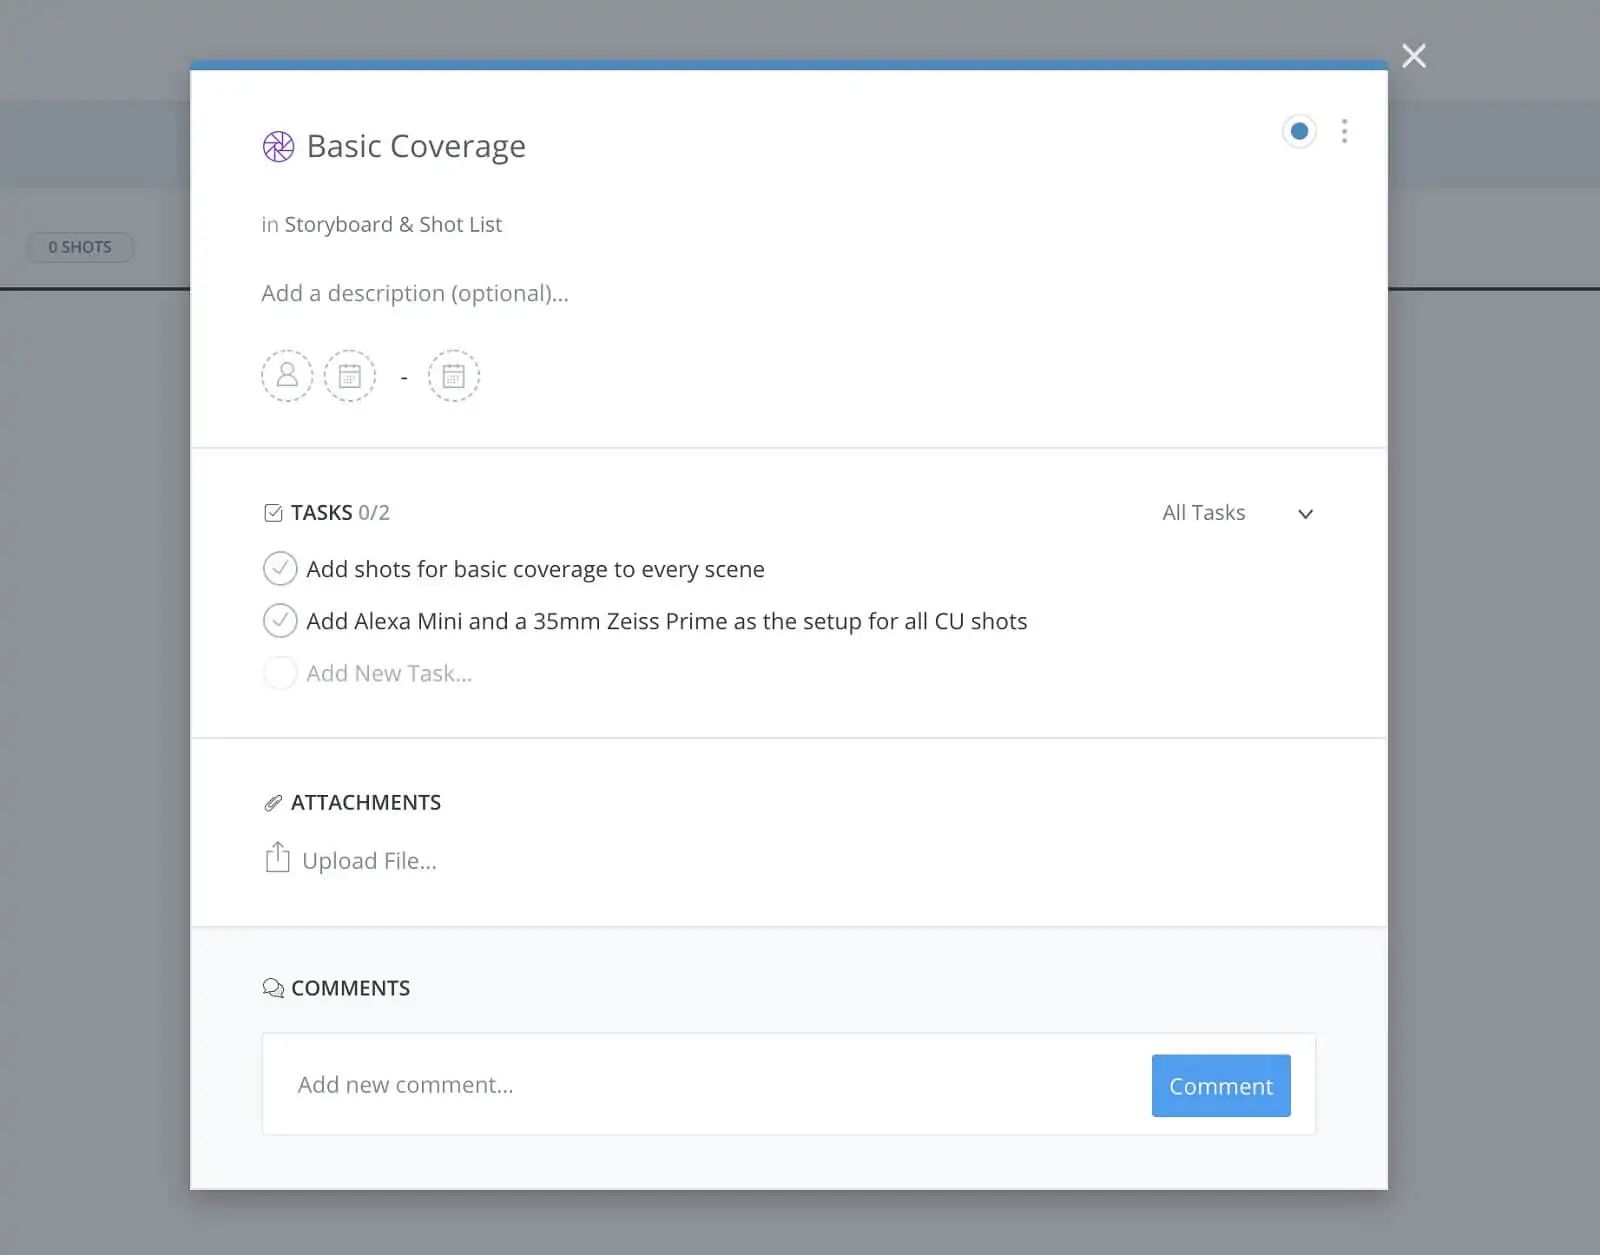
Task card • Populated tasks
Once you’ve finished click outside of the task card window to get back to the shot lists & storyboards page and on to step three...
Collaboration
Step 3: Invite the collaborator(s)
Alrighty then, now that the stage has been set in a sense, it’s time to invite the collaborator or collaborators who we need to work on this page. Keep in mind that collaborators are not required to have a StudioBinder account at all and with the Studio plan (or above) you have the ability to invite unlimited collaborators.
Ok, to invite collaborators, click on the Share button.
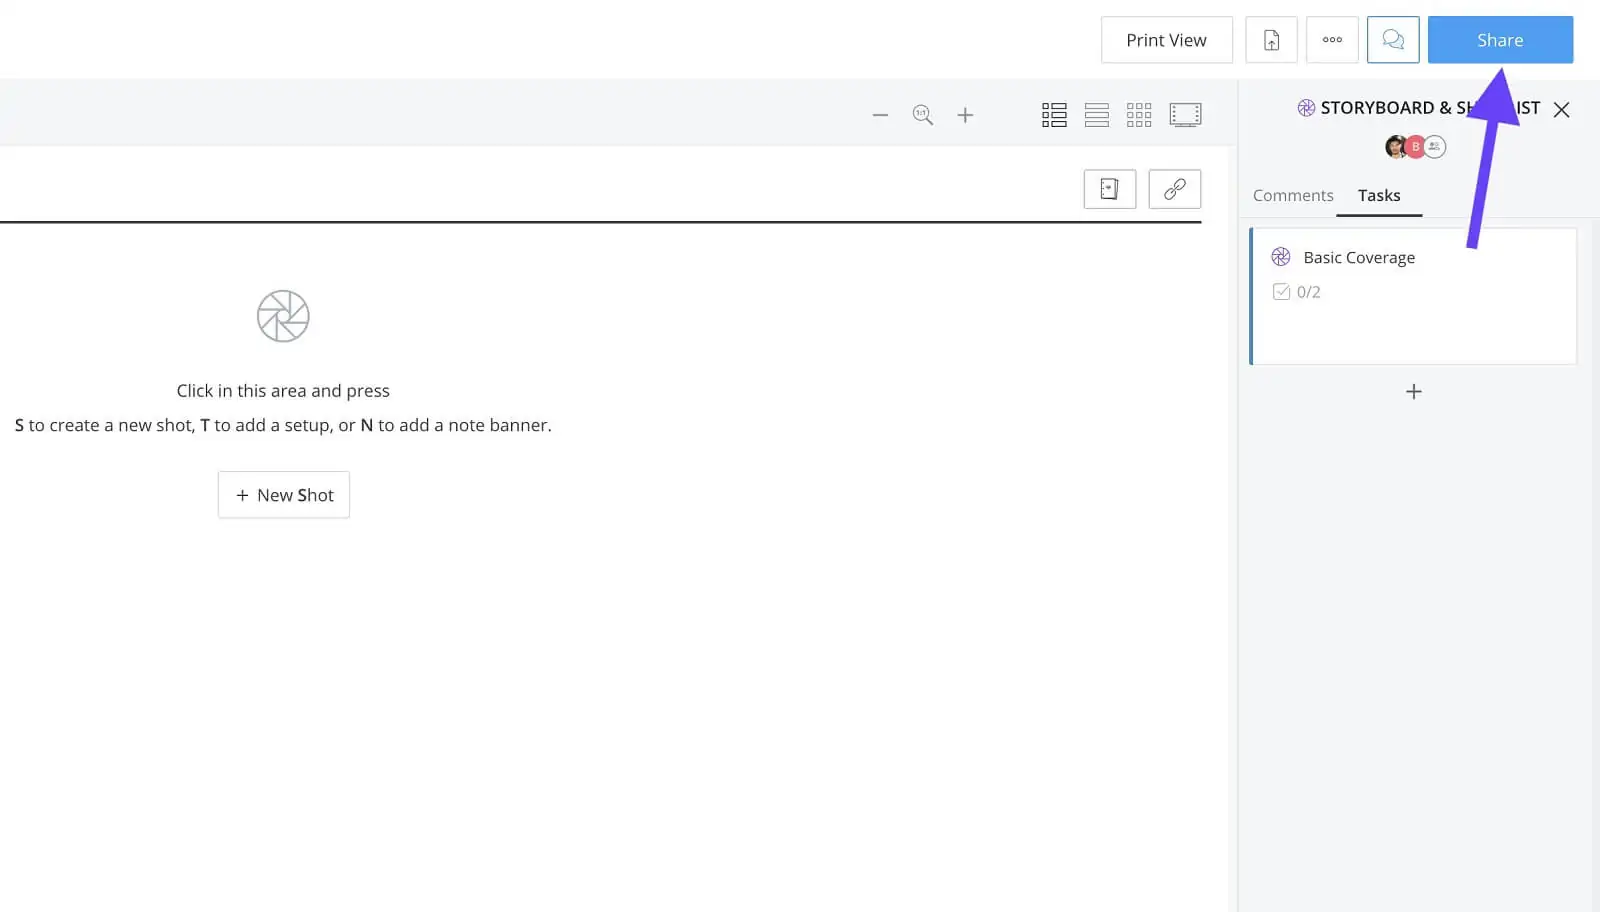
Shot lists & storyboards page • Click share
This brings up the share page where you’ll see an option to generate a view-only link, a list of anyone who has access to the page (teammates, collaborators), and finally the section to invite collaborators.
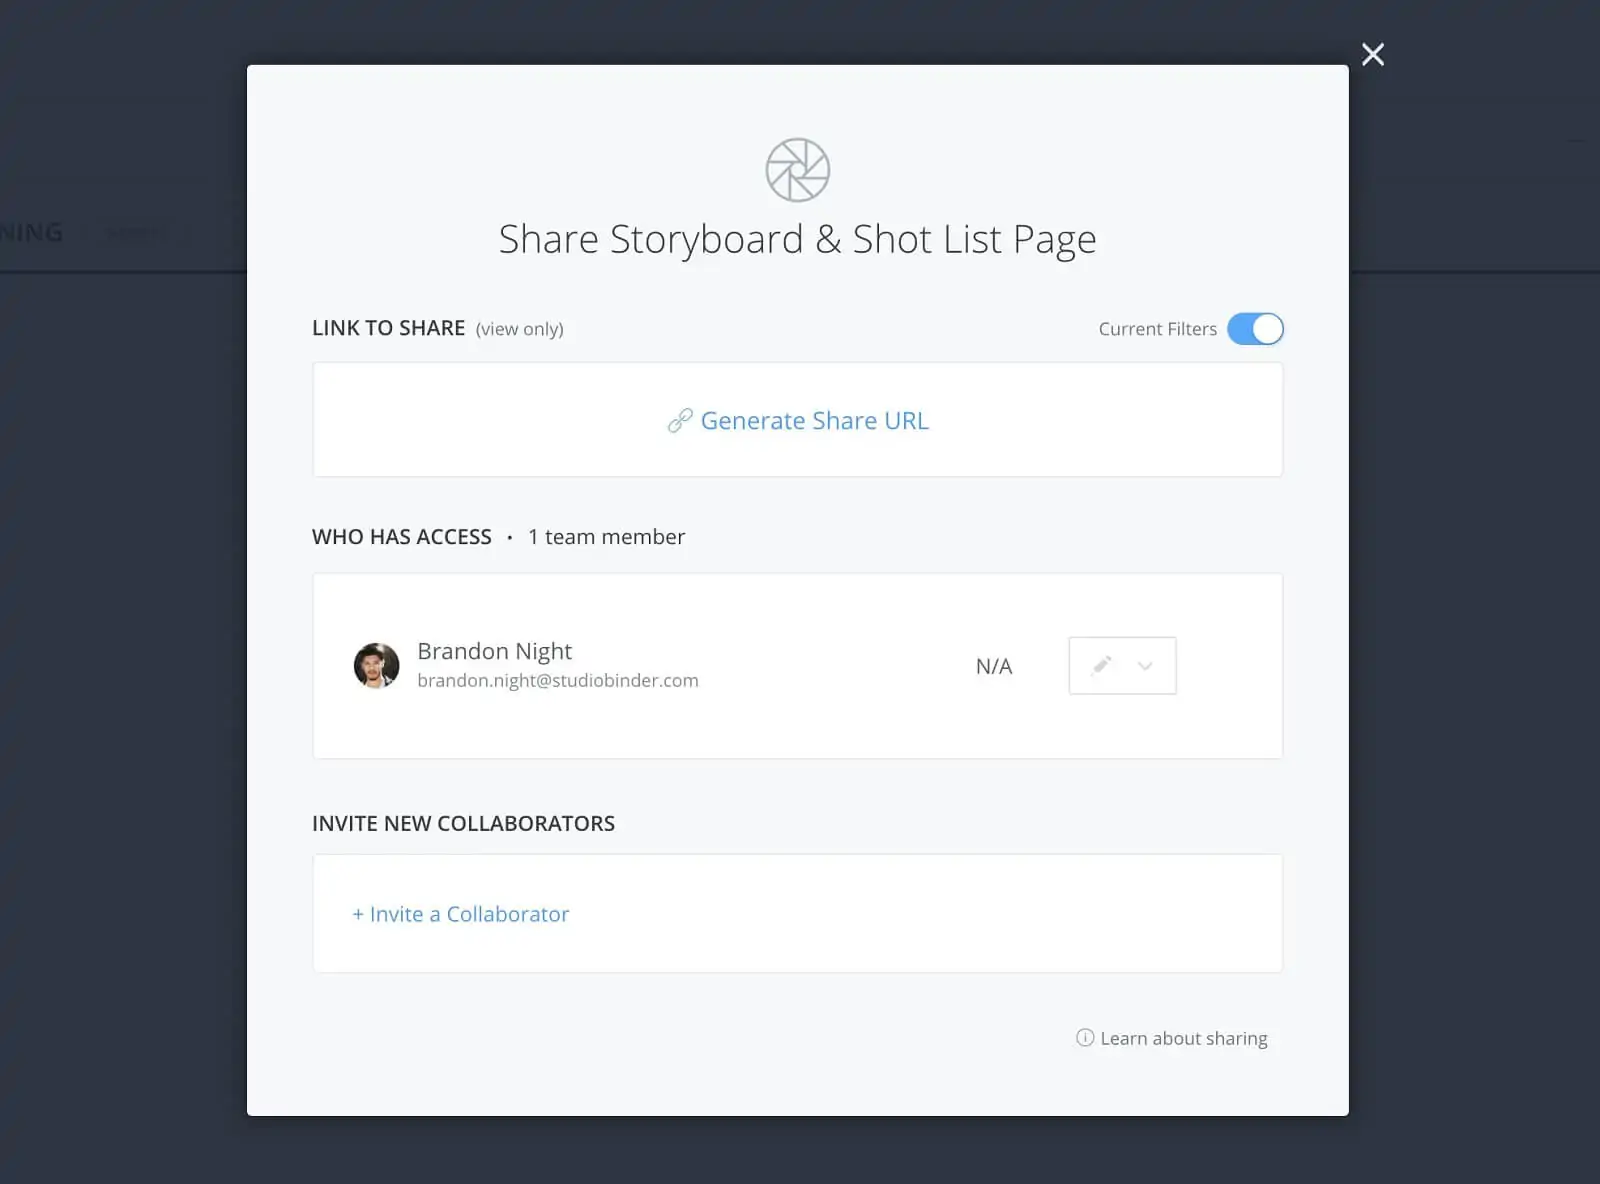
Shot lists & storyboards share page • Click invite collaborator
Click + Invite a Collaborator and fill in the name and email address fields and select the permission you’d like the collaborator to have.
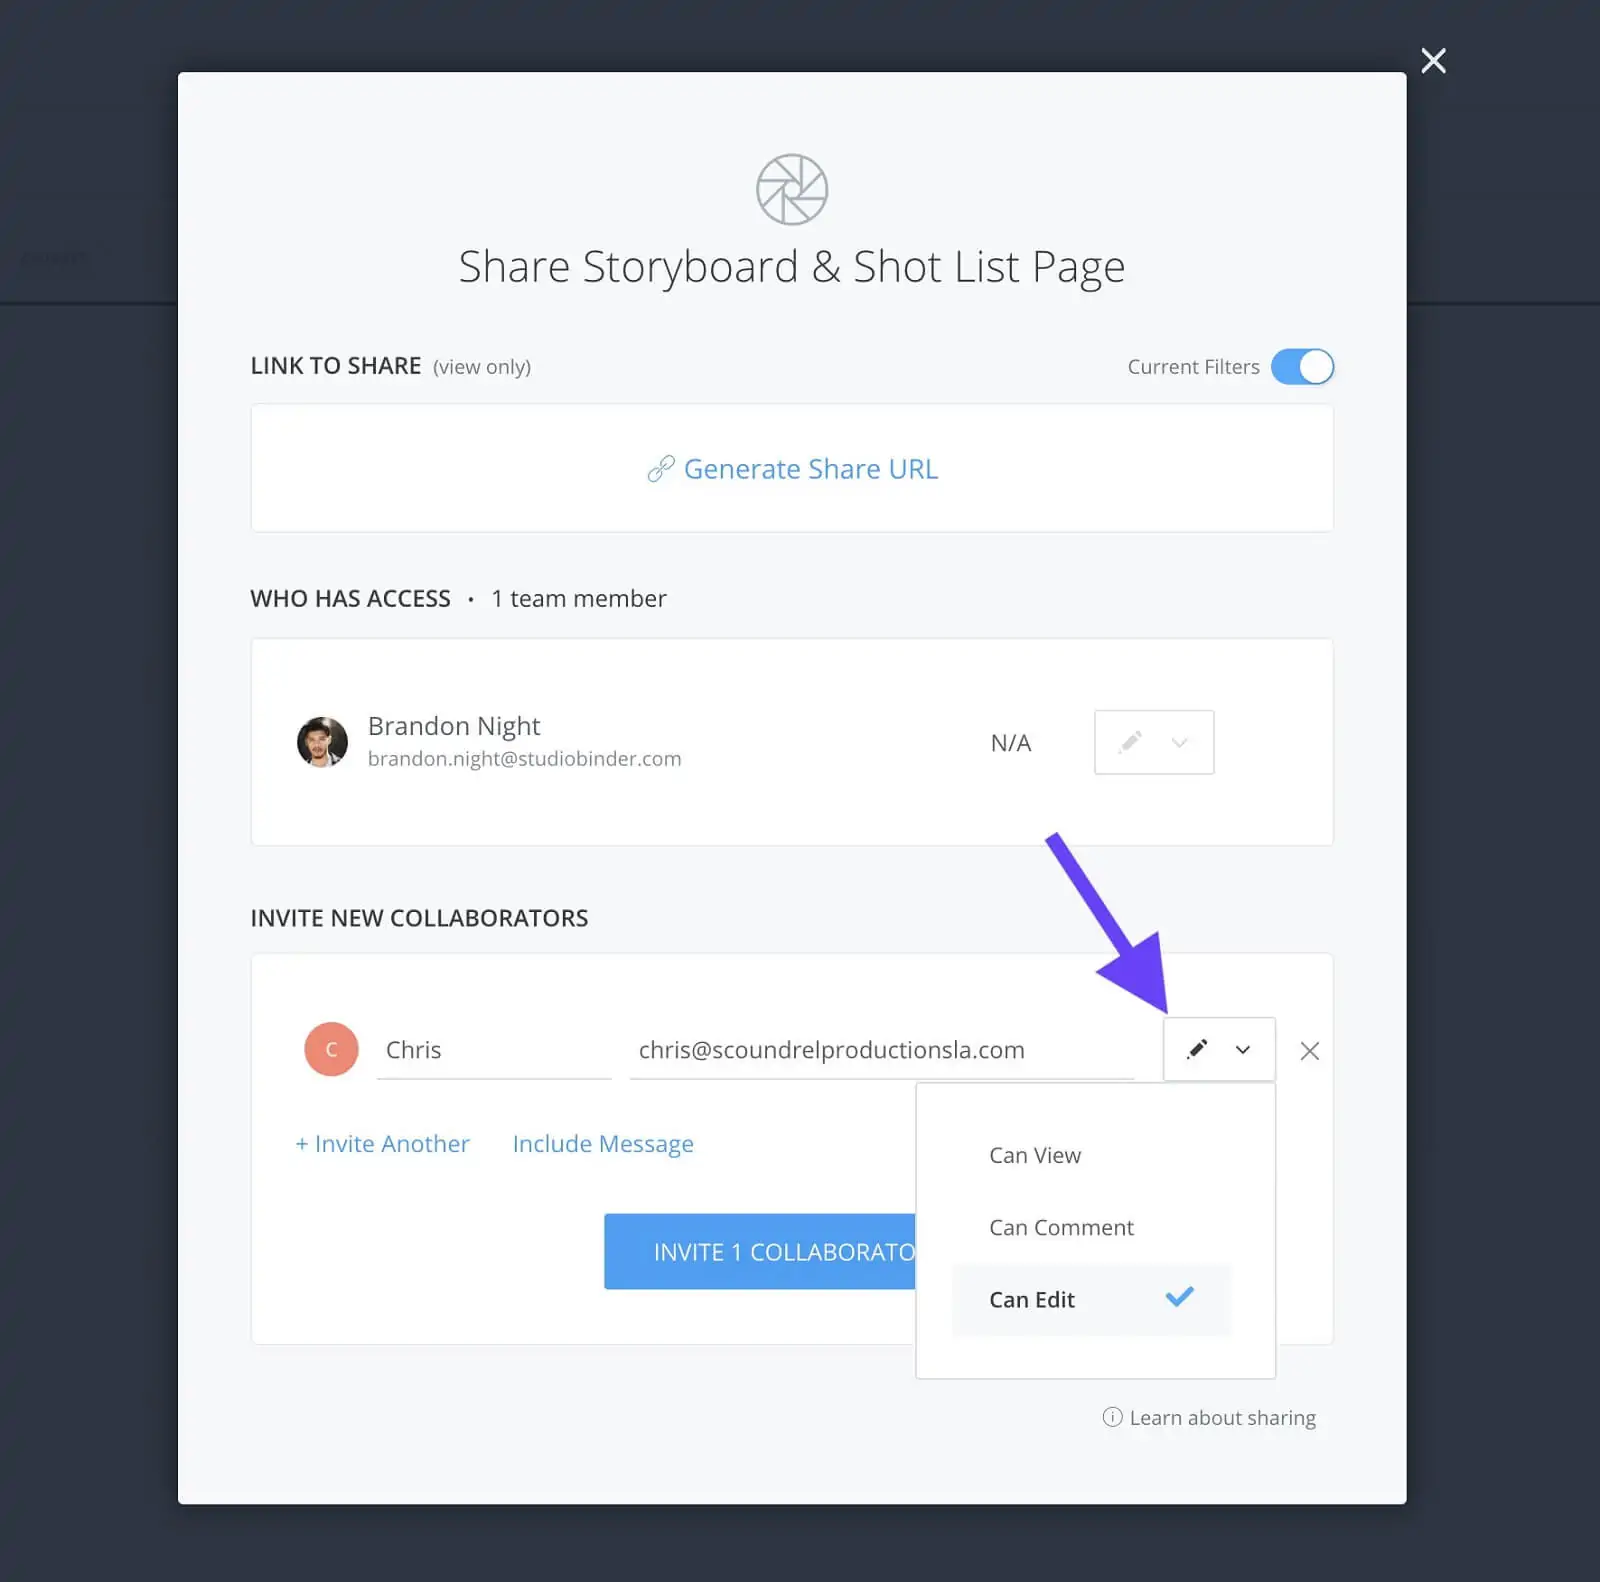
Fill in name and email fields • Set permissions
You also have the option to include a message if you’d like…
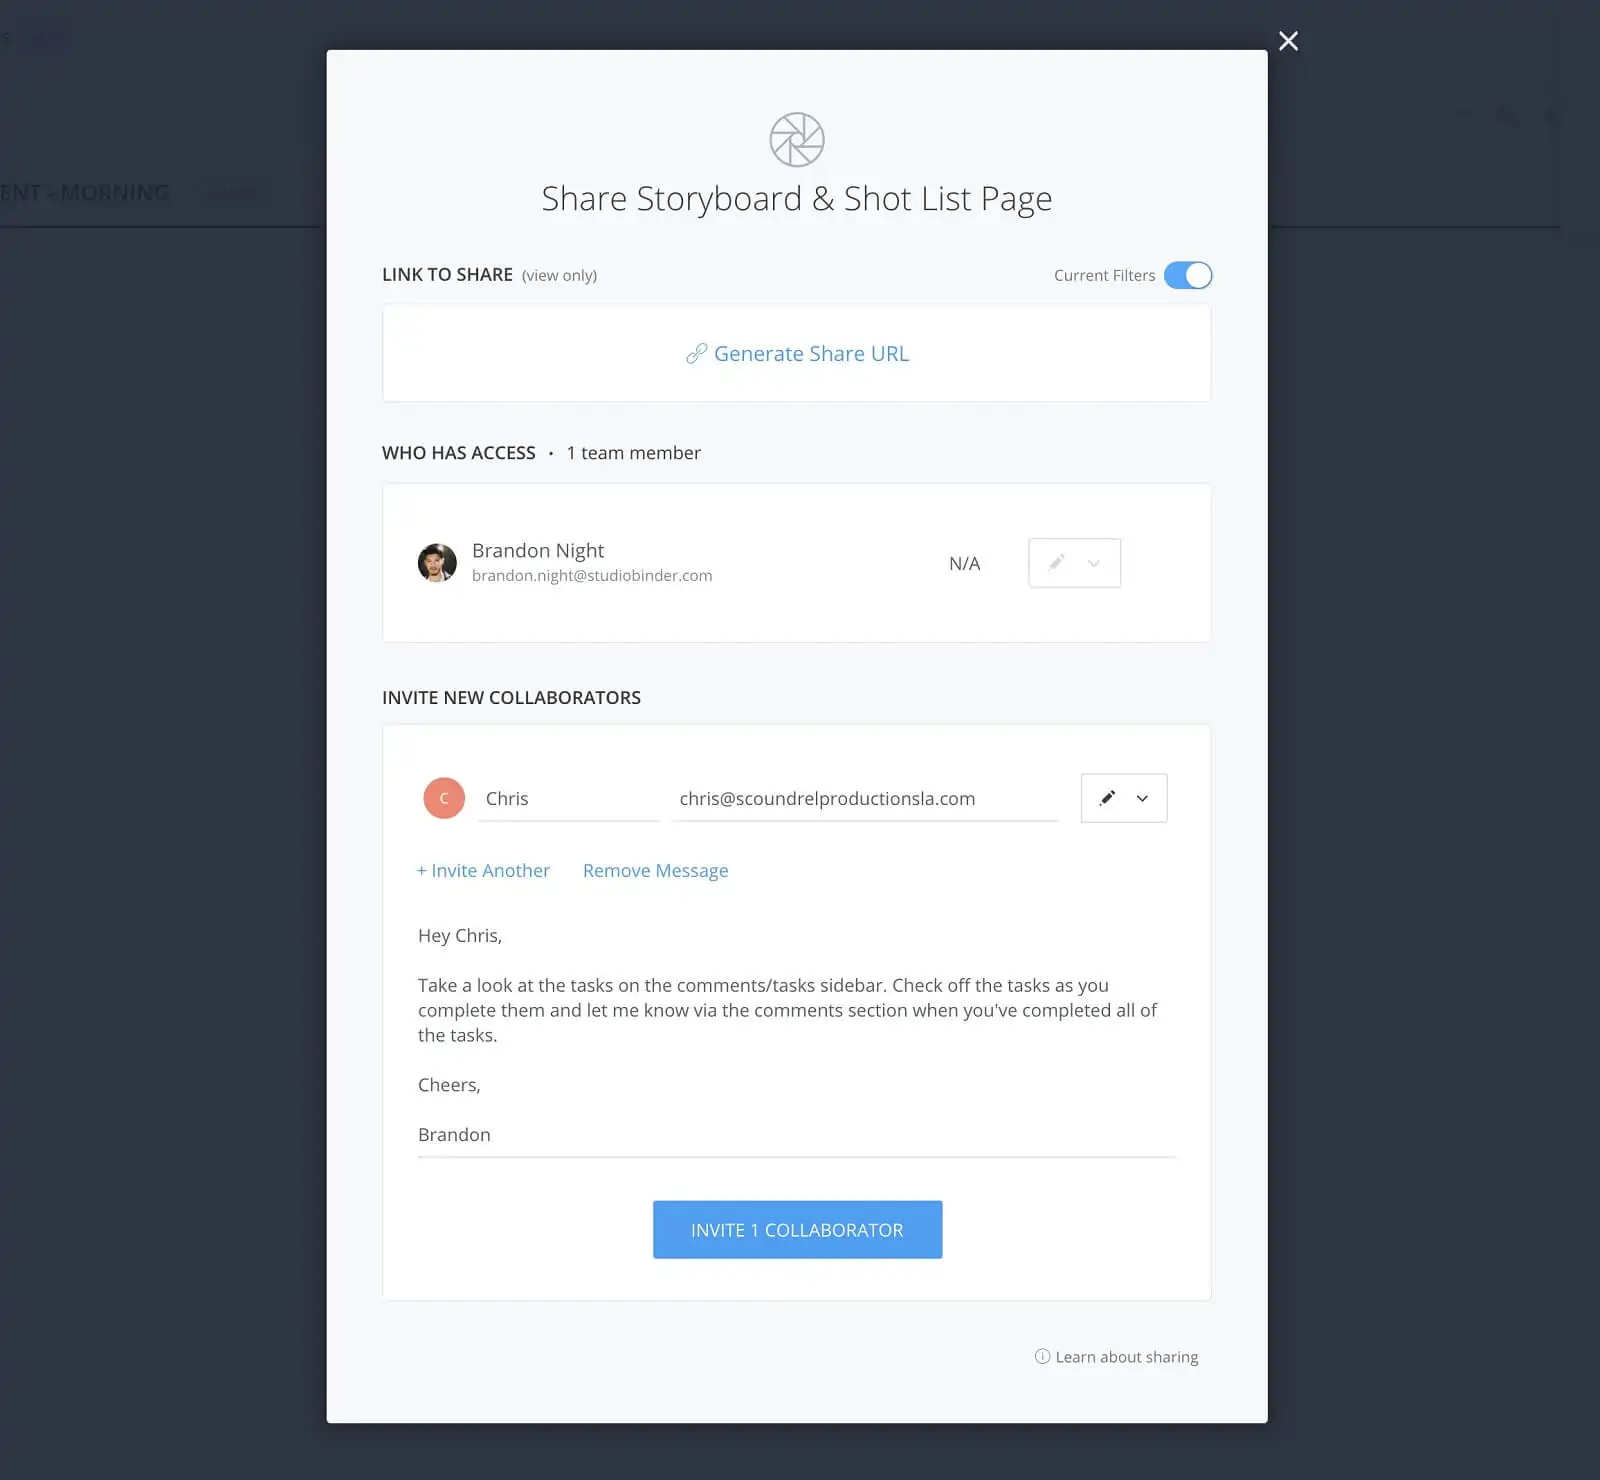
Add optional message • Click invite collaborator
Now, all that’s left to do is click the Invite Collaborator button and you’re all set. An invitation email will be sent to the email address you input and they’ll receive a link that will bring them directly to the page they’ve been invited to.
You’ll now notice the collaborator has been added to the Who Has Access list. From there you can change their permission, resend the invite, view their custom link, or remove them as a collaborator.
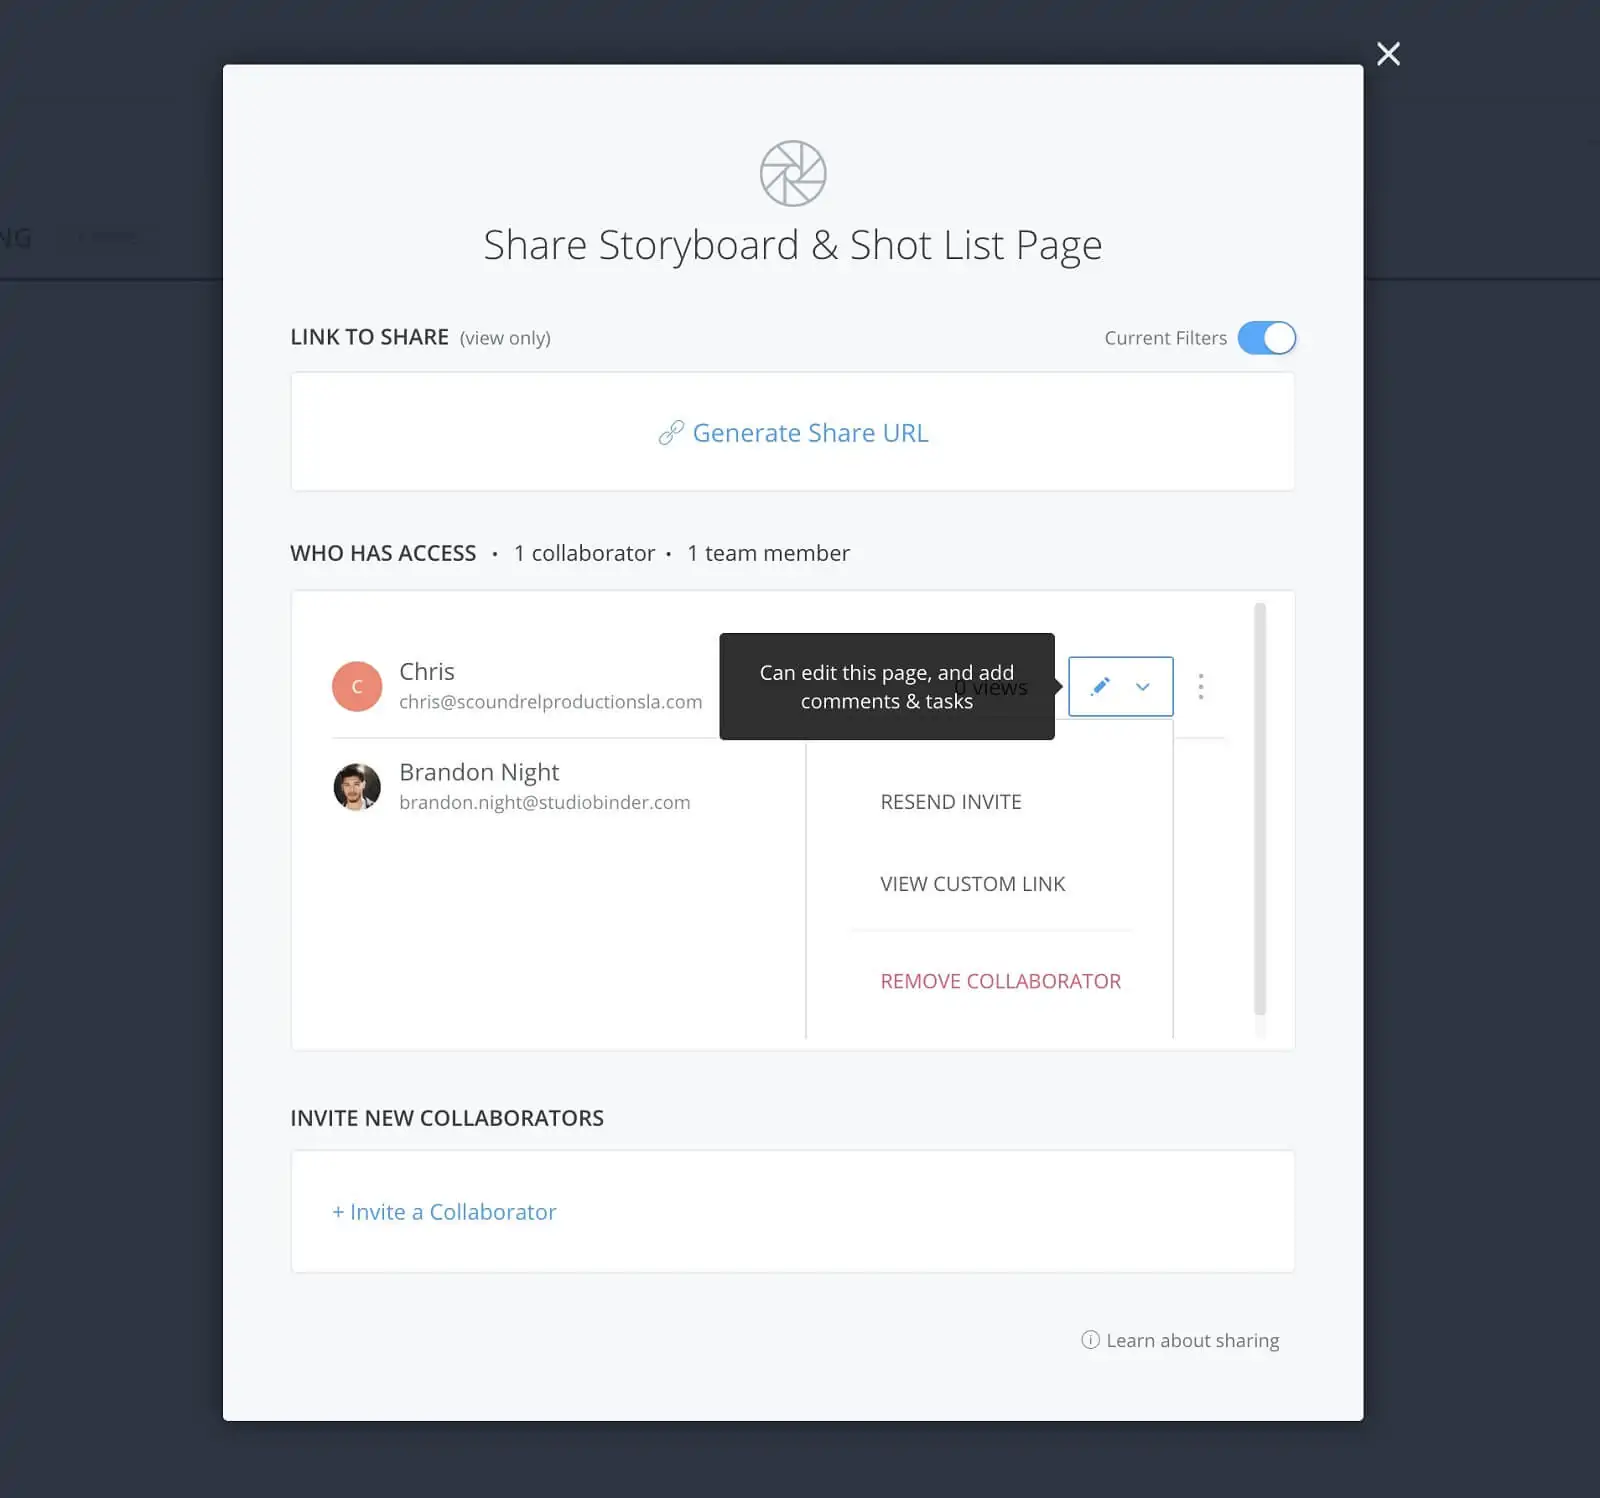
Add optional message • Click invite collaborator
Easy peasy. So, as we all know filmmaking is a collaborative medium and with StudioBinder’s collaborator feature you’re that much closer to being on set filming. So, gather your crew and keep bringing those stories to life. Cheers.
UP NEXT
Collaborators vs. Teammates
Okay, so you know what Collaborators are. Now, you might be wondering what the difference is between a collaborator and a teammate. Come along to see what the differences are between collaborators and teammates. How have you collaborated with your team on projects in the past? Let us know in the comments!
Up Next: Team Collaboration in StudioBinder →
Manage talent & film crew contacts, all in one place.
Create and share mobile-friendly contact lists, call sheets, calendars and more. Complete video project management for producers & coordinators.
