Cleaning camera sensors isn’t challenging, it just requires meticulousness and the know-how to do it safely, so you don’t damage your camera. And it’s easy to damage your camera when the sensor is wide open. Dust and other particles are flying around you all day, everyday, and the last thing you want to do is leave your sensor open for too long or too often. This article will show you how to clean camera sensors in a simple and safe way. Let’s get into it.
Camera Sensor Cleaning
Determine how dirty the sensor is
Before we get into how to clean camera sensors, how can you check if your sensor is dirty? Well number one, if you take a picture and see spots on your image, chances are, your sensor is dirty.
But keep in mind, your sensor won’t need a cleaning that often. So when does it really need it?
There’s a couple ways to tell.
Camera Sensor Cleaning
Testing for a dirty camera sensor
- Take a picture of a white piece of paper
- Set lens to the smallest aperture (f/22 or so)
- Check for dirt in photo- spots or specs may become apparent
- Put image in Photoshop, Lightroom, etc. to discover more dirt
- Depending on how much dirt is present, will determine which cleaning method you use
Definitely check out PhotoRec TV’s video on how to clean camera sensors for some visual, hands-on guidance. He will be going through what we’ll be describing below.
Step by step cleaning
You will most likely notice these specs before you even test your sensor, especially if you’re shooting landscape photography.
However, if you’re someone who takes portraits, or uses small aperture settings, it’s likely you won’t notice the specs at all. But once you take the steps outlined above, and determine how much dirt is present, it’s time to start cleaning. And there are a couple of ways to do that.
How to Clean Camera Sensors
Auto vs manual sensor cleaning
Your sensor is the brain of your camera, and it’s completely possible to cause irreparable damage...which is why these steps are so important. Avoid touching the sensor or cleaning it too much - because, realistically, it probably won’t need it that often.
So to be as safe as possible, it’s best to start with the auto DSLR sensor cleaning. Most cameras have one and this way you don’t need to touch or really do anything.
Indie photographer, Peter McKinnon, reminds us of critical it is to know how and when to clean your sensor. Sparingly.
Peter McKinnon makes this boring process more enjoyable
Automatic Sensor Cleaning
Most DSLRs have automatic camera sensor cleaning that occurs every time you turn the device on or off. Others make it possible for you to activate the auto sensor cleaning whenever you choose.
The mechanism violently shakes to remove the dust or other particles dirtying your sensor.
But is this sufficient? It really depends on how much dirt is present.
To test this, do exactly what we just did above. Take another picture to determine if the auto cleaning removed the dirt.
Sometimes it does a good job, sometimes it does nothing. If your sensor is filthy, it’s time to move on to manual mode.
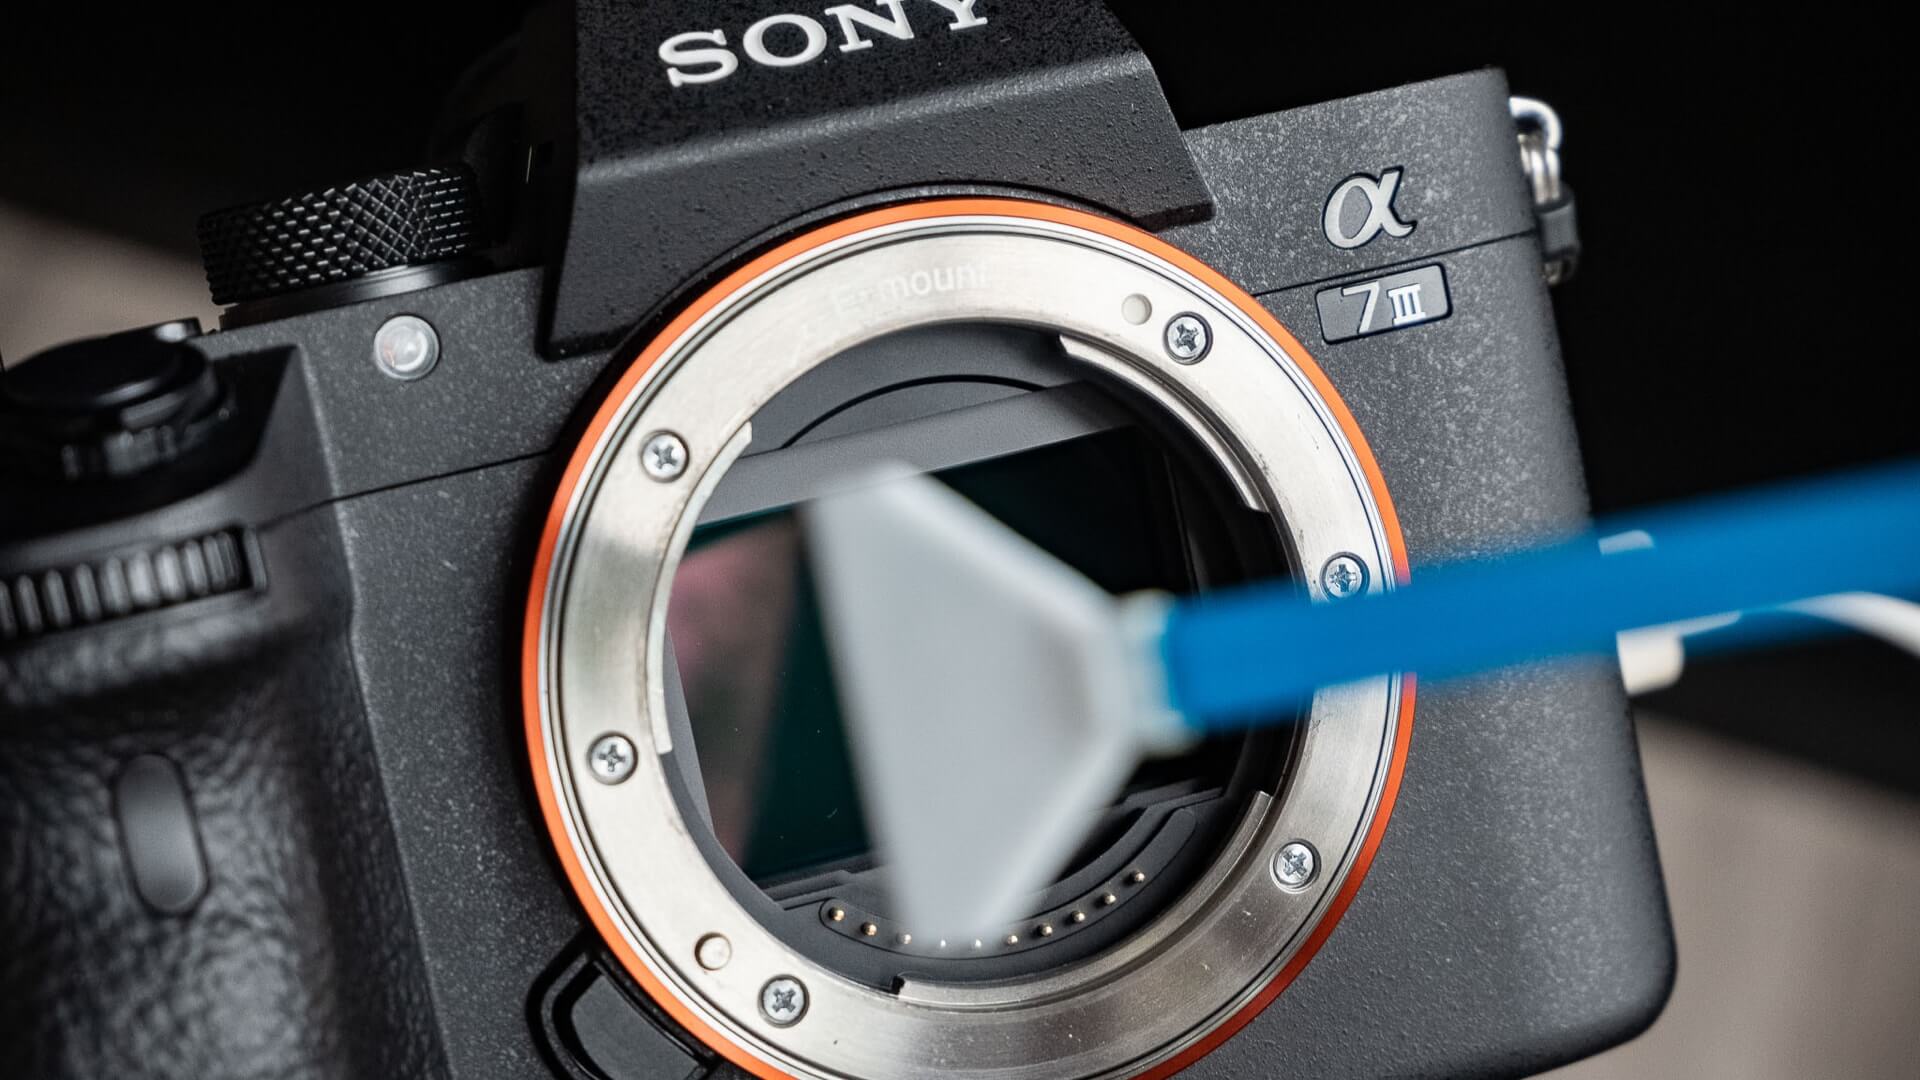
Cleaning Your Sensor Manually
Depending on what camera you have, depends on the first step. But usually, cameras have an option or some variation to select “clean camera manually.” This flips the mirror up and allows you to access the sensor. Many cameras require you to shut off the camera immediately following the cleaning, in order to bring the mirror back down, to safely close off the sensor.
Both videos above, show how simple this process is.
Next, you’ll need to remove your camera’s lens.
Tools to Clean a Camera’s Sensor
What You’ll Need
- Rocket Blower - Air blower to blow the dust away
- Lens Cleaning Solution with Lens Swabs or Cloths
- Sensor Scope or Loupe - magnifying glass with lights to further inspect dust and tiny particles on sensor
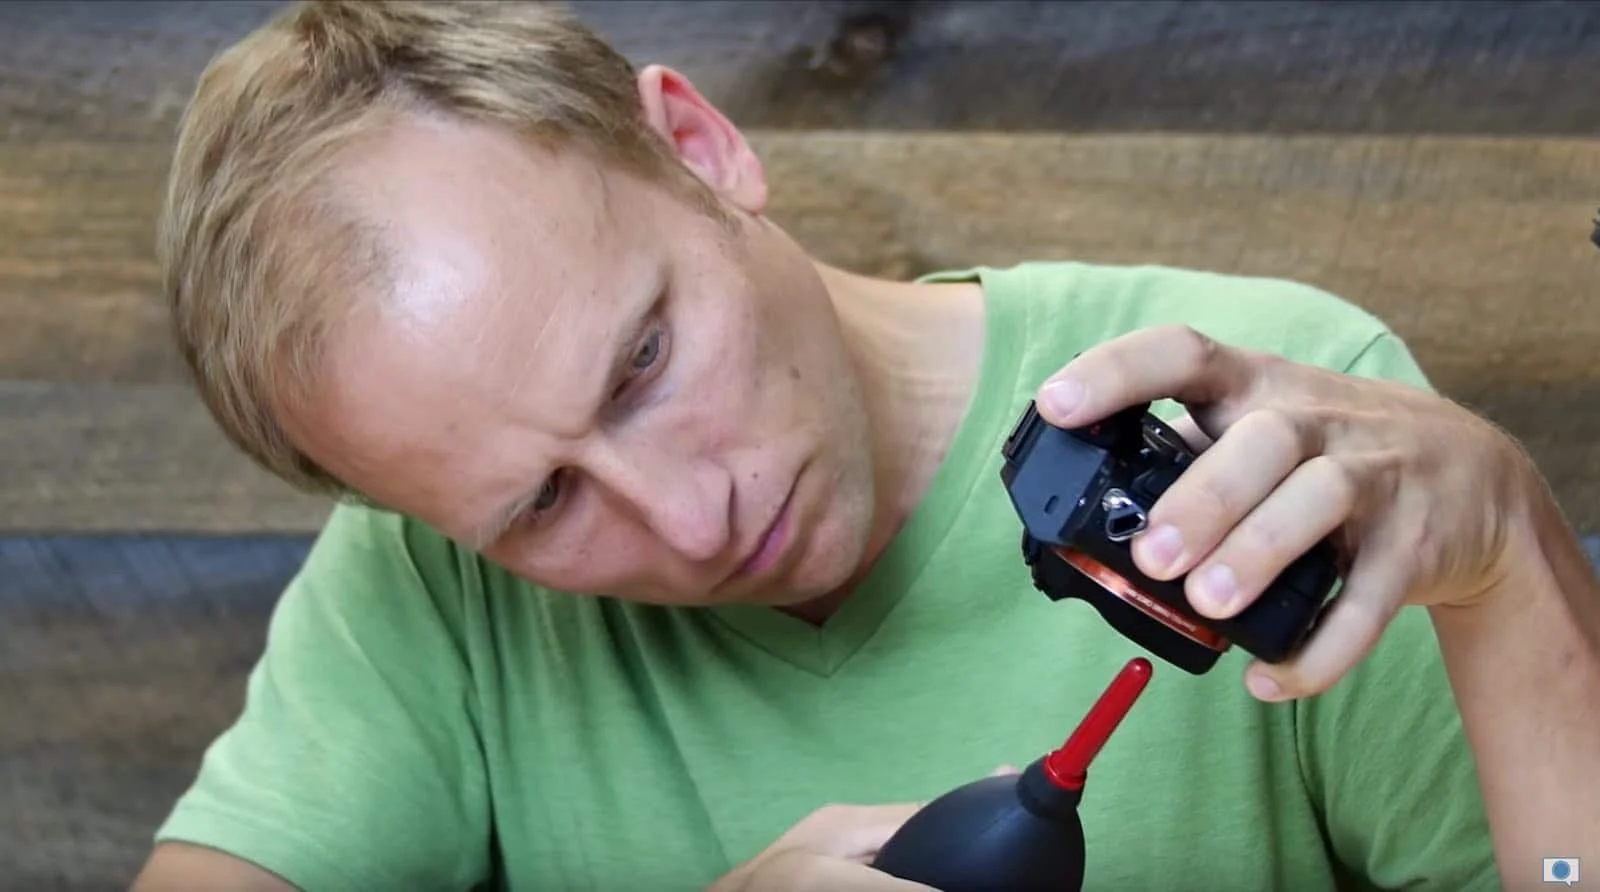
1. Now with the lens removed, simply point the camera down and used a rocket blower to blow the dust away.

Using the rocket blower
Air blowers are inexpensive and easily available for purchase almost anywhere that sells photo equipment, or online meccas like Amazon.
2. Use a lens cleaning solution and spray it onto the cloth or swab, and simply wipe the lens. Try to avoid spraying directly on the sensor.
3. If particles are still on the sensor, it’s time for the Loupe, a magnifying glass with ring lights that goes over your sensor to see everything you might have missed. The LED lights on the ring change color. The red lights on the Loupe are best for low-light situations and are best for seeing the tiniest of particles.
Pro Tip
Before you clean your sensor make sure you have a full battery. If it runs out while you’re cleaning the sensor, the mirror will slap down and you’ll have a pretty expensive repair on your hands.
Here are the links to purchase some of the equipment McKinnon used in his video to clean camera sensors.
Rocket Blower : http://amzn.to/2vt21cP
Sensor Swabs : http://amzn.to/2tnzzYq
Sensor Cleaner Kit : http://amzn.to/2uj8yXo
Camera Sensor Loupe : http://amzn.to/2tno5ECRelated Posts
Up Next
How to Clean a Camera Lens
Cleaning your equipment, especially the highly sensitive hardware like sensors or lenses, should obviously be done sparingly. But once you know how to clean sensors, cleaning lenses is a piece of cake. It relies on the same basic equipment, and isn’t as terrifying to the fate of your camera. But again, there are some things to avoid so your lenses remain scratch-free. Read more below.
Up Next: How to Clean a Camera Lens →
Showcase your vision with elegant shot lists and storyboards.
Create robust and customizable shot lists. Upload images to make storyboards and slideshows.
