
Filmmakers always strive to make an audience feel a certain way when watching their films. One of the most fundamental ways is through lighting. And fill light is one of the most fundamental lighting methods to understand. It determines the contrast, shadows, and brightness of the shot. Understanding the fundamentals of light, how to shape it, and how to use it to elevate your story will make you a more well-rounded filmmaker. Once you grasp the basics of fill light and how it functions, you can create a lighting style that is unique and functional. Let’s dive into the fill light definition and some techniques and tips that will help you create cinematic films.

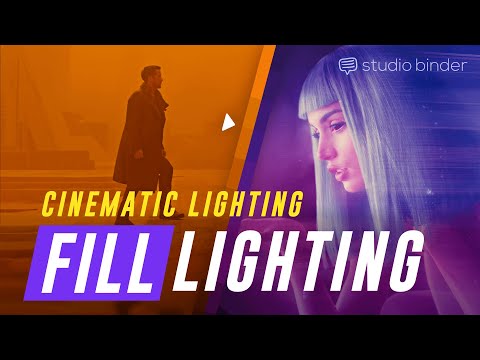
Watch: Video Lighting Techniques — Fill Lighting
Subscribe for more filmmaking videos like this.
What is fill light in photography?
What does fill light do?
Fill light is only one light in the traditional 3 point lighting setup, but is the determining factor to your lighting style. Before we dive into types of fill lights and how to use it, we must first get a foundational understanding of its purpose. This fill light definition will help make sense of how it differs from other light sources in your setup.
FILL LIGHT DEFINITION
What is fill light in photography?
A fill light is responsible for exposing the details of a subject that fall in the shadows of the key light. It is the secondary light in the traditional 3 point lighting setup. The fill light is typically positioned opposite of the key light to literally fill in the shadows that the key light creates. The strength of the fill in is a determining factor to the lighting style and mood of a shot. How a cinematographer uses fill determines the shadows, contrast, and brightness of a scene.
What does fill light do?
- Determines contrast ratio
- Creates depth and dimension
- Produces a more even lighting style
- Brings out the details and shapes of a subject
Applications and Examples
Key light vs fill light in 3 point lighting
Among all of the film lighting techniques, the amount of fill is one of the determining factors to the mood of any lighting setup. The best cinematographers in the world have a masterful understanding of how it affects the visual style of a scene.
What is fill light's role in the traditional 3 point lighting setup? It determines depth, contrast, and shadows; it is usually measured as a ratio comparing key light vs fill light. These light ratios determine the overall style and mood of a shot.
For example, a 2:1 light ratio favoring the key light vs fill light results in a softer lighting style with minimal shadows and less contrast. This is a typical light ratio used in high-key lighting to create a cheerful and upbeat mood in a scene. A more drastic lighting ratio, such as 8:1, has the complete opposite effect.

3 Point Lighting Ratios
Harsh shadows and high contrast are predominant because the fill is so minimal. This is a typical light ratio used in low-key lighting to create a more dramatic and serious tone.
Cinematic lighting styles depend completely on this light ratio. The contrast ratio and depth of cinematic lighting relies heavily on how a cinematographer uses fill. To get a better understanding of the relationship between key, fill and how it affects the overall mood of a shot, check out this video on video lighting techniques.
What is fill light in the 3 point lighting setup?
A cinematographer usually determines their light ratio based on the mood they want to create. By using less fill, they can create harsh shadows and more contrast. By using more fill, they can create soft lighting and a brighter shot.
Fill light photography
How to use a fill light
There are a few fundamental techniques to keep in mind when using a fill in your lighting setup. Adjusting each affects the mood and overall style of your lighting setup.
Position Your Light
The first technique is positioning your fill light. Because the purpose of the fill light is to expose the shadows created by the key, the fill light is typically positioned at a similar angle of the key light from the camera, but on the opposite side. This will allow the fill to expose the shadow side of a subject.
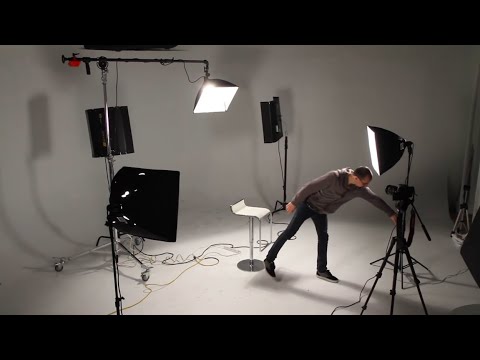
Experiment with the fill by first exposing your shot with only a key light. Determine where there are unwanted shadows and contrast that need exposure and position your fill to expose that part of the frame. This video by Aputure that breaks down light positioning.
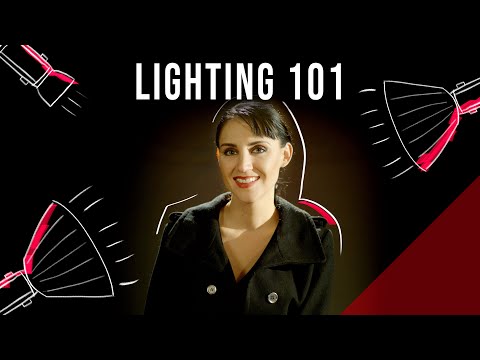
Lighting 101: Intro to Light Placement
Determine the Quality of Light
Now that you’re able to determine where to place your fill, let’s talk about the quality of the light. Typically, because fill lights are supposed to bring out the depth and shapes of a shot and avoid creating any shadows, a softer light is typically used as fill lighting. This creates a more natural, diffused spread of light on the shadow side of a subject.
To produce soft lighting, cinematographers utilize diffusion, silks, and bounce boards to diffuse the fill. Another way to create softer lighting is to position your fill further away from your subject. To get a better understanding of the different qualities of light, this video analyzes the differences between hard, soft, and diffused light.

4 Types of Light Explained
Adjust the Intensity of Light
Finally, the last fundamental variant of fill light is the strength of the light. The fill should typically never compete with the key light or create any shadows of its own. The strength of the fill depends on what mood you are trying to create with your lighting. Stronger key light in will produce a more even, high-key lighting style that is bright, cheerful and airy that can be found in commercial work as well as some of the best comedy movies.
Weaker key light will produce a higher contrast ratio with sharper shadows and deeper dark tones. This is used to create a mysterious or dramatic tone that is used in some of the best thriller movies. Get a better understanding of the difference between low-key and high-key lighting and how they affect mood.
Lighting Ratio and Mood
The strength of the fill is the defining factor of the mood of your lighting setup. Be sure to experiment with your fill lighting and these techniques to determine and create the amount of contrast and depth your shot may call for. Once you determine the lighting style of your shot and how to use fill in your setup, it’s time to determine what type of fill to use.
Fill light examples
Types of fill light
There are various methods cinematographers use to create exposure. Each method will slightly adjust the overall look of your lighting style. Choosing the right type of fill can help you nail the mood you want to create with your lighting.
1. Light Units
The most obvious source is simply using another light unit. The best lighting kits often have variable strength controls which are extremely helpful to get the exact amount of fill exposure for your shot. LED lights are a common source for fill because you can often control their strength and color temperature to match your scene. Ring lights often produce a 1:1 even light ratio. Practicals in a scene are also a great source for fill and can help your lighting setup look more natural.
For more on the benefits of practical lighting, look no further than the guru of light himself, Roger Deakins.

Roger Deakins on Practical Lighting • Subscribe on YouTube
2. Reflectors and Bounce Boards
Reflectors and bounce boards are great when shooting outside. When cinematographers shoot exterior scenes with the sun as a key light, they often use bounce boards to illuminate the shadow side of a subject.
Bounce boards and reflectors are also great when you don't need a particularly strong light source. Using a bounce board to bounce light from your key light to a subject's shadow side may be all you need. If you want to bring out the detail and depth of your shot while maintaining some contrast, try using a bounce board or reflector.
3. Walls
The setting of your shot can also provide fill. For instance, if you are shooting against a bright or white wall, light from your key light will bounce off the wall to fill the shadow side of your subject. This method also diffuses the light and creates a more natural look for brighter scenes. If you use this method, be sure to block and stage your actors and camera so that the wall will fill their shadow side.
4. Negative Fill
Sometimes, the light that bounces off walls may be unwanted when trying to shoot a higher contrast shot. This is where negative fill becomes a part of fill light photography. Utilizing black flags, duvetyne, or other black fabrics can eliminate any unwanted light. The trick is to position the black fabric to block off the unwanted light from your subject. Here’s a video by The Slanted Lens that breaks down how to shape light by using flags.
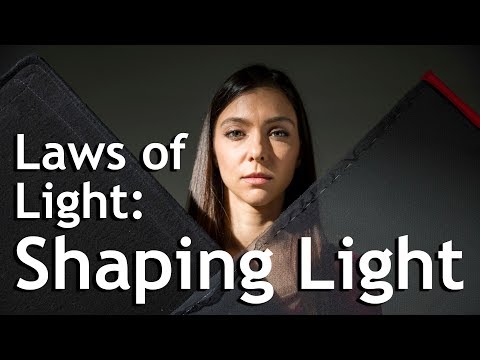
Laws of Light: Shaping Light with Flags
It is important to get hands-on with these techniques to properly prepare you to light any scene. While the art of cinematography can be a creative venture, it is important to understand the logistical techniques that can help you shape light to create the world of a film.
Fill lighting is one of the most important elements of cinematography that can be the difference between a film looking amateur or a film looking cinematic. Get hands-on and experiment with all of the fill techniques and tips in this article to expand your repertoire.
UP NEXT
3 Point Lighting Setup Guide
Fill lighting is important in every lighting setup, but works together with other sources of exposure. To understand the three most basic sources of light for a shot, check out our next article on the 3 point lighting setup, the most fundamental lighting setup in cinematography and photography.
Up Next: 3-Point Video Lighting →

Share your vision with elegant shot lists and storyboards.
Create robust and customizable shot lists. Upload images to make storyboards and slideshows.

