
Beginner photographers often have the misconception that to create quality portraits, you need multiple lights and complex techniques. While this is true for some portrait lighting setups, many fundamental lighting techniques are quite simplistic. The split lighting technique is perhaps the most simple and achievable of all portrait lighting setups. It is an essential technique for all photographers. And in this article we’ll teach you why and how split lighting techniques are used.
What is Split Lighting Photography?
Split lighting photography definition
Split lighting is one of a few fundamental portrait lighting setups. To understand how it compares to other lighting patterns, let’s take a look at the split lighting photography definition.
SPLIT LIGHTING DEFINITION
What is split lighting?
Split lighting is a lighting technique that lights up half of a subject's face while leaving the other half in a shadow, essentially “splitting” the face. This splitting effect is achieved by a light source that is perpendicular to the subject illuminating directly from one specific side.
Split lighting creates a sharp contrast that makes for a more dramatic and often assertive photo. This is a common technique used in portrait photography as it can emphasize power, glamour, and drama.
What is split lighting photography used for?
- Dramatic effect
- Make a wide face appear narrower
- Highlighting glamour in fashion photography
Half face lighting
Effects of split lighting photography
Since split lighting is defined by a “split” lighting pattern of one bright side and one shadow side, the technique inherently entails high contrast. This high contrast makes this technique a very dramatic lighting setup.

Side lighting examples
As you can see from the photo above, the strong side lighting highlights textures of skin, hair, and facial structure. This effect of split lighting can make a photo more intense, mysterious or even assertive. Make sure you get the most out of your portraits by choosing the best lens for portraits and come to the shoot prepared with a complete portrait shot list.
To better understand how the split pattern differs from other types of portrait lighting tips, check out this video down below. Note where shadows and highlights fall on the subject in the split lighting setup versus the Rembrandt lighting setup.
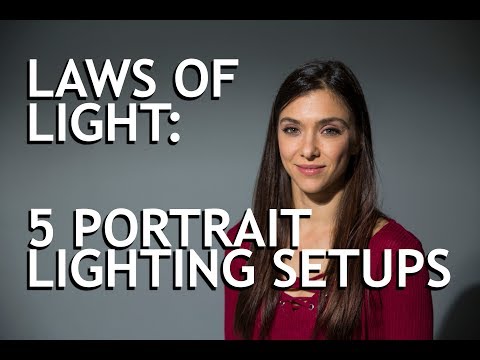
Laws of Light: Portrait lighting patterns
Because this type of lighting leaves half of a subject’s face in shadows, it is also used for making subjects with wider faces appear narrower. Split lighting is not only used in photography, but in cinematography for films as well.

Fight Club split-lighting example
A downside from the sharp contrast of the perpendicular light source, is that nose shapes become more pronounced. This can be unflattering for models with larger or more pronounced noses.
If you want to experiment with this type of lighting to add a little variety to your portrait photography arsenal, then you’ll need to know how to set up your lights for a split lighting pattern.
Related Posts
Split lighting setup
How to create a split lighting setup
Split lighting is one of the most simple lighting techniques because it often involves one light directly to the side of a subject.
1. Determine your subjects shadow side
The first thing you need to determine in a setup is which side of your subject will be illuminated and which side will fall into shadows. Photographers often base this decision on facial features of the model.
2. Place your key light directly to the side of your subject
The placement of the key light is pretty straight forward. Simply place it on the side of the subject that you want to illuminate.
3. Experiment with light distance and quality
While the angle of the light will remain the same, experiment with the distance of the light from your subject's face. This can create different moods, level of contrast, and intensities.
Also experiment with the quality of light you use. An open, harsh light can often create a sharper contrast and fall off, but can create hotspots on the subject's face. This video below shows how you can use 5 lighting setups with just one light.

Portrait Lighting in 10 minutes
4. Experiment with fill light
Many of these lighting setups involve only one key light shining from the side of a subject. But if you want to bring out some details in a subject's shadow side, you may want to try to use a bounce board for bounce light or small fill light. Here is a video example, demonstrating how a fill light can be used in these setups.

Portrait Photography 101
A split pattern is a great lighting technique to use for all types of photographers. Photographers on a budget use it because it only requires one light to create dramatic, professional portraits.
Professional photographers use it in fashion photography, editorial photography, and commercial photography because it adds a deep layer of drama and mystery to a shot. If you have a camera and a light, you can even start experimenting with this lighting technique today.
Related Posts
UP NEXT
Key light examples & techniques
Split lighting is one of the most simple lighting setups because it only requires a single key light. What is a key light? In our next article, we define key light and analyze the different effects and visual look it can create with technique. Learn more about key light up next.
Up Next: Key light examples →

Share your vision with elegant shot lists and storyboards.
Create robust and customizable shot lists. Upload images to make storyboards and slideshows.

