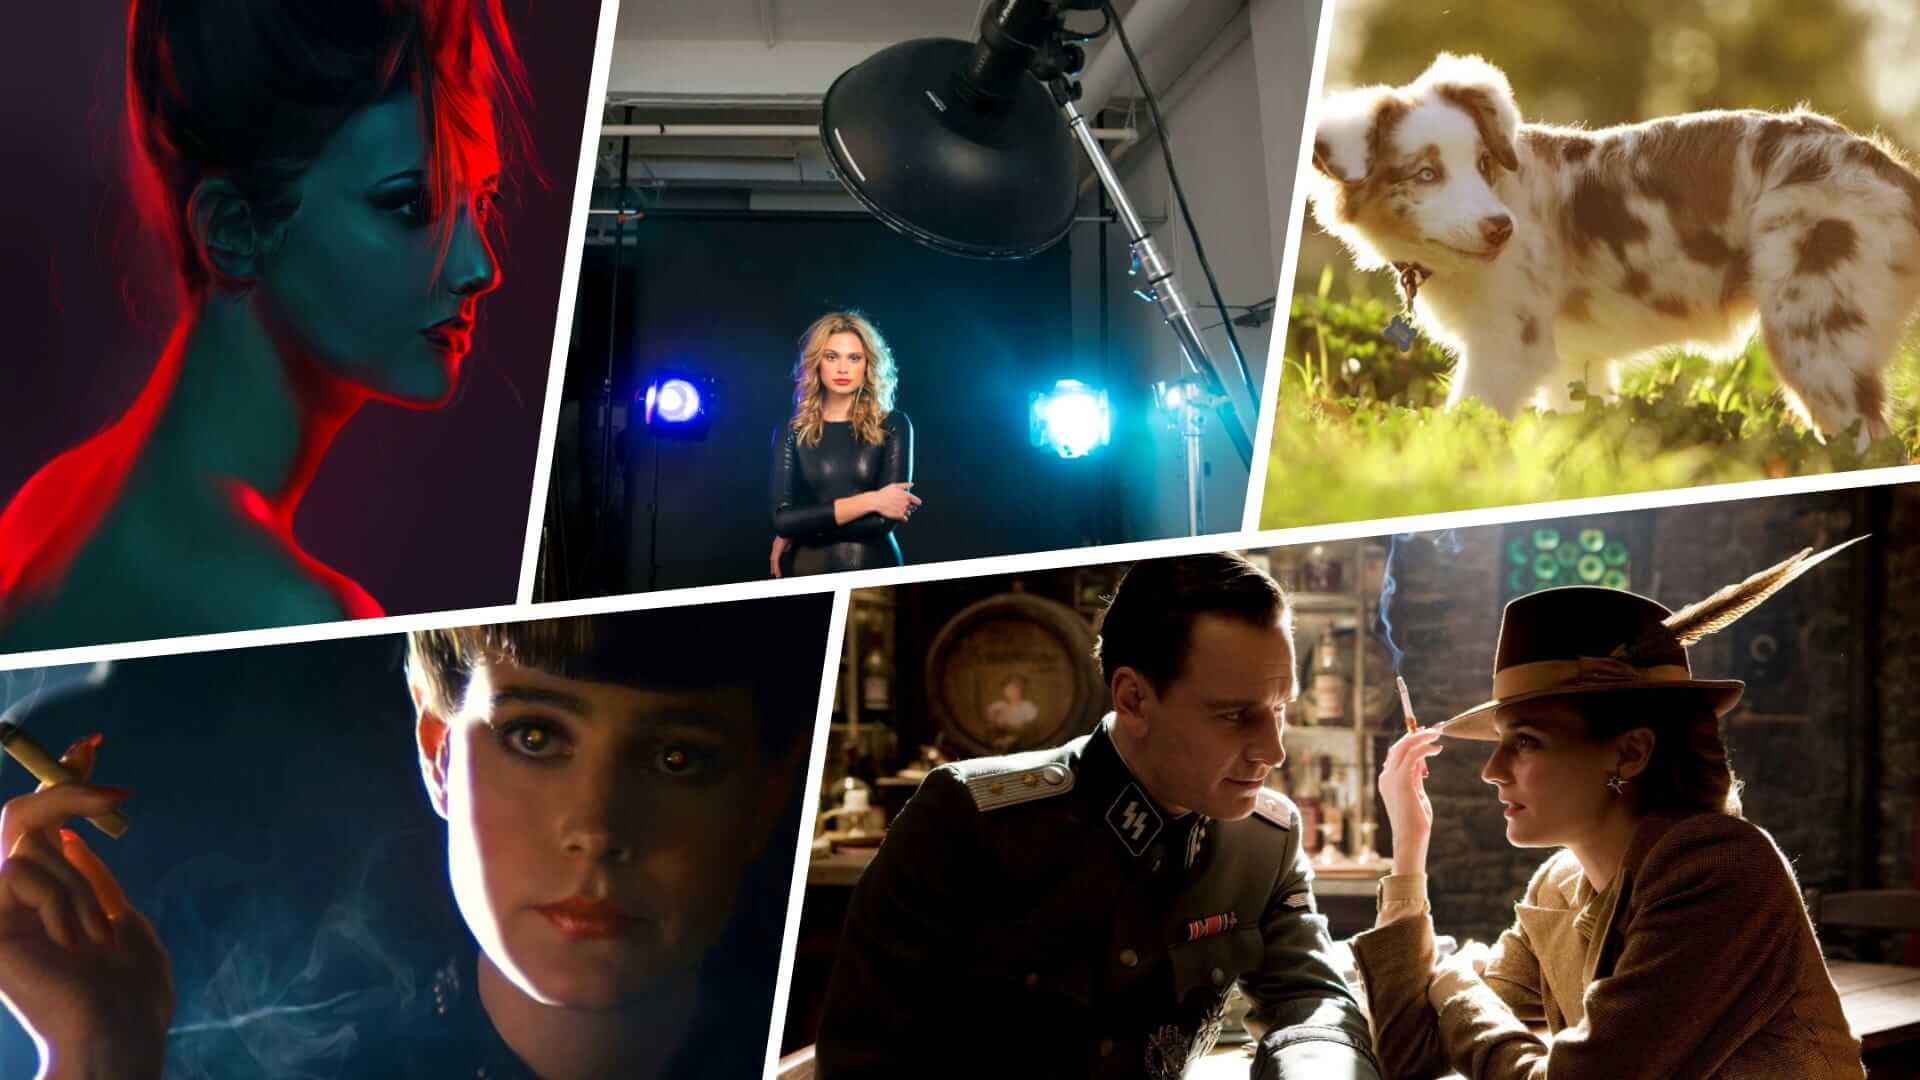
Cinematography and photography is naturally a two-dimensional medium. However, great cinematographers and photographers utilize light to create three-dimensional effects. One of the tools they have to do this is the rim light.
A rim light can keep an image from falling flat. Rim lighting can bring out shapes, textures, and contours that make an image appear more lively. So, what is rim light and how can you use it to create beautiful images? We’ll cover all of this and more in this article.
What is a rim light?
Rim light's role in 3 point lighting
Although this light is often used in larger lighting setups it is important to understand what it is so that you can apply it effectively. The first step to understanding rim lighting is taking a look at its definition.
RIM LIGHT PHOTOGRAPHY DEFINITION
What is a rim light?
A rim light is placed behind a subject that exposes the outline or rim of the subject with light. This lighting highlights the contours of a subject and creates a dramatic and mysterious effect.
Rim lights can be used in a variety of ways. They can be used alone as a rim lighting setup to create a high contrast, stylized image. They can also be used in conjunction with other lighting setups such as the traditional 3 point lighting setup. When used in other lighting setups, these lights are often referred to as “hair lights” or “halo lighting.”
What is a rim light used for?
- Dramatic portraits
- Product photography
- Highlight a subject’s shape and contours
- To separate the subject from the background
Rim light photography
Dramatic portraits
When we think about lighting in film, we often think about how light exposes certain areas of a subject. What is equally important, however, is what is left in the dark. Rim light photography utilizes both darkness and specific areas of exposure to create dramatic and emotional images.
Rim light photography can accentuate a subject’s mystique. Leaving their facial features and details in the dark, but highlighting their shape can portray your subject as an enigma of some sort. If you are looking to add a layer of drama or mystery to your portraits, consider rim light photography.
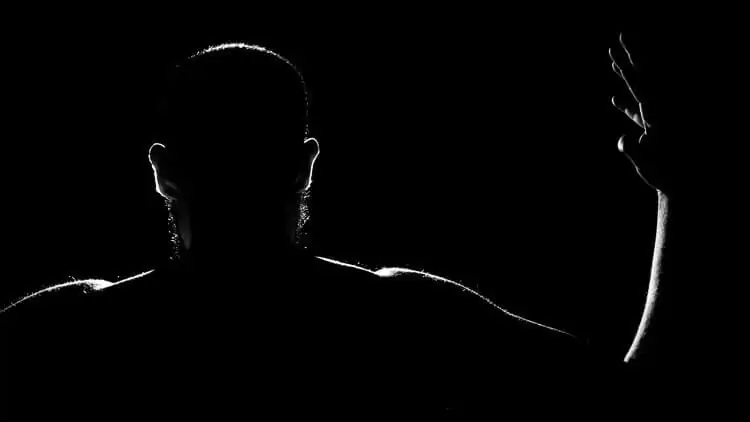
Rim light portrait example
While this lighting can be used on its own to great effect, it can also be used in conjunction with other lighting setups. Let’s take a look at how it works with other types of lighting.
What is a rim light used for in cinematography?
Create separation
When it comes to the traditional three-point-lighting setup, there is the key light, fill light and backlight. These lights can be used as a type of backlight that creates separation between a subject and its background. The simplest way to achieve this is by using small LED rim lights.
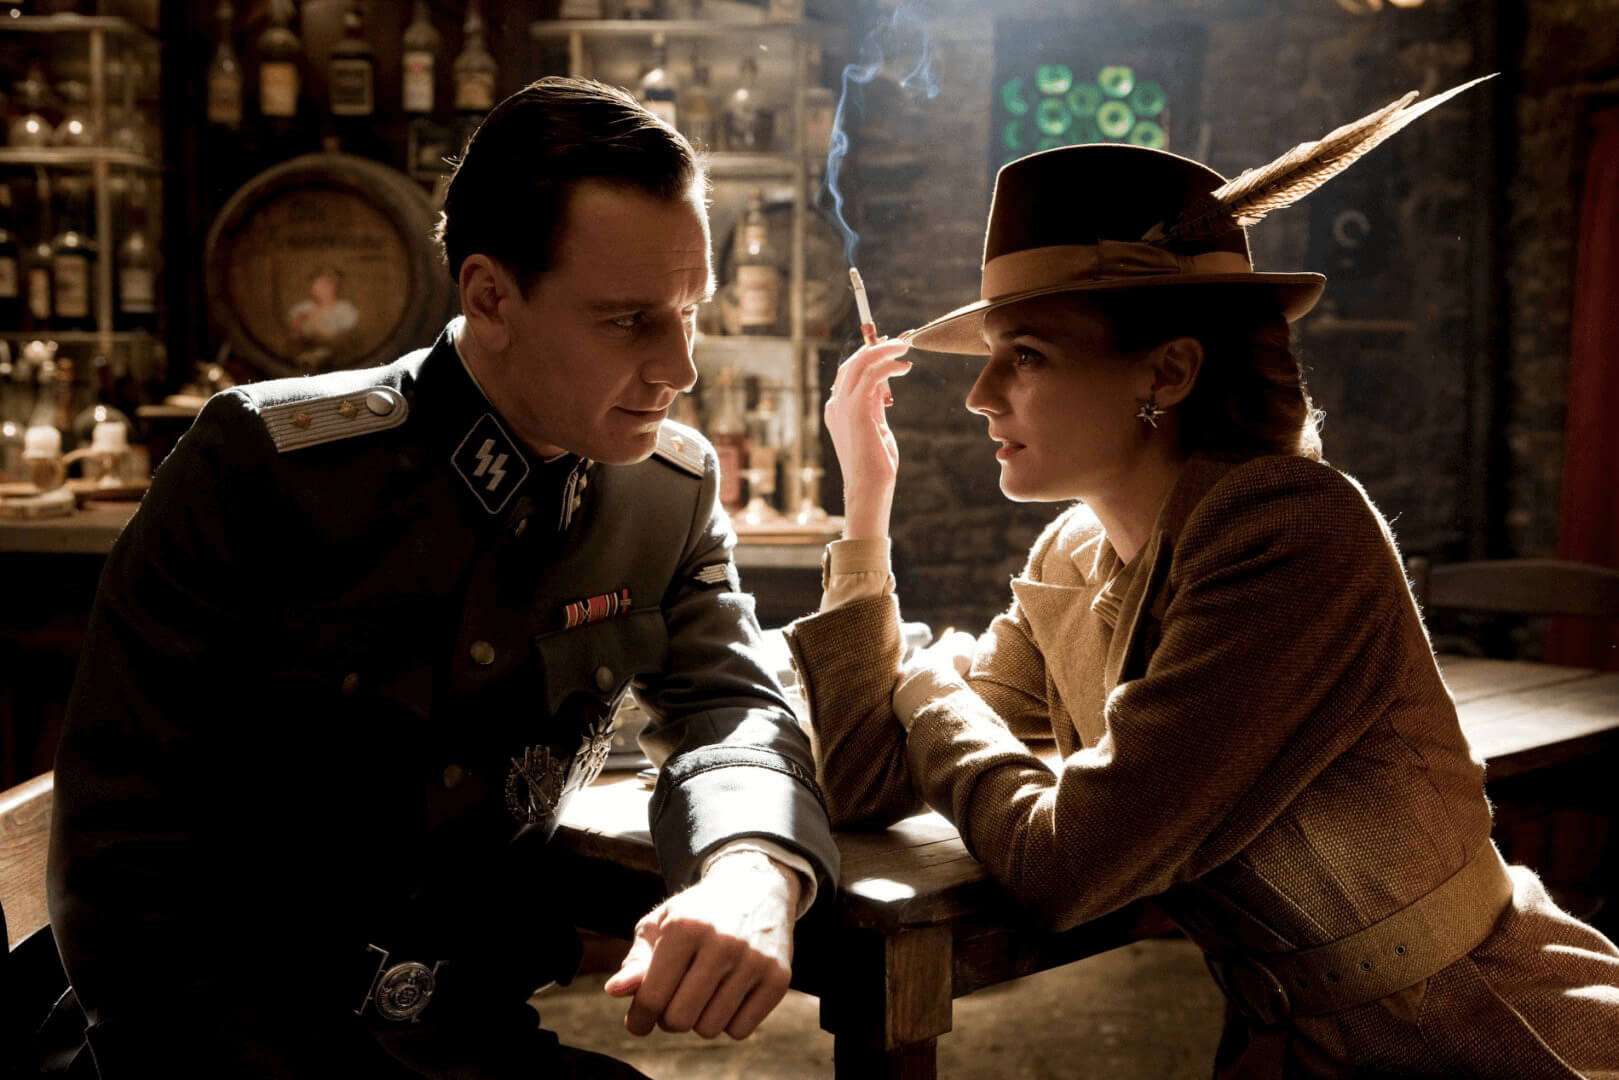
This is particularly effective when subjects are shot at night against dark backgrounds. Let’s take a look at how Robert Richardson, one of the best cinematographers in the industry, uses this type of light.
In one of Quentin Tarantino’s best films, The Hateful Eight (2015), Richardson uses a “hair light” or “halo light.” In the dark setting of the cabin, this rim light separates the subject from the dark background.
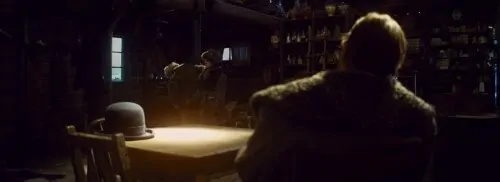
The Hateful Eight
Richardson does this again in another scene from The Hateful Eight to separate characters from the background as well as from each other. This not only makes the image look more cinematic, but more confrontational as well.
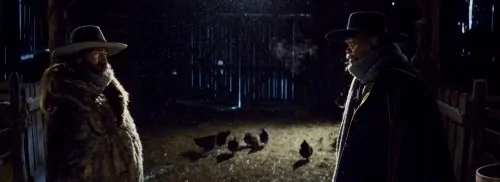
The Hateful Eight
Rim light in three-point-lighting helps bring out the three dimensional shapes and space in a two dimensional image. The separation this light creates between subjects and backgrounds helps create depth that immediately makes a shot more cinematic.
What is a rim light used for in storytelling?
Thematic lighting
In cinematography, rim lighting can help make an image look more cinematic, but it can also help tell a story. These lights can be used thematically to establish the traits of a character or tone of a scene.
In Northfork (2003), the character Irwin encounters angelic visitors. A rim light is used to give these characters an angelic quality that serves the film’s story. This isn't a very noticeable technique but that's a good thing — when you notice filmmaking technique, it pulls you out of the experience.
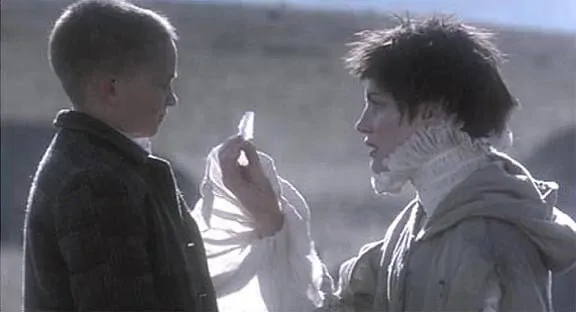
Northfork rim light effect
This shot example is a stark contrast to the previous example from The Hateful Eight both tonally and aesthetically. Both however, use this light to create cinematic images. Finding the right function for this lighting in your shots will come down to the story you are telling and the look you envision.
Experimenting with rim light will help you get an idea of how you can use it. Let’s take a look at a basic key light setup that you can use as a foundation.
Rim lighting setup
How to create a rim lighting setup
Like we mentioned earlier, edge light can be used on its own or as a part of larger lighting setups. First, let’s take a look at a lighting setup that only utilizes edge lighting.
For this setup, we’ll be referencing the demo by the team at Adorama. Check out their rim light for portraits tutorial in the video below.Rim Lighting For Portraits • Adorama
1. Place a light directly behind your subject
For a single light setup, place your light source directly behind your subject.
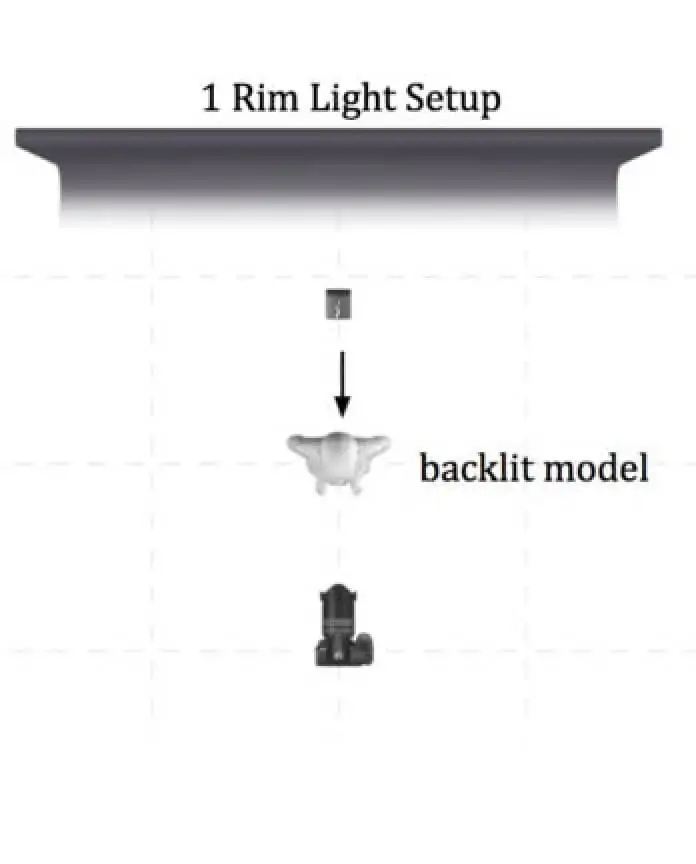
Single light rim light setup
This will expose the outline of your subject while also hiding the light behind them. Depending on your subject, this may be the only light you need.
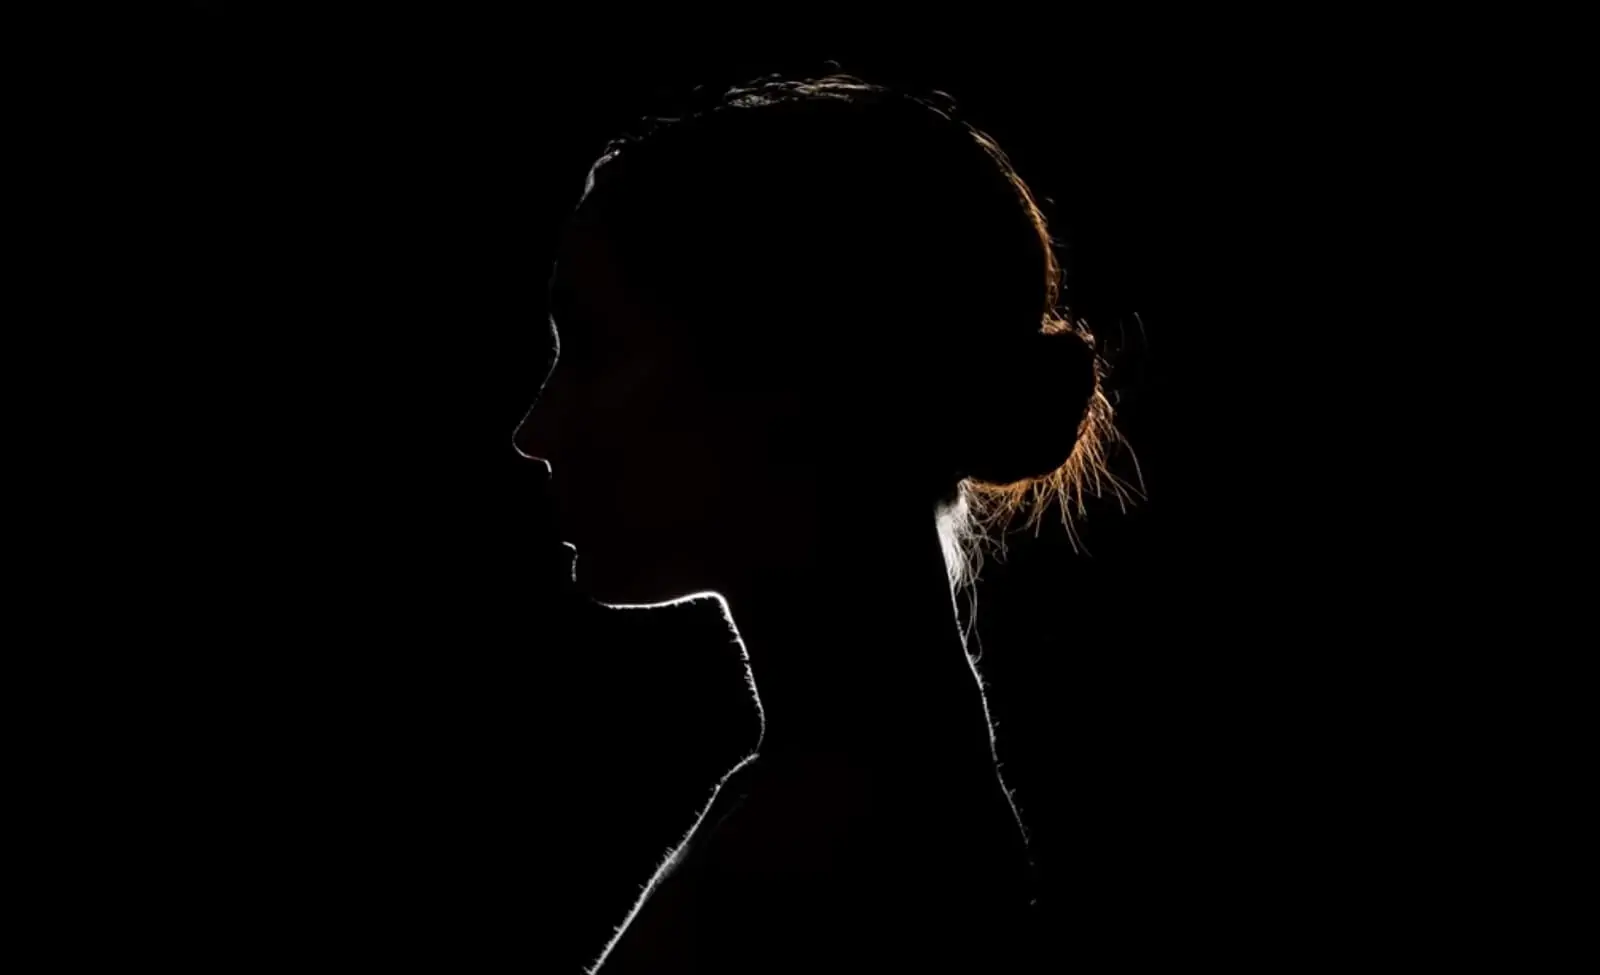
Single rim light portrait
A downside to a single light setup, extraneous features will inevitably be exposed. You can see this in flyaway hairs from the image above. To combat this, you will need to move the position of the light.
2. Move the light to the side
To create an edge light that exposes facial contours without exposing unwanted features, keep the light behind the subject, but move it to the side of their face. Angle the light toward your subject. If you can, try to diffuse this light with silk or a softbox.
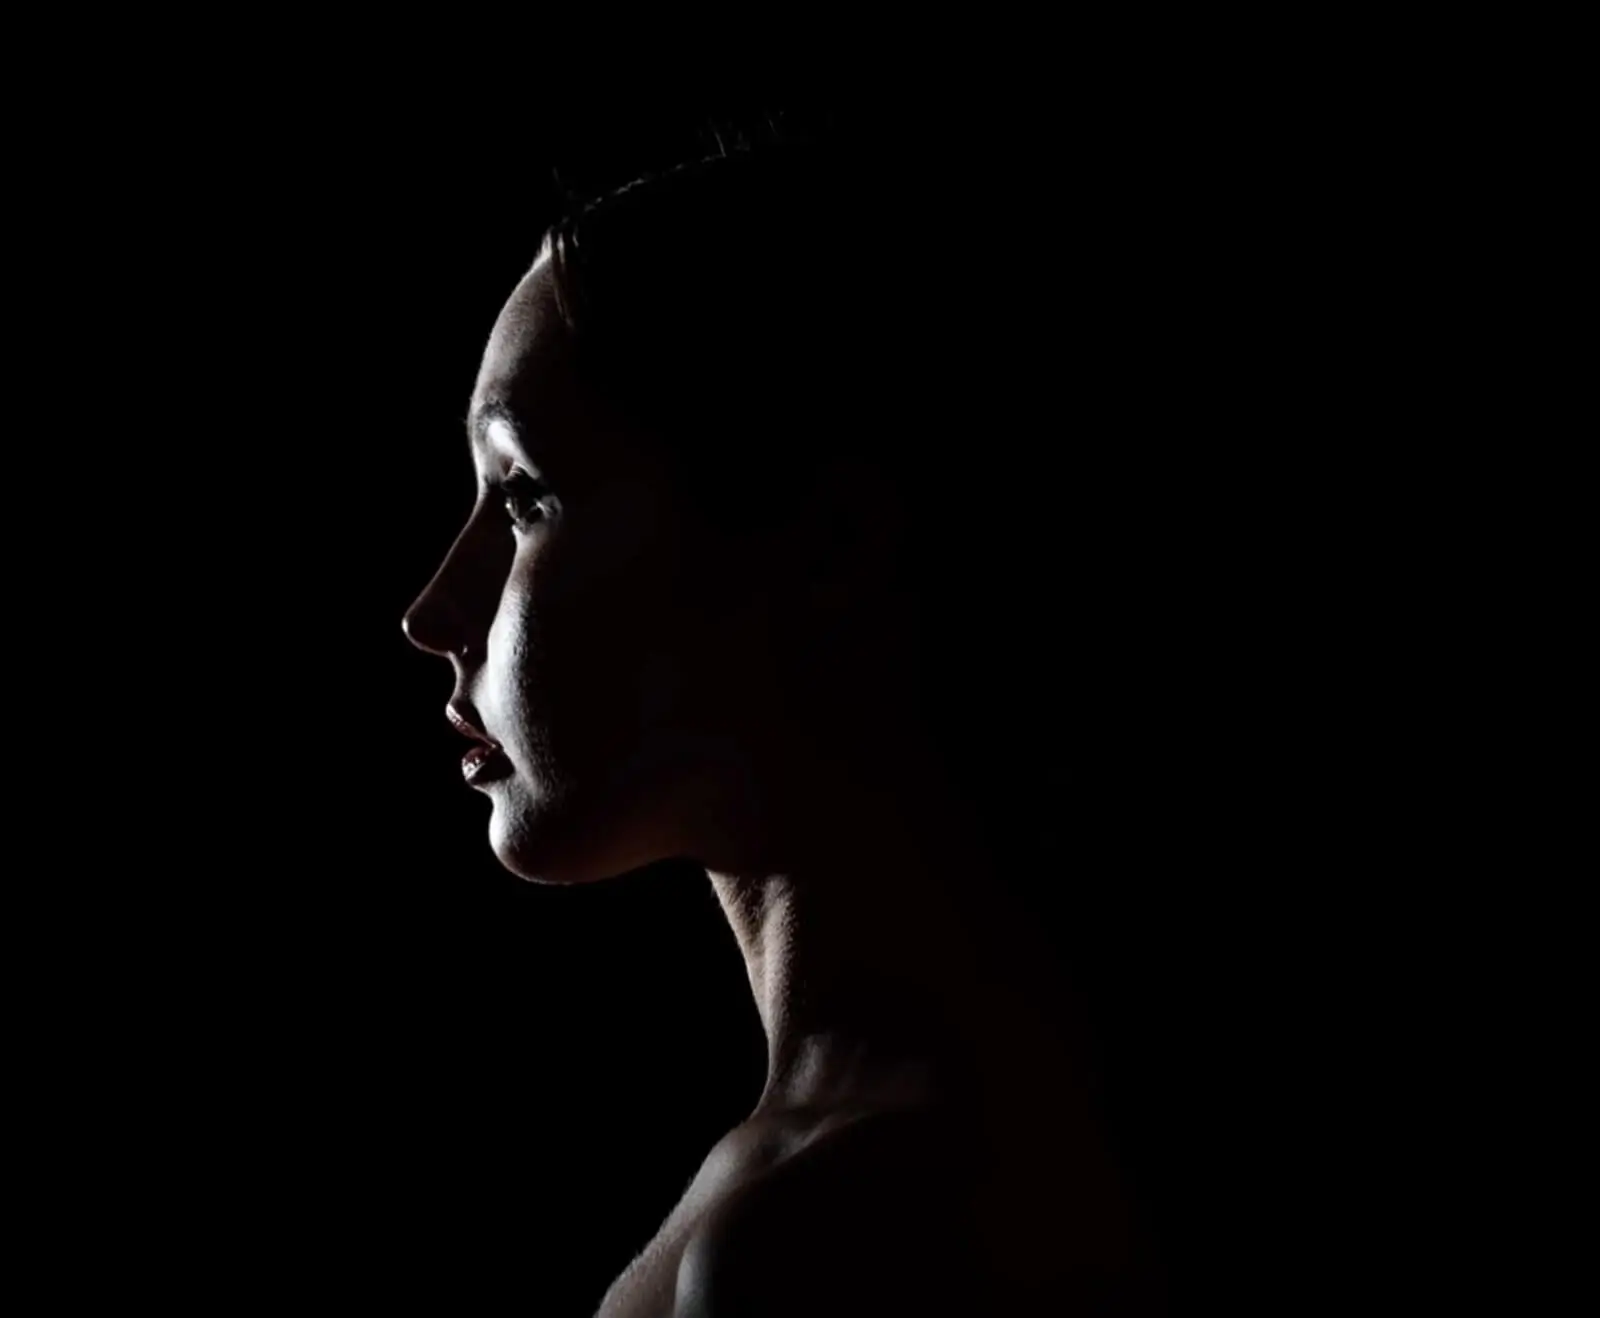
Rim light portrait example
You can see how changing the angle of the light exposes the facial features of the subject, but to expose the back of the subject, you will need to add another light.
3. Add a second light opposite the first light
Place a second light on the opposite side of the first light. Angle this light toward the back of the darker side of your subject.
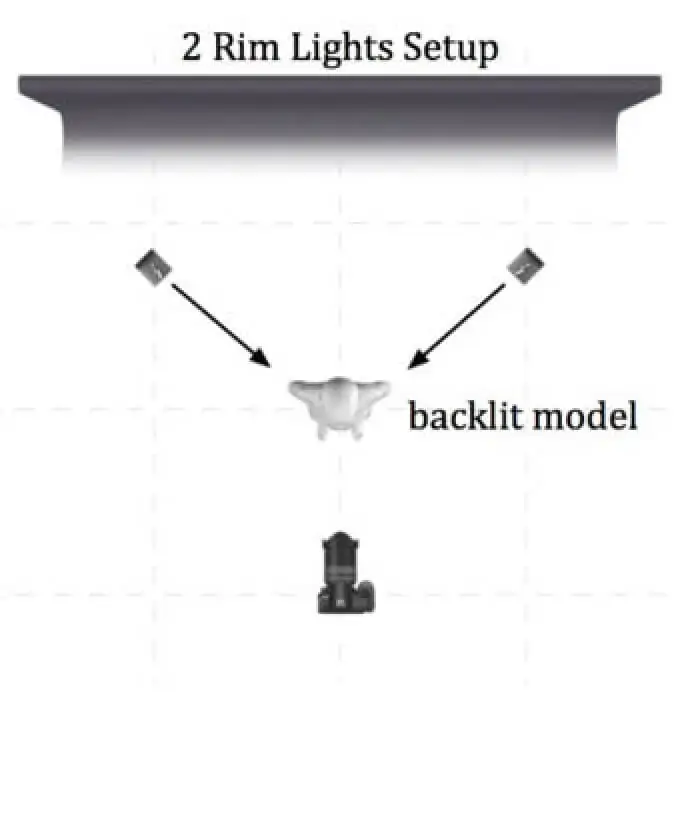
Two light portrait setup
This second light will bring out the shape of the back of your subject that was previously lost. It can help create a more complete image that is great for profile portraits.
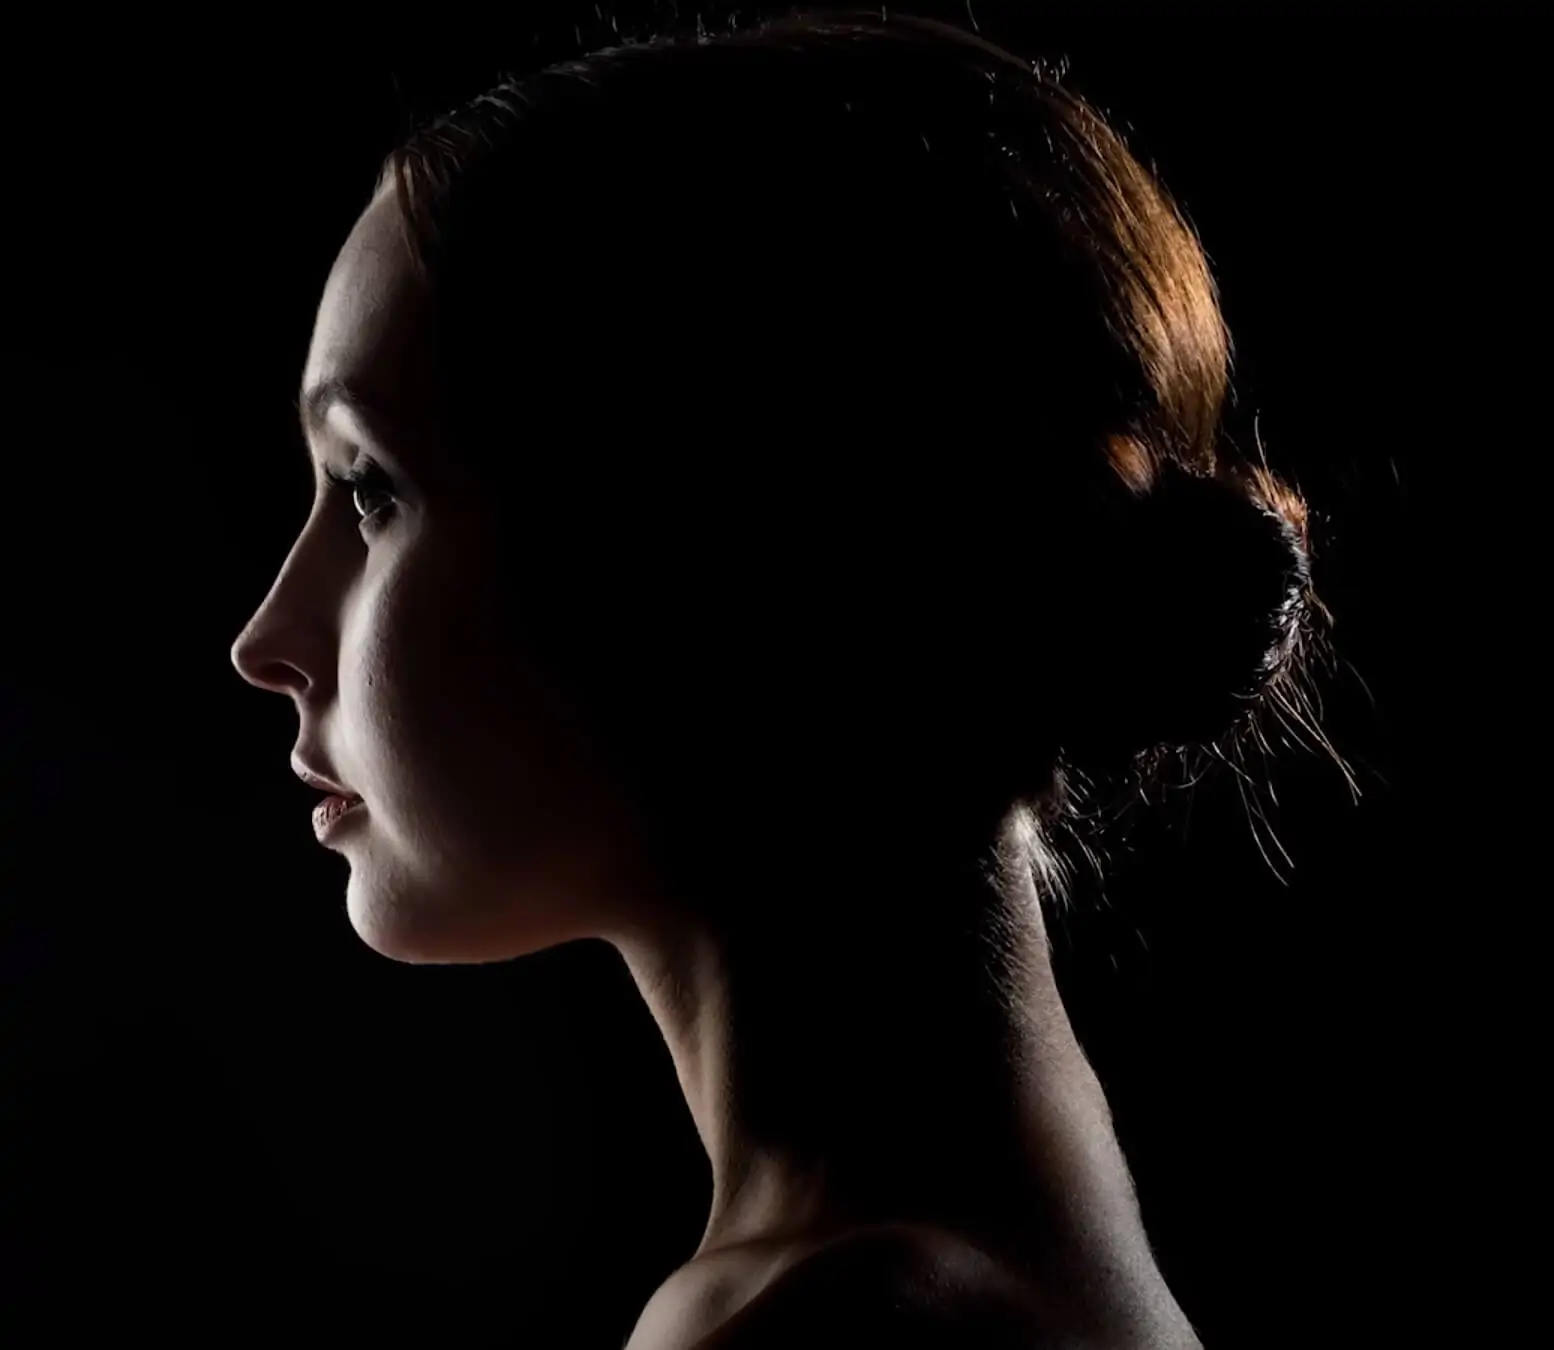
Rim light portrait example with two lights
Rim lights on their own can be a beautiful light setup for portraits and dramatic shots. In cinematography, edge lights are often used as a part of a larger lighting setup. Let’s take a look at how to use a edge light in a three-point-lighting setup.
What is a rim light in 3-point lighting?
Rim light in 3 point lighting
3 point lighting utilizes a key light, fill light, and back light. When it comes to backlight, rim lighting is a popular choice. To understand what an edge light can bring to a 3 point lighting setup, it’s important to fully understand how key light and fill light works. Check out our complete video breakdown of the three point lighting setup below to understand how it creates cinematic images.
Video Lighting Techniques • Subscribe on YouTube
Now that you understand both key light and fill light, let’s dive into how rim light plays a part in the setup. As the third component of the three point lighting setup, backlight is meant to create separation and draw out space.
1. Place the light behind your subject at an angle
Make sure that the light is placed behind your subject on the same side as your key light. Typically, it will also face the direction your fill light.
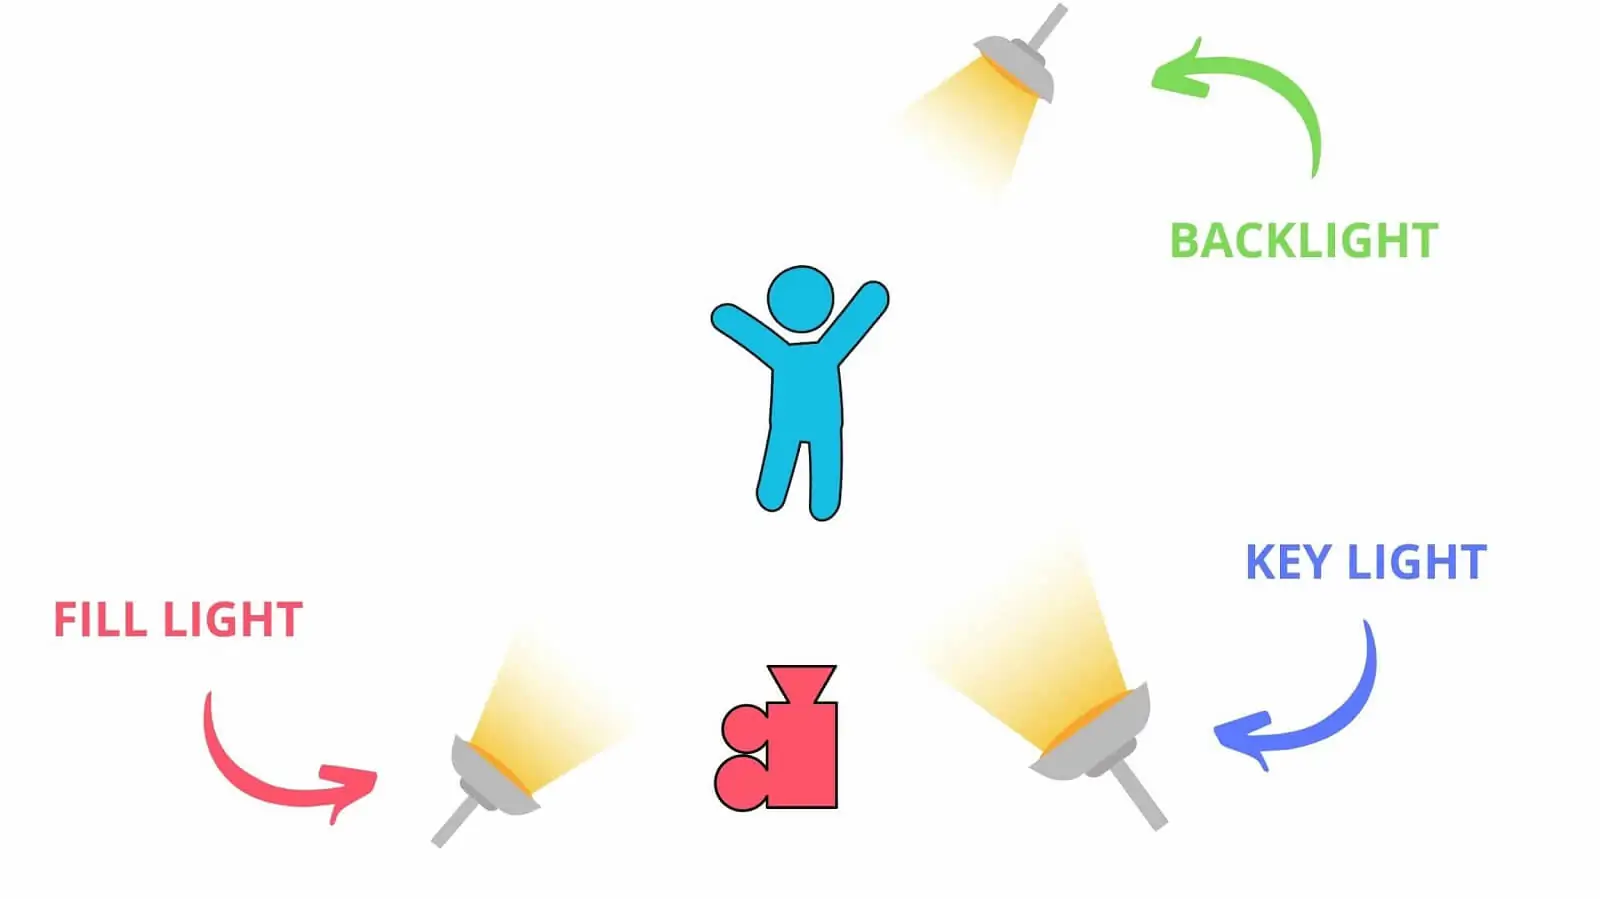
Light Placement
2. Raise the light
Using the various levels of the light stand, raise your light higher and angle it down toward your subject. This creates the “halo lighting” effect that gives subjects dimension and separates them from their background.
What is a rim lighting in cinematography used for? • Creating separation
3. Experiment
Like most things in cinema, rules are often bent and broken. These setups are meant to be foundational guidelines that one can experiment with and stray from. Afterall, Roger Deakins says that learning to play with light is an important part of learning how to light.
Roger Deakins on "Learning to Light" • Subscribe on YouTube
Experiment not only with the position of your light, but the quality of the light itself. Varying intensities, color temperatures, or gels can create different effects to your image. Whether you are using edge light to give a character angelic qualities or to make them mysterious, manipulate the light to best serve your story.
UP NEXT
3-Point Lighting Setup
Fill light is only one component of a complete 3-point lighting setup. When creating cinematic images, it is imperative to understand key light and fill light. In our next article, we break down each component of the 3-point lighting setup and give you the tools to create your own cinematic lighting setup.
Up Next: 3-Point Lighting →
Showcase your vision with elegant shot lists and storyboards.
Create robust and customizable shot lists. Upload images to make storyboards and slideshows.
