When it comes to creative projects, a mood board is essential. It’s a visual way to collect and organize your ideas, inspiration, and thoughts on a project. But what exactly is a mood board? And how do you create one? We’ve got the answers, and a selection of ready-made moodboard templates. Read on for everything you need to know about how to make a mood board plus some tips and tricks for creating your own.
How to Make a Mood Board
First, let’s define mood board
Mood boards can be used as inspiration for any kind of creative project, from designing a movie set to creating a work of art. To understand their value, let’s take a look at the definition.
MOOD BOARD DEFINITION
What is a mood board?
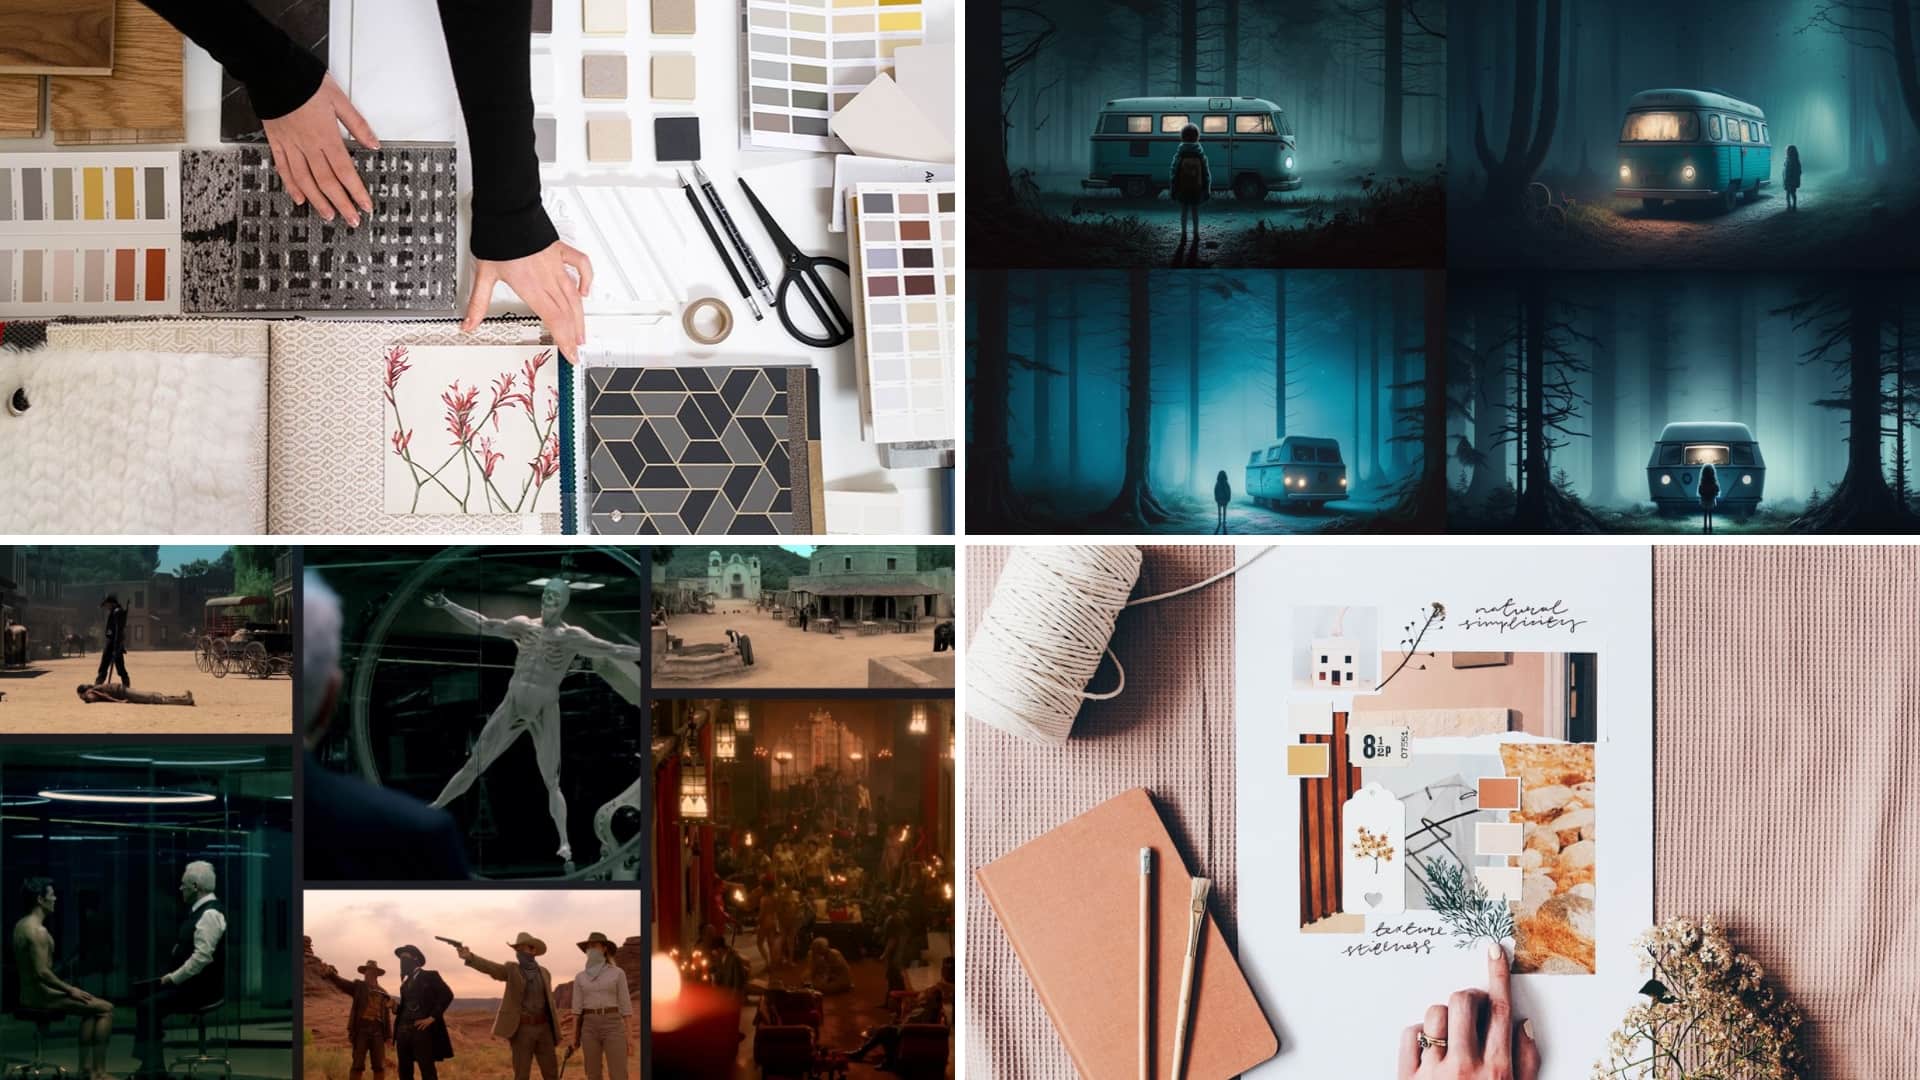
A mood board is essentially an arrangement of images that evoke certain feelings or emotions. They can be made up of anything from photos to drawings to textiles — anything that conveys the desired “vibe” or feeling.
Creating a mood board
Making a mood board in 5 steps
A mood board is a platform where creative professionals can collect and curate inspiring visuals to define a creative vision. These boards allow them to communicate ideas with stakeholders in an efficient, visually-appealing way.
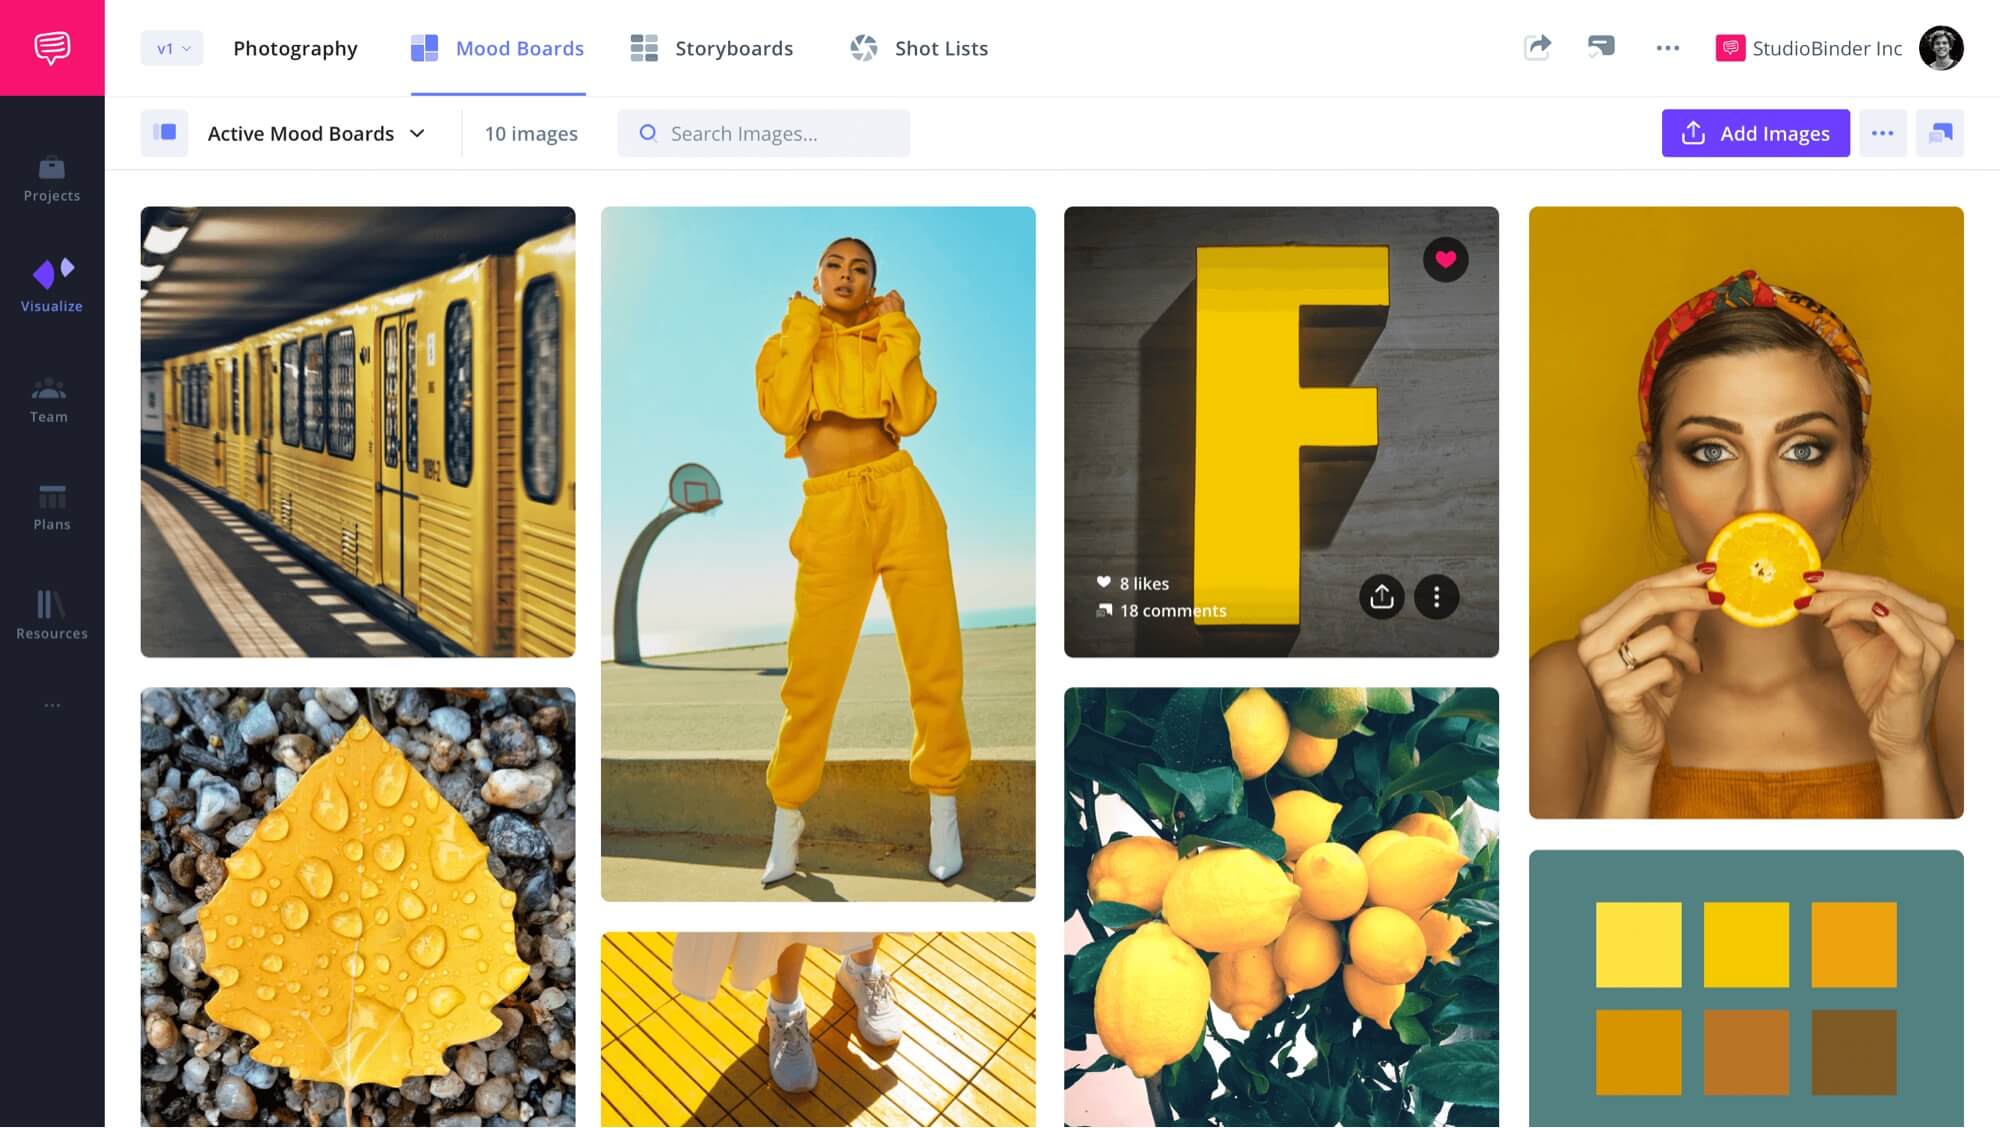
Here’s what a finished board should look like:
Photography Mood Board
We’ll walk you through how to create a professional looking mood board using StudioBinder’s mood boarding software. Remember, however, that these steps are universal to however you create a mood board.
Inspiration for How to Create a Moodboard
1. Find comps
The first step is deciding on the approach you want to take for your mood board. A board for a wedding, a board for a feature film, and a board for a website will all look very different.
So take a look at other comparable mood boards out there for the medium and genre you want to be in. Essentially, put together a mood board of mood boards. See how other creatives are assembling and presenting their ideas.
Related Posts
Finding visuals
2. Select images
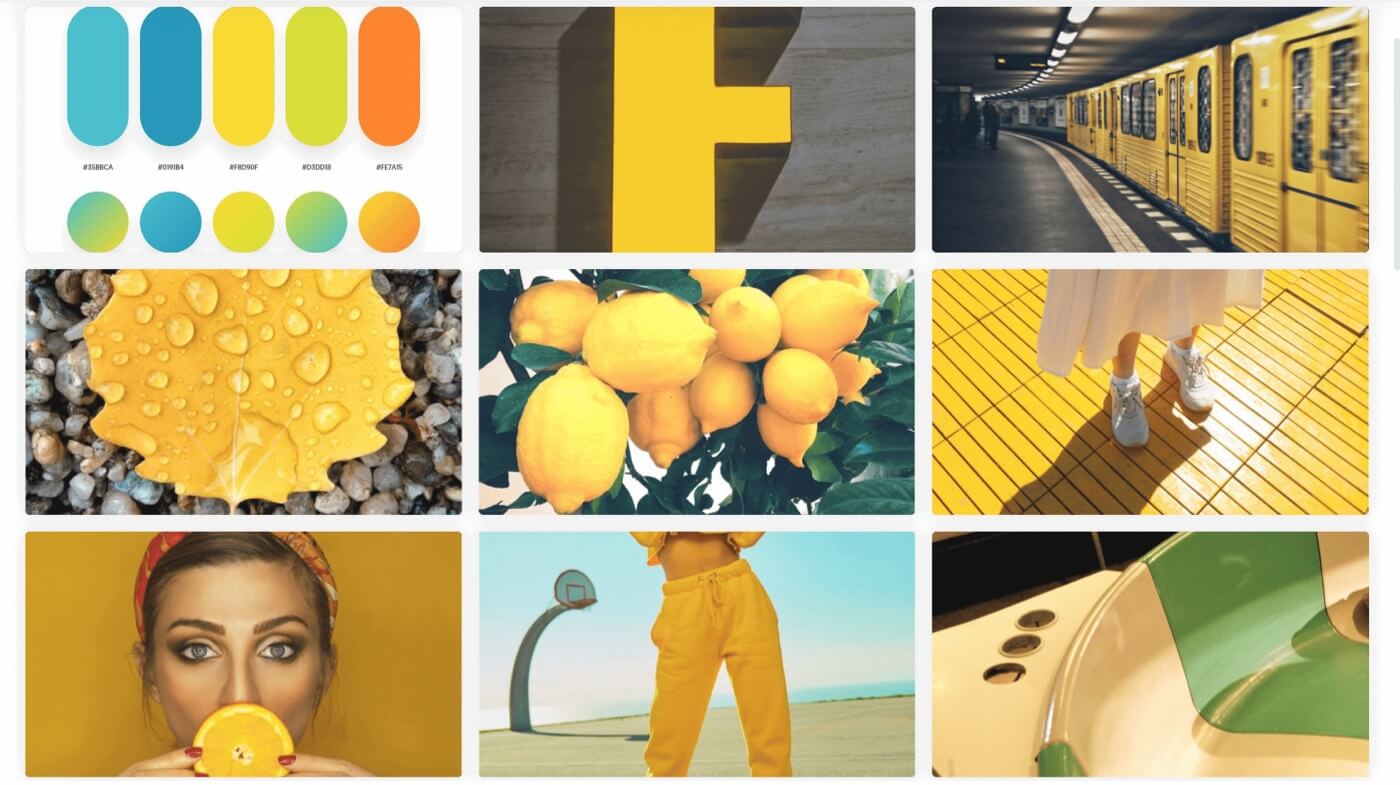
The first step is selecting visuals to include in your mood board. This includes gathering images, text, quotes, videos, and other visual elements that help to illustrate the objectives.


Images for a photography mood board
When searching for visuals, it’s essential to consider how they will interact with each other as well as how they represent the project’s overall vision. It can be helpful to start by using the list of keywords you created before related to the project, then search for visuals that match those terms.
This is especially helpful for incorporating more abstract concepts like the idea of ‘melancholy’. There are various ways melancholy can be expressed, but through visuals, creatives can be more specific.
PRO TIP
When selecting images, don’t constrain yourself to inspirations which look entirely how you want your project to look. You can also choose visuals that have specific elements you want to utilize, like lighting, costuming, or production design.
Provide additional text
3. Add details
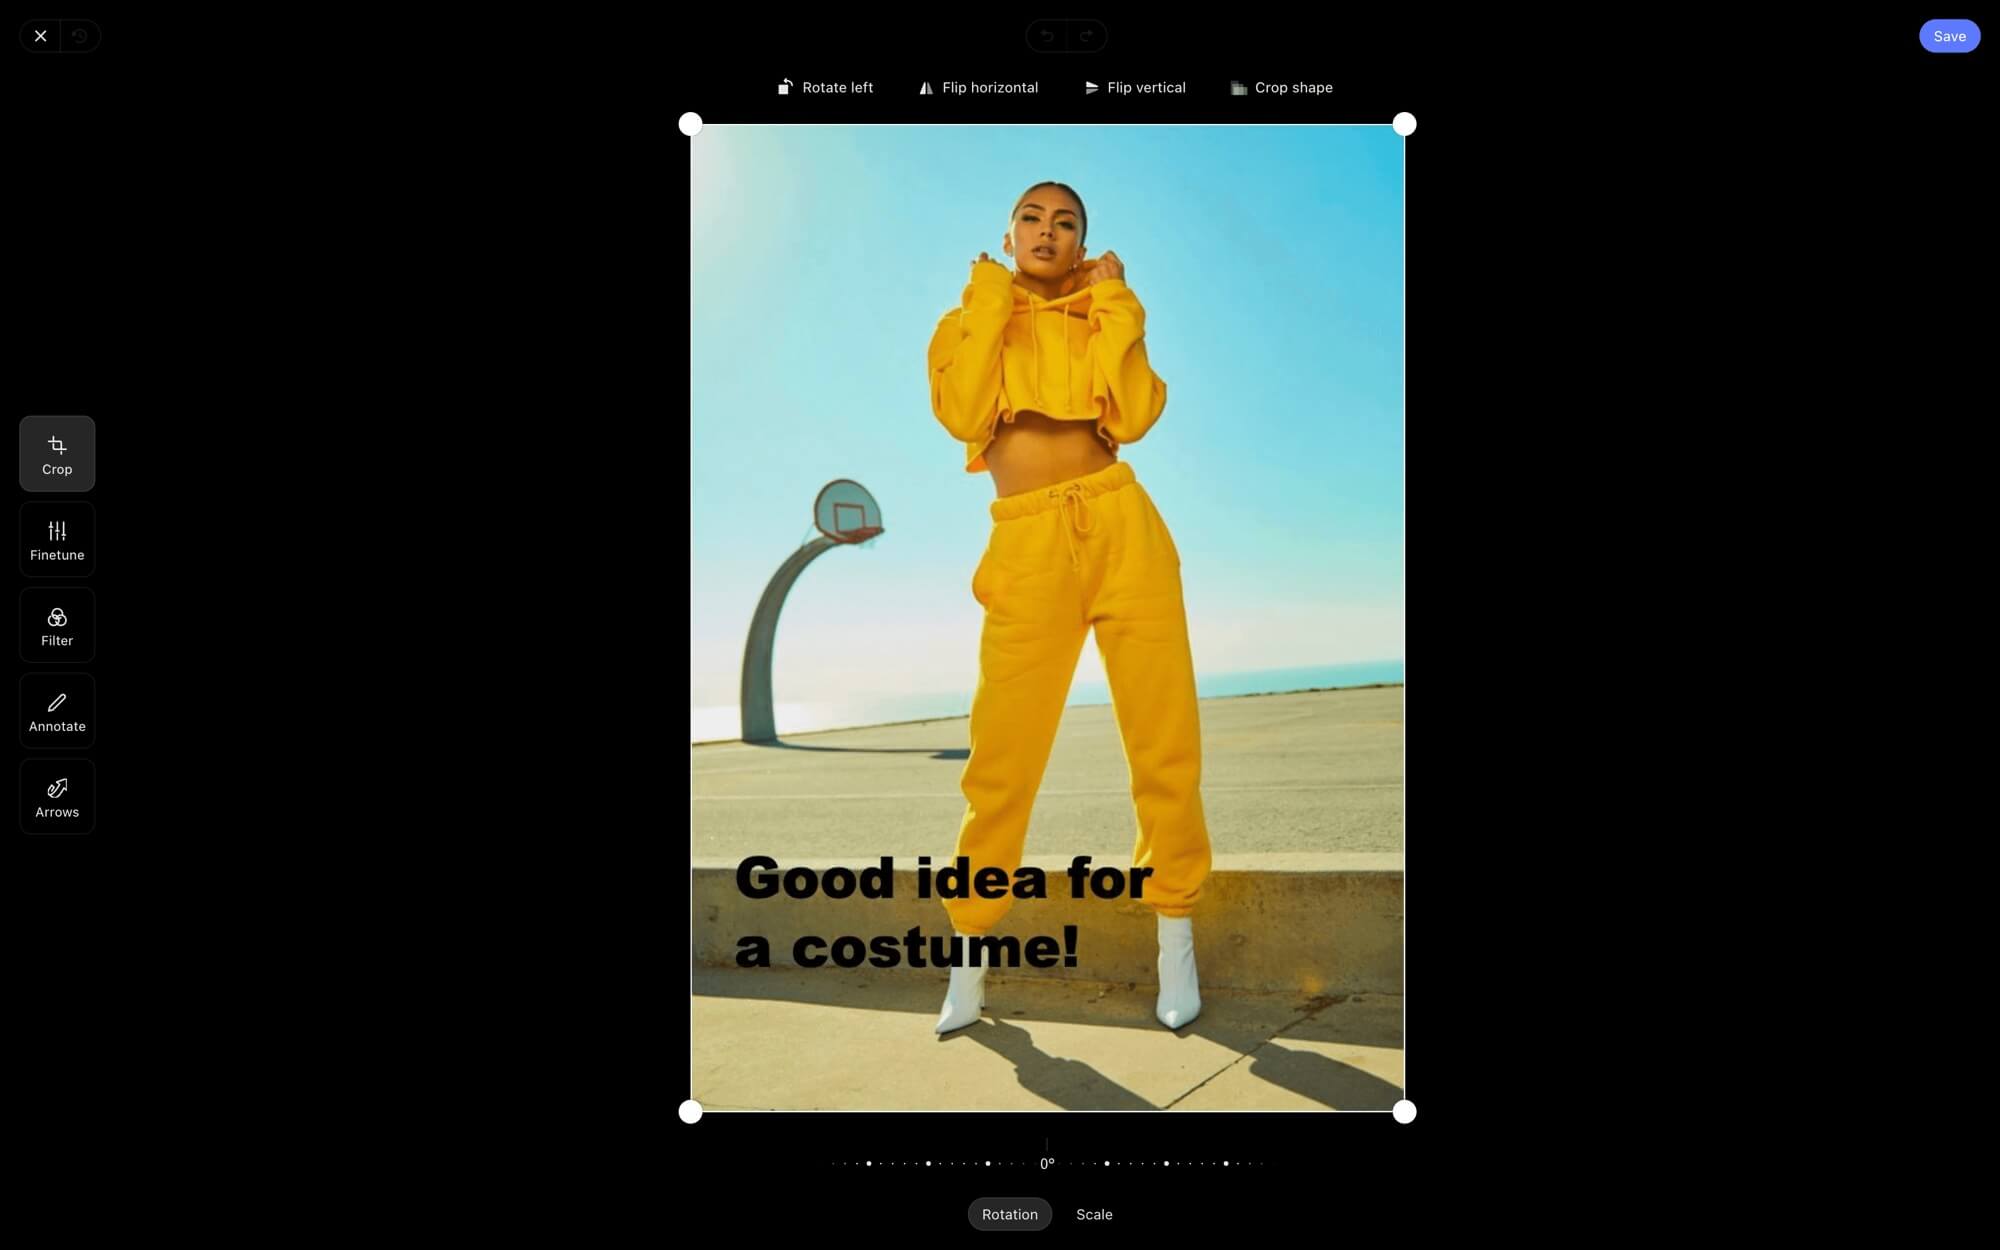
Now that you’ve assembled your inspiration, you may want to include notes on some of your selections, like what about a certain image you want to emulate.
Text can also tie images together. For example, you can delineate which images are more relevant for a costume designer versus for a production designer.


How to make a mood board with details
Related Posts
Assembling a mood board
4. Put together your mood board
Once you’ve gathered all the necessary visuals, it’s time to start organizing them into a cohesive board. While this can be done physically, digital mood boards have plenty of benefits such as efficiency and organization.
It can be helpful to first group similar visuals together, then arrange them in a manner that best conveys the project’s objectives. This is also an opportunity to experiment with different layout options and see which one works best. It’s important to keep in mind that they should be flexible — if something isn’t working, don't be afraid to rearrange the visuals or start from scratch.
Mood Board Assembled
PRO TIP
When learning how to make a mood board it is important to experiment with different layout options. This allows the user to try out different ways of organizing their visuals and see which one works best for their project's objectives.


Share and collaborate
Mood boards are an incredible tool to express and communicate your creative vision while also serving as a reference point for all team members involved in the project.
How To Make a Mood Board
Create mood boards with a template
If you’re looking for more free mood board templates look no further.
No matter what creative project you're working on, we have mood board templates for photography, film, branded content, and more. See the entire collection in our template library where you'll also find templates for shot lists, storyboards, and AV scripts.
Related Posts
Up Next
What is a Mood Board?
Looking to learn more about what a mood board consists of? Check out or next article where we dive into the definition of a mood board and the essential components of one.
Up Next: Board Essentials →
Showcase your vision with elegant shot lists and storyboards.
Create robust and customizable shot lists. Upload images to make storyboards and slideshows.

