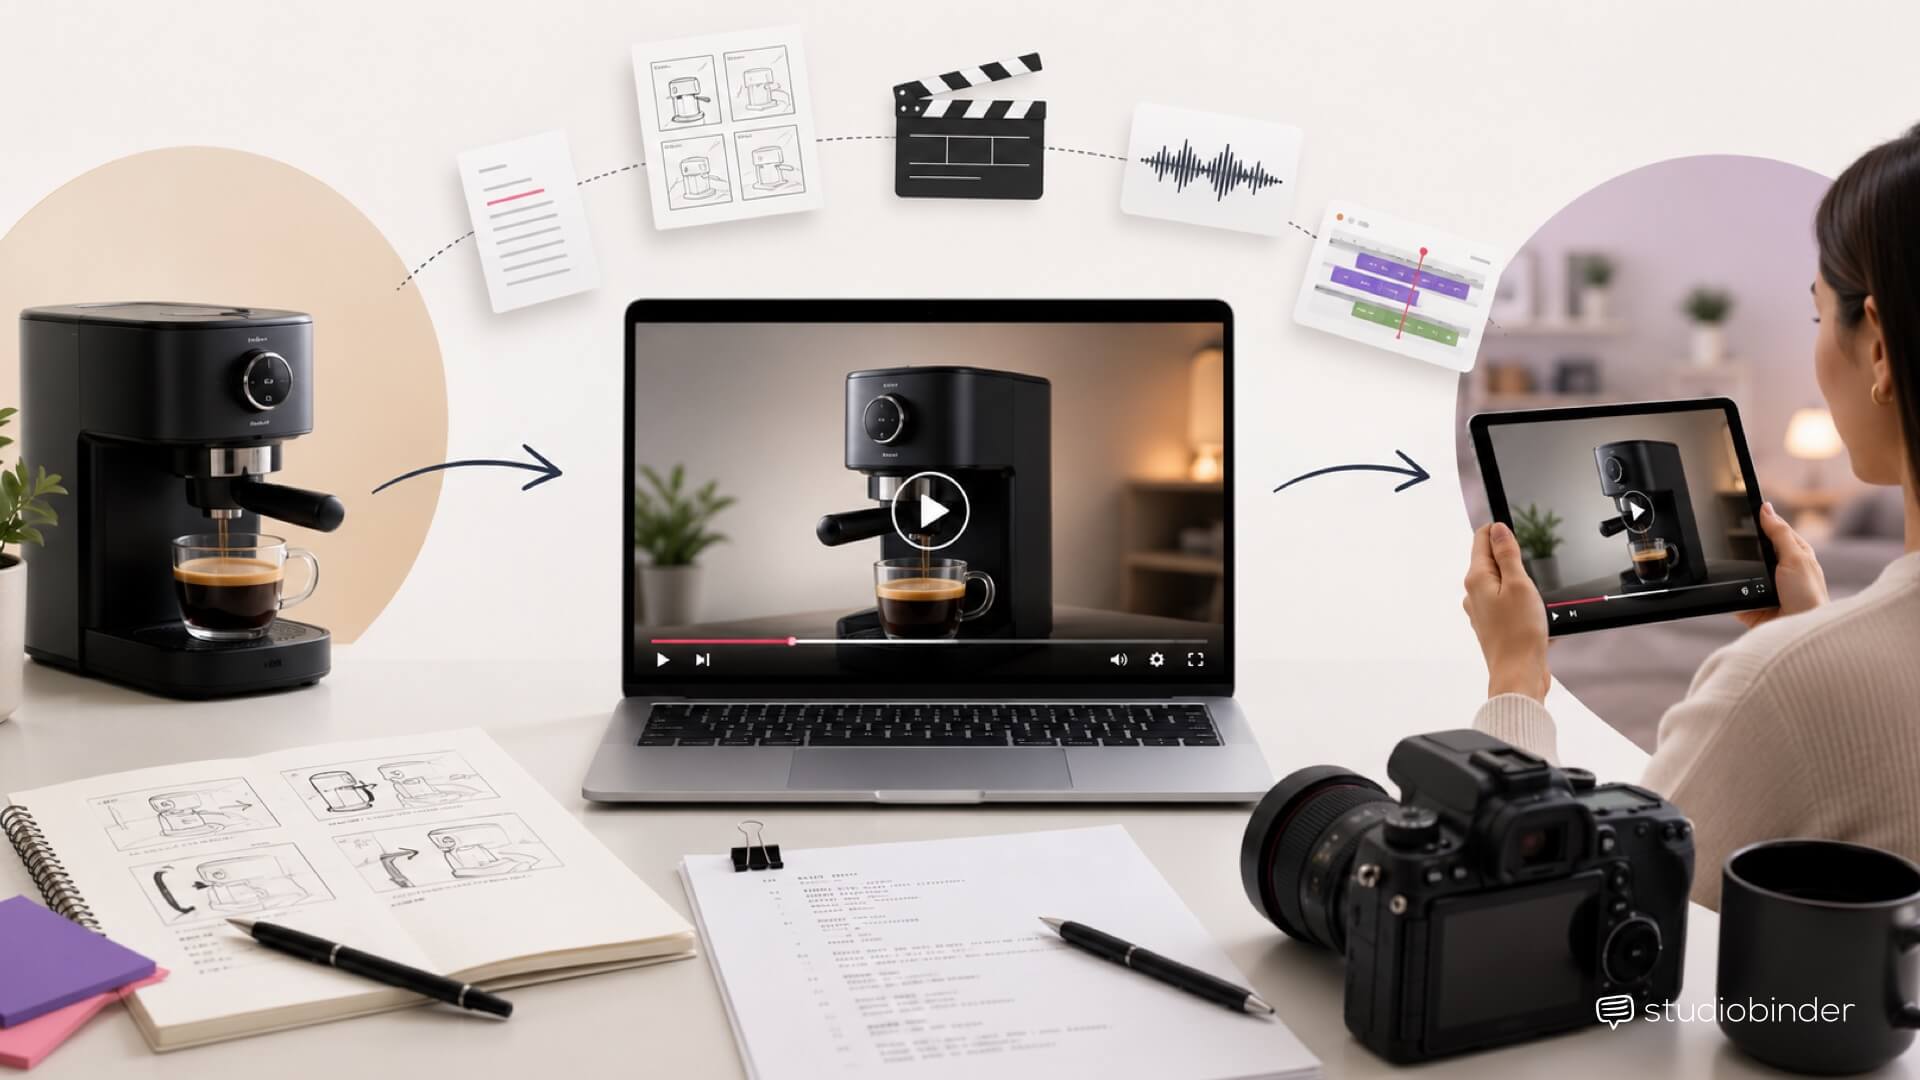
85% of consumers say a brand’s video convinced them to buy. It used to be a blog post. Then landing pages were in. Now? Video is king. A product explainer video is the ultimate piece of content now. Used to turn curious visitors into happy, paying, loyal customers.
According to Wyzowl’s 2026 State of Video Marketing report, 96% of people have watched an explainer video. They watch to learn about a product or service. 85% say that video directly influenced a purchase decision. That is not a niche format. That is the default way people evaluate what they are about to buy. The brands that get this right do not treat product video as a line item. They treat it as the asset that carries the entire funnel.
This guide covers everything you need. what a product explainer video is. Which type fits your product. How to make one from script to final cut, and what it should cost.
product explainer video
Let's first define product explainer video
We'll get into all the steps on how to make your own product explainer video, but before we do, let's make sure we're all on the same page. Below is a definition of a product explainer video.
product explainer video DEFINITION
What is a product explainer video?
A product explainer video is a short video that typically lasts between 60 to 90 seconds. They show what a product does, who it is for, and why it matters. It focuses on function and value, not brand story.
The goal is simple: turn a confused visitor into a confident buyer. The format exists because most products are hard to explain in text alone. Buyers need to see them working before they commit. A product video does the explaining once, at scale, without a sales rep in the room.
This is what separates it from a brand video or ad. A brand video builds feeling. An ad builds awareness. A product explainer video builds understanding. Understanding is what closes the gap between interest and conversion.
Key characteristics of a product explainer video:
- Explains what the product does and why it matters
- Shows how the product solves a customer problem
- Focuses on benefits instead of promoting the brand
- Helps buyers understand the product before buying
- Converts interest into action with a clear message
- Usually runs between 60-90 seconds for impact
VIDEO FORMATS
Types of product explainer videos
There is no single best format for a product explainer video. The right choice depends on your product, your budget, and how your audience prefers to learn. Here is how the main types break down.
1. Animated Explainer Video
Animation is the default format for SaaS and software products — and for good reason. There are no production logistics, no location permits, no on-camera talent. Use visual metaphors to make abstract features clear. Workflows, integrations, and data pipelines will finally make sense. That level of control is why software companies reach for animation first.
Two styles dominate the market. 2D character animation moves illustrated characters through a scene. This style works best for human-centered workflows. Use it for HR tools, project management software, and consumer apps. Whiteboard and doodle animation builds the drawing as the voiceover talks. This style feels more educational. It is common in fintech, healthcare, and B2B enterprise.
The canonical example is Dropbox's original 2007 animated explainer. That's a simple, two-minute video widely credited as a landmark case study in product video ROI. The concept was straightforward. The execution was tight. It worked.
Costs range from $3,000 for a basic studio production to $50,000+ for premium animation. More on what drives that gap in the cost section.
2. Live-Action Product Demo
If your product exists in the physical world, film it there. Live-action works best for hardware, devices, food, tools, and fashion. Anything where the feel of using the product is part of the value proposition. Seeing someone hold it, wear it, or use it closes a trust gap that animation cannot.
Two approaches cover most use cases. A studio demo puts the product front and center against a clean background. Product hero shots, close-ups, controlled lighting. Think Apple product videos. An on-location demo puts the product in context. A chef using a kitchen tool, an athlete wearing a fitness device. The lifestyle angle sells the outcome, not just the object.
Live-action means production logistics. You need a shot list to map every angle before the camera rolls. If you have a crew involved, a call sheet keeps everyone on time and on the same page. StudioBinder's shot list tool and call sheet tool are built exactly for this. Map your shoot before the day starts and nothing gets missed.
3. Motion Graphics and Screen Recording
For SaaS teams working lean? Motion graphics and screen recording is the practical middle ground. Record the product in action. Layer in motion graphics to highlight features, and add a voiceover. Clear, direct, and cheaper than full animation. Tools like Loom and Camtasia handle screen capture cleanly. After Effects adds polish on top. AI-assisted tools like Synthesia and Descript have lowered the barrier further. Synthesia generates an AI presenter from a script. Descript lets you edit video by editing the transcript.
This format works best for onboarding videos, feature walkthroughs. Also SaaS trial-to-paid conversion content. Worth being clear about what it is not: UI-forward, not metaphor-driven. Animated explainers build a world around the product. This one just shows it.
Related Posts
product explainer video
How to make a product explainer video in 6 steps
Your production process will vary. It will look different depending on if you animate, film, or screen-record. But the pre-production steps are the same regardless of format.
Get these right and the rest follows. Skip them and no amount of polish will save the final video.
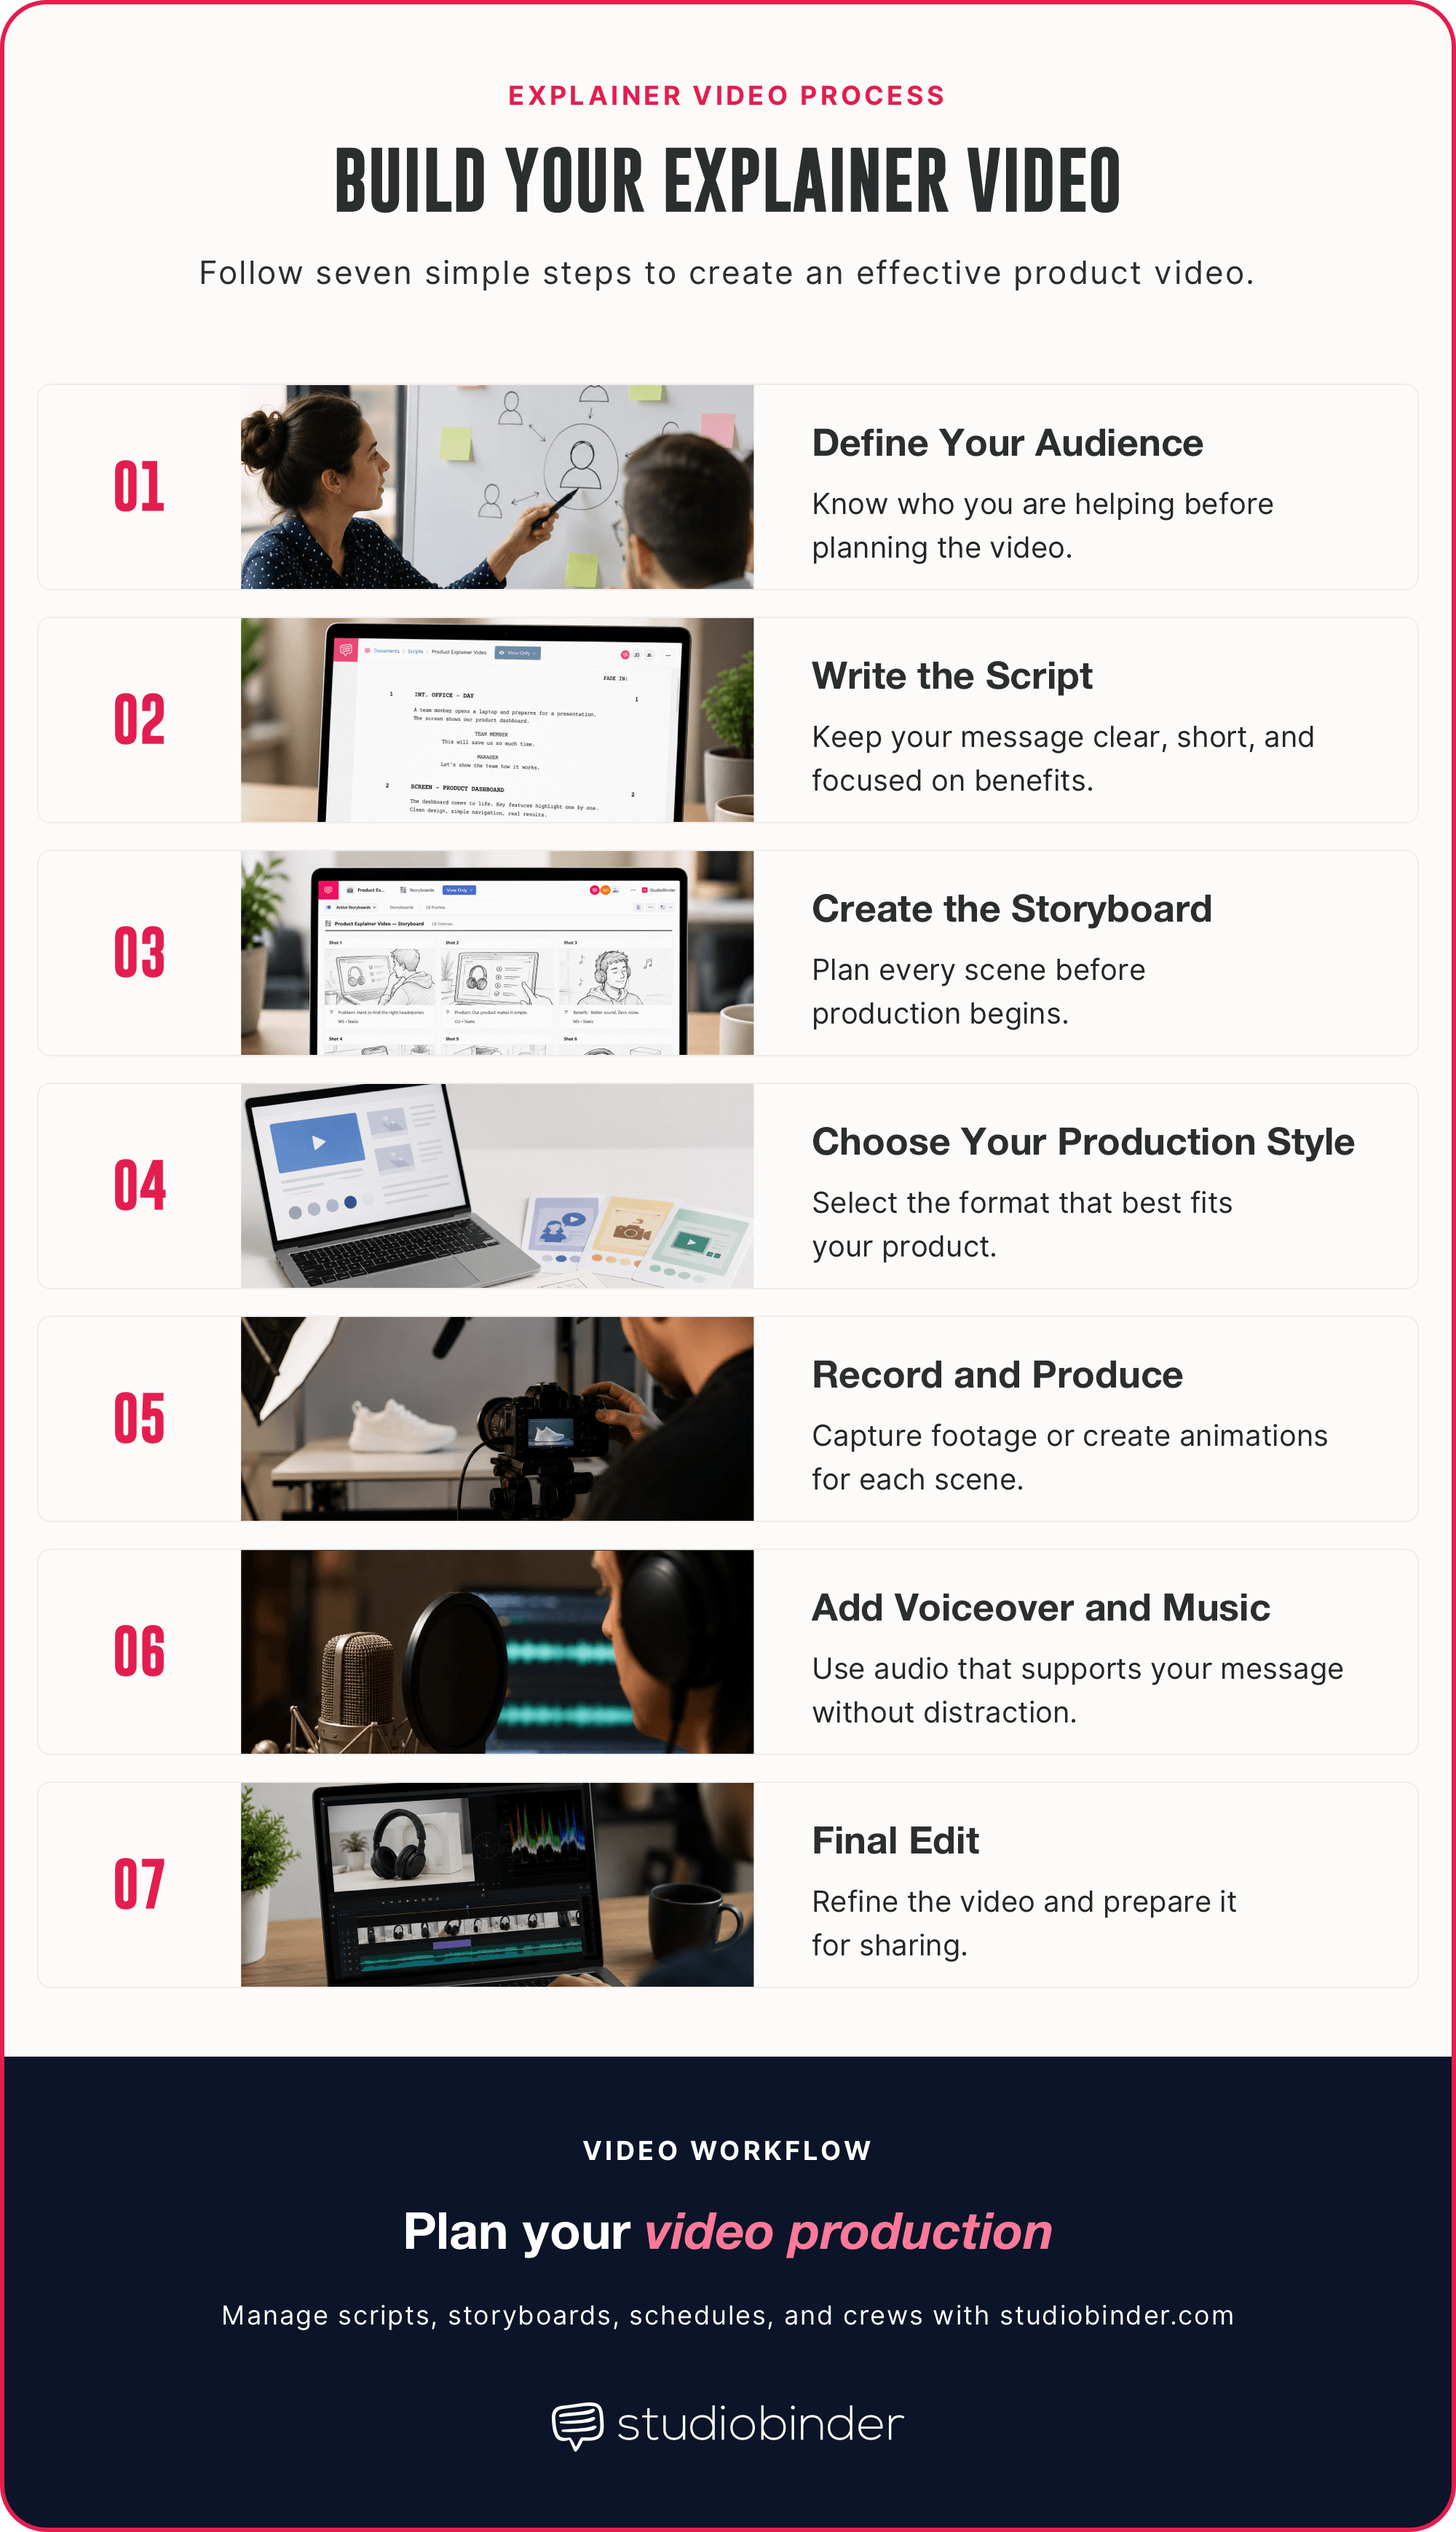
The entire process of planning a production explainer video
1. Define your audience and core message
This is the most skipped step in product video production. It is also the most important.
Before a single frame is planned, answer three questions:
- Who is watching? A first-time visitor who has never heard of your product needs a different video than a trial user who already understands the problem.
- What do they already know? Meet them where they are. Do not over-explain what they already get. Do not under-explain what is genuinely unfamiliar.
- What is the one thing they need to believe at the end? Not five things. One. The most common mistake in product video is trying to explain every feature. Features are not the message. The outcome is the message.
As video strategist Ian Gibbons has put it, "the best explainer videos don't explain the product, they explain the problem."
The problem–solution–proof structure exists for exactly that reason. Name the problem your buyer lives with. Show how your product solves it. Prove it with a result, a number, or a real use case. That structure works in 60 seconds or 60 minutes.
2. Make a creative brief
Before you write a single line of your script, define the creative direction for the project. A strong creative brief outlines your target audience, the problem your product solves, the video's primary objective, and the one key message viewers should remember after watching.
It should also establish the visual style, tone of voice, branding guidelines, and distribution channels so every creative decision supports the same goal. Taking time to align these details upfront helps reduce revisions and keeps your production focused from scripting through final delivery.
3. Write the Script
Most product explainer videos fail at the script stage - not in production. A weak script cannot be saved by good animation or slick editing.
The math is simple. A standard voiceover runs at roughly 150 words per minute. A 60-second video is 150 words. A 90-second video is 225 words. That is your entire script. Every word has to earn its place.
Structure it in five moves:
- Hook - open with the problem. Name the pain before you name the product.
- Solution reveal - introduce the product as the answer, not as a feature list.
- Key benefit - one outcome, stated clearly. What does the buyer's life look like after?
- Social proof - a number, a customer result, or a recognizable name that builds trust fast.
- CTA - one ask. Try it, book a demo, watch how it works. One direction only.
Write in second person POV. "You" not "users." Conversational, not corporate. Read it out loud - if it sounds like a press release, rewrite it.
For animated explainer videos, the script is the master document. The entire animation is built around it. Lock the script before anything else moves.
StudioBinder's Free AV Scripting Software auto-formats your video script so you can focus on the story of the explainer. You can customize the columns to fit your needs and even upload images as a reference, per shot.
Write your Product Explainer video AV Script • StudioBinder's Free AV Script Writing Software
Since we know that product explainer videos land around 60-90 seconds, having a tight script is critical.
One feature that's handy is that you can actually use our stopwatch feature to track the time it takes to read the audio (whether it's VO or on-screen).
Write your Product Explainer Video AV Script • StudioBinder's Free AV Script Writing Software
This makes the entire AV scripting process a breeze. After you've completed your script, it's time to build out the visuals.
4. Create the storyboard
A storyboard is not just for live-action shoots. For animated explainer videos it is arguably more important. Changes are expensive once animation starts. A storyboard catches mismatches between script and visuals before anyone opens After Effects.Each frame needs four things.
A rough sketch or description of the visual, the voiceover line, any on-screen text, and the timing. Match your script beats to the visuals. This alignment keeps the final video cohesive, not cobbled together.
StudioBinder's Free Storyboard Software helps you map each script beat to a visual before anything goes into production. Drag-and-drop simple, and shareable directly with your animator or videographer.
To add a new storyboard panel inside StudioBinder, just click Add New, pick your image, fine-tune it (if needed), and voila!
Visualize your product explainer • StudioBinder's Free Storyboard Software
After you've completed your storyboard, you can invite your collaborators to add feedback they may have.
Visualize your product explainer • StudioBinder's Free Storyboard Software
And before you know it, your storyboard is finished and ready to be shared with your clients and team.
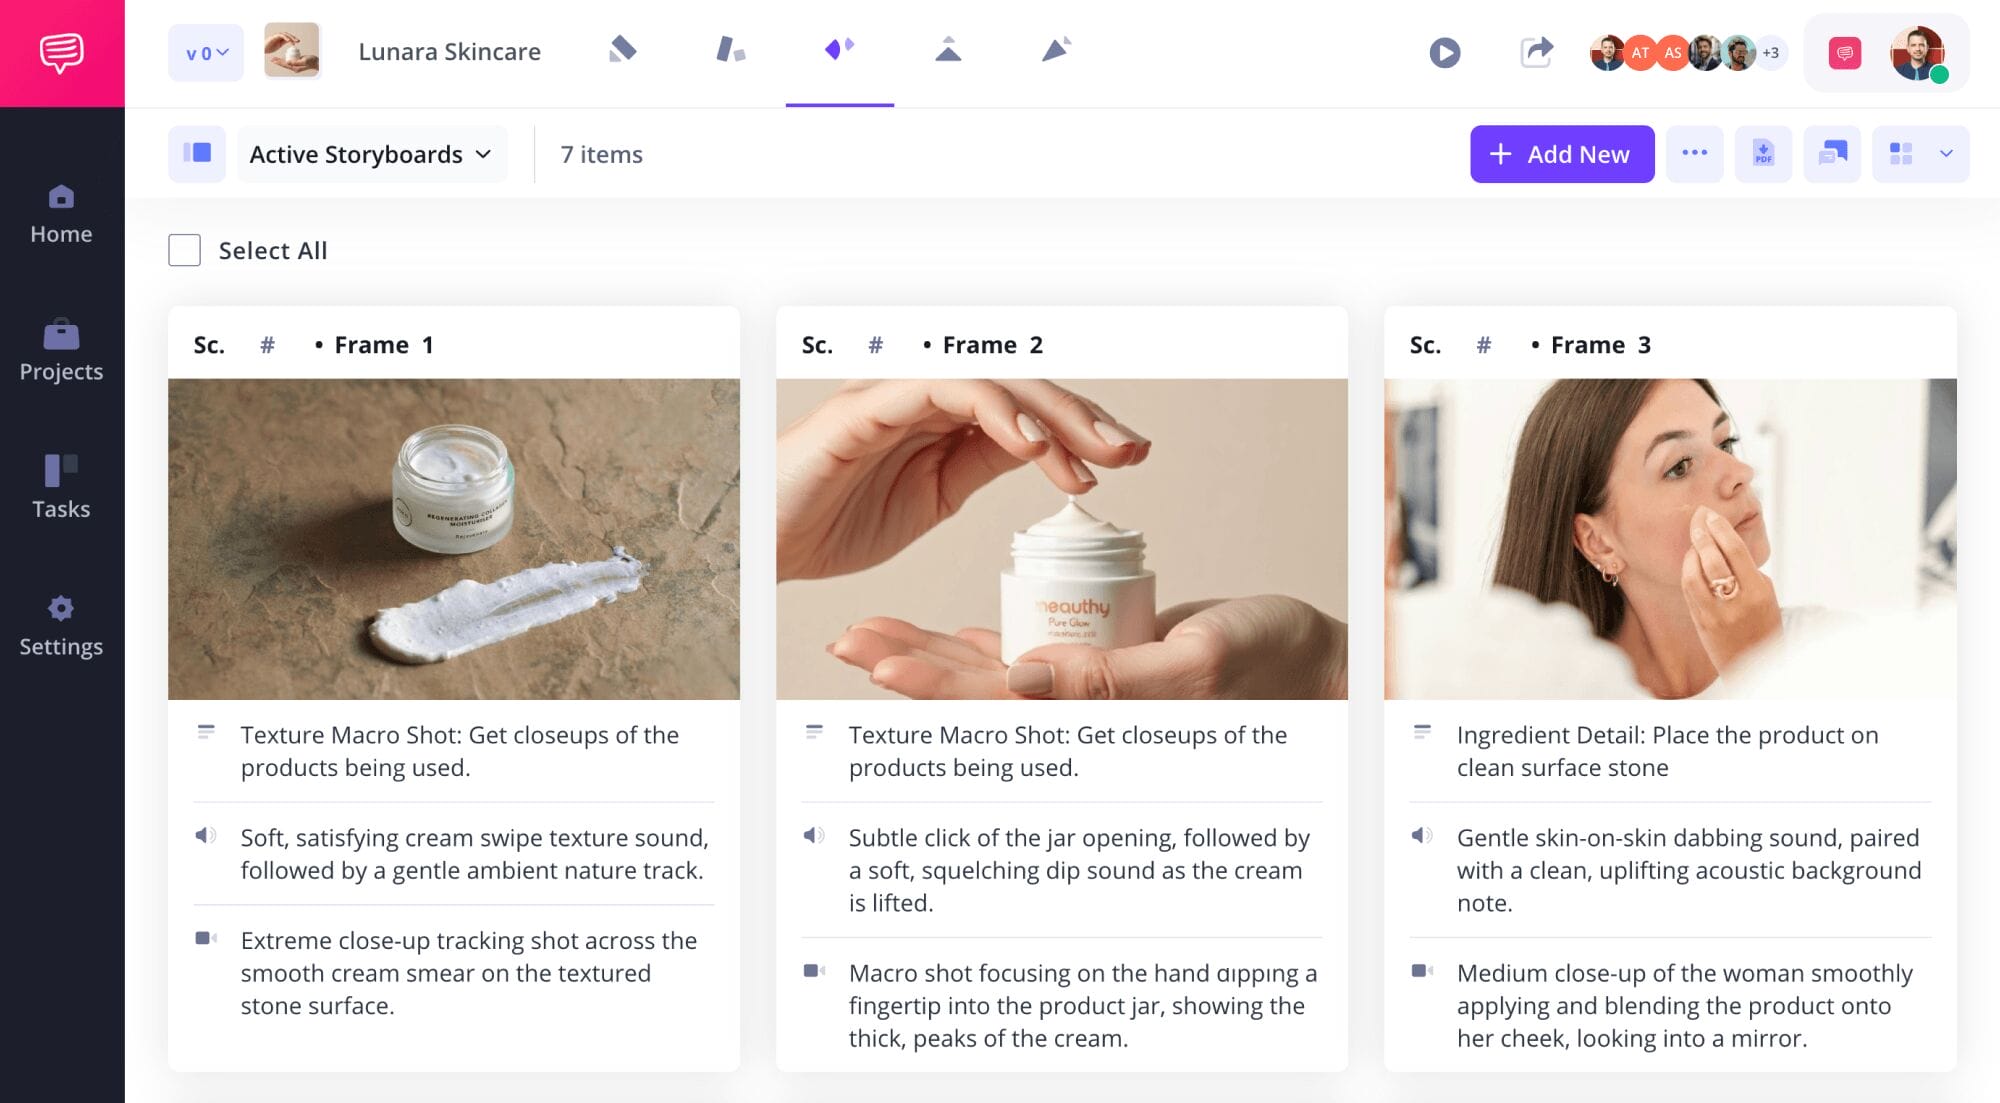
Storyboard • Product explainer video
5. Make your shot list
A shot list turns your script into an actionable production plan. It organizes every camera setup before filming begins so you're prepared as can be before the shoot. You use it to list shot sizes, camera angles, movement, locations, and notes ahead of time. This helps your crew stay aligned while reducing missed coverage and unnecessary delays on set.
With StudioBinder's Shot List Software, you can build visual shot lists directly from your storyboard, organize shots by scene, assign lenses and camera movements, and make updates collaboratively as your production evolves.
Plan your video explainer's shot list • StudioBinder's Free Shot List Software
5. Make your shot list
Of course, shot sizes can change throughout pre-production. Often right up until the night before the shoot! That's why StudioBinder's software keeps your whole crew linked to any changes you make.
6. Create call sheets for your production
Once your schedule is locked, your crew needs clear instructions for the whole shoot day. A call sheet keeps everyone informed by outlining everything from call times to contact information. Basically, everything your crew needs to know to show up and work for the day is laid out on this document.
StudioBinder's Call Sheet Software automatically pulls information from your production schedule to generate professional call sheets, then distributes updates instantly so your cast and crew always have the latest version.
Send your call sheets on time • StudioBinder's Free Call Sheet Software
Have a schedule change? StudioBinder makes it easy to click, drag, and rewrite any aspect of your schedule while keeping it immediately in sync and up to date for the rest of your crew.
product explainer video
Choose your production style
This is the decision that shapes everything downstream. Get it wrong and you will spend money fixing a mismatch between format and product. Three questions will get you to the right answer fast:
1. Is your product physical or software? Physical products - hardware, food, fashion, devices - belong on camera. Live-action closes the trust gap that animation cannot. Software products are better served by animation. That or screen recording, where you control exactly what the viewer sees.
2. What is your budget? Animation starts at $3,000 and scales quickly. Live-action can work at almost any budget depending on crew size. Screen recording is the lowest-cost entry point for SaaS teams.
3. Do you have in-house production capability? Screen recording and basic motion graphics are realistic DIY options. Animation and live-action almost always benefit from a professional hand.
The quick reference: animated suits software with a mid-to-high budget. Live-action suits physical products at any budget. Screen recording suits software teams working lean.
Mismatching style to product type is one of the most common — and expensive — mistakes in product video. A physical product explained through abstract animation leaves buyers unconvinced. A SaaS product filmed as a studio demo with no UI walkthrough leaves them confused.
Record and Produce
The production process splits depending on your format.
Animated: Hand off the locked storyboard to your animator with three milestones. Animatic, style frames, full render. Do not skip the animatic. Fixing timing there costs a fraction of what it costs after full animation.
Live-action: Good lighting and a lav mic outperform expensive gear used poorly. You just need a basic mirrorless camera and a clean background. Prep the product — clean it, test every angle, have spares on set.
Screen recording: Record at 1080p minimum. Turn system audio off. Clear your UI of anything irrelevant — notifications, open tabs, cluttered toolbars. A clean screen signals a polished product.
Across all three: hire a professional voiceover artist if budget allows. Bad audio undermines good visuals every time.
Add Voiceover and Music
150 words per minute feels conversational. 130 feels authoritative. Record slower than you think you need to — trim silence in the edit rather than speeding up the delivery. Music sets the emotional register of the entire video. Upbeat works for consumer apps. It undercuts trust for enterprise SaaS. Match the mood to the buyer. License everything properly. Artlist, Epidemic Sound, and Musicbed all offer royalty-free libraries with commercial licensing.
On the mix: the voiceover should sit 10 to 15dB above the music bed. The most common DIY mistake is music mixed too loud. If the viewer has to work to hear the VO, you have already lost them.
product explainer video COSTS
Product explainer video cost
Product explainer video costs range from $0 for a DIY screen recording to $50,000+ for a premium animation studio. What sits in between is where most teams find their answer.
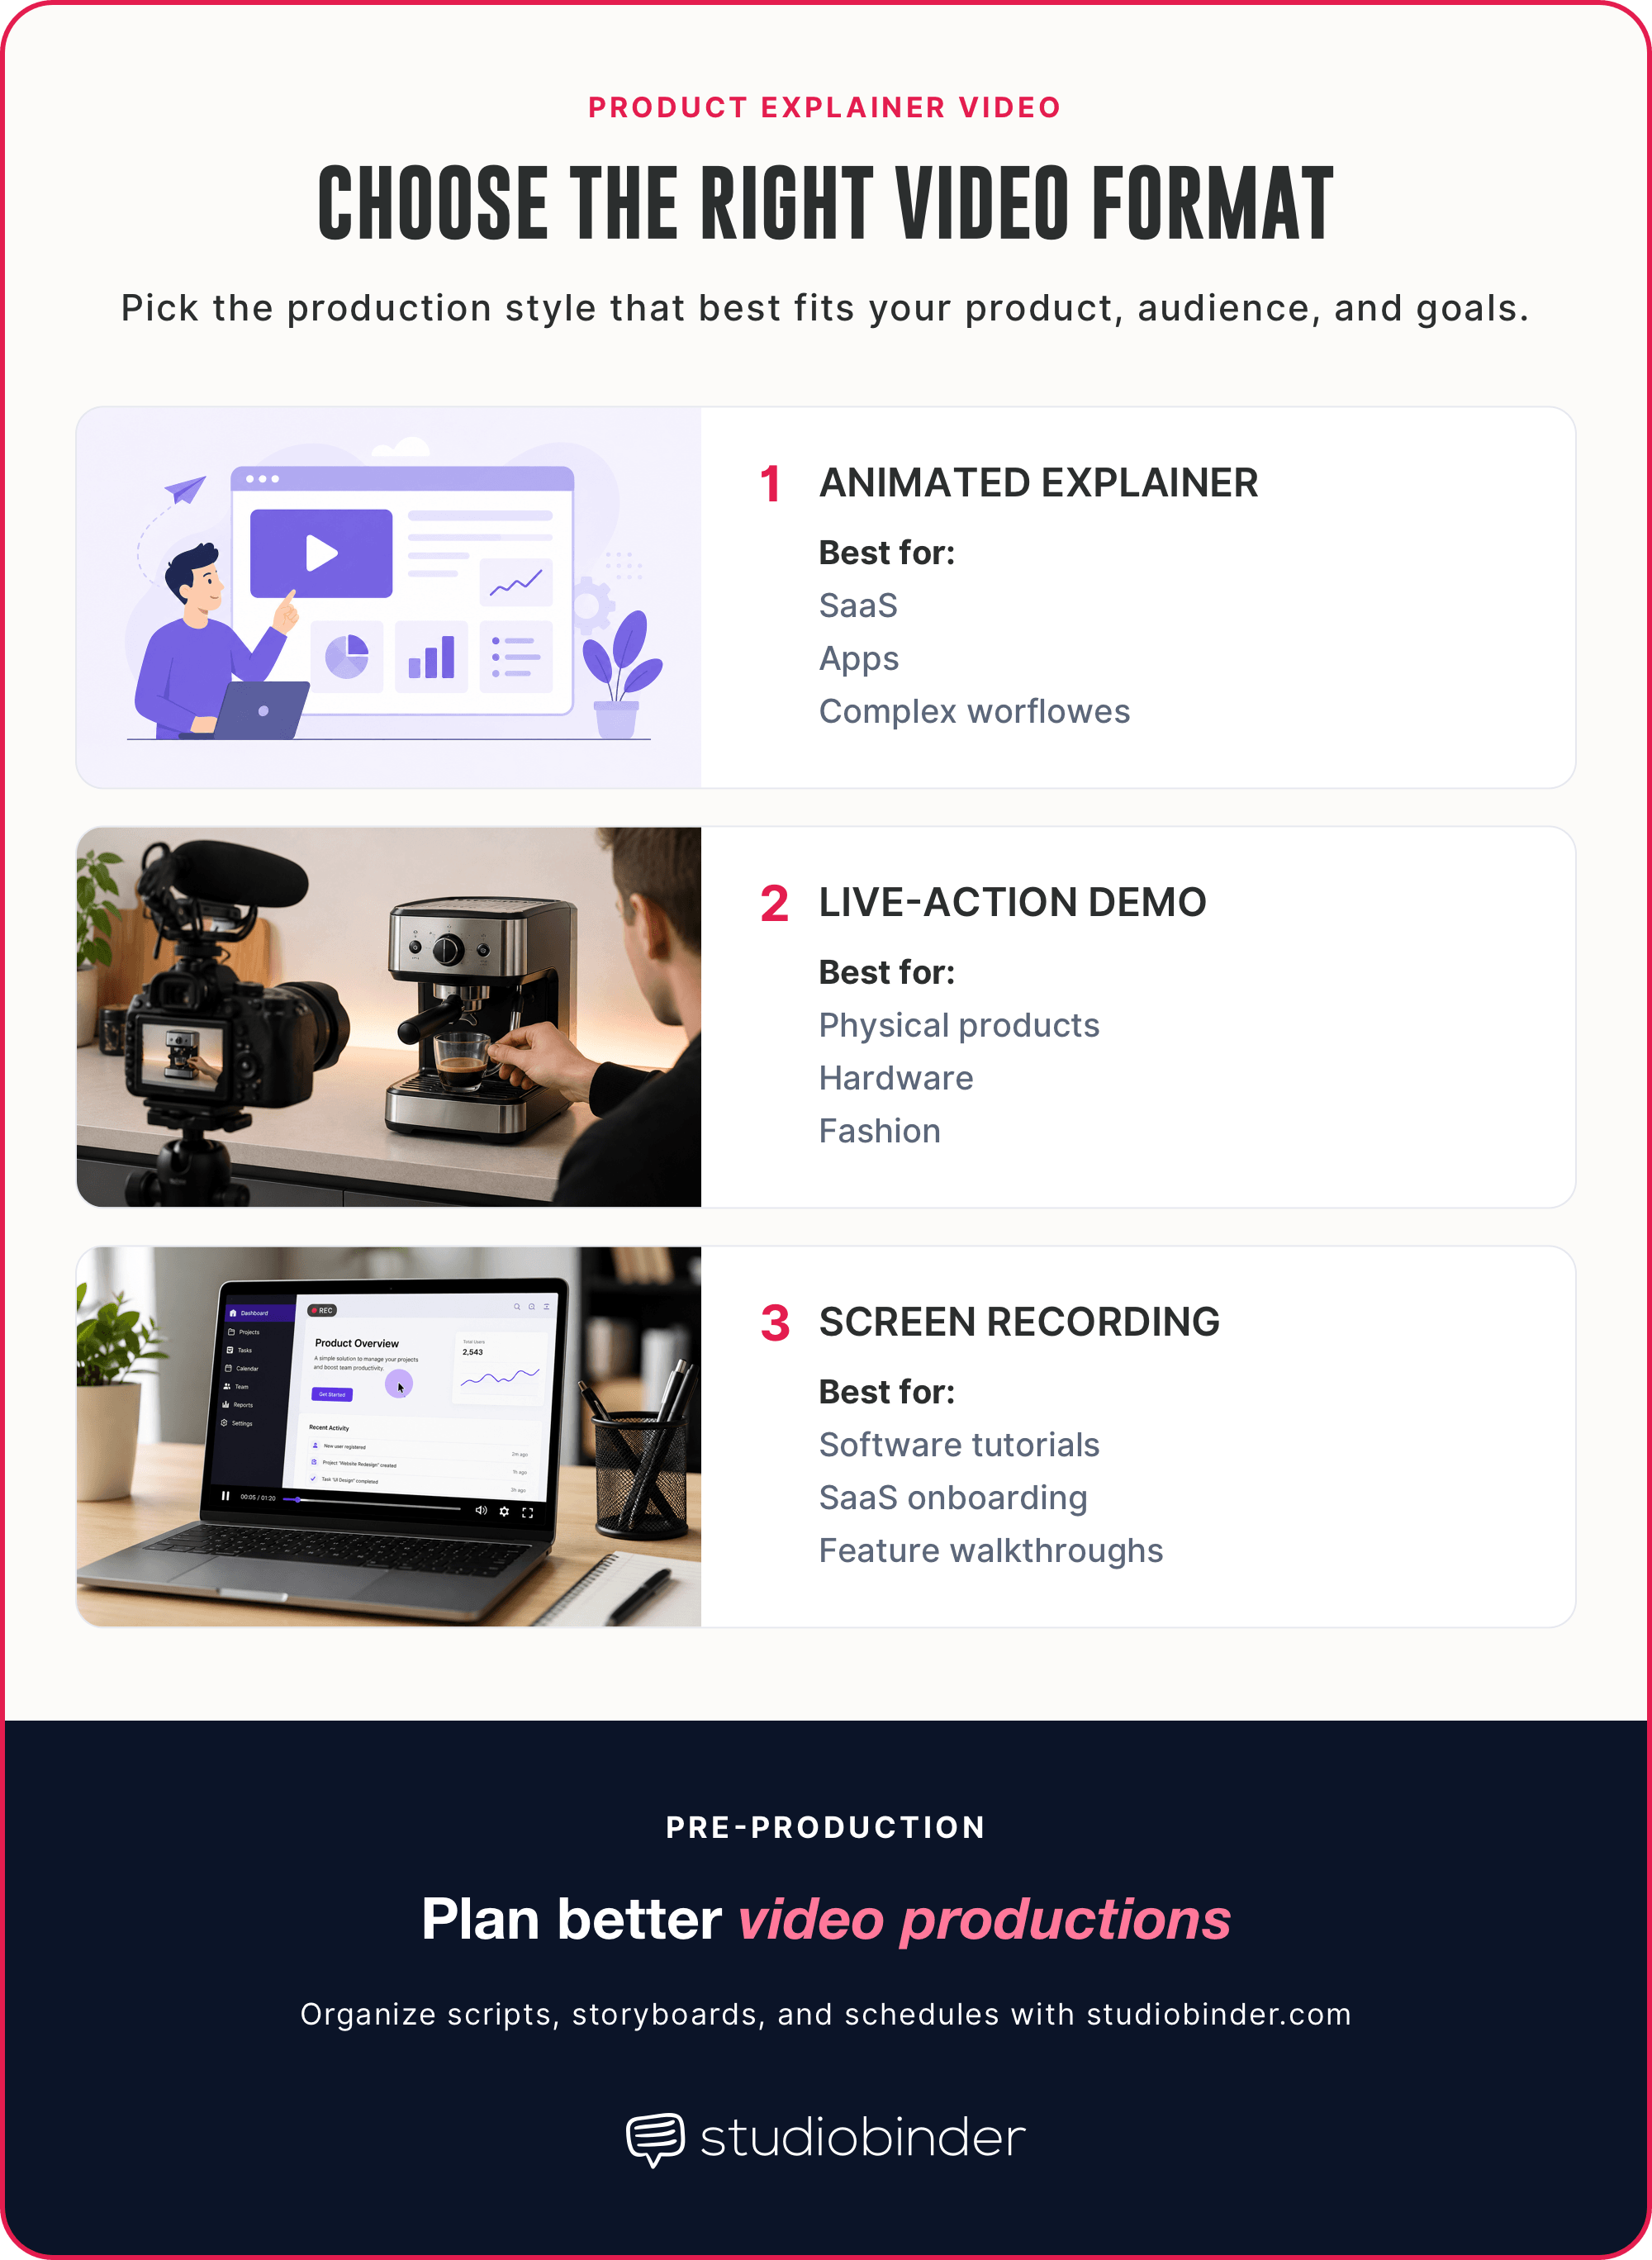
Choosing the right video format • Product explainer video
DIY vs. Agency
DIY works for early-stage teams with modest expectations. Tools like Canva, Loom, Descript, and Vyond make it possible without a production budget. The quality ceiling is real — and so is the time cost. A DIY video that takes 20 hours of internal time is not free.
Freelance is the sweet spot for most startups. Expect $500–$5,000 depending on style and scope. Fiverr and Upwork work at the lower end. For anything client-facing or conversion-critical, a specialist animator is worth the premium.
Agency runs $5,000–$50,000+. What justifies it: dedicated strategy, professional VO, structured revision rounds, and multi-platform outputs. For funded companies with a launch on the line, it makes sense.
For most SaaS startups the sweet spot is $3,000–$8,000 — a mid-tier freelance animator, a solid script, and a quality voiceover. That combination competes with agency output at a fraction of the cost.
product explainer video
Cost by production type
Production costs vary by video format and who creates it. This comparison shows typical pricing for DIY, freelance, and agency production, helping you choose the option that fits your budget and project goals.
Format | DIY | Freelance | Agency |
|---|---|---|---|
Screen recording | $0–$50/mo (tools) | $500–$1,500 | Rarely applicable |
Animated explainer | $20–$100/mo (Vyond) | $1,500–$8,000 | $10,000–$50,000+ |
Live-action demo | Low if self-shot | $1,000–$5,000 | $5,000–$25,000+ |
The biggest cost driver across all formats is revision rounds. Every extra round of changes after production starts adds time and cost. A locked script and approved storyboard before production begins is the best way to keep the budget on track.
Related Posts
product explainer video
Product explainer video examples
The best product explainer videos are worth studying frame by frame. Here are four that hold up- and what makes each one work.
1. Dropbox — Animated Explainer (2009) Format: 2D animation | Runtime: ~2 minutes
Dropbox's 2009 explainer is the canonical reference for product video ROI. It opens with the problem before the product ever appears on screen. Widely credited with driving a 48% increase in conversions. Built entirely around one idea, not a feature list.
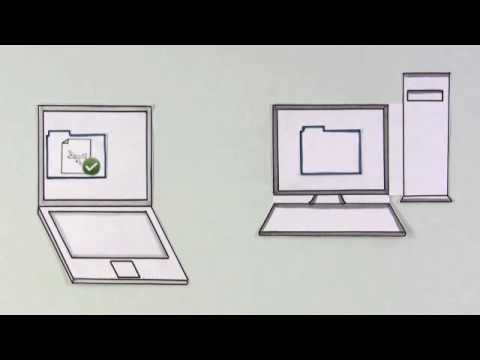
Dropbox Intro Video • Product explainer video
2. Dollar Shave Club — Live-Action (2012) Format: Live-action | Runtime: ~1:33
Dollar Shave Club's launch video has the founder directly to camera. It's shot a single warehouse walk-through. The problem, solution, and brand personality land in the first fifteen seconds. Notice how the CTA feels earned rather than bolted on.
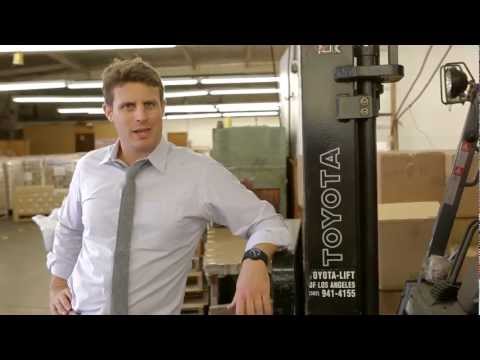
Our Blades Are F***ing Great • Product explainer video
3. Slack — Animated Product Explainer (2014) Format: 2D motion graphics | Runtime: ~1:47
Slack's 2014 launch video is a textbook problem–solution–proof structure. Features are always framed as outcomes — not "channels" but "everything in one place." The pacing is deliberate without being slow.

"So Yeah, We Tried Slack.." • Product explainer video
4. Loom — Screen Recording Hybrid (2023) Format: Screen recording with motion graphics | Runtime: ~90 seconds
Loom's product explainer is a masterclass in format matching - a screen recording tool that sells itself through a screen recording. It leads with the problem before a single feature appears, and the UI stays clean throughout. Notice how the value proposition lands in the first ten seconds.

What is Loom? • Product explainer video
Related Posts
Frequently Asked Questions
Product explainer video FAQs
A product explainer video is a short video. 60 to 90 seconds. That explains what a product does, who it is for, and why it solves a specific problem. It is designed to convert a curious viewer into a buyer or trial user.
Brand videos sell identity, and ads sell urgency. In contrast, a product explainer video sells comprehension. The goal is not awareness — it is understanding.
60 to 90 seconds is the industry standard for conversion-focused product explainers. Awareness-stage videos can run up to two minutes. Because onboarding viewers are already bought in, these videos can run five minutes. And without significant drop-off.
Viewer engagement falls sharply after the two-minute mark. For SaaS products especially, a shorter video means a higher completion rate. And more viewers reaching the CTA. The most common mistake is trying to cover too many features. Every extra feature adds runtime and costs conversions.
Product explainer videos cost between $0 for a DIY screen recording. And $50,000+ for a premium animation studio. Most professionally produced animated explainers land in the $3,000–$15,000 range.
Screen recording tools like Loom and Vyond keep costs near zero. Freelance animators sit in the $1,500–$8,000 range. Full-service agencies command $10,000 and up. For early-stage startups, a $500 Canva or Vyond video beats no video. Upgrade when your conversion data justifies the spend.
A good product explainer video script opens with the problem. It introduces the product as the solution. Highlights one to three key benefits, adds social proof, and closes with a clear CTA — all in under 225 words.
The most common failure is feature-listing instead of benefit-driving. Viewers are not asking "what does this do?" They are asking "what does this do for me?" Answer that first. You can write and format your script in StudioBinder's free script editor.
UP NEXT
Explainer Video Production
You now have everything you need to plan, produce, and budget a product explainer video. From choosing the right format to locking your script before animation starts, the steps are clear and the tools exist to make it manageable.
The natural next step is going deeper on the production side. Explainer video production covers the full process in detail — how studios work, what each production phase costs, and how to brief a team whether you are animating, filming, or recording.

Share your vision with elegant shot lists and storyboards.
Create robust and customizable shot lists. Upload images to make storyboards and slideshows.